
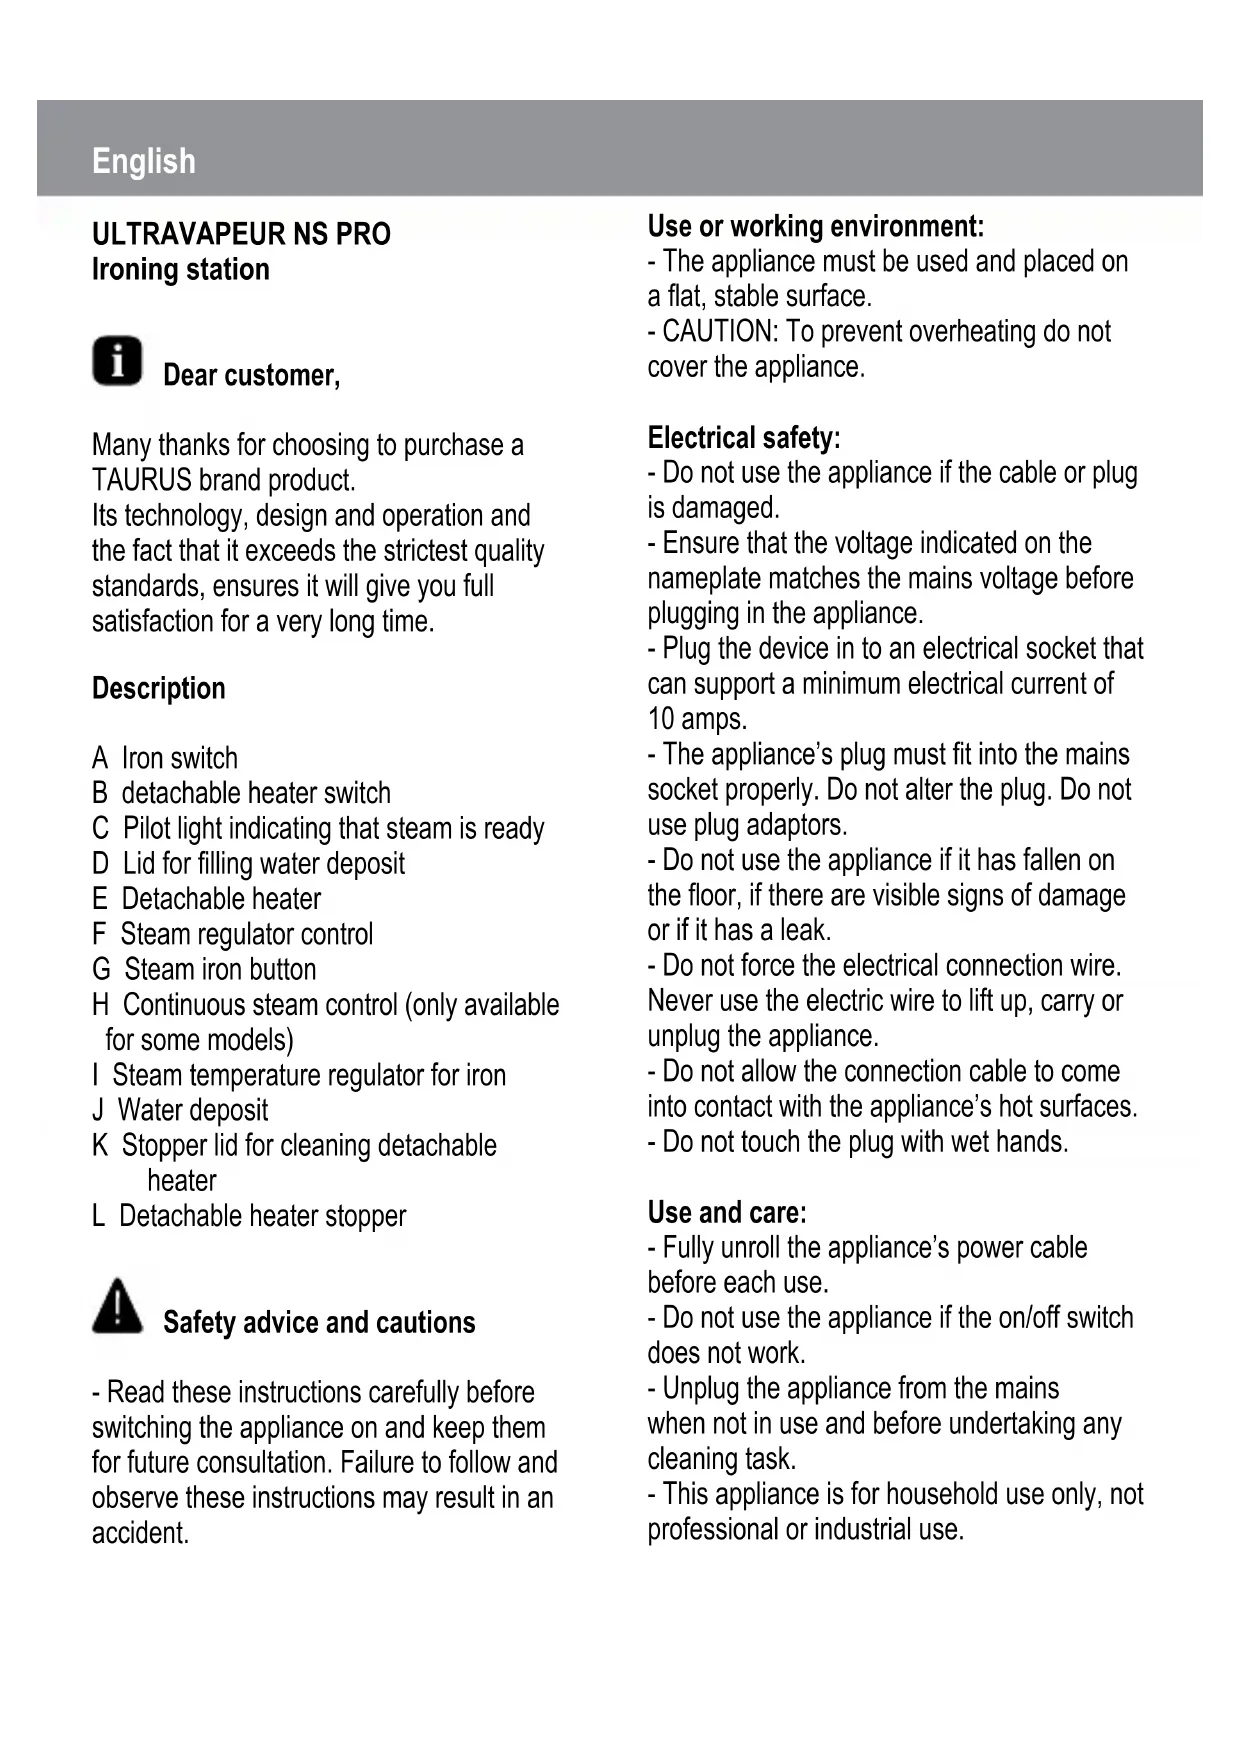
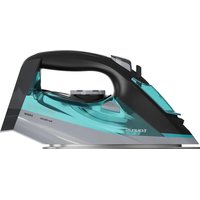
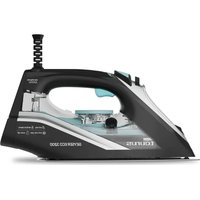
Ultravapeur Non Stop Pro - Iron TAURUS - Free user manual and instructions
Find the device manual for free Ultravapeur Non Stop Pro TAURUS in PDF.
| Product Type | Iron with built-in boiler |
| Brand | Taurus |
| Model | Ultravapeur Non Stop Pro |
| Power Supply | 220-240 V, 50/60 Hz |
| Water Tank Capacity | Refillable at any time, max level indicated |
| Boiler Type | Integrated, with drain plug |
| Steam Functions | Continuous steam, steam spray, vertical ironing |
| Temperature Adjustment | Thermostat with settings for synthetics, silk/wool, cotton, linen |
| Steam Flow Control | Steam control regulator (F) |
| Indicator Light | Steam indicator (C) |
| Thermal Protection | Anti-overheat safety device |
| Cleaning | Damp cloth with mild detergent |
| Descaling | Recommended with Taurus Decal every 6 to 12 weeks depending on water hardness |
| Use | Household only |
| Supplied Accessories | Not specified |
Frequently Asked Questions - Ultravapeur Non Stop Pro TAURUS
User questions about Ultravapeur Non Stop Pro TAURUS
0 question about this device. Answer the ones you know or ask your own.
Ask a new question about this device
Download the instructions for your Iron in PDF format for free! Find your manual Ultravapeur Non Stop Pro - TAURUS and take your electronic device back in hand. On this page are published all the documents necessary for the use of your device. Ultravapeur Non Stop Pro by TAURUS.
USER MANUAL Ultravapeur Non Stop Pro TAURUS
natural_image
Line drawing of a steam iron with attached pipe and socket (no text or symbols)


natural_image
Line drawing of a steam iron with a circular component and cord (no text or symbols)Fig. 1

natural_image
Diagram of a car air conditioner front panel showing rotary controls and fan gauges (no text or labels)Fig. 2

natural_image
Top-down schematic of a vehicle dashboard with control panel and air vent (no text or symbols)Fig. 3

natural_image
Diagram of magnetic field lines around a solenoid with an arrow indicating direction (no text or symbols)
natural_image
Simple line drawing of a circular object with rounded corners and two small rectangular cutouts (no text or symbols)Fig. 4

natural_image
Line drawing of a hand holding a sewing machine over a suit jacket, with no text or symbols present.Fig. 5
ULTRAVAPEUR NS PRO Centro de planchado

natural_image
Symbol of a trash bin crossed with two crossed lines and a solid black rectangle below (no text or labels)descalcificant Taurus Decal.
natural_image
Simple line drawing of a trash bin with no text or symbolsMany thanks for choosing to purchase a TAURUS brand product.
Its technology, design and operation and the fact that it exceeds the strictest quality standards, ensures it will give you full satisfaction for a very long time.
Description
A Iron switch
B detachable heater switch
C Pilot light indicating that steam is ready
D Lid for filling water deposit
E Detachable heater
F Steam regulator control
G Steam iron button
H Continuous steam control (only available for some models)
I Steam temperature regulator for iron
J Water deposit
K Stopper lid for cleaning detachable heater
L Detachable heater stopper

Safety advice and cautions
- Read these instructions carefully before switching the appliance on and keep them for future consultation. Failure to follow and observe these instructions may result in an accident.
Use or working environment:
- The appliance must be used and placed on a flat, stable surface.
- CAUTION: To prevent overheating do not cover the appliance.
Electrical safety:
- Do not use the appliance if the cable or plug is damaged.
- Ensure that the voltage indicated on the nameplate matches the mains voltage before plugging in the appliance.
- Plug the device in to an electrical socket that can support a minimum electrical current of 10 amps.
- The appliance's plug must fit into the mains socket properly. Do not alter the plug. Do not use plug adaptors.
- Do not use the appliance if it has fallen on the floor, if there are visible signs of damage or if it has a leak.
- Do not force the electrical connection wire. Never use the electric wire to lift up, carry or unplug the appliance.
- Do not allow the connection cable to come into contact with the appliance's hot surfaces.
- Do not touch the plug with wet hands.
Use and care:
- Fully unroll the appliance's power cable before each use.
- Do not use the appliance if the on/off switch does not work.
- Unplug the appliance from the mains when not in use and before undertaking any cleaning task.
-
This appliance is for household use only, not professional or industrial use.
-
This appliance is not a toy. Children should be supervised to ensure that they do not play with the appliance.
- This appliance is intended for adult use. Ensure that this product is not used by the disabled, children or people unused to its handling.
- This appliance should be stored out of reach of children and/or the disabled.
- Do not put the appliance away if it is still hot.
- To ensure that the iron functions correctly, keep the iron face smooth and do not hit it against metallic objects (for example, the ironing board, buttons, zips...)
- Only use water with the appliance.
- The use of distilled water is recommended, especially if the water in your area contains any type of grit or is “hard” (contains calcium or magnesium).
- Never leave the appliance unattended while in use.
- Set the temperature control at the minimum position (MIN). Permanent disconnection of the device is not guaranteed.
- Do not use the device on any bodily parts of a person or animal.
- Any misuse or failure to follow the instructions for use renders the guarantee and the manufacturer's liability null and void.

structions for use
Notes prior to use:
- Remove the appliance's protective film.
- Some parts of the iron have been lightly greased and the iron could omit some smoke when plugged in for the first time. After a few
minutes the smoke will stop.
Filling with water:
- The deposit (J) contains non-pressurised water, which can be filled at any moment.
This means that ironing can be carried out uninterruptedly. - It is necessary to fill the deposit with water before using the steam function.
- Open the lid of the filling entrance. (Fig.3)
- Fill the deposit without going over the MAX level.
- Close the lid of the filling entrance.
Use:
- Unroll the cable completely before plugging it in.
- Connect the appliance to the mains.
- Turn the thermostat control until it is in a position that corresponds to the desired temperature.
- Do not use temperatures higher than those indicated on the clothing to be ironed.
- Temperature for synthetic fibres (Polyester, Nylon...).
●● Temperature for silk, wool.
●●● Temperature for cotton.
(Minimum temperature for ironing with steam) Max Temperature for linen.
- If the fabric composition comprises various types of fibres, the temperature should be selected that is required for the fibre with the lowest temperature. (For example, a fabric that contains 60% polyester and 40% cotton should be ironed at the temperature that corresponds to the polyester).
- Turn on the iron and the heater, by pressing the corresponding switches. The respective pilot lights will turn on. (Fig. 2).
- Wait until the pilot light (C) steam ready indicator is connected.
- The appliance will be ready to use for ironing. From this moment, the pilot light steam ready indicator (C) will switch on and off automatically, according to the steam consumption. You will also hear a slight sound intermittently, caused by the water pump that replaces water in the heater. Continue ironing normally.
- When the water reaches a minimum level in deposit J, fill it up without exceeding the maximum level.
Ironing with steam:
- Ironing can be carried out with steam always when the deposit contains water and the selected temperature is suitable.
The appliance has a control (H), which enables the steam control to be blocked thus obtaining continuous steam without having to constantly press the steam blast control.
Steam flow control: (Fig. 2)
- Control (F) on the appliance allows the steam flow to be regulated.
How to iron in a vertical position (Fig. 5)
It is possible to iron hanging curtains, items of clothing on its hanger, etc. To do so, follow the instructions:
- Select the maximum temperature of the iron, while turning the temperature regulator of the iron in a clockwise direction (Fig. 1).
- Move the iron in a top to bottom direction while pressing the steam control (G).
Important: for cotton and linen, it's recommended to put the iron base in contact with the material. For other more delicate fibres, it's recommended to keep the iron base at some centimetres of distance.
Once you have finished using the appliance:
- Select the minimum position (MIN) via the temperature control dial.
- Unplug the appliance from the mains.
- Remove the water from the deposit.
Temperature safety protector:
- The device has a temperature safety protector, which protects the device from overheating.

Cleaning
- Disconnect the appliance from the mains and allow it to cool before undertaking any cleaning task.
- Clean the equipment with a damp cloth with a few drops of washing-up liquid and then dry.
- Do not use solvents, or products with an acid or base pH such as bleach, or abrasive products, for cleaning the appliance.
- Do not submerge the appliance in water or any other liquid, or place it under a running tap.
How to deal with lime scale incrustations:
- For the appliance to work correctly it should be kept free of lime scale or magnesium incrustations caused by the use of hard water.
- To prevent this kind of problem, we recommend the use of distilled water.
- However, if it is not possible to use the kind of water recommended above, you should periodically remove the lime scale from the appliance:
- Every 6 weeks if the water is "very hard".
- Every 12 weeks if the water is "hard".
- To do so, we recommend the use of the specific product Taurus Decal, which can be found in specialised shops and authorised technical services.
- Homemade solutions are not recommended in the descaling of this appliance, such as the use of vinegar.
Cleaning the detachable water heater
- Check that the appliance has cooled down (wait at least 3 hours after disconnecting the appliance)
-Empty the water deposit (J) first and later the detachable water heater - To empty the detachable water heater open the stopper lid of the boiler (k) and unscrew the deposit lid (L) in an anti-clockwise direction. (Fig. 4)
- Empty the water boiler and close it by screwing on the stopper and turning it in a clockwise direction.
- Fill the water deposit J with approximately 500ml of water and empty a packet of anti lime-scale solution Taurus Decal.
- Connect the appliance (with the iron selected at maximum steam) and wait 20 minutes in order for the anti-lime-scale liquid begin to take effect.
-
Let the steam out of the iron (in a suitable place, for example the sink) and leave it until the water in the deposit has drained out.
-
Unplug and let the appliance cool down (for at least three hours).
- Empty and rinse out the water deposit.
- Open the detachable water heater again and use a funnel to rinse it out with cold water and then drain completely. Repeat the operation to close the detachable heater stopper (L), following the reverse process to when it was opened. Place the lid on (K).
- The first time that the appliance is used after cleaning the detachable water heater, let some steam off before ironing. There is a possibility that it contains residue of anti-lime-scale products.

Anomalies and repair
- Take the appliance to an authorised technical support service if problems arise.
Do not try to dismantle or repair without assistance, as this may be dangerous. - If the connection to the mains has been damaged, it must be replaced and you should proceed as you would in the case of damage.
If any anomalies are detected, consult the following table:
| ANOMALIES CAUSES SOLUTIONS | ||
| Water comes out of the holes on the bottom of the iron when the steam button is pressed (G). | Iron temperature regulator positioned at minimum “•” “•” | Turn the thermostat control until situated in the steam zone “...”. |
| Detachable water heater too full. | Remove water. | |
| Detachable water heater in slanting position. | Place the appliance on a horizontal base. | |
| Scale and impurities come out of the soleplate | Excessive accumulation of lime scale in the detachable water heater. | Clean the appliance. See “clean-ing” section. |
| Steam comes out of the cleaning stopper (K) of the detachable water heater. | Cleaning stopper incorrectly screwed in. | Let the detachable water heater down and completely screw in the stopper K until. |
| Steam does not come out when the vapour button (G) is pressed. | Detachable water heater empty. | Clean the deposit J (See section “how to keep the appliance clean and free of lime-scale) |
| Switches (B) and (A) are turned off. | Turn the switches so that they are connected. | |
| When the detachable water heater switch is connected, small noises in the appliance interior can be heard. | Residual steam is left over from the last time the iron was used. | Press the steam button (G) so that the pressure evaporates. |
| The appliance is cold (noises come from the appliance dilation). | This phenomenon is normal and it will disappear in some minutes. | |
| The detachable water heater is empty and needs to be filled with water | It's natural and disappears when it is refilled with water. | |
Ecology and recyclability of the product
- The materials of which the packaging of this appliance consists are included in a collection, classification and recycling system. Should you wish to dispose of them, use the appropriate public containers for each type of material.
- The product does not contain concentrations of substances that could be considered harmful to the environment
- This appliance contains, or could contain, oil. Remember that one should abide by the regulations concerning the elimination of this type of contaminant
- This symbol means that;

should you wish to dispose of the product once its working life has ended, take it to an authorised waste agent for the selective collection of Waste from
Electric and Electronic Equipment (WEEE).
This appliance complies with Directive 2006/95/EC on Low Voltage and Directive 2004/108/EC on Electromagnetic Compatibility.
natural_image
Symbol of a trash bin crossed with no text or numbers, representing waste sorting or disposal (no text present)natural_image
Simple line drawing of a trash bin with crossed lines and a blank rectangular base (no text or symbols)natural_image
Simple line drawing of a trash bin with crossed lines and a blank rectangular base (no text or symbols)natural_image
Symbol of a trash bin crossed with a diagonal line, no text or numbers presentnatural_image
Symbol of a trash bin crossed with a diagonal line and a horizontal bar below (no text or labels)natural_image
Simple line drawing of a trash bin with crossed lines indicating no waste or plastic (no text or symbols)natural_image
Symbol of a trash bin crossed with no text or numbers, accompanied by a black rectangular block below (no readable text or symbols)natural_image
Symbol of a trash bin crossed with diagonal lines and a blank rectangular block below (no text or labels)natural_image
Simple line drawing of a trash bin with crossed lines and a blank rectangular base (no text or symbols)natural_image
Symbol of a trash bin with crossed lines and a solid black rectangle below (no text or labels)natural_image
Blank gray image with no visible content, text, or symbolstaurus
taurus
Avda. Barcelona, s/n
E 25790 Oliana
Spain
www.taurus.es
Product weight (approximate)
Ultravapeur Non Stop Pro: N.W.: 4.49 Kgs
G.W.: 5.72 Kgs


- ULTRAVAPEUR NS PRO Centro de planchado
- Description
- Safety advice and cautions
- Use or working environment:
- Electrical safety:
- Use and care:
- structions for use
- Notes prior to use:
- Filling with water:
- Use:
- Ironing with steam:
- Steam flow control: (Fig. 2)
- How to iron in a vertical position (Fig. 5)
- Once you have finished using the appliance:
- Temperature safety protector:
- Cleaning
- How to deal with lime scale incrustations:
- Cleaning the detachable water heater
- Anomalies and repair
- Ecology and recyclability of the product
- taurus
Brand : TAURUS
Model : Ultravapeur Non Stop Pro
Category : Iron