HCKS45 - Scale KONIG - Free user manual and instructions
Find the device manual for free HCKS45 KONIG in PDF.
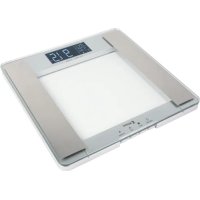
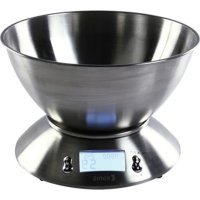
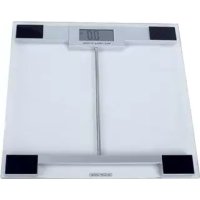
| Product Type | Electronic Kitchen Scale with Measuring Cup |
| Brand | Konig |
| Model | HCKS45 |
| Maximum Capacity | 5050 grams / 2500 ml |
| Resolution | 1 gram (weight), 1 ml (volume) |
| Measurement Units | Grams, ounces (weight); ml, cups, fl oz (volume) |
| Functions | Weighing, volume measurement (water, milk, oil, sugar, flour), tare, zero reset, calibration, auto-off |
| Power Supply | 2 AAA batteries (not included) |
| Measuring Cup | Removable, withstands up to 90°C, dishwasher safe (except base) |
| Base and Handle | Do not immerse, clean with a damp cloth |
| Display | Digital screen with icons (TARE, unit, mode) |
| Auto-off | After 5 minutes of inactivity |
| Error Messages | UnSt (unstable) and Err (overload) |
| On/Off | Short press [0] to turn on, long press (3 s) to turn off |
| Calibration | Hold [0] for 6 seconds until "CAL" appears |
| Warranty | No warranty in case of modification or incorrect use (according to manual) |
| Maintenance | Clean with a dry cloth; no solvents or abrasives |
| Maximum Container Temperature | 90°C (container only) |
Frequently Asked Questions - HCKS45 KONIG
User questions about HCKS45 KONIG
0 question about this device. Answer the ones you know or ask your own.
Ask a new question about this device
Download the instructions for your Scale in PDF format for free! Find your manual HCKS45 - KONIG and take your electronic device back in hand. On this page are published all the documents necessary for the use of your device. HCKS45 by KONIG.
USER MANUAL HCKS45 KONIG
text_image
KÖNIG ELECTRONICHC-KS45
natural_image
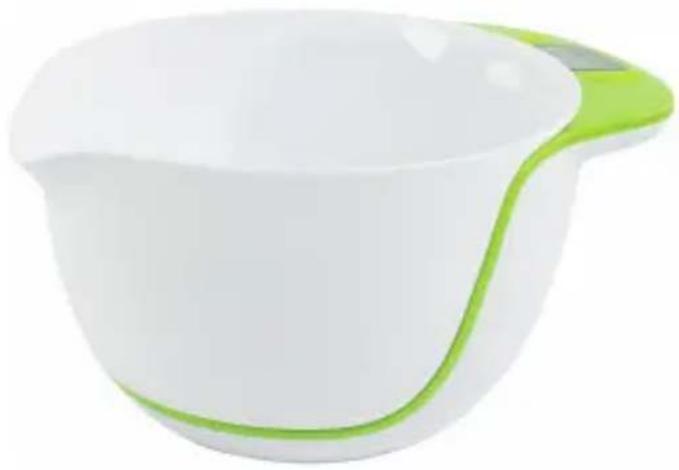
White and green ceramic bowl with a handle, no text or symbols visibleMANUAL (p. 2)
2L Digital Bowl Scale
ANLEITUNG (S. 5)
MANUAL DE USO (p. 18)
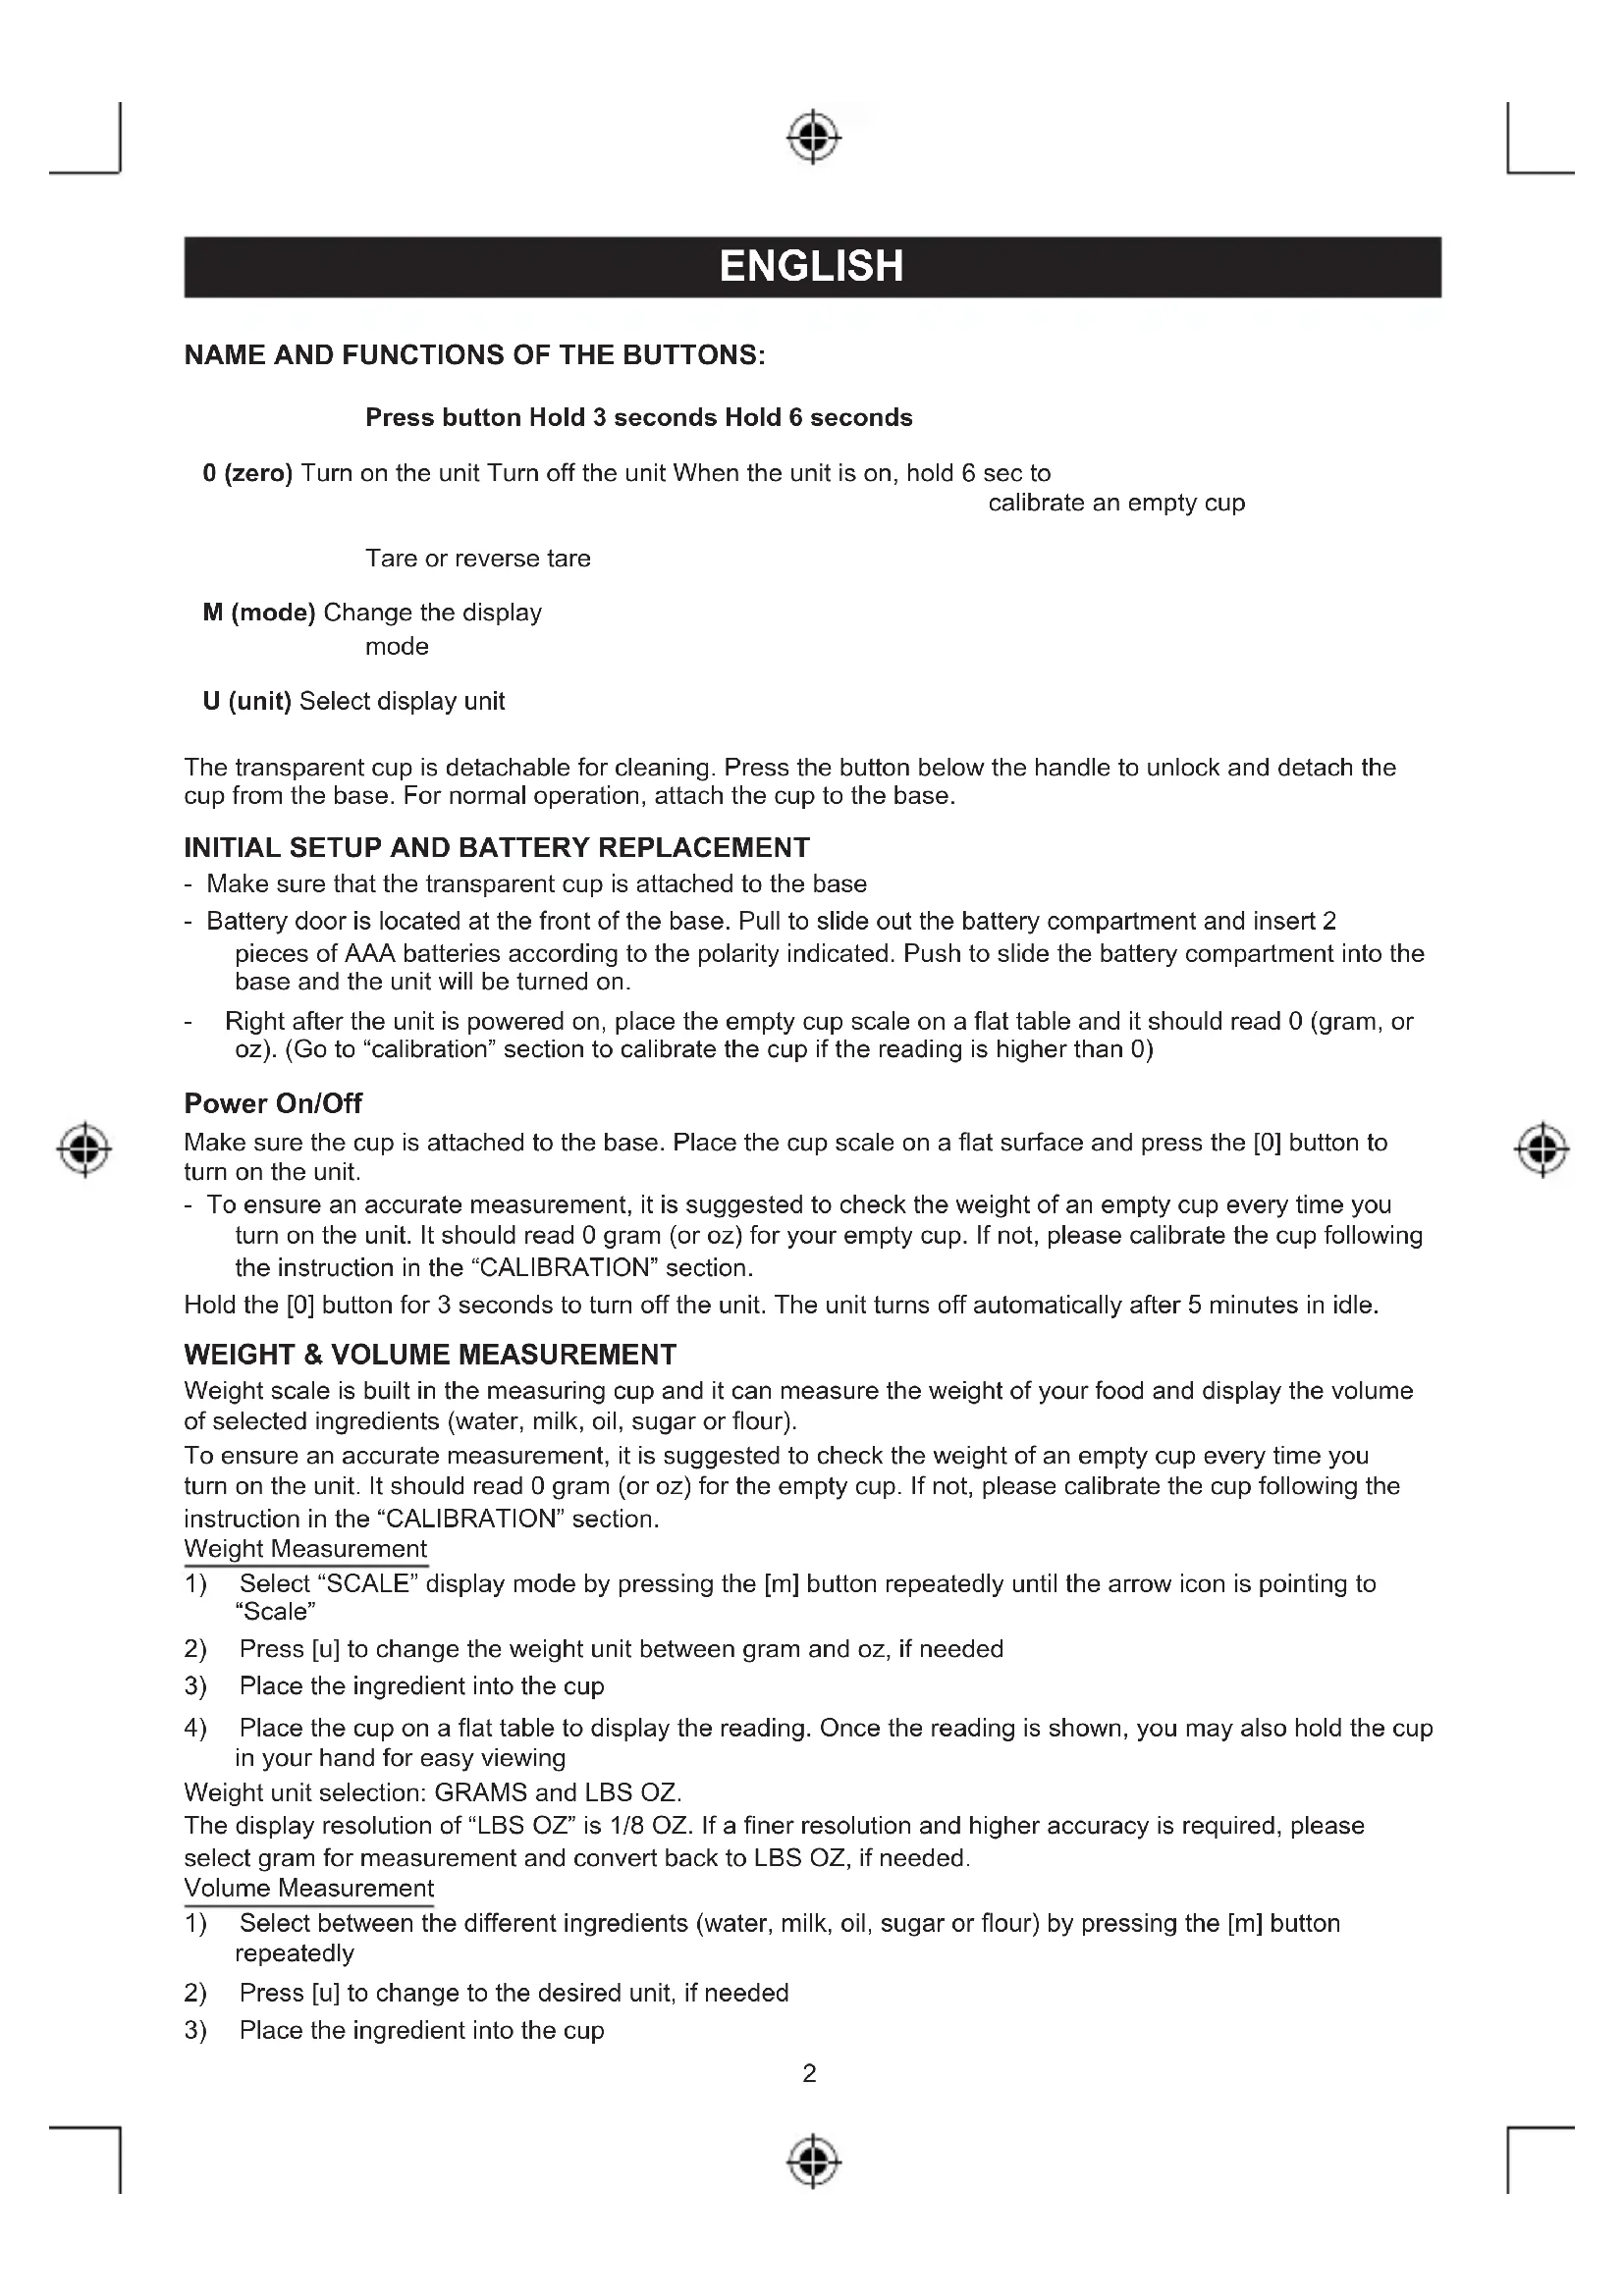
NAME AND FUNCTIONS OF THE BUTTONS:
Press button Hold 3 seconds Hold 6 seconds
0 (zero) Turn on the unit Turn off the unit When the unit is on, hold 6 sec to
calibrate an empty cup
Tare or reverse tare
M (mode) Change the display
mode
U (unit) Select display unit
The transparent cup is detachable for cleaning. Press the button below the handle to unlock and detach the cup from the base. For normal operation, attach the cup to the base.
INITIAL SETUP AND BATTERY REPLACEMENT
- Make sure that the transparent cup is attached to the base
- Battery door is located at the front of the base. Pull to slide out the battery compartment and insert 2 pieces of AAA batteries according to the polarity indicated. Push to slide the battery compartment into the base and the unit will be turned on.
- Right after the unit is powered on, place the empty cup scale on a flat table and it should read 0 (gram, or oz). (Go to "calibration" section to calibrate the cup if the reading is higher than 0)
Power On/Off
Make sure the cup is attached to the base. Place the cup scale on a flat surface and press the [0] button to turn on the unit.
- To ensure an accurate measurement, it is suggested to check the weight of an empty cup every time you turn on the unit. It should read 0 gram (or oz) for your empty cup. If not, please calibrate the cup following the instruction in the "CALIBRATION" section.
Hold the [0] button for 3 seconds to turn off the unit. The unit turns off automatically after 5 minutes in idle.
WEIGHT & VOLUME MEASUREMENT
Weight scale is built in the measuring cup and it can measure the weight of your food and display the volume of selected ingredients (water, milk, oil, sugar or flour).
To ensure an accurate measurement, it is suggested to check the weight of an empty cup every time you turn on the unit. It should read 0 gram (or oz) for the empty cup. If not, please calibrate the cup following the instruction in the "CALIBRATION" section.
Weight Measurement
1) Select "SCALE" display mode by pressing the [m] button repeatedly until the arrow icon is pointing to "Scale"
2) Press [u] to change the weight unit between gram and oz, if needed
3) Place the ingredient into the cup
4) Place the cup on a flat table to display the reading. Once the reading is shown, you may also hold the cup in your hand for easy viewing
Weight unit selection: GRAMS and LBS OZ.
The display resolution of “LBS OZ” is 1/8 OZ. If a finer resolution and higher accuracy is required, please select gram for measurement and convert back to LBS OZ, if needed.
Volume Measurement
1) Select between the different ingredients (water, milk, oil, sugar or flour) by pressing the [m] button repeatedly
2) Press [u] to change to the desired unit, if needed
3) Place the ingredient into the cup


4) Place the cup on a flat table to display the reading. Once the reading is shown, you may also hold the cup in your hand for easy reading
NOTE: The volume measurement is converted from the weight and the pre-set density of the ingredient by the processor in the cup. There are different types of milk, oil, sugar or flour on the market. Different types, brands & origins of the same ingredient have different density. For this reason, some variation of the volume measurement will occur depending on the type of ingredients you are using. The volume reading provided by the cup can only be used as an approximate value.
The density and type of ingredients being used in the cup are shown below.
Density units selection available
Water 1 kg/l ML, CUPS, FL OZ
Milk 1.03 kg/l ML, CUPS, FL OZ
Oil 0.9 kg/l ML, CUPS, FL OZ
Sugar (granulated sugar) 0.84 kg/l GRAMS, CUPS, LBS OZ
Flour (all purpose flour – not sifted) 0.6 kg/l GRAMS, CUPS, LBS OZ
The display resolution of "FL OZ" and "CUPS" is 1/8. If finer resolution and higher accuracy is required, please select mL (or gram) for the measurement and convert back to FL OZ or CUPS if needed.
Tare (set zero) Function
It is easy and convenient to build up and mix different ingredients together all in the same cup. After the first ingredient is added and measured, you may add another ingredient after performing the tare function as described below.
- Place the cup with first ingredient on a flat table
- Press the [0] button once. The reading will reset to zero and the "TARE" icon will remain on the upper display
Now you can add your additional ingredient. Only the weight or volume of the last ingredient added is measured. Continue the above procedure to build up different ingredients for your recipe.
NOTE: The tare function only functions correctly if the cup is placed on a flat surface
Reversing the Tare Function
Right after the tare function has been performed and the display is showing "0" with the "TARE" icon displayed, you can press the [0] button to resume to the original weight or volume reading just as before the tare function and the "TARE" icon will disappear.
NOTE: The reverse tare only functions if the cup is placed on a flat surface
MIXING (IMPORTANT NOTE)
It is easy and convenient to mix different ingredients in the bowl scale. It can withstand up to 5 Kg of maximum loading. When the total weight and force during mixing is greater than 5kg, the unit will beep and display "Err". Make sure to remove the weight and stop the mixing action immediately.
Sensitive weight scale components are located at the base of the scale and excessive force & weight applied to the base may permanently damage the scale inside and provide inaccurate reading.
To extend product life span, please detach the bowl and mix your ingredients on the detached bowl when the loading is close to or greater than 5kg.
FAULT MESSAGE DISPLAY
UnSt: Unstable
The scale is unstable and the unit will turn off automatically. Place the cup on a flat table and turn on the unit again by pressing the [0] button once.
Err: Error
The scale is overloaded. The weight or volume in the bowl exceeds the maximum display range (refer "Specification" section) and the unit will beeps. Remove the weight & stop all mixing immediately.
CALIBRATION
To ensure an accurate measurement, it is recommended to check the weight of an empty cup every time you turn on the unit. It should read 0 gram (or oz) for your empty cup.


Calibration for the cup is needed ONLY if the reading of your EMPTY cup is higher than zero (gram, oz, cups, fl oz or ml). The calibration process will reset the reading to zero for the empty cup.
To calibrate,
1) Make sure the transparent cup is attached to the base
2) Make sure the cup is empty. Clean the unit with a dry cloth to remove any excess liquid in the cup
3) Turn on the unit by a pressing the [0] button once
4) Make sure the cup is placed steadily on a flat surface. Press and hold the [0] button for 6 seconds until "CAL" flashes. Do not touch or move the cup when "CAL" is flashing
The display reading will show "0" and the calibration is completed.
CLEANING AND STORAGE
IMPORTANT: Never immerse the base & handle in water or put into dish washing machine for cleaning. Only the bowl that is detached from the base is waterproof and dishwasher safe
- Slide up the button below the handle to unlock and detach the bowl from the base for cleaning. Only the bowl that is detached from the base is waterproof and dishwasher safe.
- Only clean the detached bowl with cold or warm water together with optional mild cleaning detergent. Do not use boiling water to clean the detached bowl as it can withstand up to 90°C maximum.
- Use damp cloth to clean the base and the handle.
Storage
- To extend the product life span, remove any food or liquid from the cup scale when it is not in use so that it is not loaded with weight
- After cleaning, place the cup scale in a location with good air ventilation
LOW BATTERY INDICATION
The scale indicates it's low battery status. Replace the batteries and follow the procedure in this instruction manual to replace the batteries.
Product may not function properly if it is subject to electrical interference or high-frequency radio transmissions.
SPECIFICATIONS
• Maximum temperature: The detachable bowl (without the base) can withstand up to maximum 90°C
• Maximum display range: 5050 gram, 2500 ml, 10 Cups, 90 Fl oz
• Volume resolution: 1/8 cups, 1/8 fl oz, 1 ml
• Weight resolution: 1 gram, 1/8 oz
- Battery: AAA x 2 pieces
Safety precautions:

To reduce risk of electric shock, this product should ONLY be opened by an authorized technician when service is required. Disconnect the product from mains and other equipment if a problem should occur. Do not expose the
product to water or moisture.
Maintenance:
Clean only with a dry cloth. Do not use cleaning solvents or abrasives.
Warranty:
No guarantee or liability can be accepted for any changes and modifications of the product or damage caused due to incorrect use of this product.
General:
Designs and specifications are subject to change without notice.
All logos brands and product names are trademarks or registered trademarks of their respective holders and are hereby recognized as such.
Keep this manual for future reference.
Attention:

This product is marked with this symbol. It means that used electrical and electronic products should not be mixed with general household waste. There is a separate collections system for these products.