
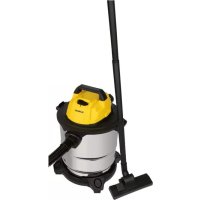
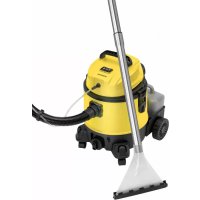
BS 969 CB - Vacuum Cleaner BOMANN - Free user manual and instructions
Find the device manual for free BS 969 CB BOMANN in PDF.
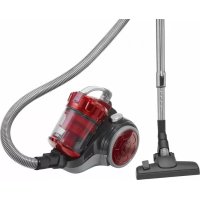
| Product type | Vacuum cleaner |
| Brand | Bomann |
| Model | BS 969 CB |
| Power supply | 230 V ~ 50 Hz |
| Suction power | Variable according to adjustment (low, medium, high) |
| Dust bag capacity | Standard (disposable bag) |
| Motor protection filter | Washable, clean every 10 bag changes |
| Exhaust filter | Washable, located behind the ventilation grille |
| Included accessories | Flexible hose, suction tube, floor nozzle, crevice tool, brush, articulated nozzle |
| Main functions | Power regulator, full bag indicator, cable storage, air regulator on handle |
| Floor types | Hard floors (brush out) and carpets (brush in) |
| Maintenance and cleaning | Clean the housing with a dry cloth; wash filters in hot water (without detergent) and dry completely before reassembly |
| Safety | Do not vacuum liquids, hot ashes, sharp objects; use on 230 V socket; do not use without filter |
| Storage | Horizontal parking position (on the floor brush) or vertical (on the back of the appliance) |
| Cable length | Approx. 5 m (up to the yellow mark) |
| Warranty | 24 months from date of purchase |
| Spare parts and repairability | Use original accessories; repair by a qualified professional; out of warranty, paid repairs |
Frequently Asked Questions - BS 969 CB BOMANN
User questions about BS 969 CB BOMANN
0 question about this device. Answer the ones you know or ask your own.
Ask a new question about this device
Download the instructions for your Vacuum Cleaner in PDF format for free! Find your manual BS 969 CB - BOMANN and take your electronic device back in hand. On this page are published all the documents necessary for the use of your device. BS 969 CB by BOMANN.
USER MANUAL BS 969 CB BOMANN
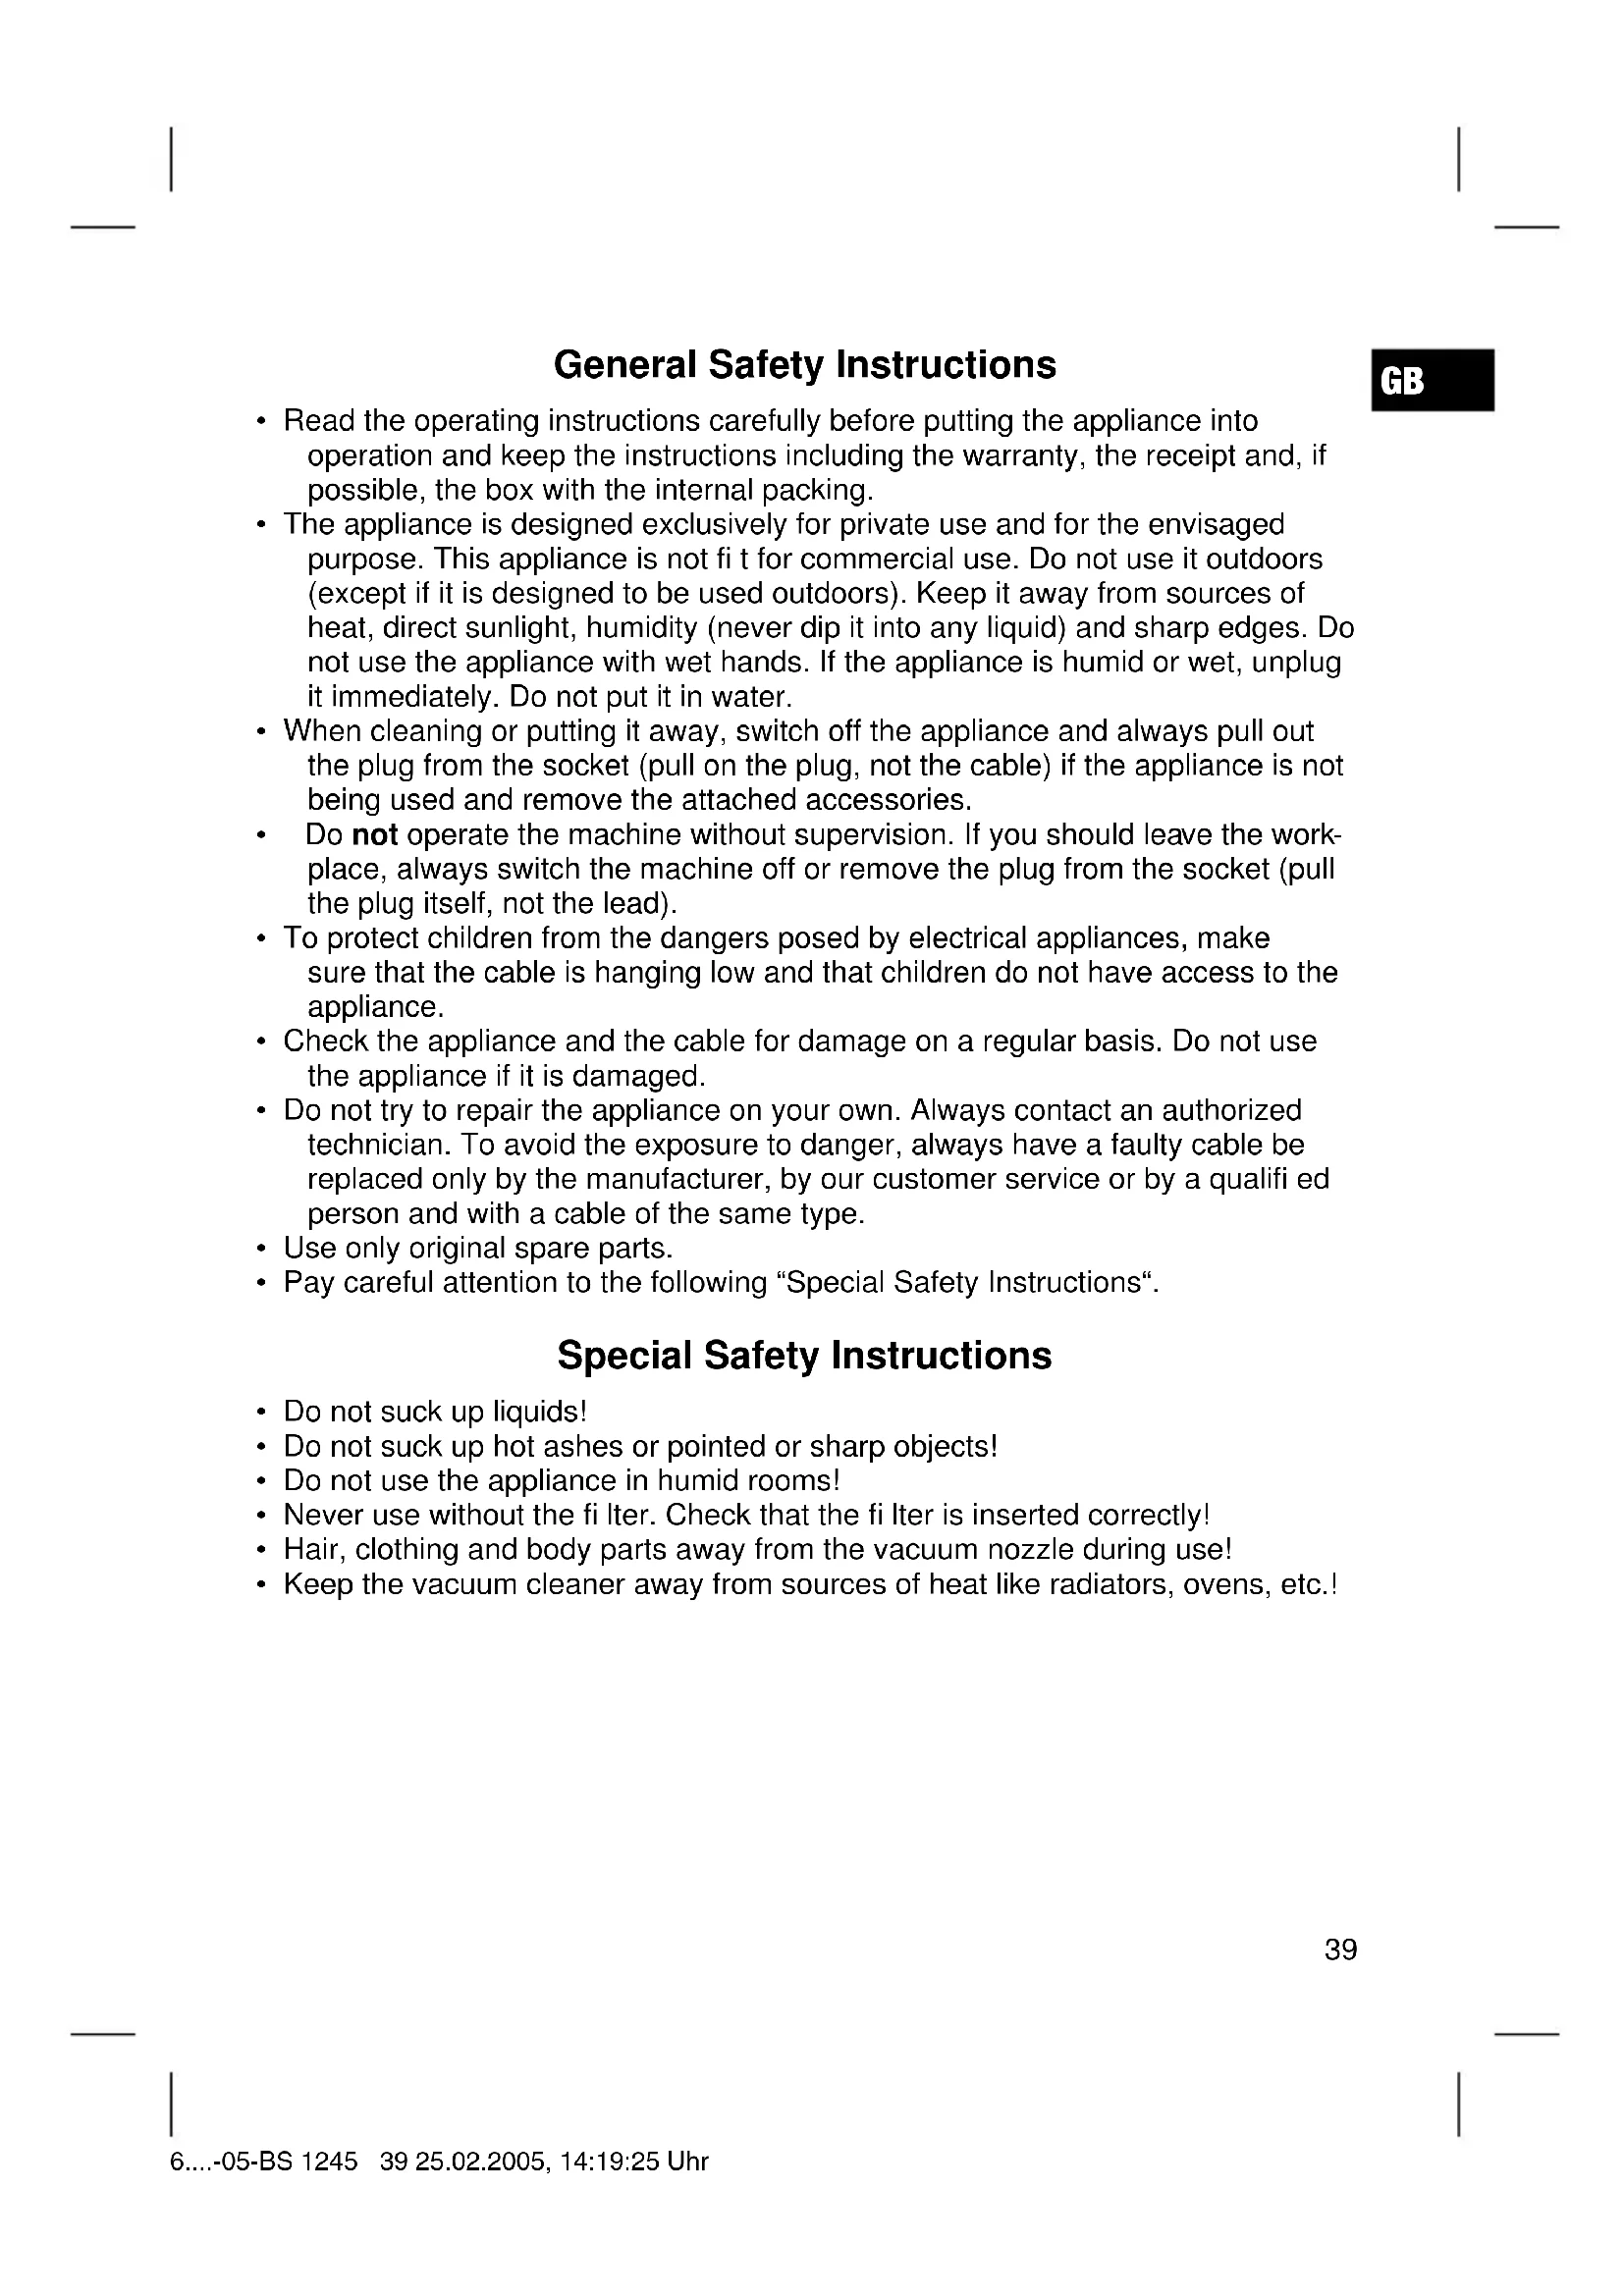
General Safety Instructions
GB
- Read the operating instructions carefully before putting the appliance into operation and keep the instructions including the warranty, the receipt and, if possible, the box with the internal packing.
- The appliance is designed exclusively for private use and for the envisaged purpose. This appliance is not fit for commercial use. Do not use it outdoors (except if it is designed to be used outdoors). Keep it away from sources of heat, direct sunlight, humidity (never dip it into any liquid) and sharp edges. Do not use the appliance with wet hands. If the appliance is humid or wet, unplug it immediately. Do not put it in water.
- When cleaning or putting it away, switch off the appliance and always pull out the plug from the socket (pull on the plug, not the cable) if the appliance is not being used and remove the attached accessories.
- Do not operate the machine without supervision. If you should leave the workplace, always switch the machine off or remove the plug from the socket (pull the plug itself, not the lead).
- To protect children from the dangers posed by electrical appliances, make sure that the cable is hanging low and that children do not have access to the appliance.
- Check the appliance and the cable for damage on a regular basis. Do not use the appliance if it is damaged.
- Do not try to repair the appliance on your own. Always contact an authorized technician. To avoid the exposure to danger, always have a faulty cable be replaced only by the manufacturer, by our customer service or by a qualified person and with a cable of the same type.
- Use only original spare parts.
- Pay careful attention to the following "Special Safety Instructions".
Special Safety Instructions
- Do not suck up liquids!
- Do not suck up hot ashes or pointed or sharp objects!
- Do not use the appliance in humid rooms!
- Never use without the fi lter. Check that the fi lter is inserted correctly!
- Hair, clothing and body parts away from the vacuum nozzle during use!
- Keep the vacuum cleaner away from sources of heat like radiators, ovens, etc.!
GB
Overview of the Components
1 Cable (not shown) 10 Vacuum hose
2 On/off switch 11 Suction tube
3 Carrying handle 12 Floor nozzle
4 Cable-winding key 13 Crevice nozzle
5 Vacuum power regulator 14 Brush nozzle
6 Dust bag fi lling display 15 Jointed nozzle
7 Handle for opening the dust bag 16 Parking assistance compartment
8 Filter cover - Outlet fi Iter Hook on the fll oor nozzle (not shown) (not shown)
9 Hose connection
Start-up
- Insert the connection head of the suction hose (10) into the hose connector (9) until it locks in place. To do so, please press the buttons simultaneously. In order to release the hose again, please press the buttons once more on the connection head.
- Keep the buttons pressed down and then pull out the hose.
- Please insert the sections of the 2-part suction tube (11) into one another and then attach them to the handle section.
- Then assemble the floor nozzle and/or the accessories.
Using the Appliance
- Unwind the length of cable (1) you require.
- Insert the mains plug into a correctly installed 230V , 50Hz power socket. Turn on the device with the on/off switch (2) by pushing the regulator downwards.
- Adjust the suction power by turning the suction power regulator (2).
- Vacuum at a steady speed. There is no need to exert pressure.
- Attention: pay attention to the range that can be covered with the cable length.
Vacuum power regulator
Low vacuum power:
Medium vacuum power:
High vacuum power:
For curtains and delicate fabrics
For long-pile velour carpets and textile flooring
For sturdy rugs and floors
Cable winding device
Pull out the cable (1) up to the maximum length indicated with the yellow mark. Never pull the cable out up to the red mark as the cable winding can be damaged. Said damages are not covered by the warranty.
Winding
Press the cable (4) winding button and guide the cable. Hold the cable to avoid wrapping.
Nozzle Attachment
Crevice, brush and
jointed nozzle: For vacuuming upholstery, curtains and in corners and crevices etc.
Floor nozzle: To clean carpets or smooth surfaces.
Smooth floors: Press down the lever with the brush symbol with your foot. The brush is now visible.
Carpets: direction. The brushes are now retracted.
Releasing the nozzles: Pull these off while turning slightly.
Air Slide
Open the air slide on the hose handle in order to regulate the airflow or to clear any particles sticking to the nozzle.
Dust bag replacement display (6)
Hold the hose up into air. If the dust bag change display lights up, the bag is full. Please change it.
Changing the dust bag
- Pull the plug out of the socket.
- Open the lid of the dust bag compartment by the handle (7).
- Remove the bag by pulling the fi xing device carefully towards the rear in order to make the bag more easily accessible. Then remove the dust bag by pulling it upwards.
- Insert a new bag. Please ensure that the bag is located correctly in the guide mechanism. Close the cover so that it snaps into place.
Filter
Your appliance has two fi iters.
Motor protection fi Iter (inlet fi Iter):
The inlet fi ler is located in the dust bag compartment. The fi iter is located vertically in the rear section of the dust housing. Remove the fi iter by pulling upwards. Clean the engine protection fi iter after 10 dust bag changes. If necessary, the fi iter can also be washed in warm water without any additives. Place it back into place only once it is completely dry!
GB
Outlet filter:
The appliance is also equipped with an outlet fi Iter. This fi Iter is to be found on the side of your device behind the ventilation grille.
Open the ventilation grid by pulling the lever next to it. Then pull the grille out towards the front. Remove the fi liter and clean as described above. Please reinsert the fi liter correctly and then close the ventilation grille.
Cleaning and storage
Cleaning
- Pull the plug out of the socket before cleaning!
Clean the casing with a dry cloth.
Storage
- Let the iron cool down completely.
- Wind the cable completely.
- If you position the device horizontally: Please insert the hook of the floor nozzle into the parking assistant on the rear of the device.
- If you position the device vertically: Please insert the hook of the suction tube into the parking assistant on the bottom of the device.
This device has been tested according to all relevant current CE guidelines, such as electromagnetic compatibility and low voltage directives, and has been constructed in accordance with the latest safety regulations.
Subject to technical changes without prior notice!
Guarantee
The device supplied by our Company is covered by a 24 month guarantee starting on the date of purchase (receipt).
During the life of the guarantee any fault of the device or its accessories *) ascribable to material or manufacturing defects will be eliminated free of charge by repairing or, at our discretion, by replacing it. The guarantee services do not entail an extension of the life of the guarantee nor do they give rise to any right to a new guarantee!
Proof of the guarantee is provided by the proof of purchase. Without proof of purchase no free replacement or repair will be carried out.
If you wish to make a claim under the guarantee please return the entire machine in the original packaging to your dealer together with the receipt.
*) Damage to accessories does not mean automatic free replacement of the whole machine. In such cases please contact our hotline. Broken glass or breakage of plastic parts are always subject to a charge.
Defects to consumables or parts subject to wearing (e.g. motor pistons, kneading blades, drive shafts, spare remote control, spare toothbrushes, saw blades, etc.) as well as cleaning, maintenance or the replacement of said parts are not covered by the guarantee and hence are to be paid!
The guarantee lapses in case of unauthorized tampering.
After the expiry of the guarantee
After the expiry of the guarantee repairs can be carried by the competent dealer or repair service against the payment of the ensuing costs.
PL
5 Regulator sity ssania
13 Dysza do fug
Regulator sily ssania
Niski stopien ssania: Do fi ranek, materiałów delikatnych.
8 3aunTHa KpbIuKa FnIbTp a - BbInyckHO FnIbTp (6e3 pnc.) KpIOK Ha uteke (6e3 pnc.)
Pojrotobka K pa6ote
BCTaBbTe coeHnHtIbHyIO rONOBky nbIeCOCHoro IHaHra (10) B rHe3do (9), Do MExaHueCKoI OHKCaUN, dJIr 3TOrO HaxMMTe OndHOBpeMeHHO oBe KhoNKn. JIa ChTINI WHaHra, HaXMMTe O6paTHO Ha KhoNKn y rHe3da.
-ДерхитЕ KHONКИ HaKaTbIMN И ВытЯнITE nbilecochbl WlaHr.
Cobepnte 2-x ceKunOHHyIO nbJIecOCHyIO Tpy6y (11) n B 3aKluOHeHn BCTaBBTe ee b pyky.
BcTaBbTe 电Ky Hn KaKyIO-1n6o DpyrHyHacaIky.
Popraok pa6oTBc 3JeKtpo np6opom
- OTMOTaIe ceTeBOH uHa Heo6xoDmMyo DInHy (1).
- BcTaBbTe BnIky B po3eTKy C HanpJxKeHHeM ceTn 230 B, 50 Tc, yCTaHOBJIeHHHyIO B COOTBeTCTBnC npeDnIcaHnA Mn. BkIIOUHTe nbIeCoc npn NOMOuN BbIKNoCuAteNa BKn/BbIK (2), HaKaB peryIaTOp BHN3.
- OtperynnpyTe MouHocTb npn nomou n peynlTopa (2), nobopauBaeraero.
- Пьлесocbtc paBHomepHoi ckopoctbIO.ДaВNTb HET HeoXoJIMOCtN.
- BhIMaHHe: cIeIte 3a paIynycom 3axBaTa IbIeCoca, orpaHnueHHoro dINHOI OTMotaHHoro Ka6eIra!
PeryJATOP MOUHOCTN
Cnaaba MOUHOCTb:
ДЯЗаHABeCeN,TOHkoMATEpHn
CpeHRA MOUHOCTb:
ДЯ ВЕЛЮРОБыX I TEKCTNJIbHbIX NOIOB C ДИИHHbIM BOPCOM
BolbwaMouHocb:
Дягубьх Ковори поюВ
RUS
Mexahm CMaTbBaHHa CeTeBOro Hypa
IooKaIyIcTa He BbITraHbAIte CeTeBOI shHyp (1) daJe ee JKeJIToM MeTKn. HnB Koem CIIyae He BbITraHbAIte erO Do KpaCHO MTeKN, 3TO MOKeT npNBecTN K NOLOMKe MexAHN3Ma CMaTBiBaHHa. IoIO6HbIe NOLOMKn He NOnaJaOT nOrdapaHTnIO.
CmatbBaHne
HaKmnte Ha KhoNky (4) MexaHn3Ma CMaTbIBaHHN I NOMaJIeHbKy NODaBaIte Ka6eIb. DepeKe T Ke6eIb Kpenko B pykax, YTO6bl npedOTBpaTHTb erO XleCTaHne.
HacaKa-conIIO
Y3Koe conno, ueTka-conno,
KoneHuatoe conIIO: Iy ydaenHn PbIIN C MaIKo Me6eN, 3aHaBeCeN,
a TaKKe H3 TpydnoOCTynhIx yrNoB, 1eJeN T.
Пьilecochяшетka: Дл очирки Коврь и галдкх NOBepxHocte.
TnaKne noIb: HaxMITE HoroH npbIurc
CHMBOJOM LETKN BDABNTE
ero.Tenepb zetkn CtaHOBATc
BNDIMbIMN.
KoBpbI:
nptbONIOJXHoe HapnaBHeHne.
Tenepb 电Kn BTHyTbl.
CHaTne conen: Notaryb c JereKm npOBopaunBaHnem.
Bo3nyuHa8 3acNoHka
OTKpbBaB O3DyUHHyO 3aCLOHky Ha pyKoTKe nbIeCOca MoXHO peryInpOBaTb cnIy NOTOKa BO3Dyxa HIN OCBOOOnTb COIIIO OT npHCocABuNXcR K HeMy npEIMetOB.
HnHaTop cMeHbI MeuKa-nbIeSc6OpHnka (6)
Iobimte nbinecochyTOpy6y B Bo3dyx. Ecnn Hndnkatop CMeHbI Meoka- nblne60phnka CBETNTcR, TO OH noNoH. IoxaJyNCTa CmeHnte erO.
TapaHTnHoe 6aTeJIbCTBO
TapaHTnHbI cpoK Ha TeppntOpN PocChiCKo Φeepaun yCTaHaBnBaETc HNOHOMOHyIM NpeDCTaBNTeJIaMn.
KaccobbyuekraBnErcraPaHTnHbIM TaHOHOM.Be3 Hero HeBO3MOKeH 6ecnNaTHbI pEMoHT nnn 3ameHa n3dennr.
B cnyae BO3HKnHOBxHn npnteH3n no rapaHTn, npedbABte n3dene B NOJHOKOMNKeTauH, C oprrnHaIbHO ynaKOBKO n KaccOBbIM YekOM ToproBOI TOUKe, npoDaBwe 3TO n3dene.
*)DepeKbI npHaJIeXHocTe He cnyKaT npuHHoJ dJa ABToMaTHueCKo3aMeHb BCero n3dEINB. B 3tOM cnyae no3BOHHe Ham, noKaYnCTa, no ropayen liHN! Pa3bTbe cTeKJIHHbIe I NOLOMaHbIe PIACTMaCCOBbIe DeTaJIb BO3MeUaOTcA TOlbKO 3a DOONHHTeBHyIO ONLaty!
DeΦeKtBi n3HaUHbAembIX npHnAdJIeKHOCTe NII TpyuXcra DeTanei (HanpIMep KOHTaKTbIe IeTKM MOTOPOB, CMeCInTeNbHbIe KpIOKn, pnpBOdHbIe peMHN, 3aNaCHbIe NylbTbi ynpabLeHnI, 3aNaChbIe 3y6HbIe IeTKN, NIIbHbIe NOJOTHa I.T.D.), a TaKKe YnCTKa, TexO6cnyKbBaHne NII 3aMeHa TpyuXcra DeTanei He IONaDAIoT IOd rapaHTnIO, IN OoTOMy npoBOdHTcra 3a OTdeJIbHyO ONnATy!
TapaHTn TepaETc npB BCKpbITn n3dEINN NOCTOPOHHmN Iuamn.
Pocne rapaHTn
Iocne OKOHuaHnCpoka rapaHTnn, pemOH n3deNn npOn3BOoHtC 3a OnlaTy, COOTBETCTByUOuMMM MaCTepCKmN nn NyHKtaMn CepBnCHOrO 06cnyKbAHn.
Technische Daten
Modell: BS 969 CB
Bemessungsspannung/
-frequency: 230V 50 Hz
Bemessungsaufnahme:
Pnom. 1200 W
Pmax. 1500 W
Schutzklasse: II
- General Safety Instructions
- Special Safety Instructions
- GB
- Overview of the Components
- Start-up
- Using the Appliance
- Vacuum power regulator
- Cable winding device
- Winding
- Nozzle Attachment
- Air Slide
- Dust bag replacement display (6)
- Changing the dust bag
- Filter
- Cleaning and storage
- Cleaning
- Storage
- Guarantee
- After the expiry of the guarantee
- PL
- Regulator sily ssania
- Pojrotobka K pa6ote
- Popraok pa6oTBc 3JeKtpo np6opom
- PeryJATOP MOUHOCTN
- RUS
- Mexahm CMaTbBaHHa CeTeBOro Hypa
- CmatbBaHne
- HacaKa-conIIO
- Bo3nyuHa8 3acNoHka
- HnHaTop cMeHbI MeuKa-nbIeSc6OpHnka (6)
- TapaHTnHoe 6aTeJIbCTBO
- Pocne rapaHTn
- Technische Daten
Brand : BOMANN
Model : BS 969 CB
Category : Vacuum Cleaner