Onyx Fit - Sports Watch SIGMA - Free user manual and instructions
Find the device manual for free Onyx Fit SIGMA in PDF.
| Product type | Sports heart rate monitor watch |
| Brand | Sigma |
| Model | Onyx Fit |
| Power supply | CR2032 battery (watch and chest strap) |
| Water resistance | Up to 10 meters depth |
| Display | LCD screen |
| Heart rate | Measurement by chest strap with coded digital transmission |
| Heart rate training zones | 3 zones (55-70%, 70-80%, 80-100% max HR) |
| Training types | Free, lap, personal program (warm up, training, cool down), Fit test |
| Memory | 7 detailed sessions + total values (week, month, since reset) |
| Time functions | Time, date, stopwatch (1/10s), countdown, alarm |
| Number of buttons | 4 buttons (PLUS, MINUS, navigation ENTER/BACK, START/END) |
| Handlebar mount | Included, torque ring attachment |
| Chest strap | Elastic, ribbed electrodes, coded transmission |
| Operating temperature | 0°C to 55°C |
| Available languages | German, English, French, Spanish, Italian |
| Customization | Username up to 8 characters |
| Warranty | According to legal provisions, batteries excluded |
Frequently Asked Questions - Onyx Fit SIGMA
User questions about Onyx Fit SIGMA
0 question about this device. Answer the ones you know or ask your own.
Ask a new question about this device
Download the instructions for your Sports Watch in PDF format for free! Find your manual Onyx Fit - SIGMA and take your electronic device back in hand. On this page are published all the documents necessary for the use of your device. Onyx Fit by SIGMA.
USER MANUAL Onyx Fit SIGMA
- Hauptmenu Training 16
4.1 Freies Training 18
4.2 Rundentraining 18
4.3Programmierbares Training 19
4.4 Fit Test 20
5.Hauptmenu Zeit 22
Puls Computer ONYX FIT
- Foreword and package contents 38
- Basic operation principle 39
2.1 Function summary (tree diagram) 39
2.2 Key occupancy and navigation principle 41
2.3 Fixing the chest belt / attaching the handlebar holder 42
2.4 Measuring the heartbeat 43 - Settings before the first training Main menu Setting 46
3.1 Setting User 47
3.2 Setting Unit 49
3.3 Setting Training 49 - Main menu Training 50
4.1 Free 52
4.2 Laps 52
4.3 Program 53
4.4 Fitness Test 54 - Main menu Time 55
- Main menu Memory 58
6.1 Total values 58
6.2 Memory 1-7 60
6.2.1 Overall info 60
6.2.2 Memory Free Training 61
6.2.3 Memory Lap Training 61
6.2.4 Memory Training Program 61
CONTENT
- Other information 62
7.1 Information on heart rate 62
7.2 FAQ 63
7.3 Beep summary 65
7.4 Troubleshooting 66
7.5 Changing the battery /waterproofing and warranty 67
1. FOREWORD AND PACKAGE CONTENTS
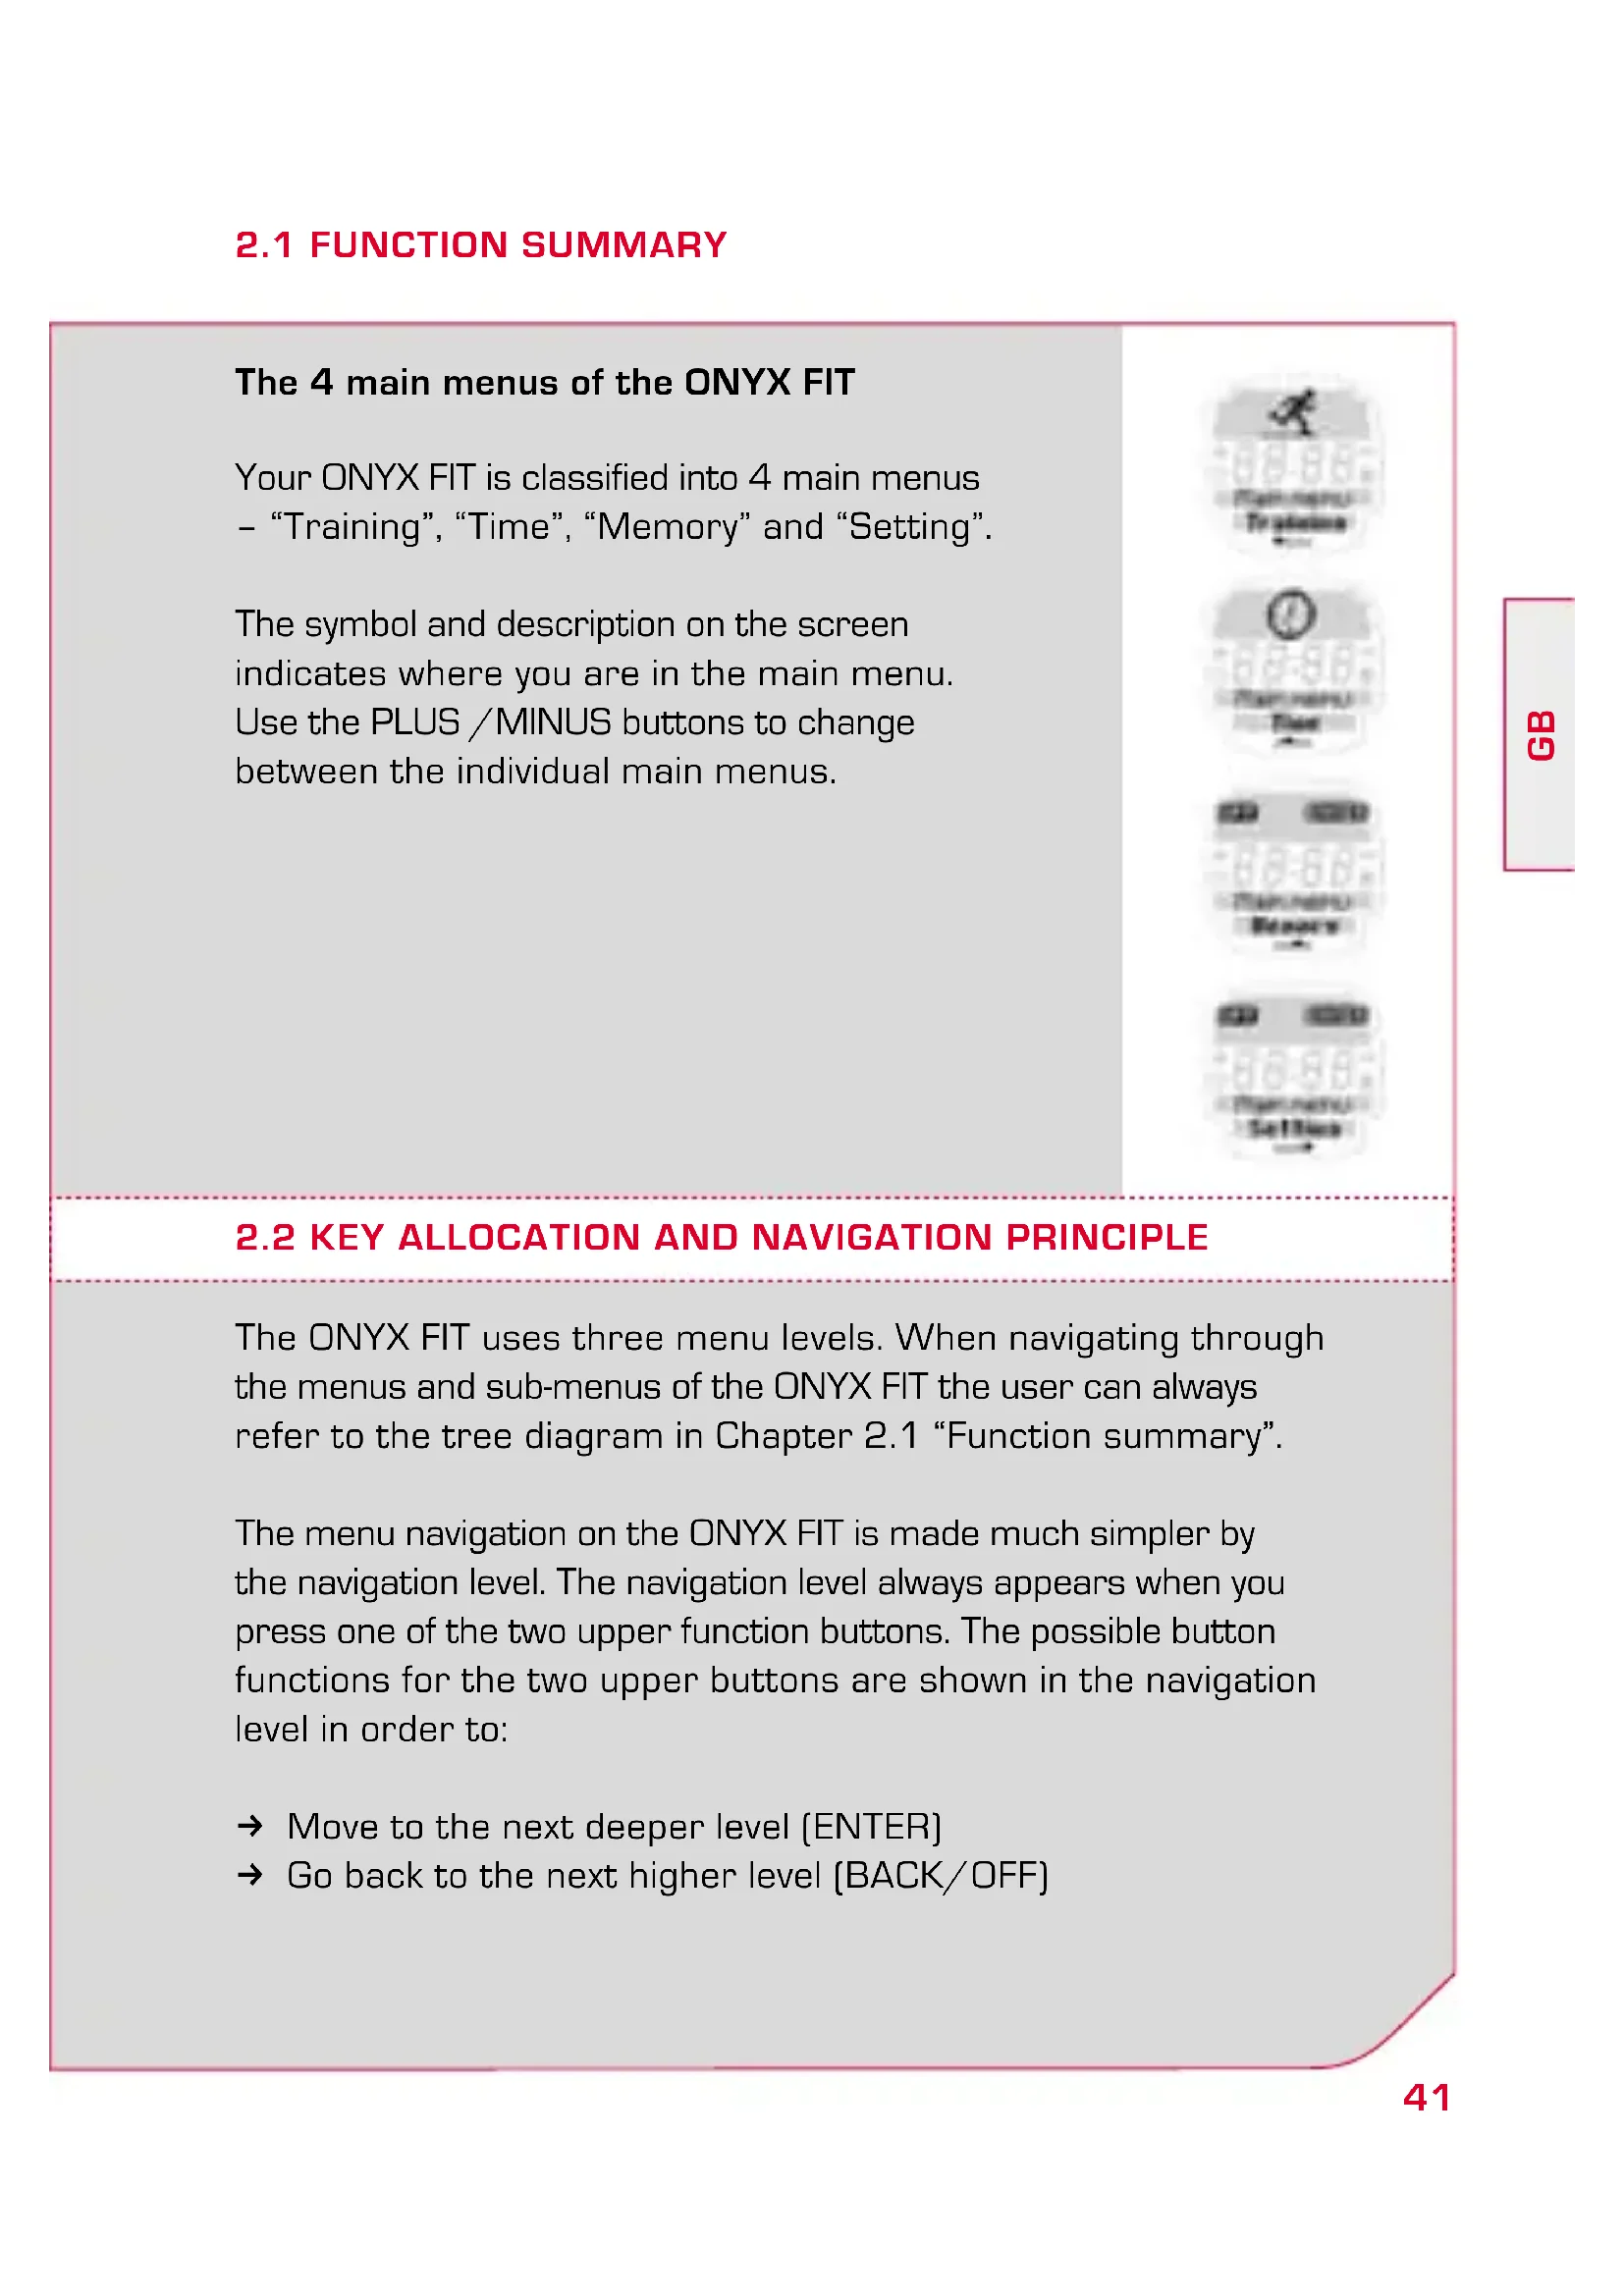
Congratulations on choosing a heart rate monitor from SIGMA SPORT®. Your new ONYX FIT will be a faithful companion for sport and leisure for many years to come.
The ONYX FIT is a technically demanding measuring device. In order to learn and apply the varied functions of your new heart rate monitor, please read this user manual carefully.
SIGMA SPORT wishes you a lot of fun using your ONYX FIT.
Heart rate monitor ONYX FIT.
ECG-accurate
Manufactured based on medical standards


Chest belt with digitally coded radio transmission.
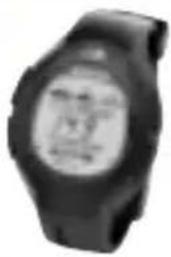
Handlebar holder to use the ONYX FIT on the bike with an O ring.
2. BASIC OPERATION PRINCIPLE
2.1 FUNCTION SUMMARY (tree diagram)

Training
Training
Program
TimeTraining
ClockFree
DateLap
StopwatchFit Test
Countdown
Alarm
Memory

Memory 2
Memory 3
Memory 4
Memory 5
Memory 6
Memory 7
Total valuesMemory
Per weekMemory 1
Per month
Since reset
2. BASIC OPERATION PRINCIPLE
2.1 FUNCTION SUMMARY (tree diagram)
Setting
UnitUser Training
LanguageGender Endurance
DateBirthday
ClockWeight
VolumeHR max
Button tones1. HR Zone
Zonealarm2. HR Zone
Trainingtones3. HR Zone
My name
2.1 FUNCTION SUMMARY
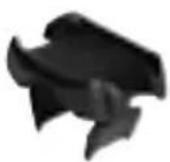
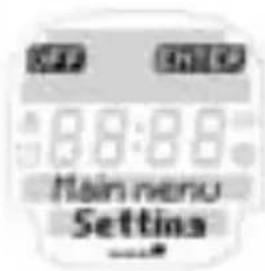
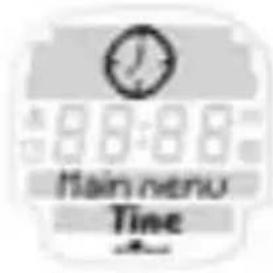
The 4 main menus of the ONYX FIT
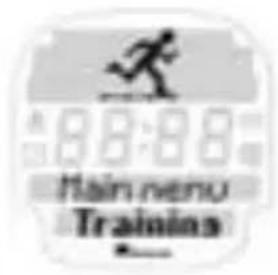
Your ONYX FIT is classified into 4 main menus - "Training", "Time", "Memory" and "Setting".
The symbol and description on the screen indicates where you are in the main menu. Use the PLUS /MINUS buttons to change between the individual main menus.
2.2 KEY ALLOCATION AND NAVIGATION PRINCIPLE
The ONYX FIT uses three menu levels. When navigating through the menus and sub-menus of the ONYX FIT the user can always refer to the tree diagram in Chapter 2.1 "Function summary".
The menu navigation on the ONYX FIT is made much simpler by the navigation level. The navigation level always appears when you press one of the two upper function buttons. The possible button functions for the two upper buttons are shown in the navigation level in order to:
Move to the next deeper level (ENTER)
Go back to the next higher level (BACK/OFF)
2.2 KEY ALLOCATION AND NAVIGATION PRINCIPLE
Start training [START]
End training (END)
Save training [SAVE]
Start another training phase (SKIP) or move to the next lap (NEXT).
Confirm the function shown in the navigation level with another click. Use the two lower buttons PLUS / MINUS to change between the individual menu options on one level.
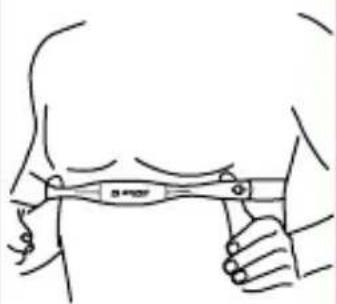
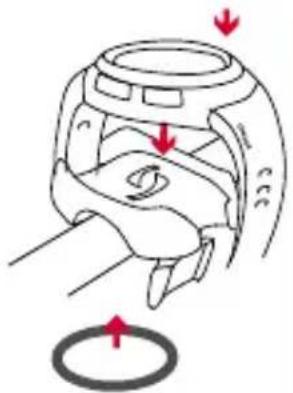
2.3 FIXING THE CHEST BELT/HANDLEBAR HOLDER
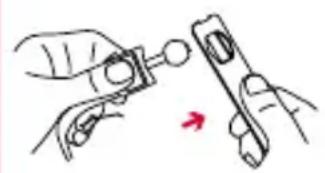
Connect the transmitter with the elastic belt.
Use the adjusting mechanism to individually adapt the length of the belt.
Ensure that you set the length of the belt so that it sits well but is not too tight.
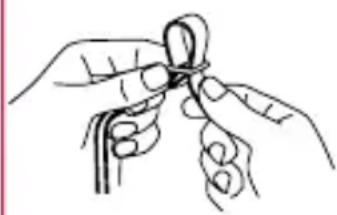
2.3 FIXING THE CHEST BELT/HANDLEBAR HOLDER
Place the belt such that for men the transmitter is below the chest muscles and for women below the breasts.
The SIGMA logo must always be readable from the front.
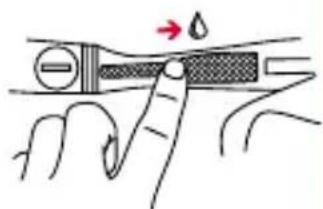
Lift the belt slightly from the skin. dampen the ribbed zones (electrodes) on the rear of the transmitter with salvia or cardio gel.
Assemble the handlebar holder. Then fix the handlebar holder with the O ring and close the wristband.
2.4 MEASURING THE HEARTBEAT
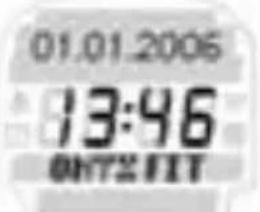
When you are not training your ONYX FIT is in sleep mode and can be worn as a normal watch. Before and after training the screen shows the date, time and product name.
2.4 MEASURING THE HEARTBEAT
You can enter another word with up to 8 characters under the ONYX FIT font [my name function]. Please refer to Chapter 3.2 "Setting unit".
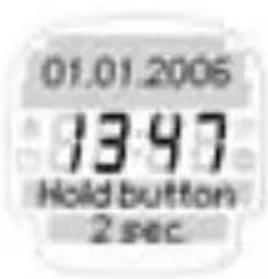
To activate your ONYX FIT hold down any button for two seconds. The clock changes to active mode and you enter the training main menu.
Note: At the start always refer to the tree diagram shown in 2.1.
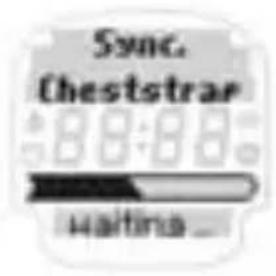
Synchronisation of Watch and Chestbelt
Your ONYX FIT is equipped with a digitally coded chest belt that enables you to have interference free training.
2.4 MEASURING THE HEARTBEAT
Before starting to train you have to synchronize the chest belt with the watch once. Select any training and press the Navigation button ENTER.
The synchronization starts automatically and takes just a few seconds.
After successful synchronization your ONYX FIT gives a short confirmation with "Sync ok".
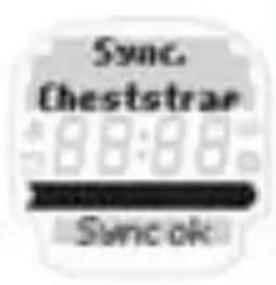
Note: If you do not see this indication on your watch synchronization has already been completed successfully.
After your ONYX FIT has successfully synchronized with your chest belt you can start training by pressing START.
Note: please refer to Chapter 7.4 "Troubleshooting" for possible problems with synchronization.
2.4 MEASURING THE HEARTBEAT
Switch off ONYX FIT
The ONYX FIT switches itself off automatically after 5 minutes if no training is undertaken. You can also turn your watch to sleep mode manually at any time.
To switch off your ONYX FIT you have to be in the Main Menu. Press the Navigation button OFF to activate sleep mode.

Your ONYX FIT is again in sleep mode and can be worn as an everyday watch.
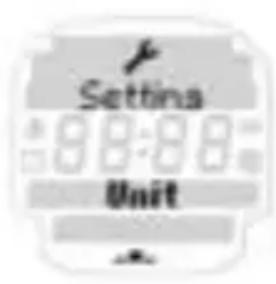
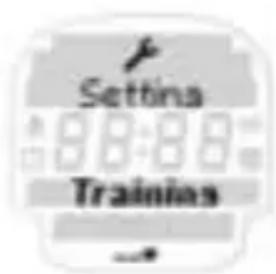
3. SETTINGS BEFORE THE FIRST TRAINING
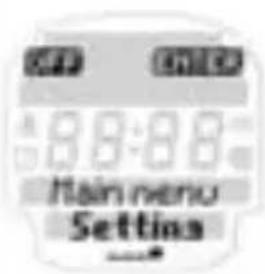
Before the first training session enter your personal settings. Go to main menu by pressing the PLUS / MINUS button until you reach the Setting menu option.
3. SETTINGS BEFORE THE FIRST TRAINING
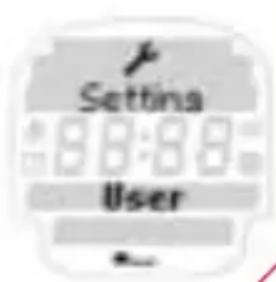
Press the Navigation button ENTER to open the Setting menu. The Setting "main menu" is sub-divided into user, unit and training settings [Setting /User, Setting /Unit, Setting /Training]. Switch between these options by pressing the PLUS /MINUS buttons. Open the relevant menu with the Navigation button ENTER.
Now various setting values are displayed in each menu. Change the setting value using the Navigation button CHANGE.
Increase /reduce the value to be set using PLUS /MINUS. Confirm the relevant setting with OK and save the setting when you have finished using SAVE.
Note: The ONYX FIT has an additional memory so that the personal settings in your ONYX FIT are retained when you change the battery.
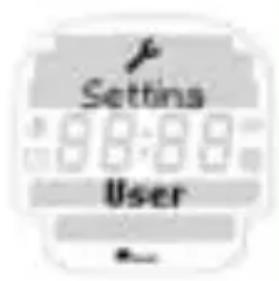
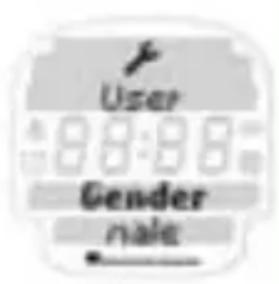
3.1 SETTING USER
In Setting "User" enter in succession your gender, birthday and weight. Your maximum heart frequency is calculated by the following equations.
3.1 SETTING USER
Male: 210 - [1/2 age] - [0.11 x weight in kg] + 4
Female: 210 - [1/2 age] - [0.11 x weight in kg]
The calculated HR max. is the basis for setting the upper and lower limits of the 3 training zones. The following 3 training zones are available for the "Free Training" and "Lap Training". For the training program 1 training zone can be set individually and separately from the HR max.
Note: You can find more information on the training types in Chapter 4. Please refer to the start of this chapter for information on the setting principle.
1st HR zone:
approx. 55 - 70% of HR max.
Recovery training, training the metabolism, weight loss.
2nd HR zone:
approx. 70 - 80% of HR max.
Heart-circulation training to improve aerobic performance.
3^rd HR zone:
approx 80-100% of HR max.
Performance-led competition training
The upper and lower limits of the training zones and HR max. can be set manually using the Navigation button CHANGE.
3.2 SETTING UNIT
The setting "Unit" menu provides the language (D, GB/USA, F, ES, IT), date, clock (12/24 h mode) and various volume settings.
Please refer to Chapter 7.3 "Beep summary" for a summary of the acoustic signals. You will find information on the setting principle at the start of this chapter.
In the sub menu setting you can personalize the ONYX FIT using the my name function. In sleep mode the watch displays the name or any font of up to 8 characters in length.
3.3 SETTING TRAINING
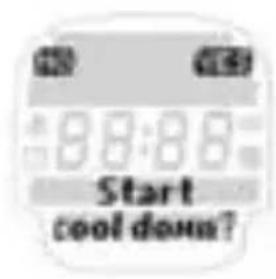
You can set up a training program in your ONYX FIT. This training program by default has a warm-up, work out with a settable training zone and a cool-down period.
In the settings menu you can manually set the time and heart rate for all 3 phases [warm-up, workout and cool-down] manually according to your own requirements.
Note: If the warm-up and cool-down are set to "0" the training starts immediately with the workout and ends afterwards.
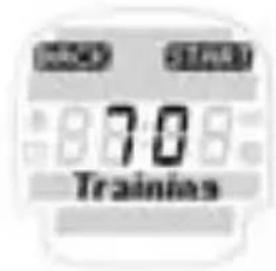
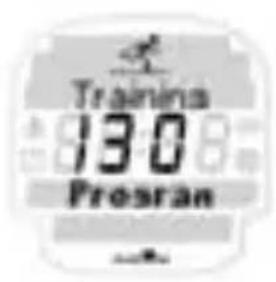
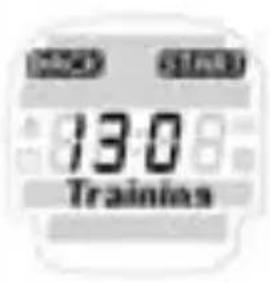
4. MAIN MENU TRAINING
Your ONYX FIT is equipped with a total of 3 different training types and a Fitness Test.
Training type summary:
1 free training with 3 HR zones
1 lap training with 3 HR zones/
1 training program with 1 HR zone
→ 1 fitness test
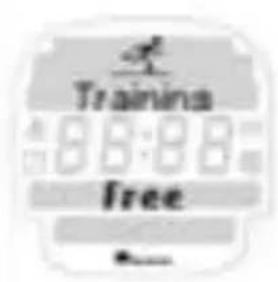
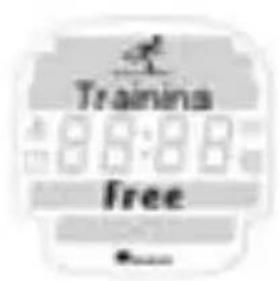
Press the Navigation button ENTER to open the main menu "Training".
Using the PLUS / MINUS buttons you can choose between the free training, lap training, training program and fitness test.
If, for example, you want to carry out free training press the Navigation button ENTER.
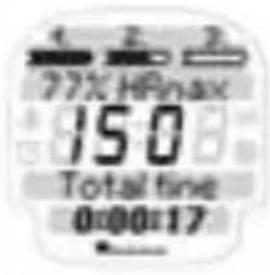
After you have successfully synchronized your ONYX FIT with your chest belt you can start your training by pressing START. In the upper area of the screen you can find all the information on your three target zones. You will see your current heart rate in the middle.
4. MAIN MENU TRAINING
In the lower area you can call up the following values during training depending on the training type:
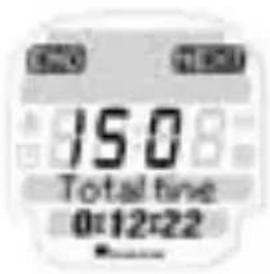
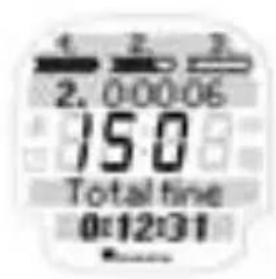
Total time
Average HR
Highest HR
Kcal
Clock
For free training and lap training there are 3 target zones available.
The training zones are based on the following objectives:
1^st training zone Approx. 55 - 70% of HR max.
Regeneration training, training the metabolism. More fat than carbohydrate is burned at low intensity for longer periods.
2^nd training zone Approx. 70 - 80% of HR max.
Heart circulation training to improve the aerobic performance.
3^rd training zone 80 - 100% of HR max.
Performance oriented competition training
Pressing the PLUS /MINUS buttons during training enables you to switch between the training values.
4.1 FREE TRAINING
Time and HR zone:
Training time unlimited
3 HR zones calculated automatically from HR max. or freely programmed
In the upper range of the display you will find all the information on your 3 target zones as well as the current percentage of your heart rate compared with HR max.

After ending the free training you have the option of saving your Cool-down HR every 30 seconds for a period of three minutes on the ONYX FIT.
YES: save Cool-down HR for 3 min NO: do not save Cool-down HR
4.2 LAPS TRAINING
Time and HR zone:
50 laps with max. 9 hours per lap.
3 HR zones calculated automatically or freely selectable from HR max.
Press the Navigation button NEXT to start the next lap.
4.2 LAPS TRAINING
The new lap is started. The previous lap time flashes for 5 sec in the top display area. In the top area of the display you will also find all the information on your 3 target zones related to your maximum heart rate (HR max.). To start a new lap press the Navigation button NEXT again.
After ending the training lap you can save your Cool-down HR every 30 seconds for a period of 3 min on the ONYX FIT.
YES: Cool-down HR is saved for 3 min
NO: Cool-down HR is not saved
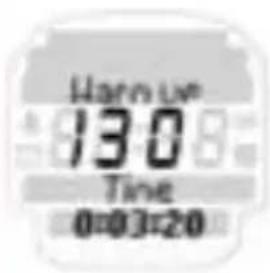
4.3 PROGRAMMES
Note: For this training session you can freely select the desired time and HR zone in the Setting /training menu. This enables the user to implement a training program as required.
Time and HR zone:
Warm-up: can be set freely (optional)
Main part: can be set freely
Cool-down: can be set freely [optional]
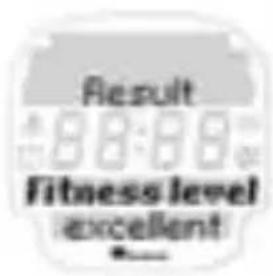
4.4 FITNESS TEST
With your ONYX FIT you can find out your personal Fitness-level.
You can check your fitness-progress regularly.
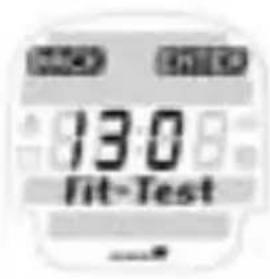
Press ENTER to select FIT TEST.
Press START to start the test.
Start with a 5 minute Warm-up.
4.4 FITNESS TEST
After the Warm-up start GO with the navigation按钮 YES.
Go 1.6 km [or 1 mile]. This distance corresponds 4 laps around a track.
After you finished 1.6km press FINISH.

The following results will appear:
Fitness-level
estimated VO_2 max
Time
End-HR
Leave the Menu END.
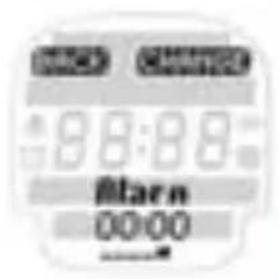
5. MAIN MENU TIME
Your ONYX FIT has a main menu "Time", for all important time functions.
Summary of time functions:
Clock
Date
Stopwatch with 1/10 seconds
Countdown timer
Alarm
5. MAIN MENU TIME
| Press the Navigation button → ENTER to open the “Time” menu. | |
| The ONYX FIT shows you the current time. Please refer to Chapter 3.2 “Unit settings” for more information setting the time in the Setting unit menu. | |
| The ONYX FIT shows you the current date. Please refer to Chapter 3.2 “Unit settings” for more information setting the date in the Setting main menu. | |
| The stopwatch is used to measure time separately from training. To start your stopwatch press → START. Then follow the instructions on the screen. |
5. MAIN MENU TIME
Note:
If the stopwatch or countdown timer is activated in the main menu "Time", these functions continue in the background of sleep mode and the relevant icon is displayed on the screen.
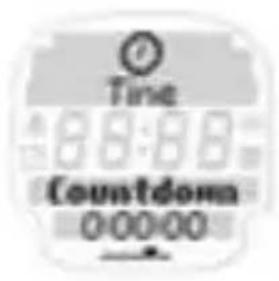
The countdown timer counts a freely selectable time down to "0" and then issues an acoustic and optical alarm.
To set the countdown timer press the Navigation button CHANGE. Then follow the instructions on the screen.
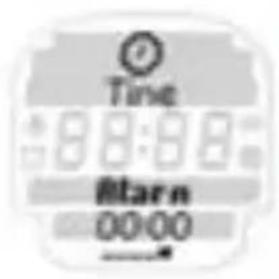
You can also use your ONYX FIT as an alarm or reminder. To set the alarm press the Navigation button CHANGE. Then follow the instructions on the screen.
To leave the time menu press the Navigation button BACK.
5. MAIN MENU TIME
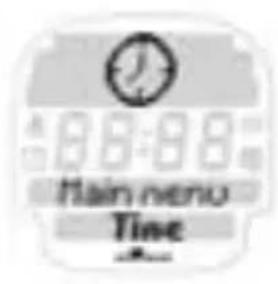
You are now back in the main menu "Time".
6. MAIN MENU MEMORY
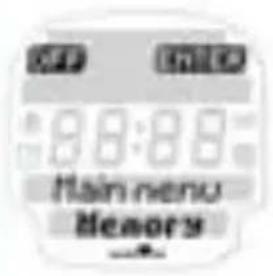
Press the Navigation button ENTER to open the "Memory" menu.
Use the PLUS /MINUS buttons to select the total values and memory 1-7.
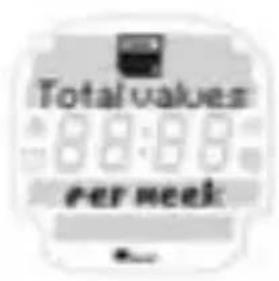
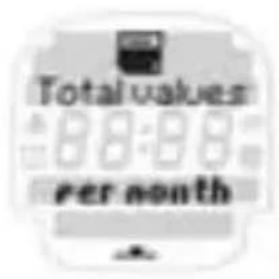
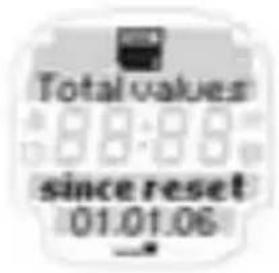
6.1 TOTAL VALUES
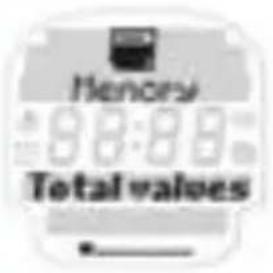
Press the Navigation button ENTER to open the total values menu or memory 1-7.
In total values you can see the training units you have completed over various periods of time like training diary. In this way you can observe the most important training data over a much longer period than in memory 1-7.
6.1 TOTAL VALUES
In contrast to memory 1-7 this memory is not used to precisely analyze an individual training unit but rather to analyze the "training discipline" over a longer period (How regularly have I trained in a certain week or month?).
Your ONYX FIT saves the most important total values of the training units you have completed over the following periods of time:
Per week [up to 12 weeks]
Per month (up to 12 months)
Since reset
For this the following values are displayed for the desired period of time:
Number of training units
Total training time
Average training time
Kcal
6.2 MEMORY 1-7
In addition to the total values your ONYX FIT has a very detailed memory for analyzing up to 7 independent training units. There is a difference between overall info and the detailed information on the Warm-up, Workout, Cool-down training sections.
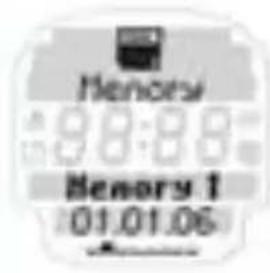
Depending on the type of training unit completed, the ONYX FIT memory is structured differently to provide an ideal analysis of your training.
Your most recently saved training unit is always stored in memory 1 and once 7 training units are stored the oldest training unit is deleted.
6.2.1 OVERALL INFO
No matter what the training type when saving a training program general overall information that relates to the complete training program (Warm-up, Workout, Cool-down) is recorded.
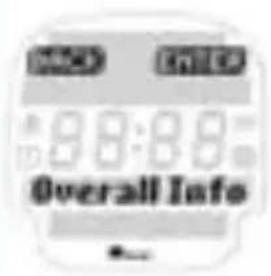
The overall information for a training unit shows the user the following values:
Date
Start time
Total time
Average HR
Highest HR
Kcal
6.2.2 MEMORY FREE TRAINING
When you have completed "free training" you can analyze this in detail in your memory.
Overall info
% and time in HR zones
Recovery time for HR after 30 second intervals for details on your ability to recover.
6.2.3 MEMORY LAP TRAINING
When you have completed "lap training" you can analyze this in detail in your memory.
Overall info
% and time in HR zones
Results /lap: average lap time /fastest lap over all laps /time, average and highest HR per lap
Cool down time for HR after 30 second intervals for details on your ability to recover.
6.2.4 MEMORY TRAINING PROGRAM
When you have completed "endurance training" you can analyze it in detail in your memory. For endurance training the following values are shown:
Overall info (cf. 6.2.1)
HR zone and time in HR zone(s)
% in HR zone[s]
For training types with warm-up and cool-down the times actually spent in these phases are also shown.
7. OTHER INFORMATION
7.1 INFORMATION ON HEART RATE
The heart rate (HR) is stated in beats per minute.
Maximum heart rate
The maximum heart rate [HR max.] is the maximum possible rate at which your heart beats when exploiting your physical performance completely. Your personal HR max. varies with your age, gender, ability to perform, performance related to your type of sport and your physical fitness.
We recommend undertaking this test with a doctor and repeating it regularly.
The HR max. is approximated automatically in the ONYX FIT using the following mathematical equation:
Men:
210 - "half age" - (0.11 x personal weight in kg) + 4
Women:
210 - "half age" - (0.11 x personal weight in kg)
The right training pulse
The training zone is the range in which the heart rate should move during effective and targeted training. Please always note that general exercise can never address personal issues! Therefore really ideal training can only be designed by a well educated trainer who personally knows the athlete.
7.1 INFORMATION ON HEART RATE
1 ^st HR zone (health zone) - Health: 55-70% of HR max.
Designed for: health for people who are new to training (or starting again).
This zone is also called the "fat burning zone" and it trains the aerobic metabolism. More fat than carbohydrate is burned or converted to energy over longer times at lower intensity. That is why it is recommended to train at this intensity >40 min to reduce weight.
2^st HR zone (fitness zone) - fitness: 70 - 80% of HR max.
Designed for: fitness at advanced level.
You already train more intensively in the fitness zone. Training in this zone strengthens basic endurance.
3^st HR zone (power zone) - performance: 80-100% of HR max.
Designed for: training for performance-oriented athletes, partially in anaerobic range. Training in the power zone is very intensive and should only be carried out by well trained athletes.
7.2 FAQ
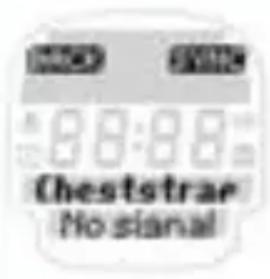
What happens if I remove the chest belt during training?
The watch will no longer display a signal, the screen will indicate "O" - after a short period of time the ONYX FIT goes into sleep mode (stopwatch does not operate).
Do SIGMA heart rate monitors switch off completely?
No - in sleep mode only the time and date are displayed so you can use the heart rate monitor as a normal watch. In this state the ONYX FIT uses only very little power.
Why does the display react slowly or is coloured black?
The operating temperature may be too high or low. Your heart rate monitor is designed for temperatures between 0^ and 55^ (32-140 degrees F).
What should I do if the screen display is weak?
A weak display may be due to weak batteries. You should change them as quickly as possible - battery type CR 2032 (Item No. 00342)
7.3 BEEP SUMMARY
The different volume settings are:
Button tones:
Button tones give the user acoustic feedback each time a button is pressed.
Zone alarm:
The zone alarm is an acoustic signal when the user changes from one training zone to the next.
Training tones:
Training tones always sound when the watch switches from one training phase (e.g. warm-up) to another (e.g. workout).
1 x long:
When entering Zone 1
always when a recovery pulse is saved (0 sec, 30 sec, 60 sec, ...)
2 x long:
When entering Zone 2
if there is only one zone, when entering this zone
3 x long:
When entering Zone 3
3 x short:
If you are below Zone 1
above zone 3
if there is only one zone, when you are below the zone
5 x short:
When there is only one zone, when you are above the zone
7.3 BEEP SUMMARY
3 x short in interval:
Countdown is complete
Alarm
1 x Long - 2 x short - 1 x long - 2 x short - 1 x long:
at end of rest
transfer from warm-up to main part
transfer from main part to cool-down
at end of cool-down
1 x short:
Button beep
7.4 TROUBLESHOOTING
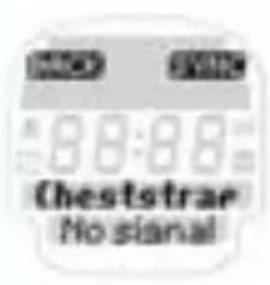
No chest belt was found. Please ensure you have placed the chest belt correctly.
Press SYNC to restart synchronization. Please refer to chapter 2.4 "Heart rate measurement" for more information.
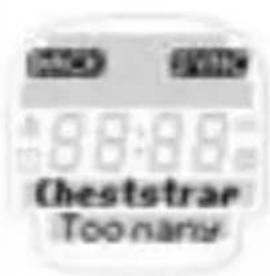
During synchronization two or more chest belts were found close by. Move away and press SYNC again to start synchronization.
7.4 TROUBLESHOOTING
Important note
If no heart rate is shown on the display, this may be due to the following reasons:
The belt with the heart rate transmitter is not worn correctly.
→ The sensors (electrodes) on the heart rate transmitter are dirty or dry.
Interference from electrical sources [high voltage lines, railways etc.].
Transmitter battery (CR 2032) is dead (Item no. 00342).
Before starting to train, consult your doctor to avoid risks to your health. This applies in particular if you have cardio-vascular problems.
7.5 CHANGING THE BATTERY AND WARRANTY
Changing the battery
Battery CR 2032 (Item no. 00342) is used in the heart rate monitor and chest belt.
Chestbelt:
Open the top cover with a coin
Pay attention to the polarity!
Heart rate monitor:
Open top cover with tool.
Pay attention to polarity!
7.5 CHANGING THE BATTERY AND WARRANTY
Waterproofing
The ONYX FIT is waterproof down to 10m
Do not press any buttons under water.
Warranty
We are liable to our contractual partner for faults as defined by law. Batteries are excluded from the warranty. If you need to use the warranty please contact the dealer where you bought the heart rate monitor or send the monitor with proof of purchase and all accessories with adequate postage to:
SIGMA Elektro GmbH
If your warranty claim is justified we will send you a replacement unit. You only have the right to the current model at the time. The manufacturer reserves the right to make technical changes.
2.1 APERÇUS DES FONCTIONS (Arborescence)
TempsEntrainement
HeureEntrainement
Datepart temps
ChronometreTest Fit
Compte à rebours
Réveil
Memoire
Memoire
Valeurs totales
Par semaineMémoire 1
Memoire 2
Memoire 3
Par mois
Memoire 4
Memoire 5
Memoire 6
Memoire 7
2.1 APERÇUS DES FONCTIONS (Arborescence)
Réglages
6.2.4 Mémoire PROGRAMME D'ENTRAJNEMENT
6.2.1 TOTALINFO [OVERALL INFO]
Trainingsgeluiden [,"Training tones"):
7.4 PROBLEEMOPLOSSINGEN
7.4 PROBLEEMOPLOSSINGEN
You can find the CE Declaration under: www.sigmasport.com
GB Batteries may not be disposed of in household waste (Germany Battery Law - BattG).
US Please hand in the batteries at a nominated hand-over point for disposal.
Asia, Australia, South America, Africa
10F, No.192, Zhonggong 2nd Rd.,
Xitun Dist., Taichung City 407, Taiwan