
SASSETIPC011W - Surveillance Camera KONIG - Free user manual and instructions
Find the device manual for free SASSETIPC011W KONIG in PDF.
User questions about SASSETIPC011W KONIG
0 question about this device. Answer the ones you know or ask your own.
Ask a new question about this device
Download the instructions for your Surveillance Camera in PDF format for free! Find your manual SASSETIPC011W - KONIG and take your electronic device back in hand. On this page are published all the documents necessary for the use of your device. SASSETIPC011W by KONIG.
USER MANUAL SASSETIPC011W KONIG
Simultaneous Viewers: 3 concurrent sessions
Security: WPA/WPA2/WPA2-PSK (TKIP, 128 bit AES)
Camera Parameter
Image Sensor: 2 MegaPixel, 1/2.7" CMOS
Antenna: 3dBi Dipole
Environment Rating (Ingress): Indoor Plastic
Light Source Environment: Indoor (50Hz); Indoor (60Hz)
Local Storage: Micro SD Card up to 128GB(not included)
Pan/Tilt: Pan: 270^
Tilt: 90^
Viewing angle: H: 90°
V:45°±3°
Lens: 4.0mm ± 5%
Number of LEDs:
IR Distance:
6 IR LEDs with IR switcher
10 meters
Video Audio Parameter
Image Compression:
Image Resolution:
Recording Frame Rate:
H.264
Full HD 1920x1080P
Up To 30 FPS
Supported Mobile Device
iOS requirement:
iPhone5 / iPad2 / Mini iPad with iOS 7.0
or above
Android requirement : Android 4.4X or above
Hardware requirement :
1.5GHz dual core or above
1GB or above internal memory
General Parameter
Power Requirements: 100~240V switching power supply
Operating Temperature:
-10°C~+50°C
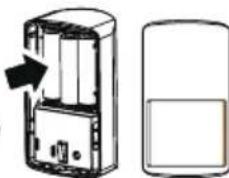
MOTION SENSOR
Battery type:
1.5 V AA (3x)
Battery life:
±2 years
Transmission range:
150m
Frequency:
868 MHz
Detection range:
16m / 110^
Operating temperature:
0^ 40^
Relative humidity:
10%~80%(non-condensing)
Dimensions:
110× 61.4× 51.6mm
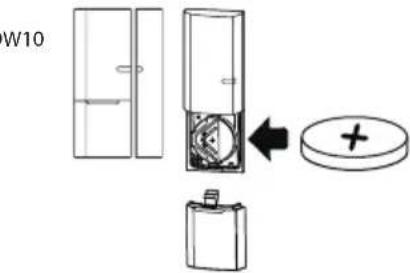
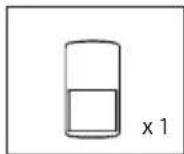
DOOR/WINDOW SENSOR
Battery type:
CR2032 (1x)
Battery life:
±2 years
Transmission range:
150m
Frequency:
868 MHz
Operating temperature:
0^ 40^
Relative humidity:
10% ~ 80% (non-condensing)
Dimensions
71× 27× 14mm
Transmitter:
71× 13× 13mm
- Magnet:
KITCONTENT
Pan/Tilt Wireless IPcam
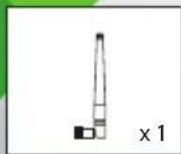
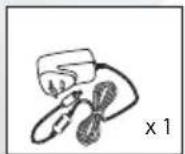
Camera Antenna Power Adapter
(EU & UK)

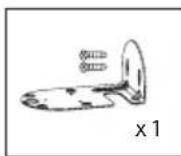
Motion PIR Door / Window Sensor Metal wall bracket Quick Start Guide
Window Sensor Metal w
ll bracket Quick Start O

Note:
For video recording, BE SURE TO use CLASS 10 memory card or above (not included). Other kinds of memory card may cause unexpected results and should be avoided.
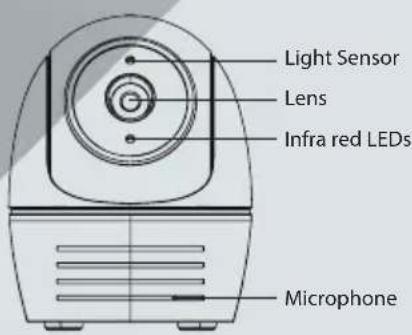
HARDWARE OVERVIEW


SAS-CLALMS10
SETUP THE CAMERA
1. APP Download
Download and install the "OMGuard HD" APP to your device.


Download on the
App Store


ANDROIDAPPON
Google play
2. Power up The Camera
Power on the camera and wait until the GREEN LED indicator becomes steady on. This process would be finished within 45 seconds and make sure the LED is finished in GREEN.
3a. Wireless Connection
(1) In the Wi-Fi setting of your smart device. Choose the Wi-Fi router with prefix of HD-xxxxxx (xxxxxx=Camera ID numbers). Enter the default password 12345678 and save the settings.

to add the camera.
(2) Launch the APP, tap
(3) Tap (QR code icon) and scan the QR code label on the back of the camera to bring up the DID information. Or tap "Search" to locate the camera.
(4) Enter the default password 123456 and save the settings.
(5) Later, APP will request user to modify default password to private password.


3b. Wired Connection
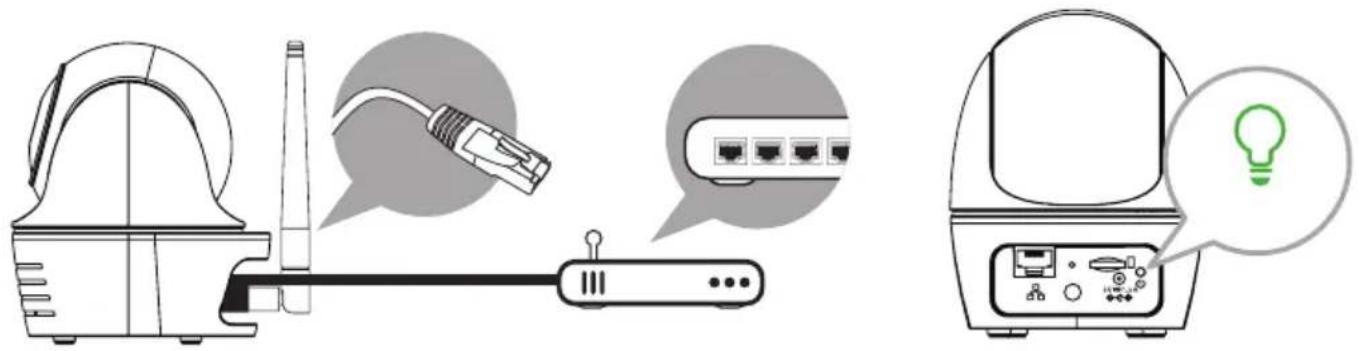
(1) Make sure your smartphone is connected to your Wi-Fi router.
(2) Connect the camera to the Wi-Fi router with an Ethernet cable.
(3) Launch the APP, tap the "Search" to locate the camera.
(4) Enter the default password 123456 and save the settings.
(5) Later, APP will request user to modify default password to private password.
Note:
In soft AP mode, the GREEN LED long flashes once followed by 2 short flashes. In normal mode, the LED is flashing in green. For more details, please refer to the user manual.
4. Wi-Fi Setting
4a.

4b.
The Camera will offline for around 40 seconds to reboot for Wi-Fi connection. When camera connects to Wi-Fi router correctly, the Green LED will stay ON.
4c.
In the Wi-Fi setting on your smart device again, make sure the Wi-Fi router you are connecting
Note:
If you fail to add the camera for several times, please press and hold the "Reset" button for 5 seconds to reset it. Then follow steps 3a or 3b again.
SETUP SENSOR SAS-CLALMS10 / SAS-CLALDW10
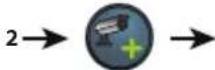
Add Sensor Device


then choose
(2) In the advanced section, enter admin password(default 123456).
(3) Select sensor setup, tap "+" to add sensor device.
(4) Select which device to add and follow the steps on screen. Name your device and tap"Save".
(5) Tap "Camera Pan control" to calibrate the camera position. And save the settings

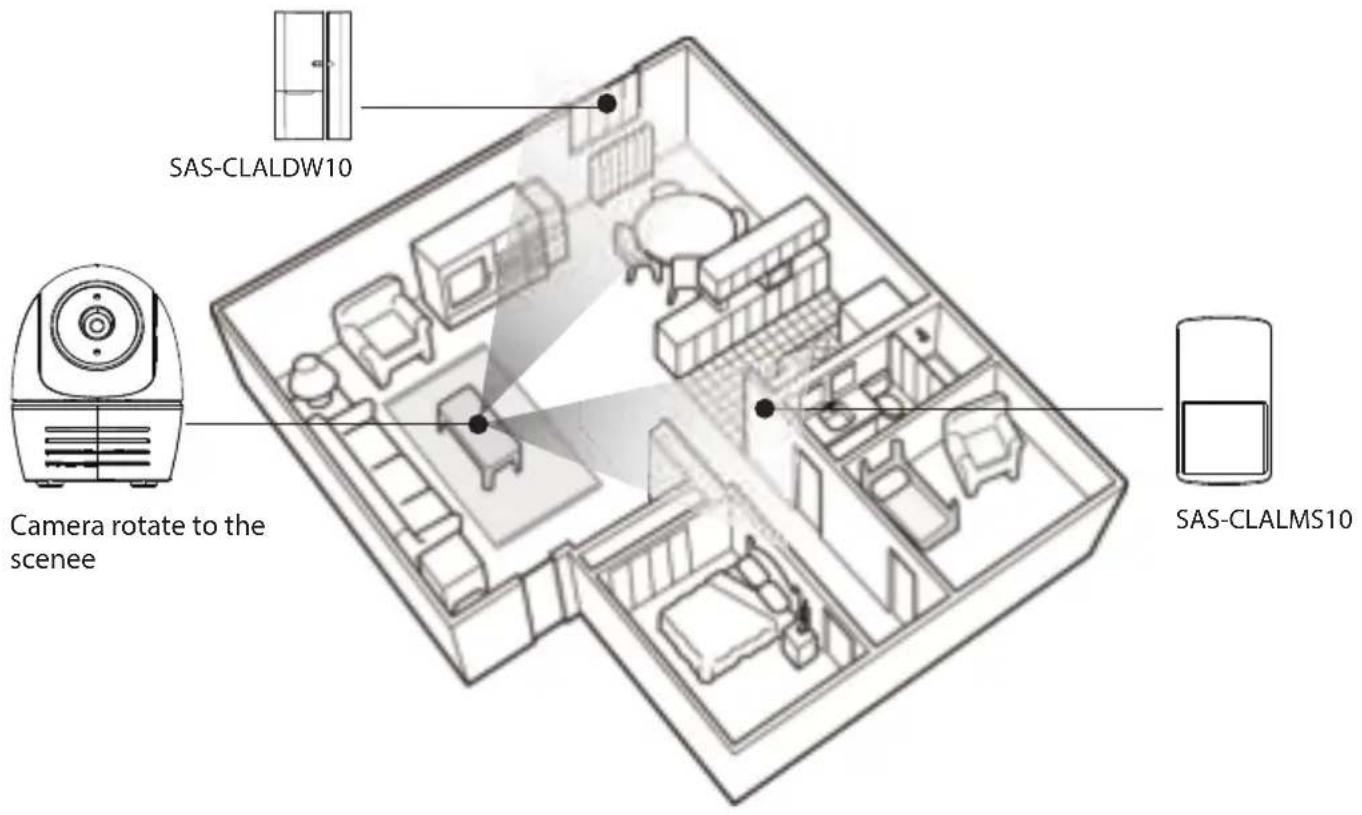
POSITION YOUR CAMERA & SENSOR
Event Trigger Auto-Position
- When an intruder is detected, the camera can immediately and automatically position itself to capture video image of the intruder as evidence. With every event, the camera will immediately send out push notifications to your mobile device.
- If you move or relocate the camera, please recalibrate the camera position again.

APP INTRODUCTION

Live-View
Follow the steps below for Event Playback

and then the

2. Select the time interval for the event list.
3. Tap to select the file for playback.
4. If you want to store the files in mobile device, tap the download-button (use Wi-Fi connection to save your data usage)
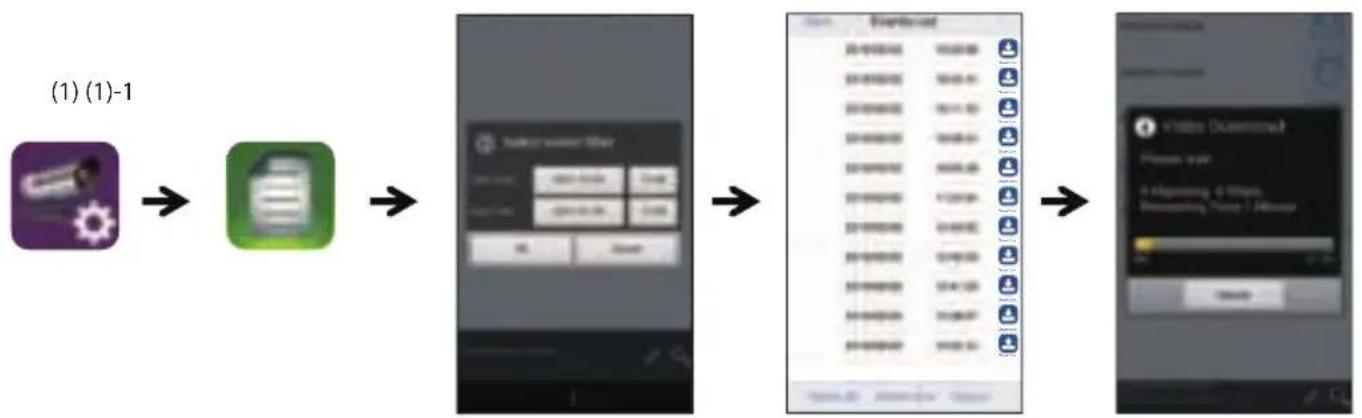
(2) (3) (4)
CAMERA INSTALLATION
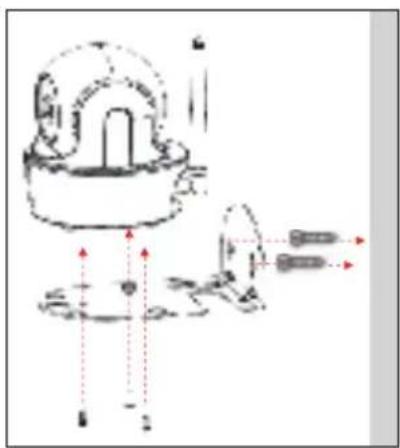
A.B.

- Place the mounting bracket on the mounting surface as a pattern to mark the holes.
- Drill the mounting holes and use the wall plug screws to secure the bracket to the wall.
- Fasten the camera to the bracket using the tapping screws.
Hang the camera and plate onto the hanger screws. Arrange cable properly so that it will not block pan/tile operation.
SAS-CLALMS10 Installation
- Choose a suitable location. Install the detector at least 2 meters from the floor.
Install the detector to the wall in the upright position using double-sided adhesive tape or the wall mount bracket with screws.
If necessary, adjust the angle of the detector, but maintain the upright position. Direct the detector under a correct angle towards entrances, but avoid facing doors or windows, heat sources or moving objects.
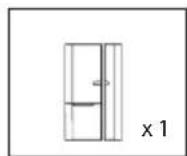
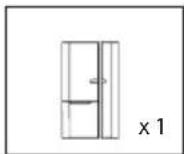
SAS-CLALDW10 Installation
Install the transmitter to the frame of the door or window using double-sided adhesive tape or screws.
Install the magnet to the door or window using double-sided adhesive tape or screws. Make sure that the magnet is aligned correctly to the transmitter (markings on the magnet and the transmitter) within 1 cm from each other.
MOTION DETECTION / CAMERA SETTING TIPS
For optimum detection, we suggest the camera is to be mounted 7 to 8 feet (2.1m to 2.4m) from the floor, on a rigid vibration-free surface.
To avoid false alerts, please note PIR Motion Sensor operates by detecting temperature changes in the area in front of the device; Please avoid placing the device under the following environments:
(1) Aiming the PIR at windows or glass doors.
(2) Where small animals may enter the detection area.
(3) Where a heat source (sunlight, incandescent light, car headlights, etc) may affect the motion sensor.
(4) Where sudden temperature changes inside or around the detection area caused by hot or cold wind (fans, air conditioners, etc.).
INHOUSET

Draadloze IP-camera die kan pannen/ kantelen
Antenne camera Voedingsadapter (EU en VK)


Beweging PIR Sensor deuren/ramen Metalen wandbeugel Snelstartgids
Opmerking:

Download on the App Store


Android APP ON Google play
2. De camera inschakelen

Download on the App Store


Android APP ON Google play

Download on the App Store

Download on the App Store

Android APP ON
Google play
2. Allumer la camera

Download on the
App Store
Google play

ANDROID APP ON

Download on the App Store

ANDROID APP ON
Google play
2. Ligaracamara

Download on the App Store
2. Tend for Kameraet

Download on the App Store


ANDROID APP ON Google play
2. Slå på kameraet
Slä pa kameraet, og vent til den GRØNNE LED-indikatoren lyser konstant. Denne prossessen bør vaere fertig i lopet av 45 sekunder, og sorg for at LED-en lyser GRØNT.

Download on the App Store


Android APP ON Google play
2. Slå på kameran

Download on the
App Store


ANDEOIDAPON
Google play