KA 5993 - Coffee machine SEVERIN - Free user manual and instructions
Find the device manual for free KA 5993 SEVERIN in PDF.
Download the instructions for your Coffee machine in PDF format for free! Find your manual KA 5993 - SEVERIN and take your electronic device back in hand. On this page are published all the documents necessary for the use of your device. KA 5993 by SEVERIN.
USER MANUAL KA 5993 SEVERIN
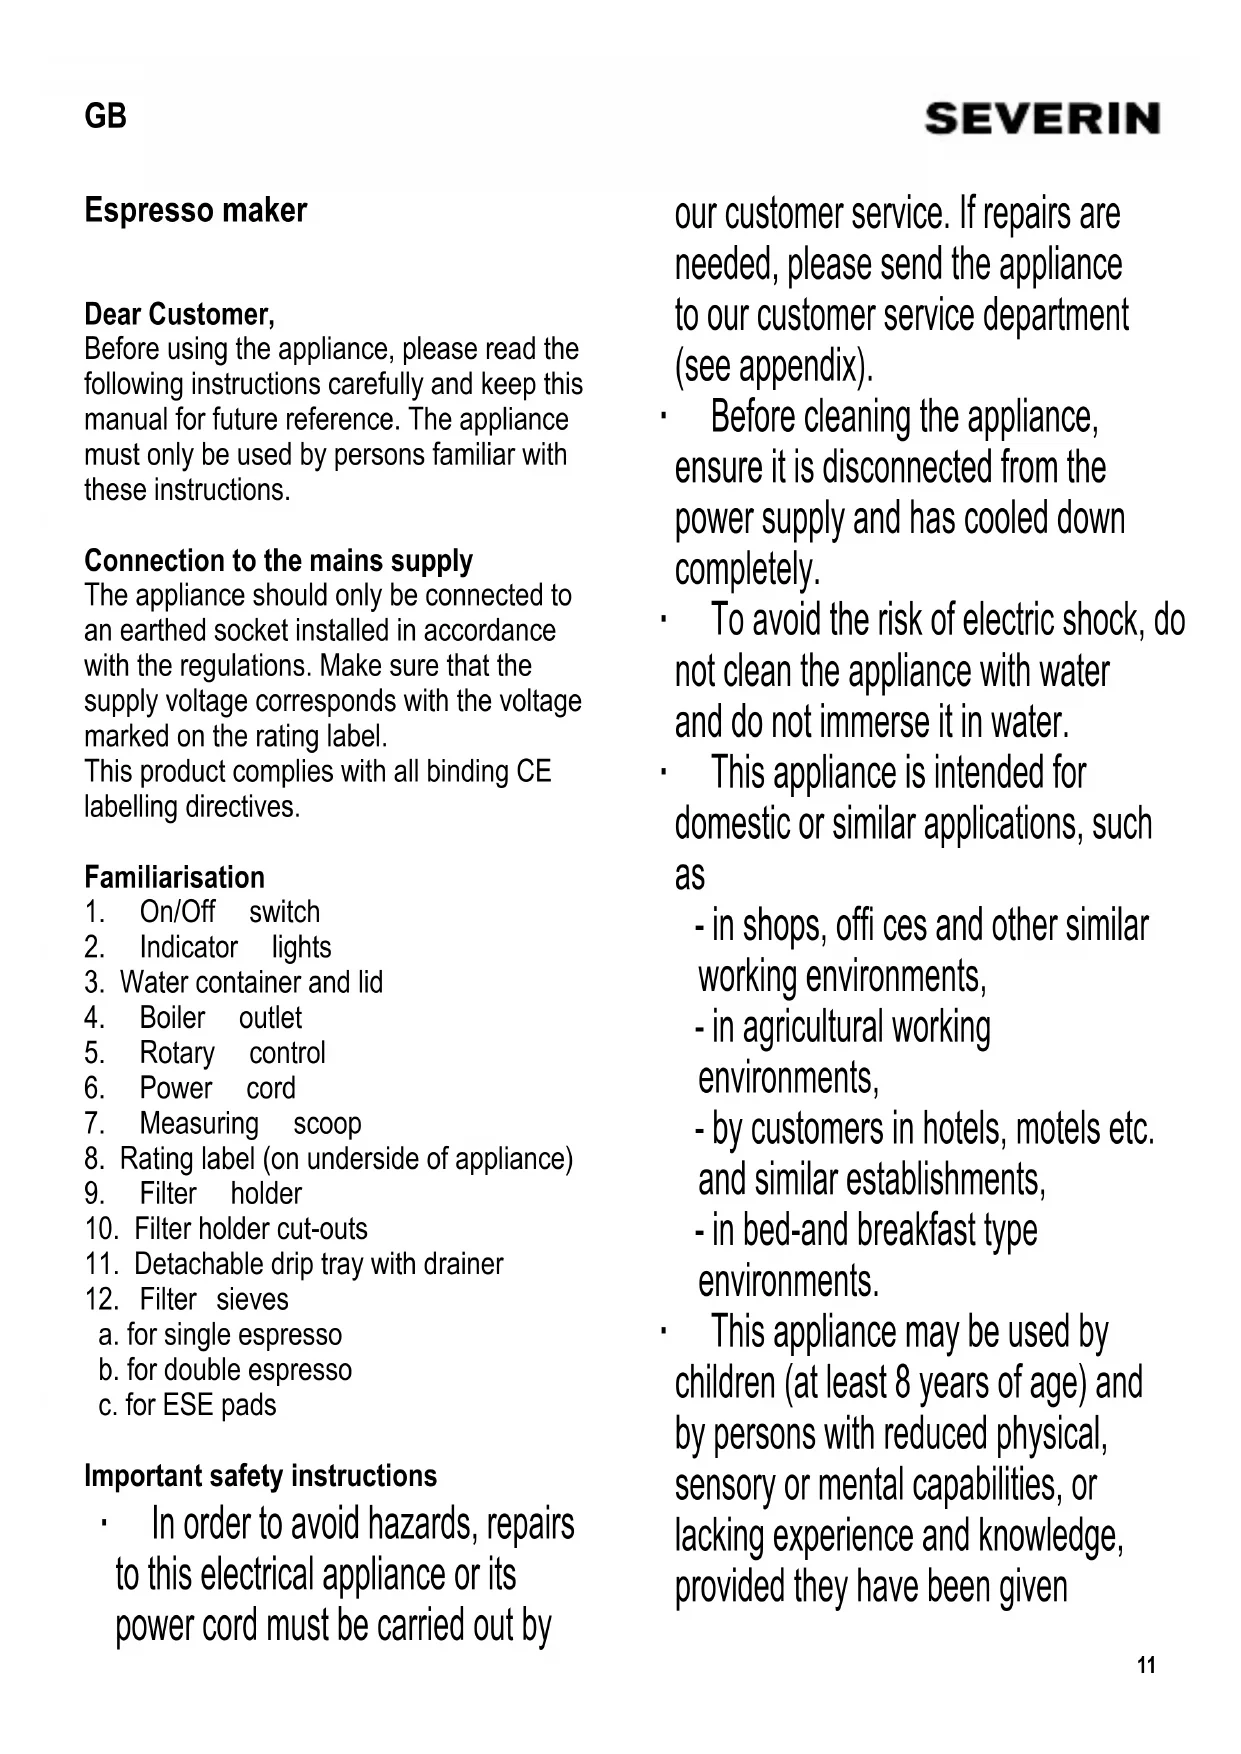
8. Rating label (on underside of appliance)
a. for single espresso b. for double espresso c. for ESE pads Important safety instructions ∙ In order to avoid hazards, repairs to this electrical appliance or its power cord must be carried out by our customer service. If repairs are needed, please send the appliance to our customer service department (see appendix). ∙ Before cleaning the appliance, ensure it is disconnected from the power supply and has cooled down completely. ∙ To avoid the risk of electric shock, do not clean the appliance with water and do not immerse it in water. ∙ This appliance is intended for domestic or similar applications, such
- in shops, offi ces and other similar working environments, - in agricultural working environments, - by customers in hotels, motels etc. and similar establishments, - in bed-and breakfast type environments. ∙ This appliance may be used by children (at least 8 years of age) and by persons with reduced physical, sensory or mental capabilities, or lacking experience and knowledge, provided they have been given GB12 supervision or instruction concerning the use of the appliance and fully understand all dangers and safety precautions involved. ∙ Children must not be permitted to play with the appliance. ∙ Children must not be permitted to carry out any cleaning or maintenance work on the appliance unless they are supervised. ∙ The appliance and its power cord must be kept well away from children under 8 at all times. ∙ Caution: Keep any packaging materials well away from children – these materials are a potential source of danger, e.g. of suffocation. ∙ Every time the appliance is used, the main body including the power cord as well as any attachment fi tted should be checked thoroughly for any defects. Should the appliance, for instance, have been dropped onto a hard surface, or if excessive force has been used to pull the power cord, it must no longer be used: even invisible damage may have adverse effects on the operational safety of the appliance. ∙ Caution: The fi lter holder, boiler outlet and drainer heat up during operation. ∙ Always keep your hands well away from the outlet openings (boiler outlet, fi lter holder) during operation: danger of scalding. ∙ Do not allow the power cord to hang free; it must be kept well away from hot parts of the appliance. ∙ Do not leave the appliance unattended while in use. Do not position the appliance on or near hot surfaces, open fl ames or infl ammable vapours. ∙ Always remove the plug from the wall socket after using the espresso maker, as well as - in cases of malfunction and - during cleaning. ∙ When removing the plug from the wall socket, never pull on the power cord; always grip the plug itself. ∙ Before inserting the plug into a suitable wall outlet, ensure that - all accessory parts have been correctly fi tted, - the appliance has been fi lled with water, - the rotary control is set to its neutral position
∙ Do not use the appliance outdoors; protect it from zero or sub-zero temperatures at all times. ∙ No responsibility will be accepted if damage results from improper use, or if these instructions are not complied with. Automatic switch-off To save energy, the appliance will automatically switch off after 15 minutes of inactivity. Main indicator light The red main indicator light stays lit while the appliance is switched on. Temperature indicator light The green temperature indicator light fl ashes while the unit is preheating. Once the hot water reaches the high temperature necessary for drawing coffee, the light stops13 fl ashing and remains steady. Rotary control The rotary control allows you to start or stop drawing coffee. Inserting/removing the fi lter holder ∙ The fi lter holder is fi tted to the appliance by means of a bayonet-type locking socket. When attaching the fi lter holder, its handle must be facing to the left of the boiler outlet (picture I). To lock, turn the fi lter holder fi rmly as far as possible to the right, i.e. in an anti-clockwise direction (picture II). ∙ To unlock and remove the fi lter holder, turn it to the left, i.e. clockwise. ∙ Caution: Do not remove the fi lter holder while the appliance is in use, since the fi lter holder is under pressure. Once the brewing cycle is complete, wait around 30 seconds before removing the fi lter holder. Filling with water: ∙ Fill only with fresh water, on a daily basis; make sure that the water container is cleaned at regular intervals. Residual water should be poured out daily. Do not switch the appliance on unless the water container is fi lled. ∙ Take off the water container lid. ∙ Lift out the water container. ∙ Fill the container with (non-carbonated) cold water while observing the ‘Max’ marking on the water container. ∙ Once fi lled, replace the container in the appliance and push it down in order to open the valve in the bottom. ∙ Close the lid on the water container. ∙ The water level must be monitored and, if necessary, the container refi lled in good time. ∙ Should the pump have started sucking in air from the empty water container, fi ll the water container fi rst with the indicated maximum amount of water. When ‘bleeding’ the system afterwards, it may take a few moments before water is emitted again. ∙ Deposits of dirt and lime may cause the seals in the outlet at the bottom of the water container and those around the valves to leak. Check the seals carefully each time the water container is inserted and, if necessary, carefully remove any existing deposits. Before using for the fi rst time ∙ Before the appliance is used for the fi rst time, all detachable parts must be thoroughly cleaned as described in the section Cleaning and care. Refi t the drip tray and drainer to the appliance afterwards. ∙ Clean the system by fl ushing with hot water as follows: ∙ Fill the container with water. ∙ Insert the fi lter holder with any of the fi lter sieves but without putting any ground espresso coffee in. ∙ Place a suitable container, with a capacity of about 500 ml, under the outlet opening. ∙ Insert the plug into a wall outlet. ∙ Use the On/Off switch to turn the appliance on. ∙ Wait until the green temperature indicator shows a steady light. ∙ Set the rotary control to its position. Hot water is emitted from the outlet. ∙ Leave the pump running until about half the water in the container has passed through. Then switch off the pump by14 turning the rotary control to its neutral position ( ). ∙ This cleaning procedure should also be followed if the appliance has not been used for an extended period of time. Operation General Espresso is a strong coffee with its typical froth, the ‘crema’, made from dark-roasted coffee beans. Especially fi nely ground coffee is necessary to make espresso. ∙ Preheating the cups and the fi lter holder We recommend pre-heating the cups and the fi lter holder, as this will ensure a higher coffee temperature. ∙ Insert the appropriate fi lter sieve for the amount of espresso required into the fi lter holder and push it fi rmly down until it is heard locking into place. ∙ Fit the fi lter holder to the appliance and place a cup underneath it. ∙ As soon as the operating temperature has been reached, the temperature indicator light comes on. ∙ Turn the rotary control to the symbol. ∙ When the cup is about three quarters full, turn the rotary control to its neutral position to switch off the pump. ∙ Put the cup aside to warm up; pour out the water just before making espresso. ∙ Filling the fi lter sieve with ground espresso coffee / removing the espresso grounds Filling with ground espresso coffee ∙ Remove the preheated fi lter holder (Caution: the fi lter holder will be very hot). Pour out any residual water. ∙ Fill with fi nely ground espresso coffee: ∙ single espresso = 1 level measuring scoop ∙ double espresso = 2 level measuring scoops Note: if the fi lter holder is over-fi lled, it will not lock properly under the boiler outlet. Do not put in more than the quantity indicated above. ∙ Use the measuring scoop to distribute the ground espresso coffee evenly and press it down lightly. Any excess coffee powder on the rim of the fi lter holder must be removed. Removing the used grounds ∙ After the brewing cycle is complete, wait approximately 30 seconds until the operating pressure has been suffi ciently reduced. ∙ Exercise caution when removing the fi lter holder: it may still contain some hot water. Pour out the water carefully. ∙ Allow the fi lter holder to cool down suffi ciently before tapping its side against a vertical surface to loosen the grounds before emptying it. ∙ The cut-outs on the fi lter holder facilitate removing the fi lter sieve; use the fi ngers to pull the sieve out from above. Clean the fi lter holder and sieve thoroughly. ∙ Filter sieve - inserting and removing espresso pads Inserting the espresso pad: ∙ Remove the pre-heated fi lter holder with the fi lter sieve (Caution: the fi lter holder will be very hot). Pour out any residual water. ∙ Insert an espresso pad into fi lter sieve ‘c’ (pad sieve). Ensure that the paper rim of the ESE pad does not protrude15 over the rim of the fi lter sieve. Removing the used espresso pad: ∙ After the brewing cycle is complete, wait for approximately 30 seconds until the operating pressure has been suffi ciently reduced. ∙ Exercise caution when removing the fi lter holder: it is hot and may still contain some hot water. Pour out the water carefully. ∙ Allow the fi lter holder to cool down suffi ciently before tapping its side against a vertical surface to loosen the pad before removing it. ∙ The cut-out on the fi lter holder makes it easier to remove the fi lter sieve; use the fi ngers to pull the sieve out from above. Clean the fi lter holder and sieve thoroughly. Drip tray During operation, any excess water or steam is collected in the drip tray. The tray must therefore be fi tted whenever the espresso maker is switched on. Caution: the drainer and tray become very hot during use. Always empty the drip tray in good time to prevent water spillage. Do not remove the drip tray unless the appliance has been switched off and has had suffi cient time to cool down. Preparation Espresso ∙ Fill the container with water. ∙ Insert the plug into a suitable wall outlet and use the On/Off switch to turn the appliance on. The main red indicator light comes on. ∙ Preheat the fi lter holder and the cup. ∙ Remove the fi lter holder, fi ll with ground espresso coffee or load a pad and re- attach it. ∙ Place the cup under the fi lter holder outlet. ∙ Wait until the green temperature indicator shows a steady light and turn the rotary control to position
∙ The pre-brewing function starts, ie the ground espresso is pre-moistened with water to ensure that the maximum coffee fl avour is released. ∙ The actual brewing process starts after a short while, and the espresso is now delivered straight into the cup. ∙ Once the cup is full, turn the rotary control to its neutral position to switch the pump off (position ). ∙ Wait for approximately 30 seconds before detaching the fi lter holder and removing the espresso grounds. ∙ The espresso maker is now ready for another brewing cycle. Cleaning and care ∙ Before cleaning the espresso maker, ensure it is disconnected from the power supply and has cooled down completely. ∙ To avoid the risk of electric shock, do not clean the appliance with water and do not immerse it in water. ∙ Do not use abrasives or harsh cleaning solutions. ∙ All removable parts may be cleaned with warm, soapy water; these parts are not dish-washer safe. ∙ Empty the drip tray daily and clean the tray and drainer with warm, soapy water. ∙ The exterior housing may be wiped with a dry or slightly damp, lint-free cloth. ∙ The boiler outlet may be wiped with a16 moist cloth. ∙ The gasket area around the boiler outlet (at the bayonet locking socket) should be cleaned using a brush. A hard brush is recommended. ∙ Empty out any residual water from the container daily and clean it in hot soapy water at regular intervals. Descaling Depending on the water quality (lime content) in your area as well as the frequency of use, all thermal household appliances using hot water need descaling (i.e. removal of lime deposits) on a regular basis to warrant proper functioning. Any warranty claim will be null and void if the appliance malfunctions because of insuffi cient descaling. For descaling, any commercially available descaling agent for coffee makers may be used. ∙ Pour the descaling solution into the water container. ∙ Proceed as described in the section Making espresso, but without any ground espresso and no fi lter sieve fi tted; switch the appliance on and let it run, cup for cup, through the fi ltration cycles. Allow 5 minutes between each cycle for the descaling agent to take effect. ∙ To clean the appliance after descaling, fi ll the water container twice with clean water and let each fi lling run through its fi ltration cycles until the container is nearly empty. ∙ Rinse the fi lter holder thoroughly with warm water. ∙ Do not pour descalers down enamelled sinks. Disposal Devices marked with this symbol must be disposed of separately from your household waste, as they contain valuable materials which can be recycled. Proper disposal protects the environment and human health. Your local authority or retailer can provide information on the matter. Guarantee This product is guaranteed against defects in materials and workmanship for a period of two years from the date of purchase. Under this guarantee the manufacturer undertakes to repair or replace any parts found to be defective, providing the product is returned to one of our authorised service centres. This guarantee is only valid if the appliance has been used in accordance with the instructions, and provided that it has not been modifi ed, repaired or interfered with by any unauthorised person, or damaged through misuse. This guarantee naturally does not cover wear and tear, nor breakables such as glass and ceramic items, bulbs etc. This guarantee does not affect your statutory rights, nor any legal rights you may have as a consumer under applicable national legislation governing the purchase of goods. If the product fails to operate and needs to be returned, pack it carefully, enclosing your name and address and the reason for return. If within the guarantee period, please also provide the guarantee card and proof of purchase.17 Cafetière expresso Chère cliente, Cher client, Avant d’utiliser cet appareil, veuillez lire soigneusement les instructions suivantes et conserver ce manuel pour future référence. L’appareil doit être utilisé exclusivement par des personnes familiarisées avec les présentes instructions. Branchement au secteur Cet appareil doit être branché sur une prise de terre installée selon les normes en vigueur. Assurez-vous que la tension d’alimentation correspond à la tension indiquée sur la plaque signalétique de l’appareil. Ce produit est conforme à toutes les directives relatives au marquage “CE”. Familiarisez-vous avec votre appareil