
IP400B - Cooker FAGOR - Free user manual and instructions
Find the device manual for free IP400B FAGOR in PDF.
| Product Type | Induction Hob |
| Brand | Fagor |
| Model | IP400B |
| Power Supply | 220-240 V ~ 50/60 Hz |
| Rated Power | 2000 W |
| Power Range | 200 W - 2000 W (10 levels P1-P10) |
| Temperature Range | 60 °C - 220 °C |
| Automatic Shut-off Timer | 0 to 180 minutes |
| Compatible Cookware Type | Magnetic base (steel, cast iron, enameled) |
| Minimum Cookware Diameter | 12 cm |
| Maximum Cookware Diameter | 26 cm |
| Display | Digital Screen |
| Controls | Rotary knob and Menu button |
| Cookware Detection | Yes |
| Overheat Protection | Yes (codes E2/E6) |
| Cooling Fan | Yes, after shutdown |
| Safety Shut-off | Yes (timer and absence of cookware detection) |
| Recommended Cleaning | Damp cloth, mild detergent (no abrasives) |
| Standards Compliance | European EMC and Low Voltage Directives |
Frequently Asked Questions - IP400B FAGOR
User questions about IP400B FAGOR
0 question about this device. Answer the ones you know or ask your own.
Ask a new question about this device
Download the instructions for your Cooker in PDF format for free! Find your manual IP400B - FAGOR and take your electronic device back in hand. On this page are published all the documents necessary for the use of your device. IP400B by FAGOR.
USER MANUAL IP400B FAGOR
natural_image
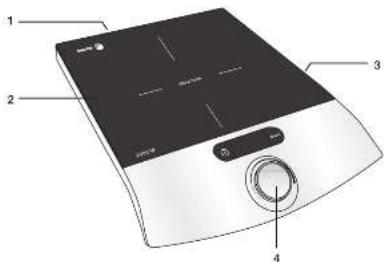
Illustration of a white and black electronic device with a circular button and control panel (no text or symbols)INDUCCIÓN PORTÁTIL / INDUÇÃO PORTÁTIL / PORTABLE INDUCTION HOB /
INDUCTION MOBILE / HORDOZHATÓ INDUKCIÓS FÓZÓLAP / PŘENOSNÁ INDUKČNÍ
VARNÍ DESKA / PRENOSNÁ INDUKČNÁ VARNÁ DOSKA / PRZENOSNA PLYTA
INDUKCYJNA/ИНДУКЦИОННОЙ ПОРТАТИВНОЙ ПЛИТЫ/أَة
Модель / PLITA PORTABILĂ CU INDUCTIE
MOD.: IP-400B
N.I.F. F 20.020.617 B. San Andrés, r. 18 • Aportado 49 - 20500 MONDRAGON (Guipuzcoa) ESPAÑA

FAGOR


ES
1. DESCRIPCION
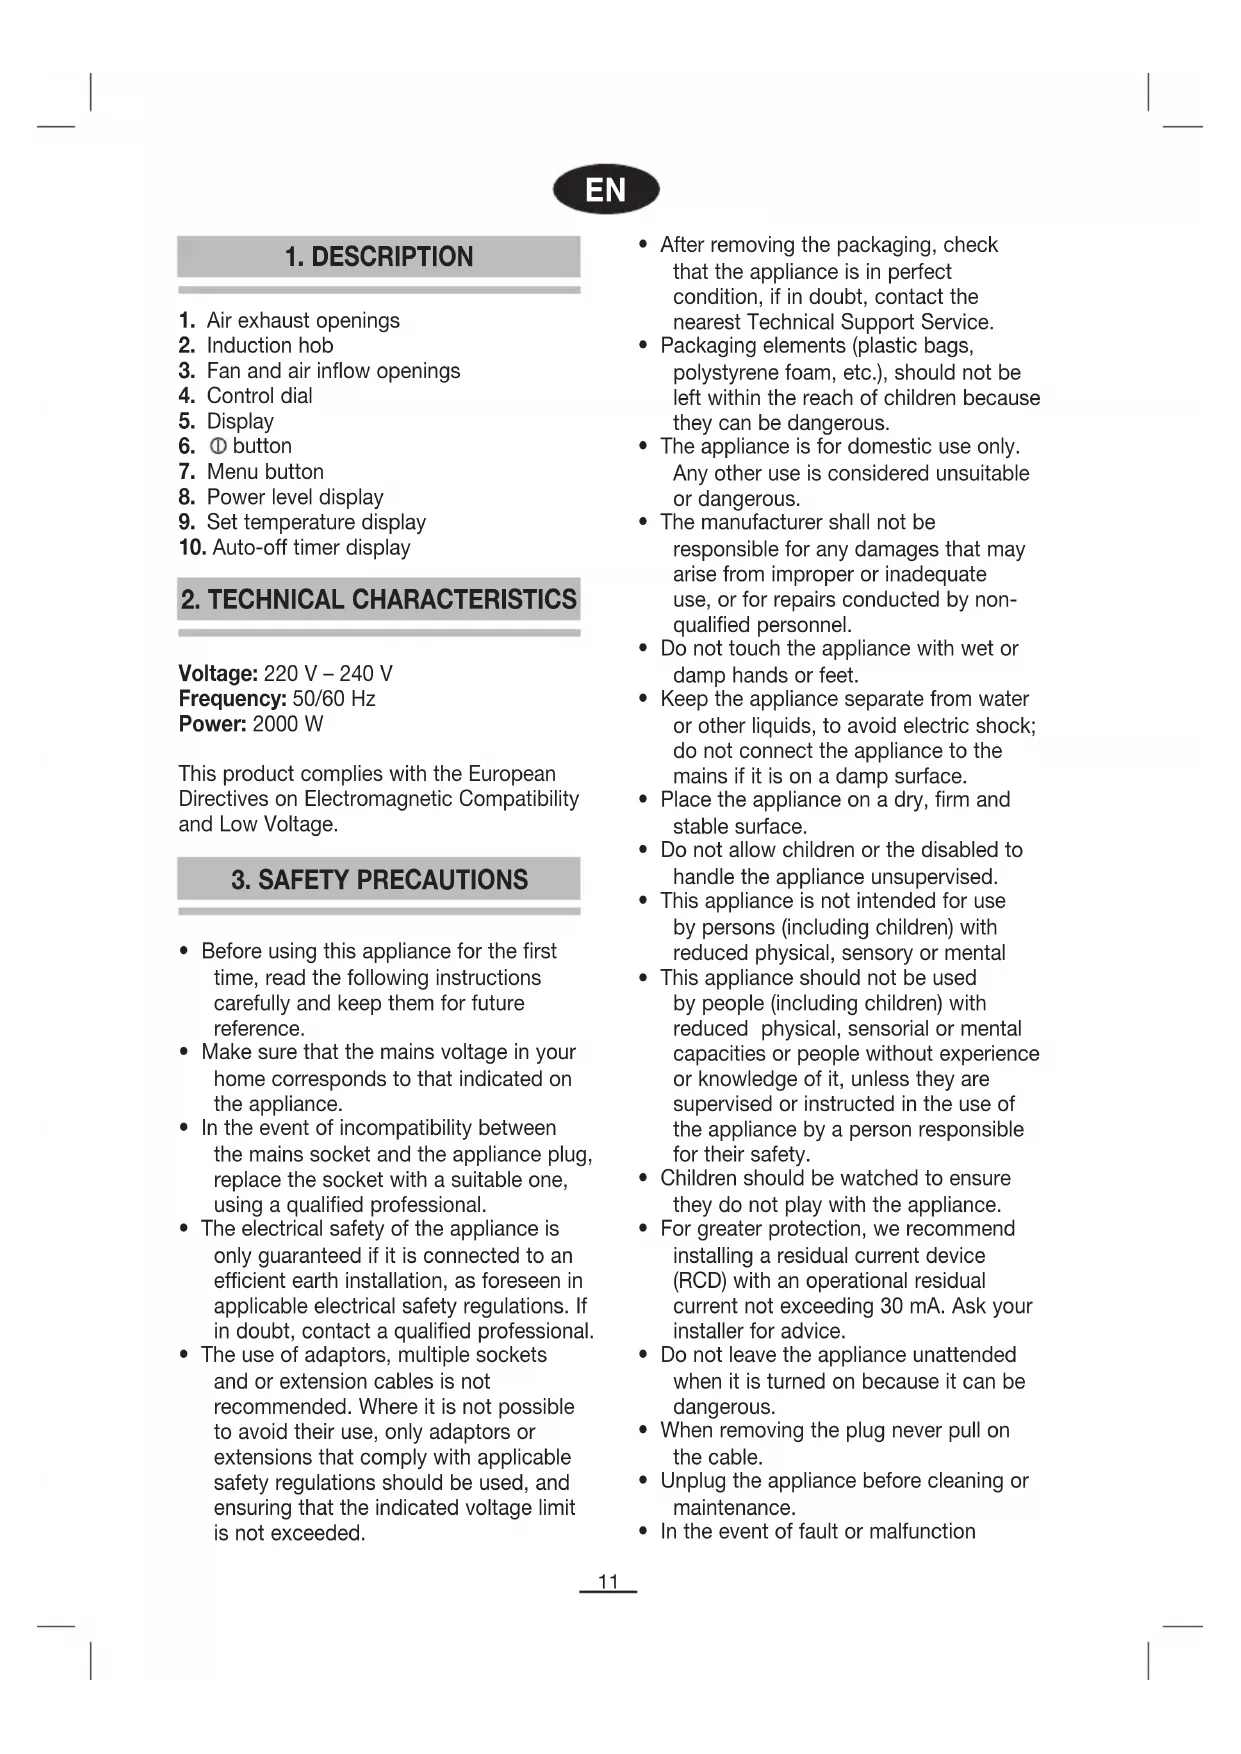
- Air exhaust openings
- Induction hob
- Fan and air inflow openings
- Control dial
- Display
- ① button
- Menu button
- Power level display
- Set temperature display
- Auto-off timer display
2. TECHNICAL CHARACTERISTICS
Voltage: 220 V - 240 V
Frequency: 50/60 Hz
Power: 2000 W
This product complies with the European Directives on Electromagnetic Compatibility and Low Voltage.
3. SAFETY PRECAUTIONS
- Before using this appliance for the first time, read the following instructions carefully and keep them for future reference.
- Make sure that the mains voltage in your home corresponds to that indicated on the appliance.
- In the event of incompatibility between the mains socket and the appliance plug, replace the socket with a suitable one, using a qualified professional.
- The electrical safety of the appliance is only guaranteed if it is connected to an efficient earth installation, as foreseen in applicable electrical safety regulations. If in doubt, contact a qualified professional.
-
The use of adaptors, multiple sockets and or extension cables is not recommended. Where it is not possible to avoid their use, only adaptors or extensions that comply with applicable safety regulations should be used, and ensuring that the indicated voltage limit is not exceeded.
-
After removing the packaging, check that the appliance is in perfect condition, if in doubt, contact the nearest Technical Support Service.
- Packaging elements (plastic bags, polystyrene foam, etc.), should not be left within the reach of children because they can be dangerous.
- The appliance is for domestic use only. Any other use is considered unsuitable or dangerous.
- The manufacturer shall not be responsible for any damages that may arise from improper or inadequate use, or for repairs conducted by non-qualified personnel.
- Do not touch the appliance with wet or damp hands or feet.
- Keep the appliance separate from water or other liquids, to avoid electric shock; do not connect the appliance to the mains if it is on a damp surface.
- Place the appliance on a dry, firm and stable surface.
- Do not allow children or the disabled to handle the appliance unsupervised.
- This appliance is not intended for use by persons (including children) with reduced physical, sensory or mental
- This appliance should not be used by people (including children) with reduced physical, sensorial or mental capacities or people without experience or knowledge of it, unless they are supervised or instructed in the use of the appliance by a person responsible for their safety.
- Children should be watched to ensure they do not play with the appliance.
- For greater protection, we recommend installing a residual current device (RCD) with an operational residual current not exceeding 30 mA. Ask your installer for advice.
- Do not leave the appliance unattended when it is turned on because it can be dangerous.
- When removing the plug never pull on the cable.
- Unplug the appliance before cleaning or maintenance.
• In the event of fault or malfunction
where the appliance is not to be used, turn off the appliance and do not attempt to repair. If a repair is required, contact a Technical Assistance Service authorised by the manufacturer and request the use of original spare parts.
- If the cable for this appliance is damaged, contact an authorised Technical Assistance Service for it to be replaced.
- Do not leave the appliance exposed to the elements (rain, sun, ice, etc.).
- Do not use or let any part of the appliance come into contact or near hot surfaces (kitchen gas or electric hobs or ovens).
- Do not use detergents or abrasive sponges to clean the appliance.
- Do not touch the hot surfaces. Use the handles.
- Do not let the cable come into contact with the hot parts of the appliance.
- Do not dismantle the appliance or attempt to repair it yourself.
- Do not place heavy objects on the hob.
- Do not use the hob near a source of flammable gas or in a damp atmosphere.
- Do not place the hob where water or oil could splash onto it.
- Never leave the hob unattended while it is functioning.
- Open vacuum-packed foods before heating them up on the hob.
- Do not use unsuitable pans.
- Do not cover the air vents or air inlets or insert any foreign bodies into them.
- Correctly centre the pans on the heating area.
• After using the hob, let it cool down before touching it. - If you should notice any external defects, disconnect the appliance to prevent short-circuiting.
- Do not leave any metal objects on the hob, as they could become very hot.
- Pacemaker wearers should consult their doctor before using this appliance.
4. PANS
- The pan base must be made of a magnetic material.
- Pans made of materials such as glass, ceramic, aluminium, copper and other non-magnetic substances cannot be used.
- The pan base must be flat, and its diameter must be between 12 and 26 cm.
5. FUNCTIONING
TURNING ON THE INDUCTION HOTPLATE
- Check that the hob of the induction hotplate is not damaged and that its surface is clean. Connect the induction hotplate to a power socket. The connection to a working power socket is confirmed by a sound and the value "0" will flash on the display.
- Turn on the induction hotplate by pressing the ① button (6). The induction hotplate automatically detects, whether the cookware located on the hotplate is suitable for induction cooking.
- If the correct type of cookware is located on the hotplate, the induction hotplate will start cooking at the preset power level of 6. "P-6" will appear on the display.
- If you remove the cookware from the induction hotplate, or if unsuitable cookware is placed on the induction hotplate, the display will show an error message "E1" and a sound will be made. After 60 seconds the hotplate will switch to the stand-by mode.
SETTING THE POWER LEVEL (8)
- When the induction hotplate is turned on, the power level is automatically set to 6. "P-6" will appear on the display. Using the control dial (4) select the desired power level in the range P1–P10 (200–2000 W/h).
When selecting the desired power level the value will flash on the display. After
the selection has been made the value will stop flashing on the display.
- If the display is in the temperature display mode (9) or in the automatic shut off timer mode (10), first use the Menu button (7) to switch the display to the power level display mode (8) and then set the desired power level.
- If during cooking you again use the Menu button to switch to the power level display mode, the value "P-6" will appear on the display.
SETTING THE TEMPERATURE (9)
- Using the Menu button (7) switch the display to the temperature display mode (9). The cooking temperature is automatically set to 140°C. Use the control dial (4) to select the desired cooking temperature in the range 60–220 °C. During this selection the value flashes on the display. After the selection has been made the value will stop flashing on the display.
- If during cooking you again use the Menu button (7) to switch to the temperature display mode, the value 140 °C will appear on the display.
SETTING THE AUTOMATIC SHUT-OFF TIMER (10)
- Using the Menu button (7) switch the display to the timer display mode (10). Using the control dial (4) set the automatic shut off time in the range 0–180 minutes. Slowly turn the control dial (4) to increase or decrease the automatic shut off time by 1 minute. Quickly turn the control dial to increase or decrease the automatic shut off time by 10 minute intervals.
- As soon as you set the timer, the value on the display will stop flashing and will start to countdown the time to the automatic shut off. Until the automatic shut off of the induction hotplate, the remaining time until automatic shut off and the set power level or temperature will alternate on the display.
- At the end of the set automatic shut off time a sound is made and the induction hotplate turn itself off. The value "0"
flashes on the display and the induction hotplate is in the stand-by mode.
- If you do not set the automatic shut off time, the value "---" will stop flashing and the display will switch to the mode showing power and temperature.
TURNING OFF THE INDUCTION HOTPLATE
Turn off the induction hotplate by pressing the button (6). The value "0" will flash on the display and the induction hotplate will be in stand-by mode.
Note: After being turned off the fan will start for a short time to speed up the cooling of the induction hotplate. Do not disconnect the induction hotplate until the fan stops working.
6. CLEANING AND MAINTENANCE
- Unplug the appliance and allow the hob to cool down.
- Use a soft dry cloth to gently remove any dust that has accumulated in the air vent and air inlet.
- If the hob is not excessively dirty, clean it with a damp cloth.
- If there are grease stains on the hob, clean it with a damp cloth and a little toothpaste or neutral detergent.
-
Never use abrasive or degreasing cleaning agents or alcohol.
-
TROUBLESHOOTING
| Error message | Possible cause of the error | Solution |
| E0 | The hotplate is not working. | Send the induction hotplate to an authorised service centre for repair. |
| E1 | There is no cookware located on the hotplate. The cookware on the hotplate is not suitable for induction cooking. | Place cookware suitable for induction cooking on the hotplate. |
| During the operation of the induction hotplate the error message E1 is frequently displayed. | The diameter of the bottom of the cookware on the hotplate is too small.The cookware is not located in the centre of the hotplate. | Place larger cookware on the hotplate.Place the cookware in the centre of the hotplate. |
| E2 or E6 | Overheating of the induction hotplate. | Allow the induction hotplate to cool down. |
| During the operation of the induction hotplate the error message E2 or E6 is frequently displayed. | The air infl ow and exhaust openings are blocked.The fan is not working. | Remove the items blocking the air inflow and exhaust openings.Send the induction hotplate to an authorised service centre for repair. |
| E3 or E4 | The voltage in the power socket to which the induction hotplate is connected is too high or too low. | Connect the induction hotplate to a corresponding power socket with a voltage of 220–240 V. |
| E5 | The circuit is interrupted. | Send the induction hotplate to an authorised service centre for repair. |
8. INFORMATION FOR THE CORRECT DISPOSAL OF ELECTRICAL AND ELECTRONIC APPLIANCES
At the end of its working life, the product must not be disposed of as urban waste. It must be taken to a special local authority differentiated waste collection centre or to
a dealer providing this service. Disposing of a household appliance separately avoids
possible negative consequences for the environment and health deriving from inappropriate disposal and enables the constituent materials to be recovered to obtain significant savings in energy and resources.
To remind you that you must collaborate with a selective collection scheme, the symbol shown appears on the product warning you not to dispose of it in traditional refuse containers.
For further information, contact your local authority or the shop where you bought the product.
FR
1. DESCRIPTION
NASTAVENÍ TEPLOTY (9)
NASTAVENIE TEPLOTY (9)
- ES
- DESCRIPCION
- TECHNICAL CHARACTERISTICS
- SAFETY PRECAUTIONS
- PANS
- FUNCTIONING
- TURNING ON THE INDUCTION HOTPLATE
- SETTING THE POWER LEVEL (8)
- SETTING THE TEMPERATURE (9)
- SETTING THE AUTOMATIC SHUT-OFF TIMER (10)
- TURNING OFF THE INDUCTION HOTPLATE
- CLEANING AND MAINTENANCE
- INFORMATION FOR THE CORRECT DISPOSAL OF ELECTRICAL AND ELECTRONIC APPLIANCES
- FR
- DESCRIPTION
- NASTAVENÍ TEPLOTY (9)
- NASTAVENIE TEPLOTY (9)
Brand : FAGOR
Model : IP400B
Category : Cooker