
FFK1677X - Refrigerator FAGOR - Free user manual and instructions
Find the device manual for free FFK1677X FAGOR in PDF.
| Product type | Refrigerator |
| Brand | Fagor |
| Model | FFK1677X |
| Power supply | 220-240 V, 50 Hz (grounded plug) |
| Quick cooling function | Yes (6 hours at coldest temperature) |
| Holiday function | Yes (operates at 9°C for energy saving) |
| Child lock | Yes (locks controls) |
| Open door alarm | Yes (after 1 minute) |
| Ice Maker | Accessory (20 ice cubes) |
| Carbon filter | Yes (replacement every 6 months) |
| Interior lighting | Bulb E14, 15/25 W, 220-240 V |
| Door opening direction reversal | Possible |
| Leveling | Adjustable feet (tilt backwards) |
| Refrigerant | R600A |
| Interior maintenance | Water and baking soda, non-abrasive sponge |
| Rear grille maintenance | Vacuum cleaner once a year |
| Bulb replacement | Unplug, remove reflector, replace with identical bulb |
Frequently Asked Questions - FFK1677X FAGOR
User questions about FFK1677X FAGOR
0 question about this device. Answer the ones you know or ask your own.
Ask a new question about this device
Download the instructions for your Refrigerator in PDF format for free! Find your manual FFK1677X - FAGOR and take your electronic device back in hand. On this page are published all the documents necessary for the use of your device. FFK1677X by FAGOR.
USER MANUAL FFK1677X FAGOR
Very important: Please read this manual fully before using your refrigerator.
This manual has been designed so that the text is linked to the relevant drawings.

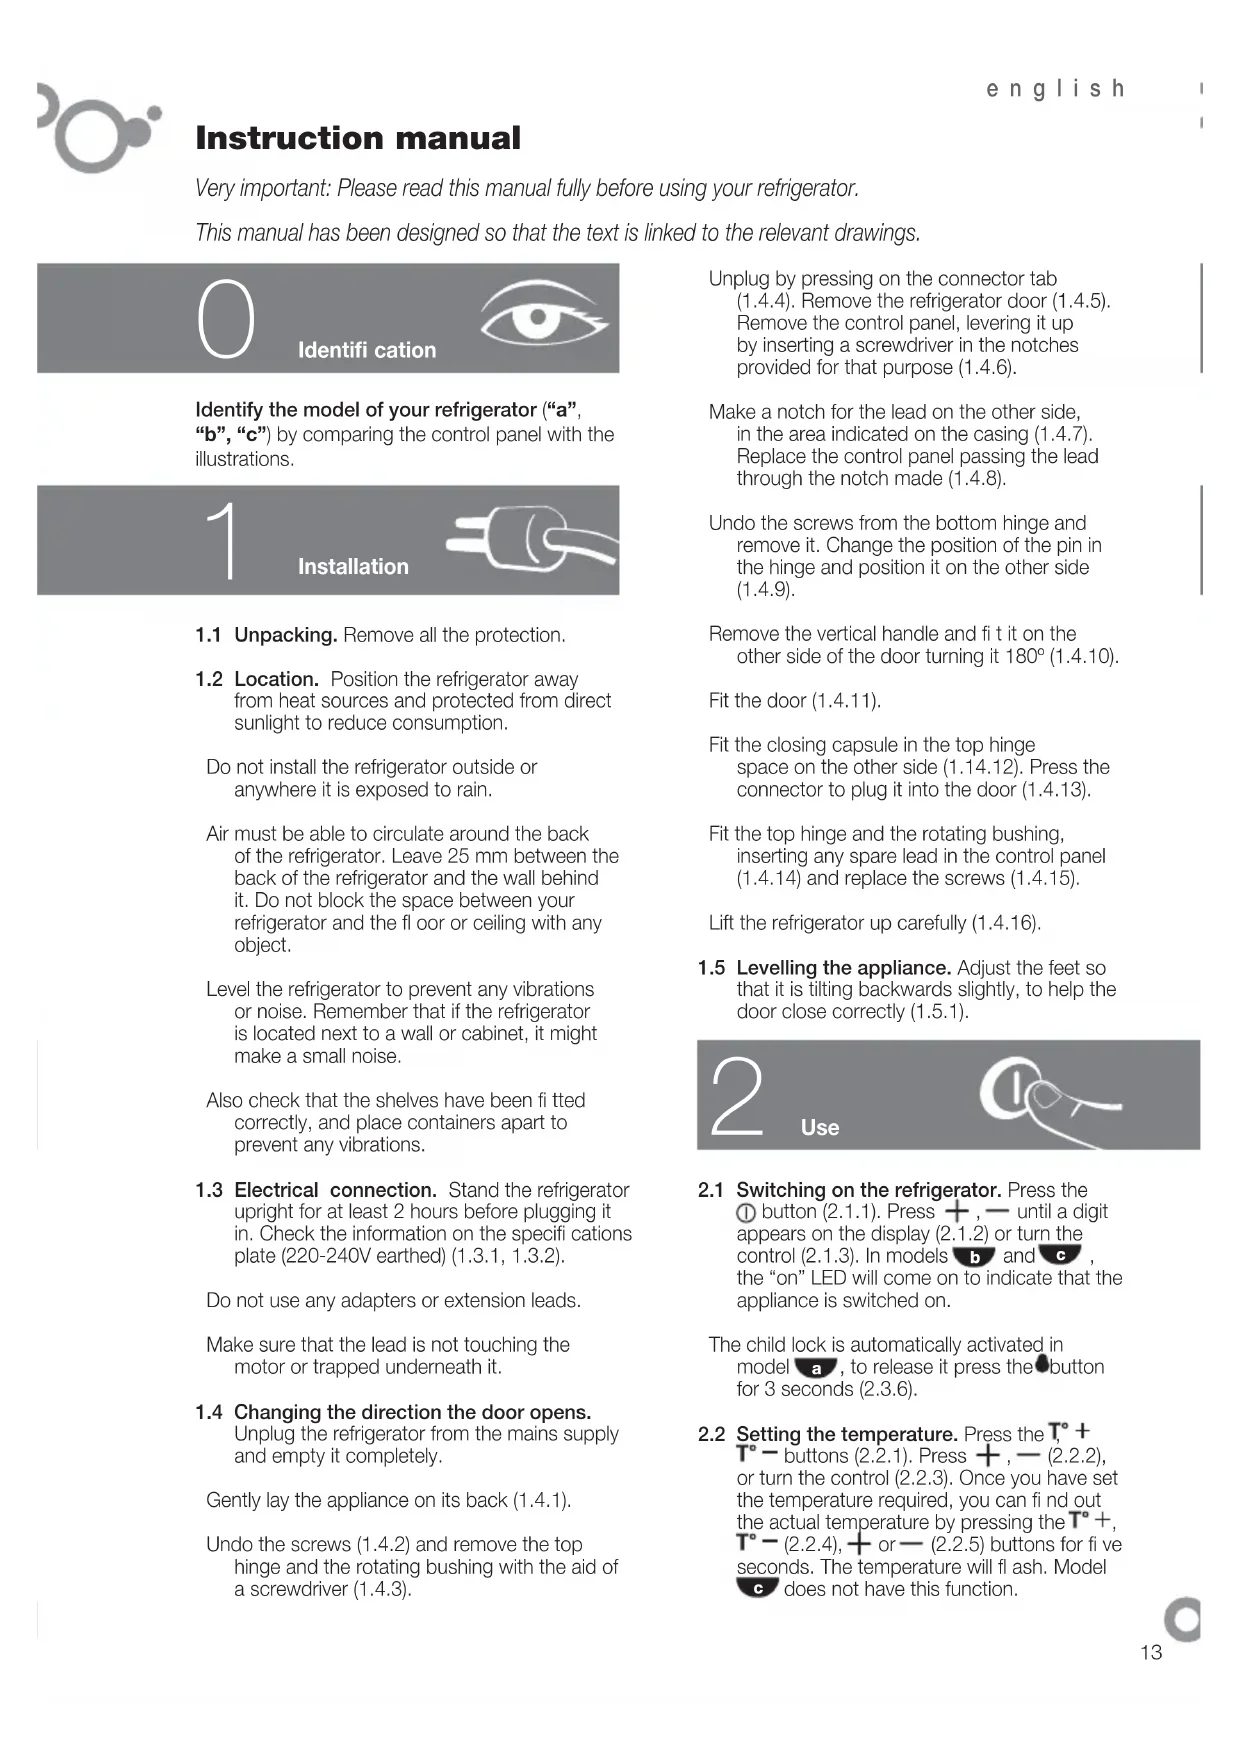
Identification

Identify the model of your refrigerator ("a", "b", "c") by comparing the control panel with the illustrations.
1

Installation
1.1 Unpacking. Remove all the protection.
1.2 Location. Position the refrigerator away from heat sources and protected from direct sunlight to reduce consumption.
Do not install the refrigerator outside or anywhere it is exposed to rain.
Air must be able to circulate around the back of the refrigerator. Leave 25mm between the back of the refrigerator and the wall behind it. Do not block the space between your refrigerator and the floor or ceiling with any object.
Level the refrigerator to prevent any vibrations or noise. Remember that if the refrigerator is located next to a wall or cabinet, it might make a small noise.
Also check that the shelves have been fitted correctly, and place containers apart to prevent any vibrations.
1.3 Electrical connection. Stand the refrigerator upright for at least 2 hours before plugging it in. Check the information on the specific cations plate (220-240V earthed) (1.3.1, 1.3.2).
Do not use any adapters or extension leads.
Make sure that the lead is not touching the motor or trapped underneath it.
1.4 Changing the direction the door opens.
Unplug the refrigerator from the mains supply and empty it completely.
Gently lay the appliance on its back (1.4.1).
Undo the screws (1.4.2) and remove the top hinge and the rotating bushing with the aid of a screwdriver (1.4.3).
Unplug by pressing on the connector tab (1.4.4). Remove the refrigerator door (1.4.5). Remove the control panel, levering it up by inserting a screwdriver in the notches provided for that purpose (1.4.6).
Make a notch for the lead on the other side, in the area indicated on the casing (1.4.7). Replace the control panel passing the lead through the notch made (1.4.8).
Undo the screws from the bottom hinge and remove it. Change the position of the pin in the hinge and position it on the other side (1.4.9).
Remove the vertical handle and fit it on the other side of the door turning it 180^ (1.4.10).
Fit the closing capsule in the top hinge space on the other side (1.14.12). Press the connector to plug it into the door (1.4.13).
Fit the top hinge and the rotating bushing, inserting any spare lead in the control panel (1.4.14) and replace the screws (1.4.15).
Lift the refrigerator up carefully (1.4.16).
1.5 Levelling the appliance. Adjust the feet so that it is tilting backwards slightly, to help the door close correctly (1.5.1).

Use

2.1 Switching on the refrigerator. Press the ① button (2.1.1). Press +, — until a digit appears on the display (2.1.2) or turn the control (2.1.3). In models b and c, the "on" LED will come on to indicate that the appliance is switched on.
The child lock is automatically activated in model a, to release it press the button for 3 seconds (2.3.6).
2.2 Setting the temperature. Press the T^+ T^ -buttons (2.2.1).Press + ,- (2.2.2), or turn the control (2.2.3).Once you have set the temperature required, you can find out the actual temperature by pressing the T^+ T^ -2.2.4),+or-(2.2.5) buttons for five seconds. The temperature will flash. Model does not have this function.
Recommendation: The recommended temperature for your refrigerator is 4 degrees. It is best to always keep it between 1 and 9 degrees.
Remember that the temperature inside the refrigerator depends on the ambient temperature, the location and how often the refrigerator door is opened.
2.3 Refrigerator functions.
Fast cooling function: This function sets the refrigerator to the coolest temperature for 6 hours. It is recommended that you activate this function when you put a large amount of food into the refrigerator. To activate and deactivate it: Press (2.3.1) or SUPER (2.3.2, 2.3.3), in model b the display will show whilst the function is activated.
Holiday function: Ideal for when you are away from home for a long time. The refrigerator will remain set at degrees, preventing any bad smells from developing and keeping electricity consumption very low.
To activate and deactivate it: Press the ECO button until appears on the display (2.3.4) or press the , button, the screen will show H0 whilst the function remains activated (2.3.5). Model c does not have this function.
Warning: For the holiday function to work correctly, the refrigerator door must be closed.
Child lock: Ideal for preventing changes being made inadvertently to appliance settings or children from interfering with them. The screen will display the icon whilst the child lock is activated. Press (2.3.6) or (2.3.7). The screen will show alternating with the normal display whilst the function is activated. Model does not have this function.
2.4 Arranging food in your refrigerator. The temperature is not uniform inside your refrigerator. Some areas are colder than others. Food must be stored in the right area to make sure that it is kept correctly (2.4.1):
- Butter.
- Hors d'oeuvres, cheese, yoghurts, cream, sauces, eggs.
- Bottles, milk.
-
Meat, poultry, game and fresh fish, cooked meats.
-
Pulses and vegetables.
- Vacuum box (accessory).
- Ice maker (accessory).
2.5 ICE MAKER. This is an accessory in your refrigerator that can generate up to 20 cubes of ice. If you have an Ice Maker, take it out of the refrigerator (2.5.1). Remove each of the 5 ice-trays inside (2.5.2) and fill them with water (2.5.3). Put the ice-trays back trying not to spill any water (2.5.4). Put your Ice Maker carefully back into place inside the refrigerator (2.5.5). The ice cubes will be ready for use in 24 hours.
2.6 Switching the refrigerator off. Press ① for 3 seconds or press - until no temperature appears on the display (2.6.1, 2.6.2), or turn the control to the off setting (2.6.3). In models b, c the "on" LED will go off.
2.7 Recommendations for use.
- Keep the fan switched off for greater energy savings (2.7.1).
- Do not open the doors for longer than necessary. This will allow your refrigerator to work more effi cientsly and prevent any increase in energy consumption.
- Store food in sealed containers to prevent it from drying out.
3
Maintenance and cleaning

3.1 Cleaning the inside. Use a sponge or cloth soaked in water with bicarbonate of soda to clean the inside of the refrigerator to prevent any smells from forming.
Never use a steam cleaner, solvents or scouring powders.
3.2 Cleaning the outside. Never use a steam cleaner to clean the displays.
It is a good idea to clean the grille at the back once a year with a vacuum cleaner.
3.3 Cleaning the accessories. Do not put them in the dishwasher. Clean them by hand with the help of a sponge or cloth.
3.4 Changing the light bulb. If the light bulb blows: switch off the refrigerator. Remove the cover by pressing on the lug (3.4.1) and removed the blown bulb (3.4.2). Replace it
with another with the same type of thread, E14, 220-240V, 15/25W or as indicated on the light fitting.
3.5 Changing the carbon fi liter. Your refrigerator may have a carbon fi liter to absorb any strange smells from some types of food and capture any microorganisms (fungus and bacteria) circulating in the air.
The fi ler keeps its properties for a limited time of 6 months. After this time it is recommended that you replace it with a new one. Its location varies depending on the model.
To activate the fi ler: Press down on the tab and remove the cover to access the fi ler (3.5.1). Separate the used fi ler from the cover (3.5.2). Remove the seals from the new fi ler (3.5.3).
Press the BIOFILTER visor until you hear a light click (3.5.4) and in a few seconds the duration scale will start to colour. Put the fi Iter back into place.
Keep used and new liters out of the reach of children; digesting large quantities can be dangerous.
Do not wet the filter as it can lose its properties.

Troubleshooting

4.1 Door open. If you leave the door open for more than 1 minute, the signal will come on, an alarm will sound and the refrigerator light will go off (4.1.1, 4.1.2). The alarm will stop when the door is closed.
4.2 Power cut.
Open the refrigerator as few times as possible.
4.3 Normal noises in the refrigerator.
Your refrigerator may make a number of quite normal operating noises which should not concern you.
- The refrigerant may make a gargling noise as it passes through the circuits.
-
The compressor may make a buzzing and/or a slight knocking noise, above all when it switches on.
-
The dilation or contraction of the materials used can make clicking or creaking noises.
The air moved by the freezer fan can make a small background noise.
Do not tamper with your refrigerator in an attempt to repair it. Call for service.

Safety

- Be careful not to damage the refrigeration circuit.
- Do not use any electrical appliances inside your refrigerator unless they are of the type recommended by the manufacturer.
- Do not use any mechanical devices or any other means to speed up defrosting other than those recommended by the manufacturer.
- This appliance is not intended for use by people (including children) with reduced physical, sensory or mental capabilities, or lack of experience or knowledge, unless they have been given supervision or instruction concerning use of the appliance by a person responsible for their safety. Children should be supervised to ensure that they do not play with the appliance.
- If the power lead is damaged, it must be replaced by the manufacturer, or by their after sales service or a similar qualified person to prevent any risk.

The environment

This refrigerator was designed with environmental conservation in mind.
The appliance operates with coolant R600A, which does not damage the environment.
Respect the environment. Use the recommended temperatures for each compartment. They will depend on the mode you need for effcient use of your refrigerator.
Disconnect the refrigerator or set it to holiday mode when you will not be using it for a prolonged period. You will reduce power consumption and save energy.
Avoid leaving the doors open more time than necessary. It causes an increase in power use.
Waste management of electrical and electronic appliances.
The symbol indicates that the appliance must not be disposed of in traditional bins for domestic waste.
Deliver your refrigerator to a special collection centre.
Recycling domestic appliances prevents negative impacts on health and the environment and helps save energy and resources.
For more information, contact your local authorities or the establishment where you purchased your refrigerator.
BbINONHHTcNeDyIOUne DeICTBnA.
OTKNIUOHTbXONOINBHNKOTcETN.CHRTb KpbIiKy,HaxKaHBHa“3bIyOK”(3.4.1),n 3BJIeYbHepa6oTaIOUyIOJamny(3.4.2).
3aMeHb ee HOBON JAMN O anAIONuHOrTo Tnnpa3mepa (E14,220-240 B,15/25 BT) IIN B COOTBeTCTBUN C yKa3aHnRMM NO OCBeueHHIO.
3.5 3aMeHa yroIbHoro cHJIbTpA.
B xoIoJnIbHnKe MoXeT ImEtbcra yroJIbHbI ΦIuIbTp, KOToPbI NOrIooaET nocToPOHHne 3anaxn, o6pa3yeMbIe HeKOToPbIMN pOdoYKTamn, u YnaBnBaET MmKpOoPraHn3MbI (rpn6Kn I 6aKTePN) n3 CnpKpyIpUoero Bo3dyxa.
CBoICTBaΦnIbTpacoXpaHrOITcNIIb
OppeJeHHeBpem,OKOIO6 MeCuaE.
IIO nCTeueHn 3TOrO BpeMeHn dN
peKOMeHdyETc3aMeHHTb HOBbIM.
MectopacnoJoxeHne qnIbTp a3aBncnt OTo MOnen.
IopRdoK BkIIOUeHnI pNJIbTpTa.HaKaTb
《R3bIyOK》NCHATb KpbIiKky,HTO6bl
nonyntb doctyn K qnilbtpy (3.5.1).
OTeINbN3HOWeHHbIΦnBtpOT
KpbiWN (3.5.2). ChaTb 3aunTHbIe NnEHKn
HakatbBn3np BIOFILTERdoJierKoro
üenka (3.5.4); uepe3 HeckoJIbko
CEKYHdIkaana DnITeNbHOCTNaHaCHET
OKpaunBaTbCRA. YCTaHOBnTB DnIbTp B eO
NCXODHOE NOJIOKHeH

N3HOWeHHbIe n CMeHHbIe qnIbTpbl Heo6xOaHMo XpaHHTb B HeoCTyHOM dIaTei MeCTe;ecn pe6eHOK npOrJIoTt IV B 60JIbWOM KOJIuYeCTBe,3TO MOKET 6blb OnaCHO.
He MoHTe fHbTp, TaK KaK OH MOKeT yTpATNb BCE CBOB CBOICTBa.

Диагнoctuka COCTOHHY YCTPOIcTBA

4.1 OTKpbitaDbepua.EcnnDbepua ocTaeTcra OKpbTOI 60Jee 1 MNHyTbI,3aropaetcna CnMBOJ XOJIOINbHNI KNOaET 3BYKOBoi CNHaJI, IN BBIKIOUaETcNOCBeueHne XOIOINbHO OTeJeHnR (4.1.1, 4.1.2). Pocne 3akpbITnIBepuI NoaCnHana npeKpaaaetcra.
4.2 OTKJIIOUeHne 3JIeKTPoNtAHnIa
OTkpBaIe TdBepuy XoIOJNbHnka KaK MoXHO peKe HEnpoDOnKInTeJbHei.
4.3 HopmaJIbHbIe Wymbl npn pa6oTe XOJOnJIbHnKa.
Bo Bpempa60tbyXJOnOuINbHnK MoKeT 3daBaTb prd yMOB, KOToPbIE RbIaHOTcH HopMaJIbHbIM RAJIeHHeM, IN 13-3a HIX He CTONT 6ecNOKoNTcbr.
-Пицкулцих xlaадeHTa no KOHTypam MOKET BO3HnKaTb wym 6ypHeHn.
- Ppi pa6oTe KOMPpeccopa MoKet 6bItb CblIshO JxJXKaHne N/INn JERKoe NOCTyKnBaHne, OOCeHNo pni erO BKJIIOUeHIn.
- Pn paCwnpeHnn n CkataHn NcnoB3yEmbIX MaTePnaIOB MOrYT N3daBaTbcx XpyCT NIN NOTpeCKNbaHne.
-ДИЖЕHNE BO3dYxa 3a cHTeT pa6Otbl BEHTINATopa MOKeT daBaTb He6OJIbwoI CPOHOBbI IyM.

He nbitaTecb CamoToTebHo OTPeMOHTPOBaTb np6Op. Pn BO3HKnHOBeHN HeNCpNaBHOCTN 6paTntEcB CnyK6y TexHnuecko NOpDepxKn.

IpaBnlaTexHnK6e3OnacHOCTN

- Co6JIIOJaIte OCTOpOxHOCtB, YTO6bI He IOBpeINr KoHTyp OxJaXeHNr.
He noIb3yTeCb 3JeKtpnueckmnp6opamn BHyTpN XOJIOUNbHnKa, ECNI TOJbKO INcNoJIb3OBaHHe ONpeJeHHO np6Opa He peKOMeHIOBaHO n3rTOBNTeJEM.
He nCnoB3yIe MexaHnueckne yctpoNCTBa n npOue cpeDCTBa Ira yckopenia npouceca
pa3MopaxnBaHn,3aNCKIIOueHnEm peKOMeHNoBaHHbIX N3ROTOBtTeJEM.
Даньи пибор He npedHa3haueHДЯ 3KcIpyaTuuN JInuAMn (B TOMYNCJIe DeTbMn) COrpaHnueHHbIMNФИЗVECKIMN,CEHCOPHbIMN UyMCTBeHHbIMNBO3MOXHOCTAm, a TaKKe JInuAMn, HeIMEIOUIMN DOCTaTOHoro OnbIta N3HaHN.ПОЛБ3OBaHne pIN6OpOM TAKIM JInuAMnpa3peWaeTcra TOnbKO NOI pINCMOTpOMJNuA, OTBETCTBEHORO 3a TexHnky6e3ONaCHOCTn, INI Nocle pPOBeDEHnIMCOOTBETCTBYUoIe RO HNCTpyKTaja N03KcIIyatauN. PpICMaTpRuBaTe 3a DeTbMn,He DOnyckaA, YTObbl OHn Irgan pIN6Opom.
B cnyuae noBpeKdHnA cTeBOro shypa erO heo6xOJIMo 3aMeHHTb.Bo n36exKaHne OAnCHOCTN 3TO dONKeH DeNaTb n3rOToBNTeJIb, erO cnX6a nocJeepoJaXHOro 06cnXnBaHnI nn IInuO, IMeIouee COOTBeTcTBYIOU KBAINΦNKaUHO.

Okpyxkaouca npeda

B KOHCTpyKmN 3TOrO XoJIoNJIbHNKa yUTeHbI Tpe6oBaHnN u acNeKTbl, CBraHHbIe C 3aunTOI OKpykaOuSe cpebl.
B np6ope nCnoIb3yETcXnaIaReENT R600A, KOtOpB IABJIeTc3KoONOrUweckn 6e3BpeDhbIM. 3a6OtbTeCb 6OkpyKaIOuSeI cpeE.CobHOaIte peKOMHdauN IO yPoBHIo TEMnepaTpyb I KaXDOM OTCeBE 3aBNCIMOCTH IO pExkMa, Heo6xOJIMORO dIra 3ΦΦeKTbHOB 3KcNPyatauN XoOniNbHnka. EcIn xOJOniNbHnK He 6yEt IcNoB3ObaTbcr Ha npOTRAKeHN DInTEbHoro nepNoDa BpeMeHn, OKJIIOHTe ERO O T CetN INI BKJIOHTe peKIM «OTnyCK'.5NaorDaap 3TOMY Bbl COKpatNTe notpe6JIeHHe 3NeKTPo3HepRnN IO bcEneHte ee 3KOHOMIO.
CTapaTecb He DepeKaTb DBeepbl OTKpbITbIMN OJbWe, Yem 3TO Heo6xOIMO, NOCKoJIbKy 3TO INBODNT K NOBbIeHHOMy paXOdy 3NeKTPo3Heprn.
06paueHne c Otpa6oTaBmm MATEpnaanamn 3JNEKTPuYeCKnx N3JNEKTPoHHbIX Pnp6OpOB.
O603haeHne yka3bIbaet Ha To, YTO daHHbI np6op HeIb3B bIb6paCbIBaTb B 06bIHybIE KOHTeHepbl dIg 6bITOBbIX OTXoIOB. IIO nCTeueHn cPoka 3KcIIyatauIN XOIOJINbHk CJeDyET cDaTB B CNEuaNBbI NpHK pInema. IOBTOphA nepepa6OTKa 6bITOBbIX 3NEKTponp6obOpB NO3BOJRe TpeDoTbPaTtB He6IaONpRTHbIe NocJIeCTBn DnI 3IDOPOBBn OKpykaOSeI cpebl, a TaKKe C3KOHOMITb 3HeprnIO n pecypcbI.
IINONUYENHNOHNHTeBHOINHOPMaUNOcbATTEcB CootBeTCTByIOUne OprAHbCBOEcTpaHb/peHOna HnTOPROOE PpeDnPnTNE,BKOTOpOM Bbl pnoo6peJN XOJIOJNBHK.
Instrukčni príručka
120^ 21^
aJaaXll Jgill. jll Jx Jg 1gall
aill jll aill ayil jll jll p25
Jaliliee e cilll s
j51j 2y.
Jzj jSay 1, a1 j s blll l y
.
g jy
j1y
.3.1
g 2d
aai aai oai kai jai jai ai jai
(1.3.2,1.3.1) (220 - 240V_压下)
y
i
4.1
a
.
gndy
(1.4.1)
y jil (2.4.1)
. (3.4.1)
4.4.1
jall gbcnally saial jil, (5.4.1)
g jj Jnaa y aai
. (6.4.1)
ylll lll lll
Kallglle aalall
Saa (7.4.1)
(8.4.1)
g jil gailll
aall aiaaaaiall jilail gaa
(9.4.1)
aaii
180 1
(10.4.1)
.(11.4.1)
g 1
(12.4.1).
(13.4.1)
- Ubiil jol jol jol
Saa (14.4.1)
(15.4.1)
.(16.4.1)
.5.1
1jll jlaiaa aax 1
(1.5.1)

Jaeuw

1.2
,+biol(1.1.2)①jbiol
(3.1.2) (2.1.2)
J 1
J 1
Jaei a gill
jolglbcnlll 1
(6.3.2) 3
.2.2
+biol(1.2.2)T°+,T°-jbjgla
(3.2.2)(2.2.2)
aill 1
jagil gili 5 adal
aill jia clll jilai all
1
aJall jll Jai yia galee Laoic gall
1
1
aaii aaii iiaaa

1 = = 3
5
jlll jall llll ybi jgi jgl
2y11j1j 3y1yjS1j j
jll 1
y
aill 1
Jai jia jao Jao jao
ailll ylll, ailll lley (Jibb)
aai 1 aie aiee eae ee eae eae eae eae eae eae eae eae eae eae eae eae eae eae eae eae eae eae eae eae eae eae eae eae eae eae eae eae eae eae eae eae eae eae eae eae eae
Jus
j4y jdy y
aill 1yll llll bai liiie
i 0

6
yauo pi dgoia
A
R600A,
y
- Refrigerator functions.
- Recommendations for use.
- 3
- Maintenance and cleaning
- Troubleshooting
- Safety
- The environment
- This refrigerator was designed with environmental conservation in mind.
- Waste management of electrical and electronic appliances.
- 3aMeHa yroIbHoro cHJIbTpA.
- Диагнoctuka COCTOHHY YCTPOIcTBA
- IpaBnlaTexHnK6e3OnacHOCTN
- Okpyxkaouca npeda
- Instrukčni príručka
Brand : FAGOR
Model : FFK1677X
Category : Refrigerator