
LV Sub - Subwoofer AUDIO PRO - Free user manual and instructions
Find the device manual for free LV Sub AUDIO PRO in PDF.
| Product type | Active wireless subwoofer |
| Brand | Audio Pro |
| Model | LV Sub |
| Amplifier | Class D 200W |
| Bass (stroke length) | 20 cm |
| Frequency range | 35 - 100 Hz |
| Adjustable crossover frequency | 50 - 90 Hz |
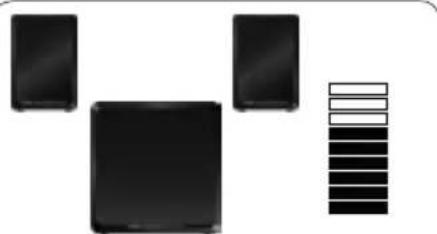
| Dimensions (H x W x D) | 300 x 300 x 320 mm |
| Power supply | Mains (power plug) |
| Wireless transmission | Proprietary, 2.4 GHz band, range up to 20 m (between rooms), 50 m (indoor), 100 m (outdoor) |
| House Code | 3 selectable channels (1, 2, 3) |
| Zones | 3 selectable zones (A, B, C) |
| Wired connection | Line input (RCA) |
| Digital signal processing (DSP) | Yes |
| LED indicator | Blue (connection established), Red (no connection/standby) |
| Sampling rate | 48 kHz |
| On/off switch | Yes |
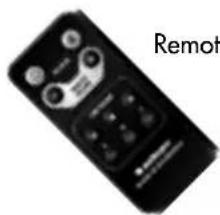
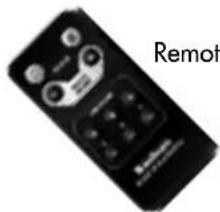
| Remote control | Zone volume control via existing Audio Pro remote |
| Automatic network connection | Yes (existing Audio Pro network) |
| Recommended placement | Near a wall or in a corner |
| Maintenance | Clean with a dry cloth |
| Safety | Do not expose to water or moisture, do not open the casing |
| Repairability | Contact qualified personnel |
| Included accessories | User manual, power cord |
Frequently Asked Questions - LV Sub AUDIO PRO
User questions about LV Sub AUDIO PRO
0 question about this device. Answer the ones you know or ask your own.
Ask a new question about this device
Download the instructions for your Subwoofer in PDF format for free! Find your manual LV Sub - AUDIO PRO and take your electronic device back in hand. On this page are published all the documents necessary for the use of your device. LV Sub by AUDIO PRO.
USER MANUAL LV Sub AUDIO PRO
© Audio Pro AB Sweden
Audio Pro®, the Audio Pro logotype, the 'a' symbol, and ace-bass® are all registered trademarks of Audio Pro AB, Sweden. All rights reserved. Audio Pro follows a policy of continuous advancement in development. Specifications may be changed without notice.
FAKTA
200W digital Class D
Bas: 8'' langslagig
Frekvensomfang:
35-100Hz
Delningsfrekvens:
50-90Hz
Dimensioner HxBxD:
300 × 300 × 320 mm
INNEHÄLL/BESKRIVNING
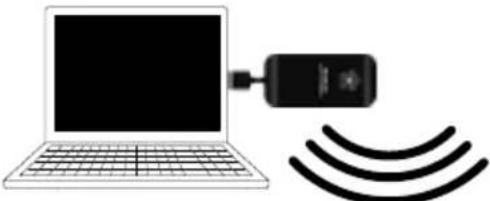
- Built-in wireless receiver
- Automatically joins Audio Pro network
- Wireless full CD quality sound
- Wireless range room to room: Up to 20 meters
- Wireless range same room: Up to 50 meters
- Wireless range open field: Up to 100 meters
- No audible time delays
- RF band: 2.4GHz
- Sample rate: 48 KHz
- Dedicated proprietary protocol
SPECIFICATIONS
Type:
Powered subwoofer with DSP, built in wireless receiver
Amplifier: 200W digital Class D
Woofer: 8'' longthrow
Frequency range: 35 - 100Hz
Variable crossover frequency: 50 - 90Hz
Dimension HxWxD: 300x300x320mm
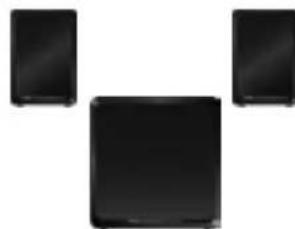
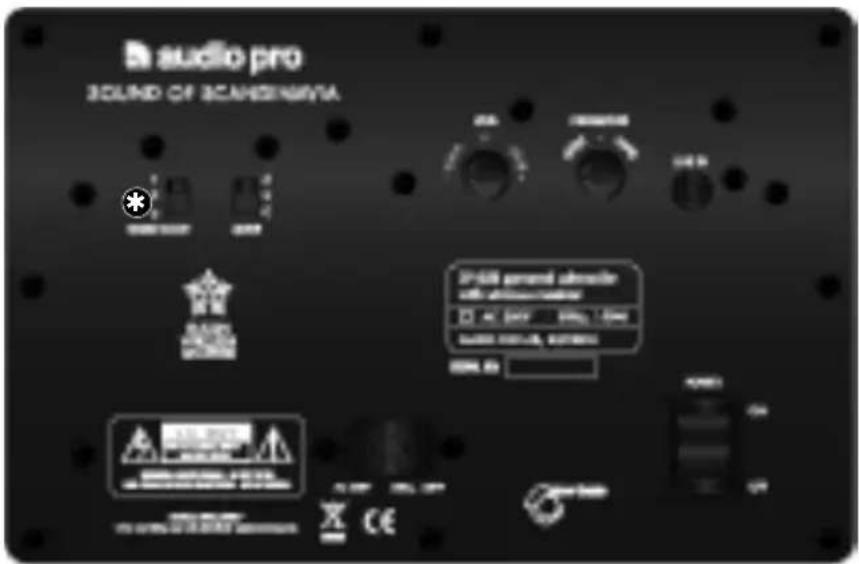
DESCRIPTION
Wireless powered subwoofer with DSP Automatically joins existing Audio Pro audio network.
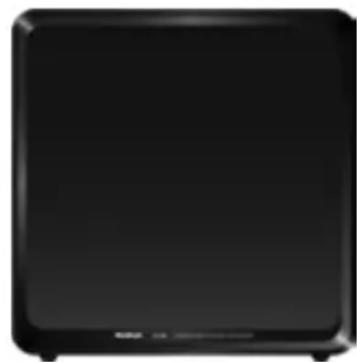
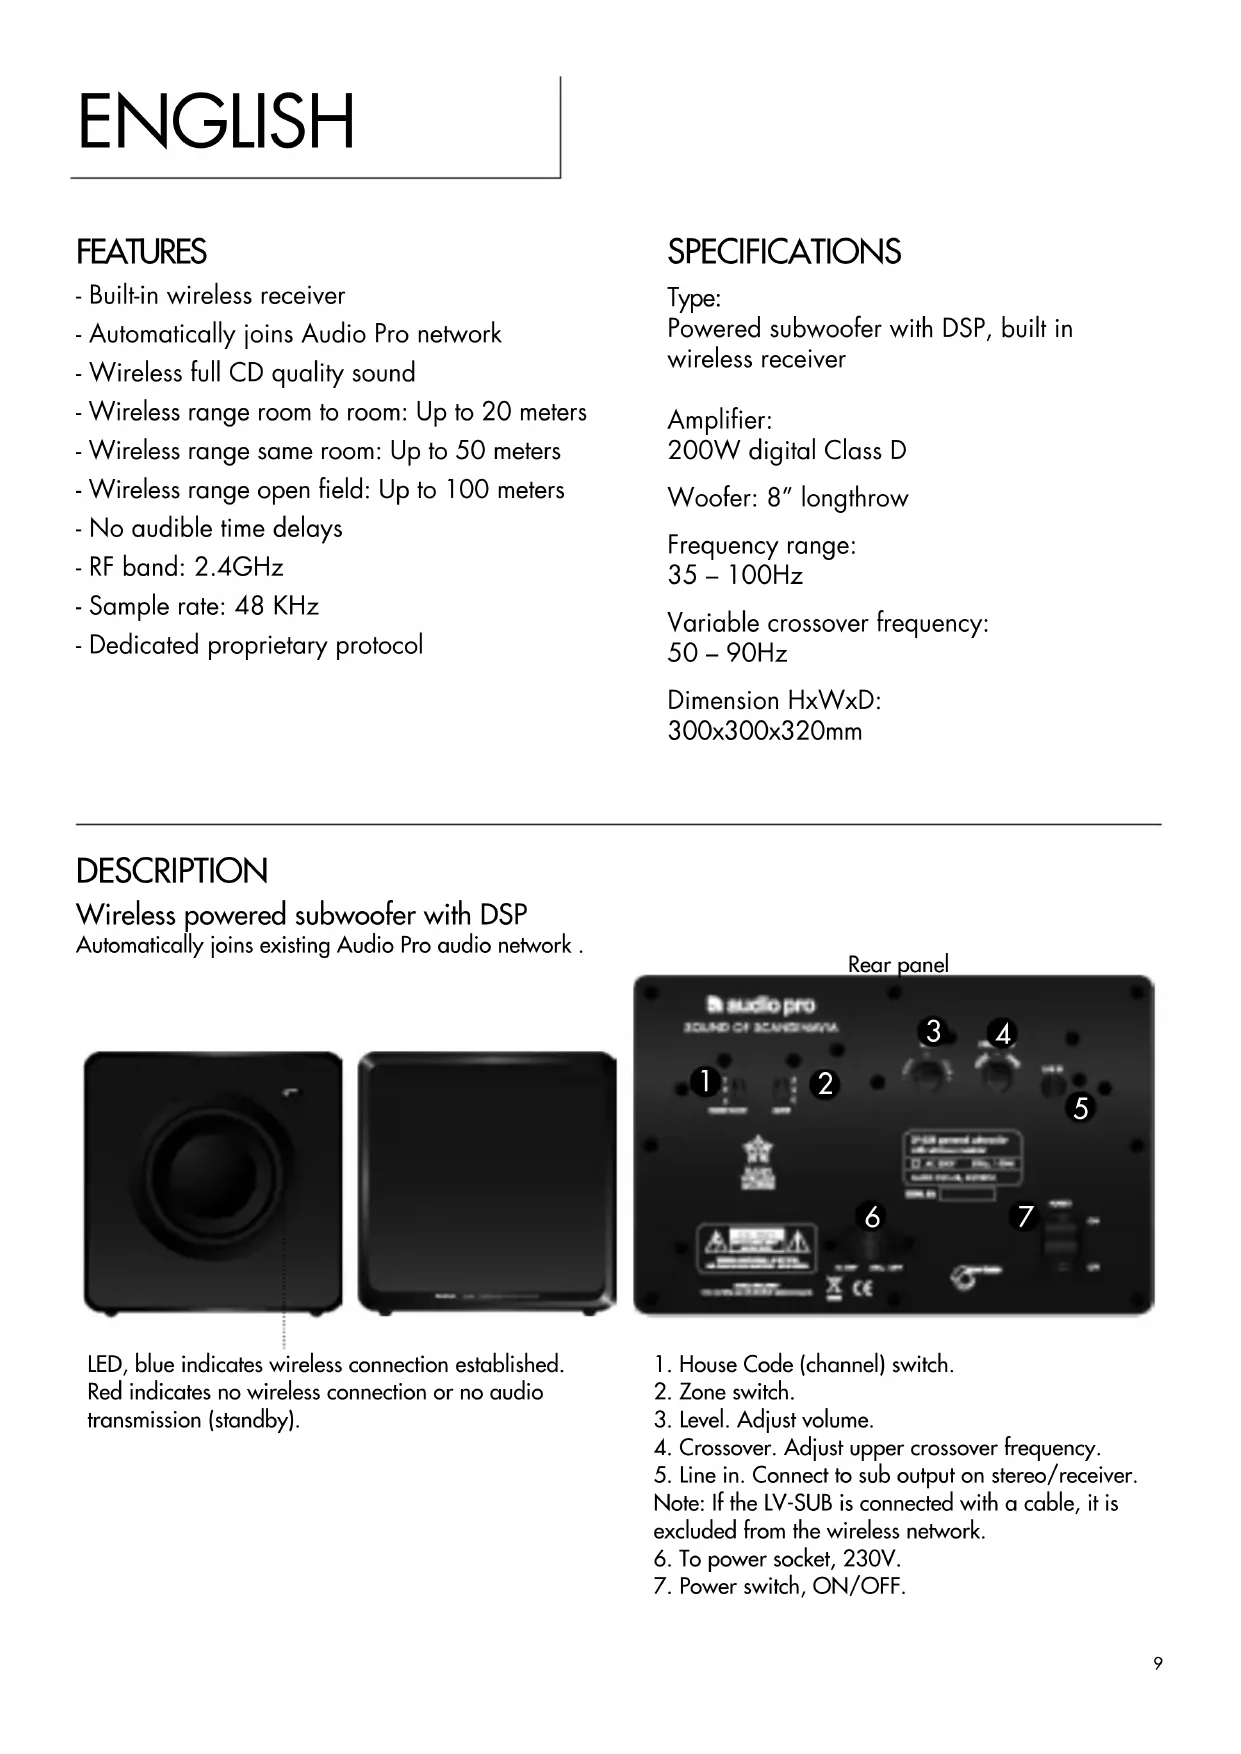
LED, blue indicates wireless connection established. Red indicates no wireless connection or no audio transmission (standby).
- House Code (channel) switch.
- Zone switch.
- Level. Adjust volume.
- Crossover. Adjust upper crossover frequency.
- Line in. Connect to sub output on stereo/receiver. Note: If the LV-SUB is connected with a cable, it is excluded from the wireless network.
- To power socket, 230V.
- Power switch, ON/OFF.
JOIN EXISTING AUDIO PRO NETWORK
If you already have one of Audio Pro's wireless LV loudspeakers and a TX100 wireless transmitter, the LV-SUB automatically connects to your network. Simply set the same House Code and zone that your existing LV loudspeakers use and connect the LV-SUB to the power socket.
CONNECTING THE LV-SUB TO AN EXISTING NETWORK FOR THE FIRST TIME:
In order to synchronise volume levels so that the LV-SUB plays at the same level as other loudspeakers in the same zone and House Code:
- Ensure that all the loudspeakers in the zone (A, B or C), including the LV-SUB, are switched on and set to the same zone and House Code (all LV loudspeakers are set to zone A as default).
- Set the Level on the rear of the LV-SUB to the middle position (0).
- Raise or lower the volume using the remote control's zone volume: A, B or C. (Point the remote control at the receiving loudspeaker, e.g. LV-2 loudspeaker)
- The volume levels for all units in the zone should now be synchronised.
If you do not synchronise the levels, the LV-SUB may emit too little or too much bass.
(You can manually raise or lower the bass volume if you desire more or less bass.
The controls for this can be found on the rear of the LV-SUB.)
Note:
- The LV-SUB volume is controlled in the network using the same remote control as for Audio Pro's wireless LV loudspeakers.
- Manual default settings, such as subwoofer volume and crossover frequency, can be found on the rear of the LV-SUB.
ANALOGUE CONNECTION TO THE STEREO/RECEIVER
You can create an analogue connection from the LV-SUB to any stereo/receiver equipped with a sub-output. Connect with a cable from the sub-output to the Line In on the rear of the LV-SUB
Note: If LV-SUB is connected by cable, it will be excluded from wireless network.

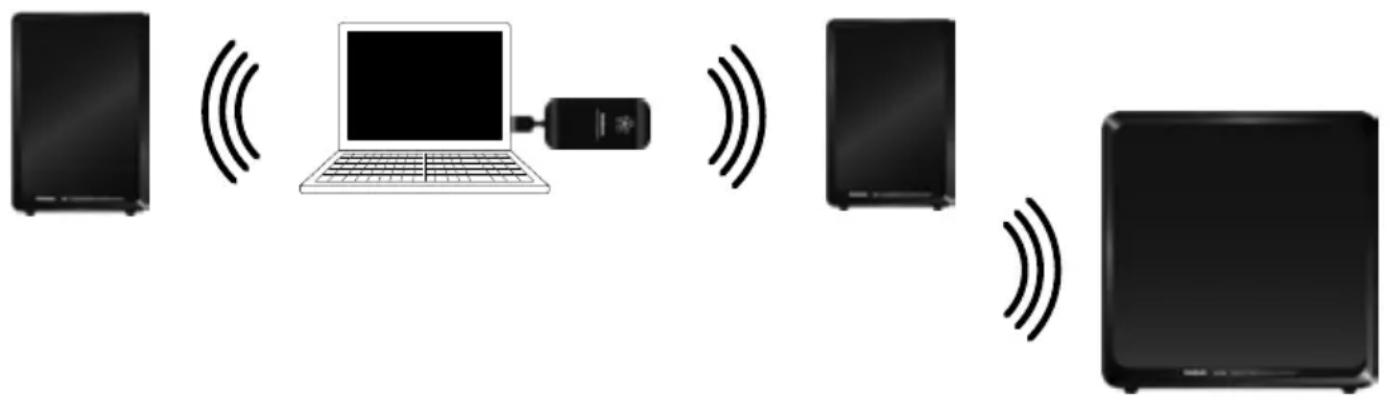
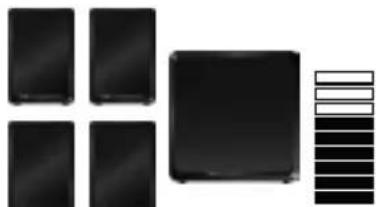
ADD MORE LV-SUBs TO THE WIRELESS NETWORK
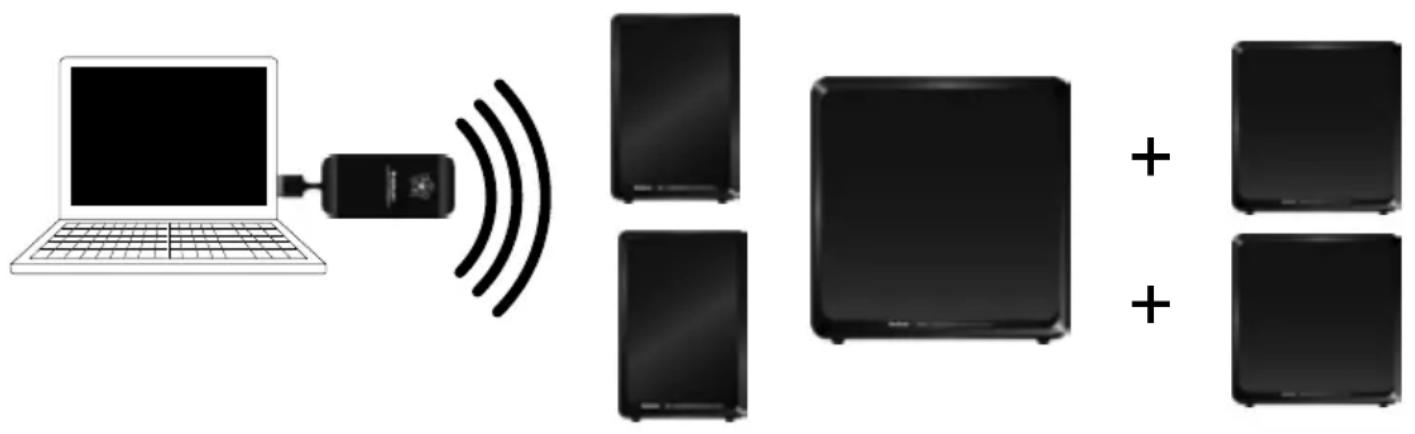
You can add an unlimited number of LV-SUB subwoofoers to the network, as long as they are positioned within the transmitter's range
All the LV-SUBs will receive signals from transmitters using the same House Code.
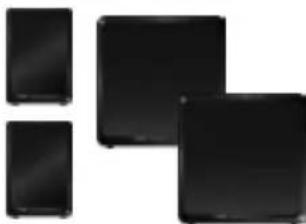
You can have multiple subwoofoers in one room or individual subwoofoers in several rooms.
PLACEMENT OF THE SUBWOOOFER
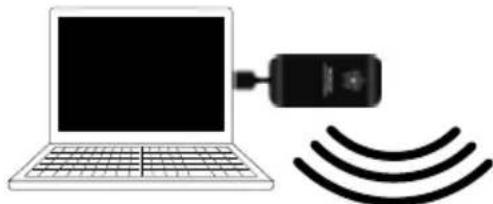
Since the LV-SUB functions wirelessly, its placement is simple. Just connect it to the power socket and place it within range of the transmitter.
For optimal bass reproduction, the subwoofer should be placed close to a wall or in a corner.
Corner placement can result in a powerful bass, so try different places until you are satisfied with the bass reproduction.

HOUSE CODE AND ZONE
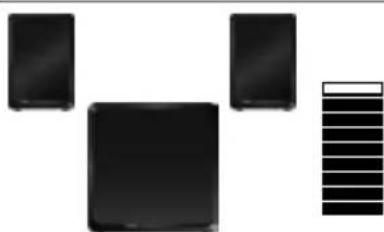
An Audio Pro audio network can be extended to provide sound in several rooms, or multiple loud-speakers in the same room. But you may not always want to have the same volume in all rooms. To solve this, you can divide each House Code up into a total of 3 different zones. Each zone is allocated its own volume. This is convenient if you wish, for example, to have a certain volume level in the living room and a different volume in the kitchen. You can have as many LV-SUBs in each zone as you wish, or just the one.
The LV-SUB is integrated as a natural part of the Audio Pro network.
HOUSE CODE 1
Speakers and transmitter use same house code.
Example with Living LV2 speakers.
Zone A Volume
Volume
Zone B

Volume Zone
HOUSE CODE 2
Speakers and transmitter use same house code.
Example with Living LV2 speakers.
Remote for LV2
Zone A Volume
VolumeZ
Volume Zone
Note that:
- Each House Code (1, 2 and 3) can be divided up into a maximum of 3 zones (A, B and C).
- You can allocate an unlimited number of loudspeakers to each House Code, and as many as you wish to each zone. A zone does not need to be restricted to a single room - it can be the whole floor or a department (within range of the transmitter)
HOW TO CHANGE HOUSE CODE ON THE LV-SUB
The House Code switch is located on the rear panel of the LV-SUB.
Set the same number (1, 2 or 3) as on the TX100 transmitter.
The House Code can be likened to a channel via which wireless signals are transmitted.
Within the network, music can be sent simultaneously from 3 different audio sources.
The Zone switch is located on the rear panel of the LV-SUB.
Set the same letter (A, B or C) as the other loudspeakers you wish to have in the same zone.
A House Code (channel) can be divided up into a total of 3 zones. You can control the volume level of these zones individually using the remote control. You can, for example, have one volume level in the kitchen, another in the living room, and a third in the bedroom.
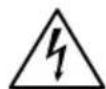

The lightning flash with arrowhead symbol, within an equilateral triangle, is intended to alert the user to the presence of uninsulated "dangerous voltage" within the product's enclosure that may be of sufficient magnitude to constitute a risk of electric shock to persons.

The exclamation point within an equilateral triangle is intended to alert the user to the presence of important operating and maintenance (servicing) instructions in the literature accompanying the appliance.
WARNING:
TO REDUCE THE RISK OF FIRE OR ELECTRIC SHOCK,DO NOT EXPOSE THIS APPARATUS TO RAIN OR MOISTURE.
CAUTION:
TO REDUCE THE RISK OF ELECTRIC SHOCK, DO NOT REMOVE COVER (OR BACK). NO USER-SERVICEABLE PARTS INSIDE. REFER SERVICING TO QUALIFIED SERVICE PERSONNEL.
IMPORTANT SAFETY INSTRUCTIONS
- Read these instructions.
- Keep these instructions.
- Heed all warnings.
- Follow all instructions.
- Do not use this apparatus near water.
-
Clean only with dry cloth.
-
Do not block any ventilation openings. Install in accordance with the manufacturer's instructions.
- Do not install near any heat sources such as radiators, heat registers, stoves, or other apparatus (including amplifiers) that produce heat.
- Protect the power cord from being walked on or pinched particularly at plugs, convenience receptacles, and the point where they exit from the apparatus.
- Only use attachments/accessories specified by the manufacturer.
- Unplug this apparatus during lightning storms or when unused for long periods of time.
- Refer all servicing to qualified service personnel. Servicing is required when the apparatus has been damaged in any way, such as power-supply cord or plug is damaged, liquid has been spilled or objects have fallen into the apparatus, the apparatus has been exposed to rain or moisture, does not operate normally, or has been dropped.
- Damage Requiring Service Unplug the apparatus from the wall outlet and refer servicing to qualified service personnel under thee following conditions:
A. When the power-supply cord or plug is damaged, B. If liquid has been spilled, or objects have fallen into the apparatus,
C. If the apparatus has been exposed to rain or water,
D. If the apparatus does not operate normally by following the operating instructions. Adjust only those controls that are covered by the operating instructions as an improper adjustment of other controls may result in damage and will often require extensive work by a qualified technician to restore the apparatus to its normal operation,
E. If the apparatus has been dropped or damaged in any way, and
F. When the apparatus exhibits a distinct change in performance this indicates a need for service.
14. Object and Liquid Entry
Never push objects of any kind into the apparatus through openings as they may touch dangerous voltage points or short-out parts that could result in a fire or electric shock. The apparatus shall not be exposed to dripping or splashing and no objects filled with liquids, such as vases shall be placed on the apparatus. Don't put candles or other burning objects on top of this unit.
15. Batteries
Always consider the environmental issues and follow local regulations when disposing of batteries.
16. If you install the apparatus in a built-in installation, such as a bookcase or rack, ensure that there is adequate ventilation. Leave 20cm (8") of free space at the top and sides and 10 cm (4") at the rear. The rear edge of the shelf or board above the apparatus shall be set 10 cm (4") away from the rear panel or wall, creating a flue-like gap for warm air to escape.
17. The power supply and power cord for this apparatus is intended for indoor use only.