ROADSTER LED auto-alimenté - CARE - ergomètre connecté - Exercise bike CARE FITNESS - Free user manual and instructions
Find the device manual for free ROADSTER LED auto-alimenté - CARE - ergomètre connecté CARE FITNESS in PDF.
| Product Type | Self-powered connected ergometer exercise bike |
| Brand | CARE FITNESS |
| Model | ROADSTER LED self-powered - CARE - connected ergometer |
| Resistance | Self-powered magnetic brake, 24 levels |
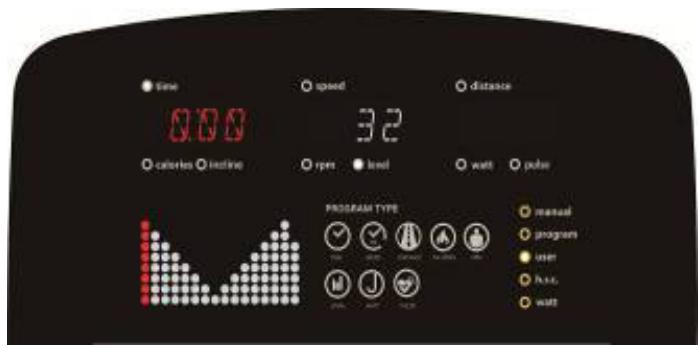
| Display | LED, display of parameters: time, distance, calories, heart rate, speed, RPM, watts |
| Training Programs | Manual, 12 preset programs (P1-P12), user program (U1-U4), HRC (55%/75%/90%/target), Constant Watt |
| Heart Rate Sensors | Integrated handle grips (hands) |
| Body Fat Test | Yes, with BMI calculation |
| Recovery Test | Yes (F1 to F6) |
| Power Supply | Self-powered (generated by pedaling) |
| Dimensions (L x W x H) | Approximately 105 x 60 x 140 cm |
| Weight | Approximately 35 kg |
| Maximum User Weight | 120 kg |
| Warranty | 2 years |
| Spare Parts | Available through after-sales service |
| Maintenance and Cleaning | Clean with a damp cloth; regularly check the tightness of screws |
| Safety | Use on a flat and stable surface; keep children away |
| User Settings | Gender, age, height, weight (U1-U4) |
| Heart Rate Measurement Range | 0 ~ 230 bpm |
| Watt Range | 0 ~ 999 watts; target setting 10 ~ 350 watts |
| Time Range | 0:00 ~ 99:00 (setting), 0:00 ~ 99:59 (display) |
| Distance Range | 0.00 ~ 99.99 km/mi |
| Calorie Range | 0 ~ 9999 kcal |
Frequently Asked Questions - ROADSTER LED auto-alimenté - CARE - ergomètre connecté CARE FITNESS
User questions about ROADSTER LED auto-alimenté - CARE - ergomètre connecté CARE FITNESS
0 question about this device. Answer the ones you know or ask your own.
Ask a new question about this device
Download the instructions for your Exercise bike in PDF format for free! Find your manual ROADSTER LED auto-alimenté - CARE - ergomètre connecté - CARE FITNESS and take your electronic device back in hand. On this page are published all the documents necessary for the use of your device. ROADSTER LED auto-alimenté - CARE - ergomètre connecté by CARE FITNESS.
USER MANUAL ROADSTER LED auto-alimenté - CARE - ergomètre connecté CARE FITNESS
text_image
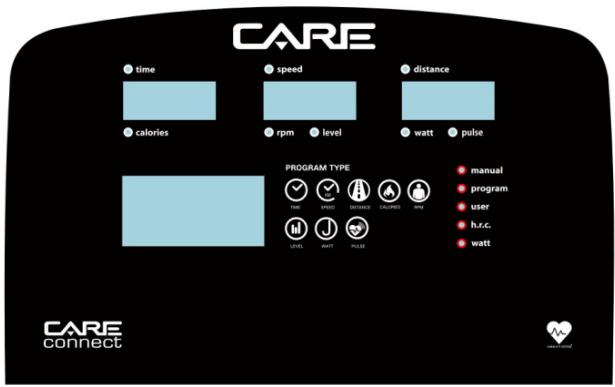
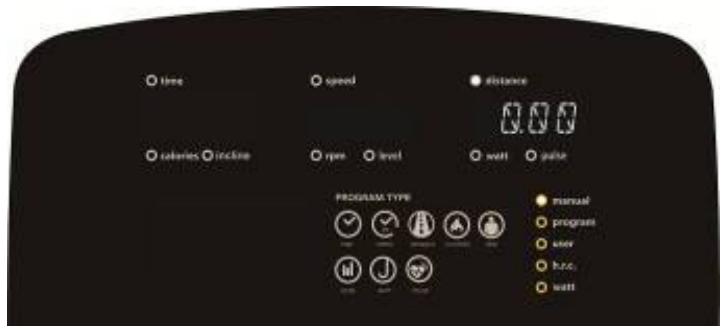
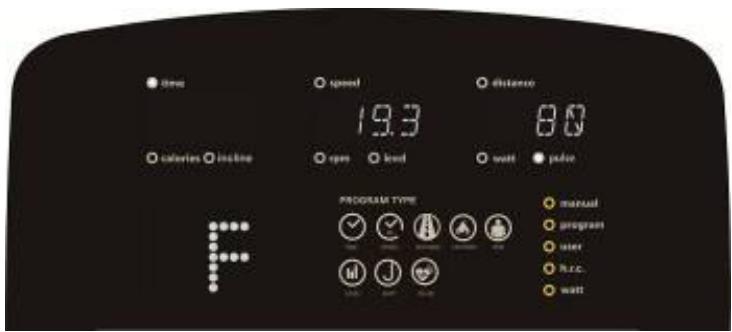
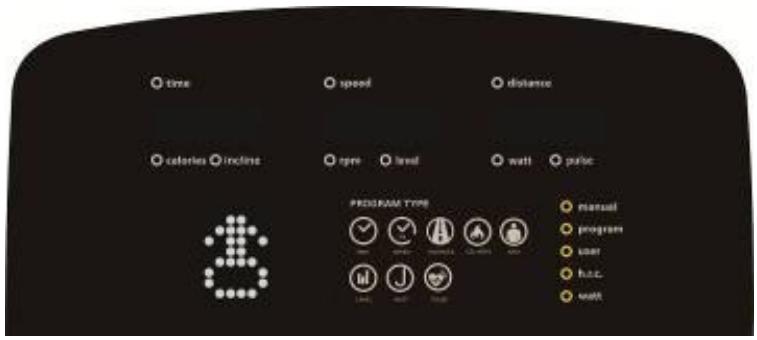
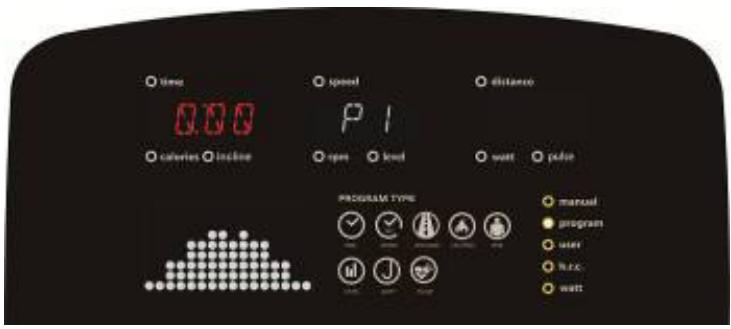
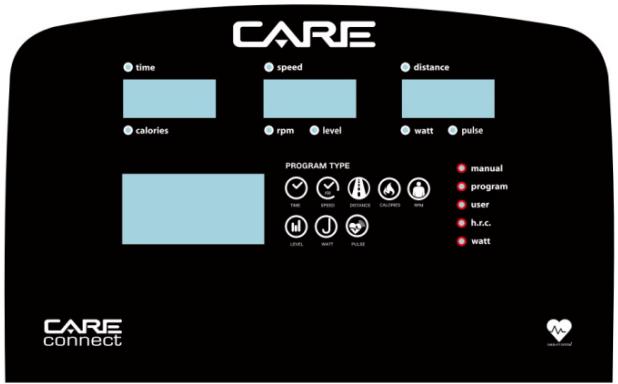
CARE time calories speed rpm level distance watt pulse PROGRAM TYPE manual program user h.c.c watt CARE connectFONCTIONS D'AFFICHAGE
text_image
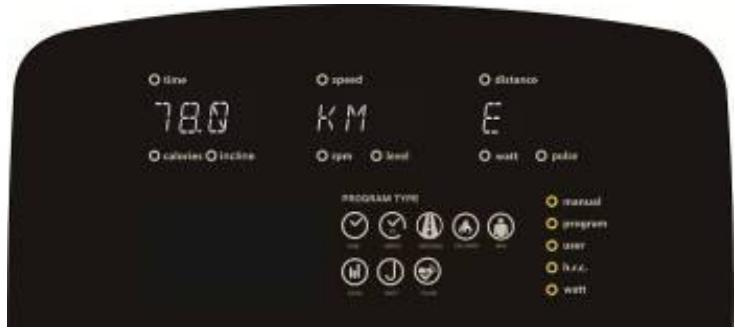
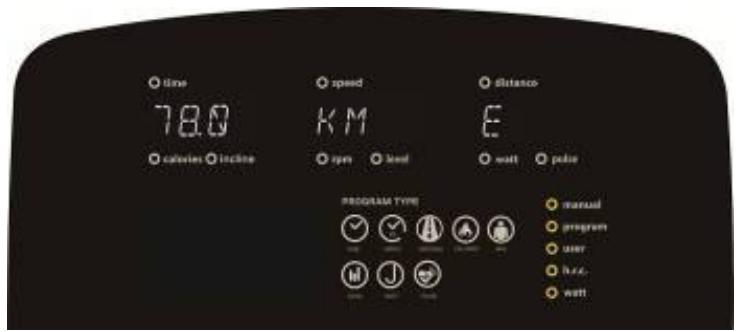
time 78.0 calories incline speed KM rpm load distance E watt pulse PROGRAM TYPE manual program user lamp wattImage 2
text_image
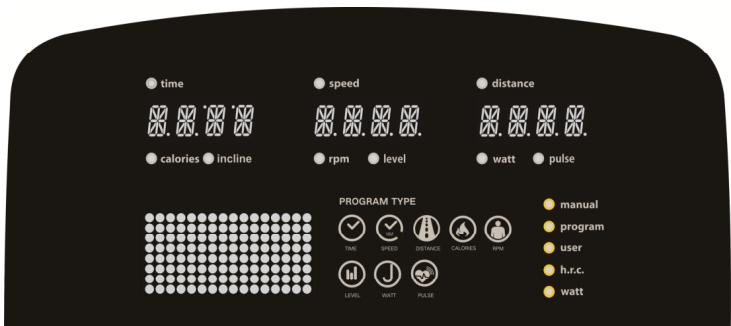
time speed distance calories incline rpm level watt pulse PROGRAM TYPE manual programm user huc wattImage 3
text_image
time speed distance calories incline opere level wall pulse PROGRAM TYPE manual program user h.c. wattImage 4

text_image
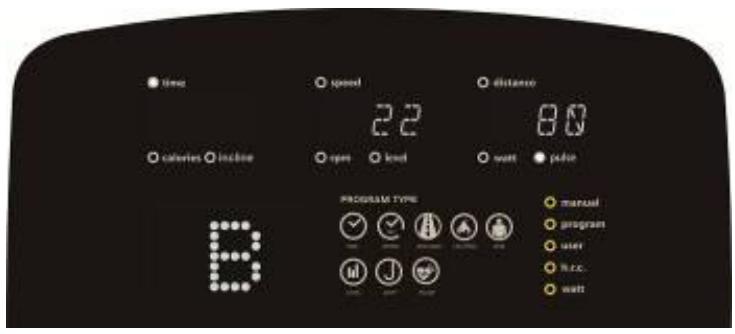
time 25 calories calories inline age speed distance open level watt pulse PROGRAM TYPE manual program user h.c. wattImage 5

text_image
time 160 calories hours speed distance open lind watt pulse PROGRAM TYPE manual program user h.c. wattImage 6
text_image
time 50 calories inline speed open level watt pade PROGRAM TYPE manual program user h.c. watt WTImage 7
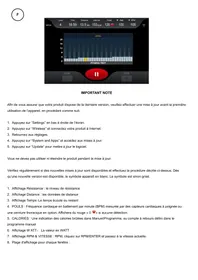
Éteindre :
text_image
time calories incline speed rpm level watt pulse PROGRAM TYPE manual program user h.c.c. waitImage 8
text_image
time speed distance calories incline level wall pulse PROGRAM TYPE manual program user focus waitImage 9

text_image
time speed distance calories locked open level watt power PROGRAM TYPE manual program user h.csc wattImage 10
FONCTION DU PROGRAMME :
text_image
time speed distance calories incline rpm level watt pulse PROGRAM TYPE manual program user free wellImage 11

text_image
time 0.00 calories inline speed P1 open level watt pulse PROGRAM TYPE manual program user h.c.s. wattImage 12
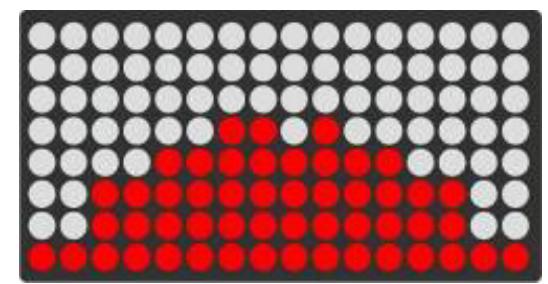
B. IMAGES DU PROGRAMME COMME CI-DESSOUS :
natural_image
Grid of black, white, and red dots forming a pattern (no text or symbols)P1
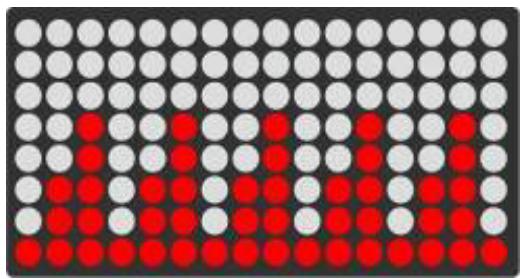
natural_image
Grid of black, white, and red dots forming a pattern (no text or symbols)P2
natural_image
Grid of colored dots (white, gray, red) with no text or symbolsP3

natural_image
Grid of black, white, and red dots forming a pattern (no text or symbols)P4

natural_image
Grid of black, white, and red dots forming a pattern (no text or symbols)P5

natural_image
Grid of white and red dots on a dark background, no text or symbols presentP6
natural_image
Grid of black, white, and red dots forming a pattern (no text or symbols)P7

natural_image
Grid of black, white, and red dots forming a pattern with no text or symbolsP8
natural_image
Grid of black, white, and red dots forming a pattern (no text or symbols)P9
natural_image
Grid of black, white, and red dots forming a pattern (no text or symbols)P10
natural_image
Grid of black, white, and red dots forming a pattern (no text or symbols)P11
natural_image
Grid of black, white, and red dots forming a pattern (no text or symbols)P12
FONCTION DU PROGRAMME UTILISATEUR :
text_image
time speed distance 3:2 calories incline rpm level watt pulse PROGRAM TYPE manual program user h.c. wattImage 13
text_image
time 0.00 calories inline speed 3.2 rps level watt pulse PROGRAM TYPE manual program user free waitImage 14
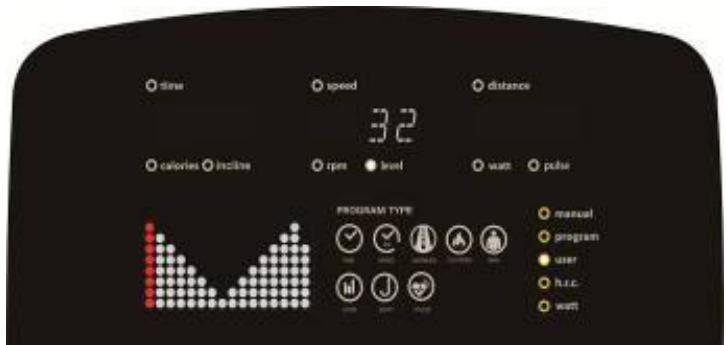
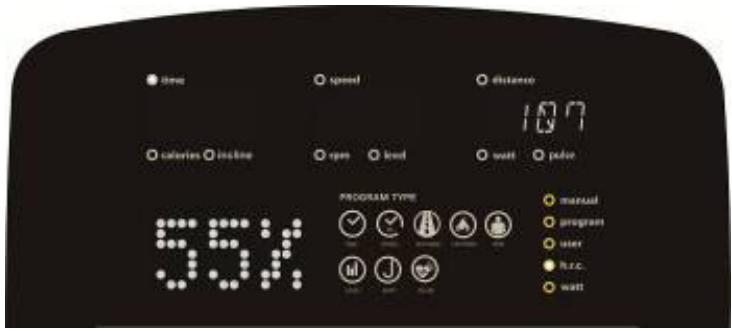
FONCTION RC :
text_image
time calories incline 55% speed open load distance 107 watt color PROGRAM TYPE manual program user h.c. wattImage 15
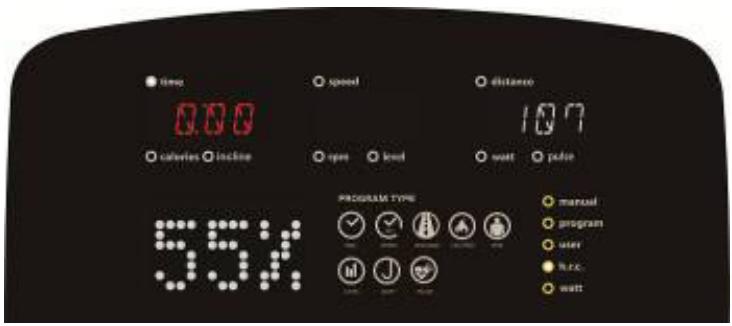
text_image
time 0.00 calories incline speed open level distance 107 watt pulse 55% PROGRAM TYPE manual program user h.c.c. wattImage 16

text_image
time 10.0 calories incline speed 2.4 open level distance 0.0 1 wall pulse PROGRAM TYPE manual program user huc wattImage 17
FONCTION WATTS :
text_image
time calories inline speed open level distance 120 watt pilot PROGRAM TYPE manual program user h.c.c. wattImage 18

text_image
time 0.00 calories incline speed open level distance 120 watt pade PROGRAM TYPE manual program user h.c. wattImage 19
FONCTION DE RÉCUPÉRATION :
text_image
time 0:60 calories incline speed open load distance 72 watt pulse PROGRAM TYPE manual program user h.c. wattImage 20 Image 21

text_image
time 0.00 calories inline speed open level distance 72 watt power PROGRAM TYPE manual program user r.r.c. wattDE GRAISSE CORPORELLE :
text_image
time speed distance 0.0 calverin inline open load watt pulse PROGRAM TYPE manual program user free. wallImage 22
text_image
time calories incline speed open load watt power PROGRAM TYPE manual program user R.c. wattImage 23

text_image
time speed distance 80 calveres incline open level watt pulse PROGRAM TYPE manual program user h.r.c. wattImage 24
text_image
time calories inline speed open level distance 80 watt pade PROGRAM TYPE manual program user kuc wattImage 25
text_image
time calories incline speed open level distance 80 watt padter PROGRAM TYPE manual program user n.e.c. wattImage 26

text_image
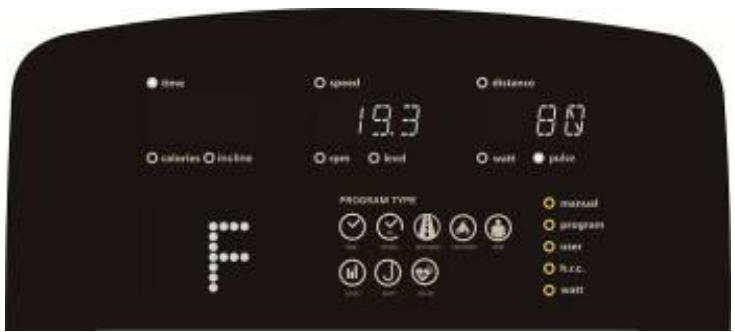
time calories inline speed 19.3 open load distance 80 watt pulse PROGRAM TYPE manual program user R.R.C. wattImage 27
Connection application Kinomap
https://cloud.carefitness.com/index.php/s/E2WD22KMNBQzERL
area
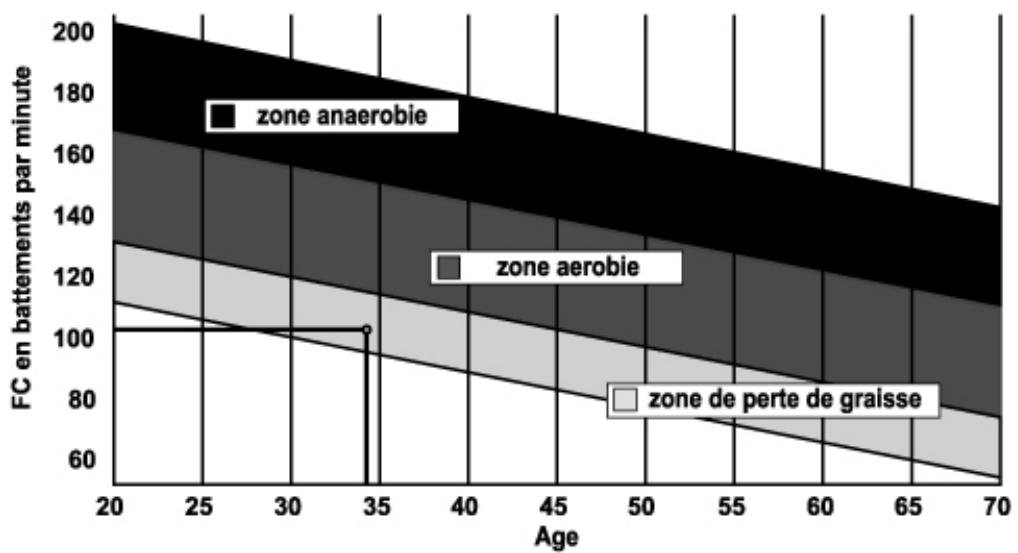
| Age | zone anaerobie | zone aerobie | zone de perte de graisse | | --- | --- | --- | --- | | 20 | 200 | 160 | 120 | | 35 | 180 | 140 | 100 | | 70 | 160 | 120 | 80 |E mail : https://www.carefitness.com/sav
GB
text_image
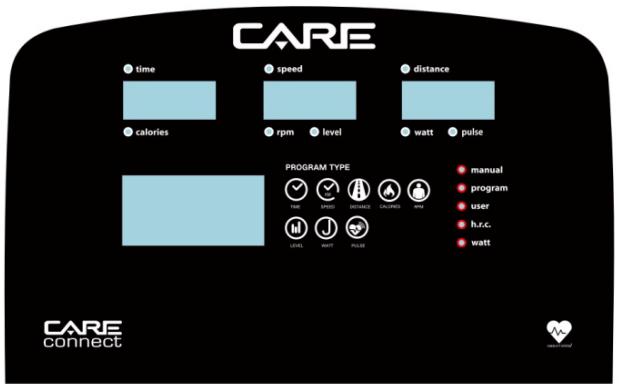
CARE time calories speed rpm level distance watt pulse PROGRAM TYPE manual program user h.r.c. watt CARE connectDISPLAY FUNCTIONS
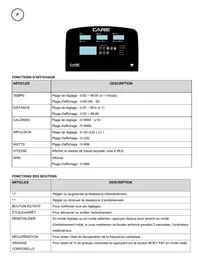
| ITEMS | DESCRIPTION |
| TIME | Setting range: 0:00 ~ 99:00 (± 1 minute)Display range : 0:00~99: 59 |
| DISTANCE | Setting range: 0.00 ~ 99.0 (± 1)Display range : 0.00 ~ 99.99 |
| CALORIES | Setting range: 0~9990 (±10)Display range : 0~9999 |
| IMPULSE | Setting range: 0~30~230 ( ±1 )Display range : 0~230 |
| WATTS | Display range : 0~999 |
| SPEED | Show current working speed, max at 99.9. |
| RPM | DisplayDisplay range: 0~999 |
BUTTON FUNCTIONS
| ITEMS | DESCRIPTION |
| "+" | Adjust or increase training resistance. |
| "-" | Adjust or decrease the training resistance. |
| ROTARY KNOB | To confirm all settings. |
| STAR/STOP | To start or stop the workout. |
| RESET | In setting mode or selection mode, press it to return to initial training mode, if you hold this button for 2 seconds, the computer will restart. |
| RECOVERY | To test the heart rate recovery status. |
| BODY FAT | To test body fat % by pressing BODY FAT button in sleep mode. |
Turn on and off
To light up :
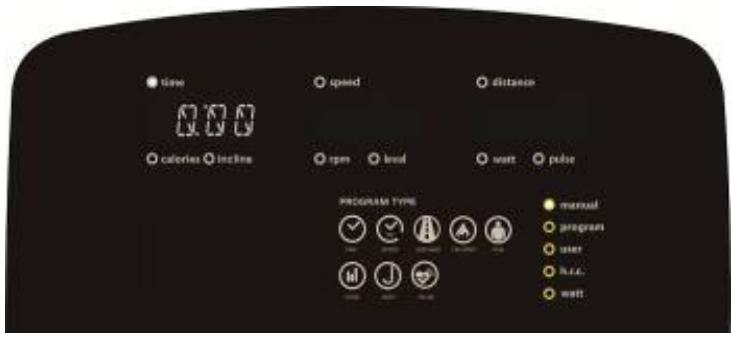
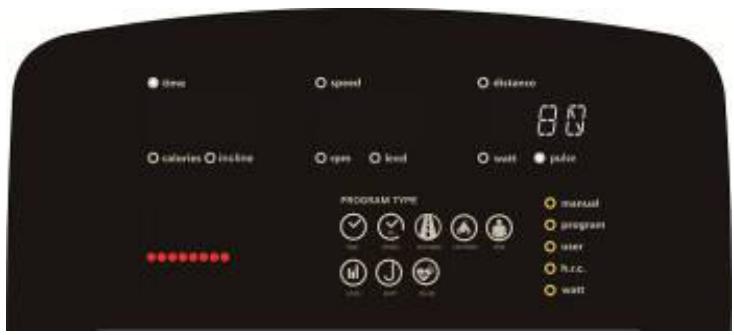
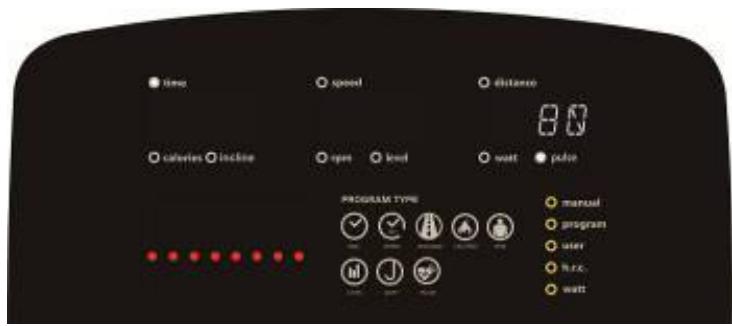
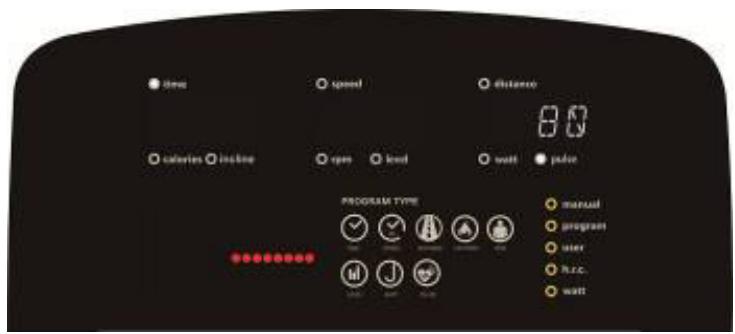
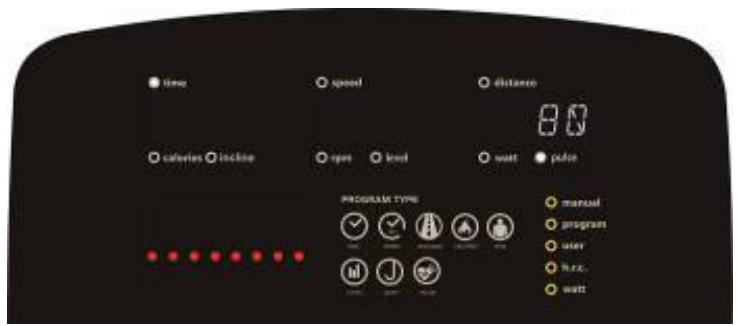
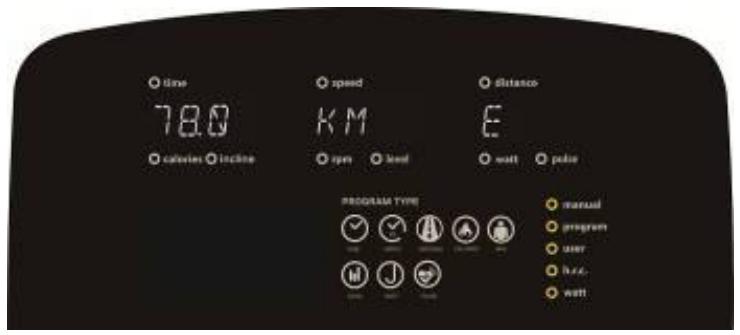
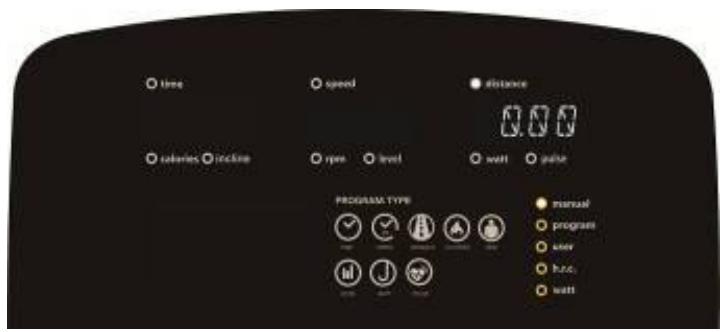
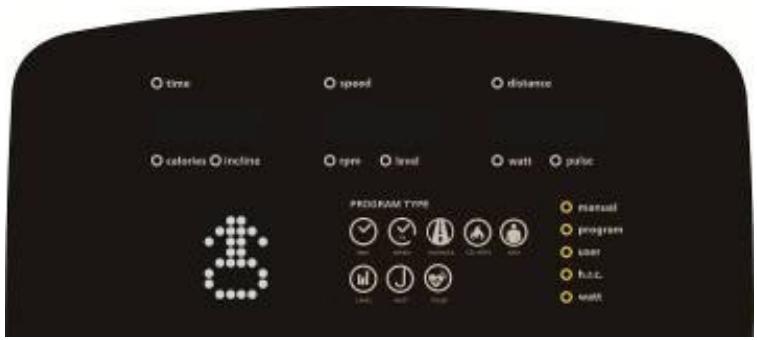
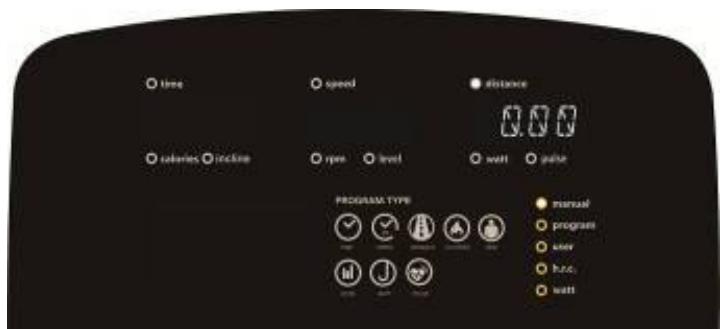
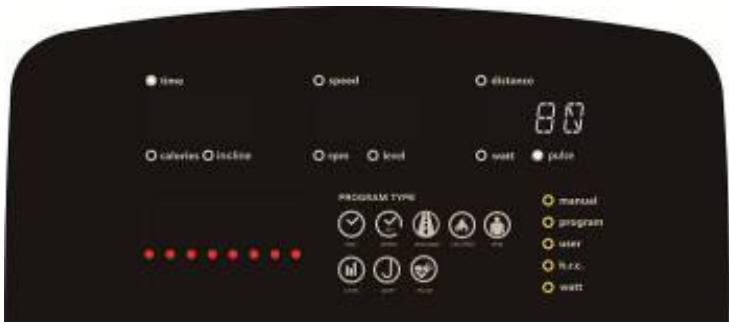
- The screen will show all segments, such as wheel diameter, KM or ML, (image1, image 2)
text_image
time calories incline speed rpm level distance watt pulse PROGRAM TYPE manual program user h.r.c. watt TIME SPEED DISTANCE CALORIES RPM LEVEL WATT PULSEPicture 1
text_image
time 78.0 calories incline speed KM rpm level distance E wall power PROGRAM TYPE manual program user house wallPicture 2
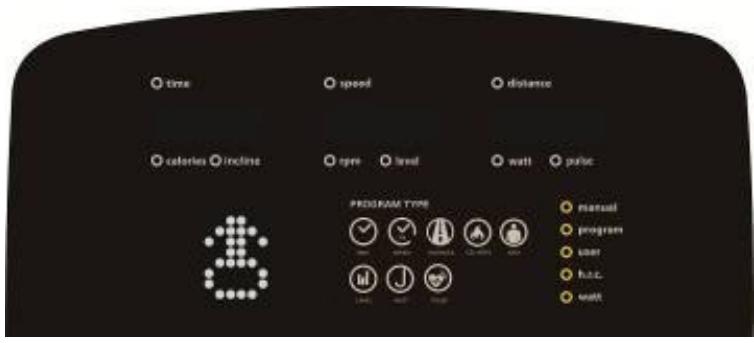
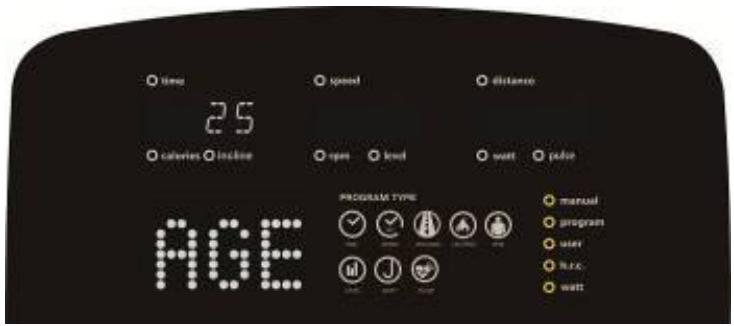
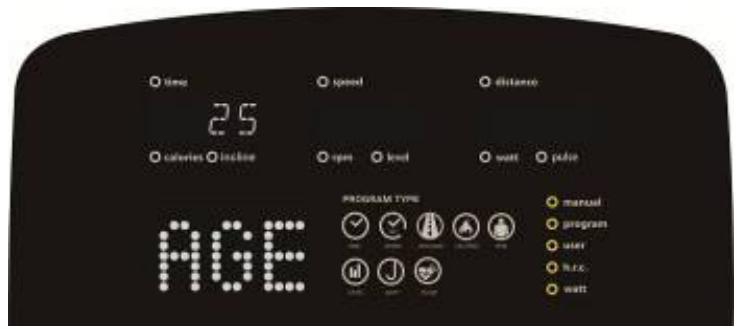
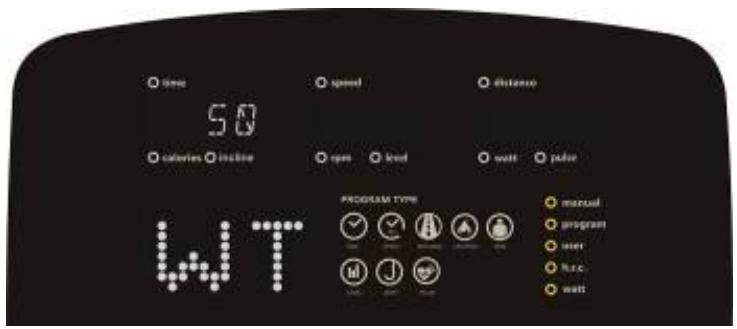
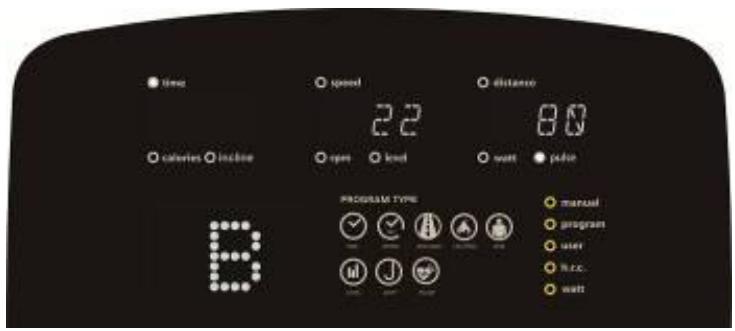
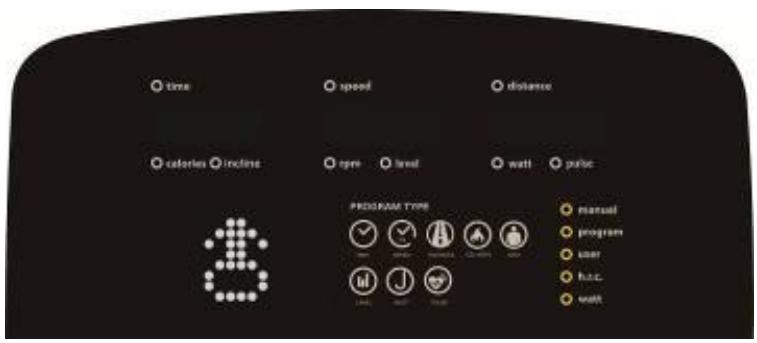
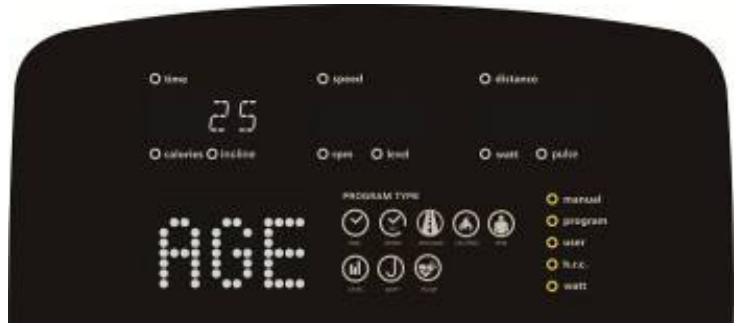
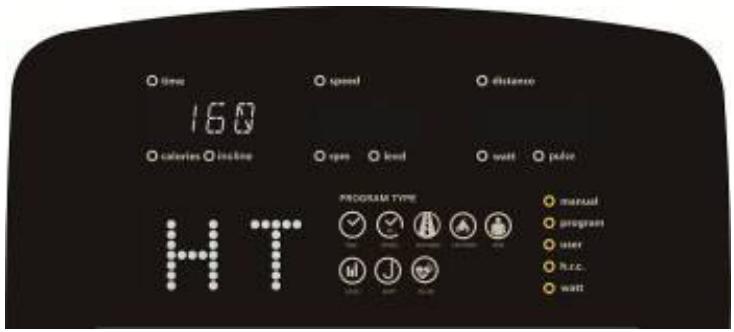
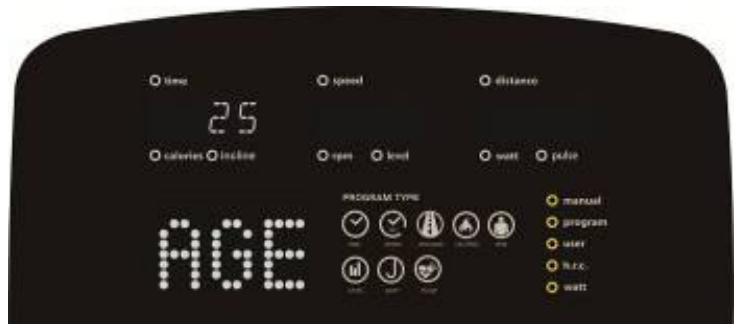
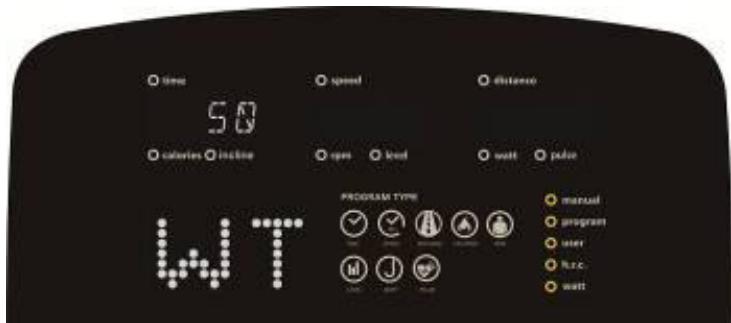
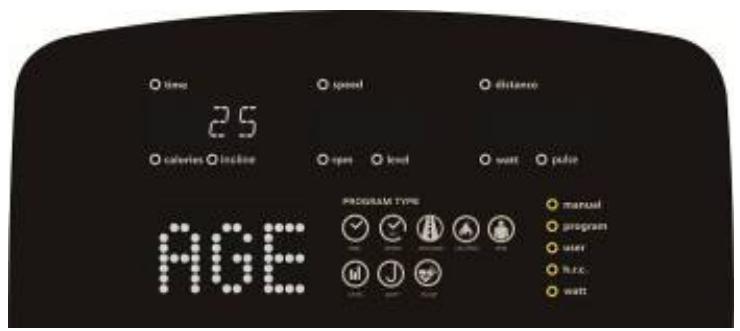
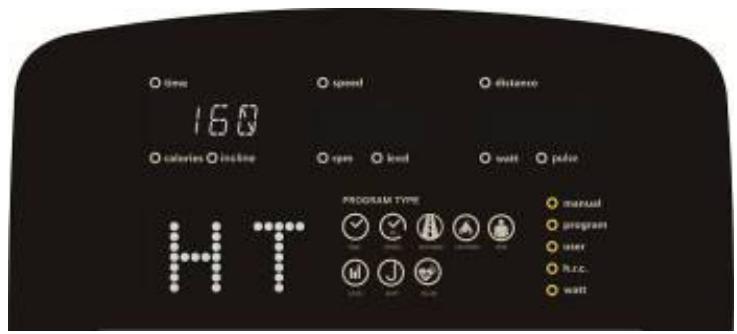
- Enter user selection mode, setting user file U1-U4 (picture 3), GENDER (image 4), AGE (image 5), HEIGHT (image 6), WEIGHT (image 7), after that will enter function selection mode: MANUAL, PROGRAM, USER PROGRAM, HRC, WATT.
text_image
time speed distance calories incline rpm level watt pulse PROGRAM TYPE manual program user huc wattPicture 3
text_image
time speed distance calories incline eye level wall pulse PROGRAM TYPE manual program user huc. wattPicture 4
text_image
time 25 calories calorie age speed distance open level watt pulse PROGRAM TYPE manual program user free wattPicture 5

text_image
time 160 calories incline speed distance open load wait color PROGRAM TYPE manual program user h.c. wait HTPicture 6

text_image
time 50 calories height speed distance open level watt power PROGRAM TYPE manual program user Hz.c watt WTPicture 7
Turn off :
If no movement is made within 4 minutes, the display turns off, the computer is in shutdown mode. If the computer detects movement, the computer turns back on.
MANUAL FUNCTION:
By turning the “+” or “-” button, the user can configure TIME →DISTANCE →CALORIES →PULSE (image 8 \~ image 10). Press START/STOP, user can adjust the RESISTANCE LEVEL during exercise, without setting before starting, the screen displays the working value. Then press START/ STOP, the computer will enter pause mode, press the “RESET” button exit this mode.
text_image
time calories incline speed rpm level watt pulse PROGRAM TYPE manual program user h.c. wellPicture 8
text_image
time speed distance 0.00 calaries rbcline type level wall pulse PROGRAM TYPE manual program user hours wattPicture 9

text_image
time calories locked speed open level watt pad distance PROGRAM TYPE manual program user h.c.c. wattPicture 10
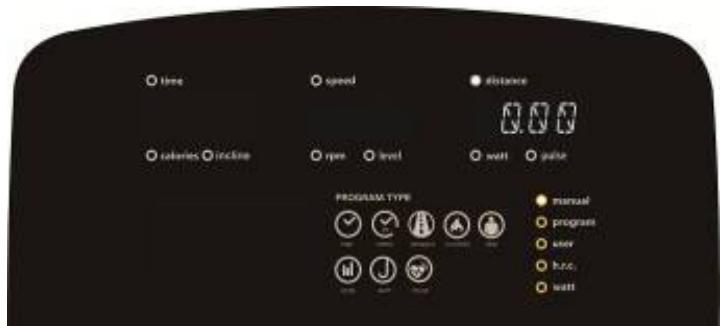
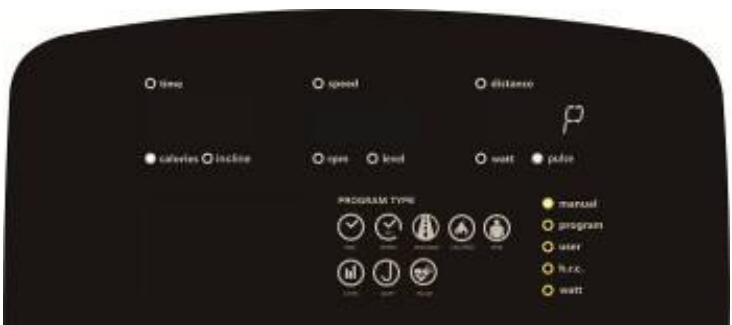
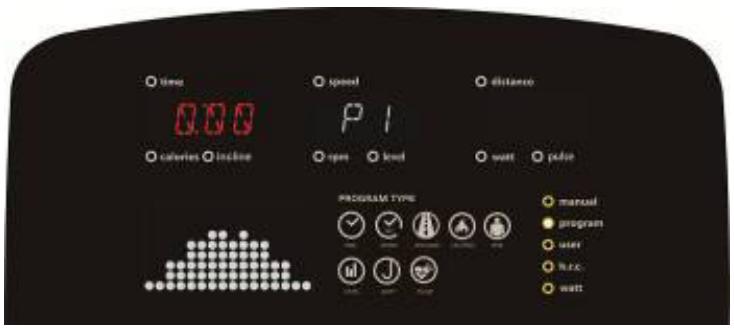
PROGRAM FUNCTION:
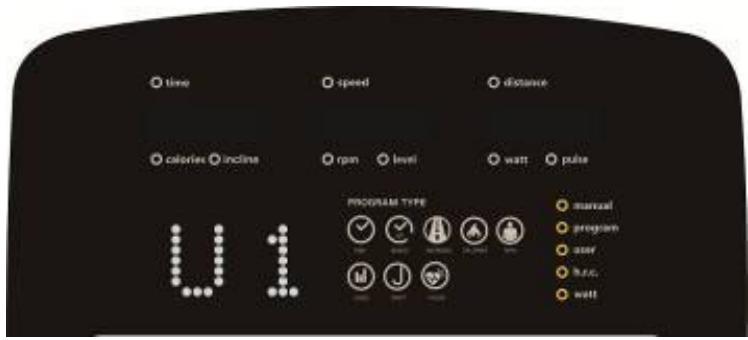
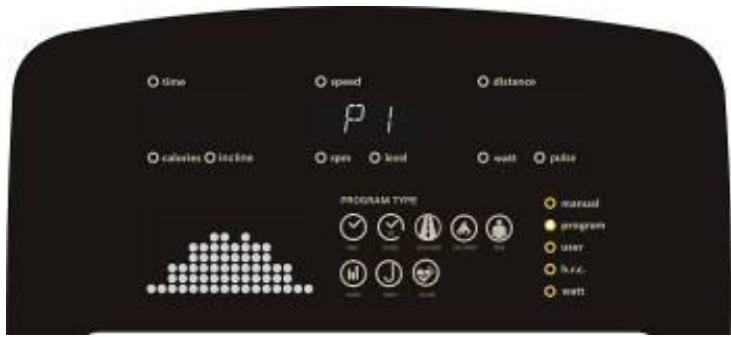
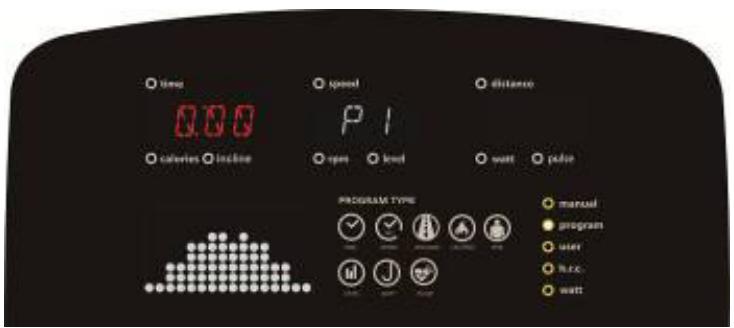
A. In this mode, user can select 12 programs (P1\~P12) (picture 11). While the user chooses the PROGRAM and turns the “+” or “-” button to set the TIME (picture 12), the screen displays the setting value by user setting. If setting is completed, press “START/STOP” to start (in pause mode). user can choose to adjust the “TIME”) value. In the START state, the user can adjust the RESISTANCE level. During working time, press “START/STOP”, the computer will enter pause mode, press “RESET” button exit this mode.
text_image
time speed distance calories incline rpm level wall pulse PROGRAM TYPE manual program user free. wallPicture 11
text_image
time 0.00 calories incline speed P1 open load watt pulse PROGRAM TYPE manual program user h.c. wattPicture 12
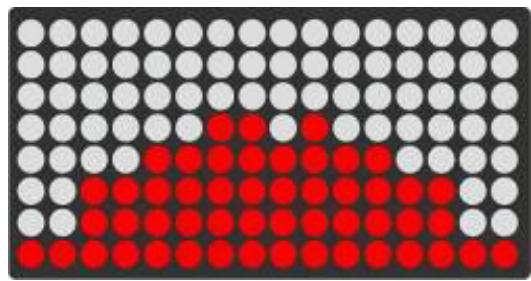
A. PROGRAM IMAGES AS BELOW:

natural_image
Grid of black, white, and red dots forming a pattern (no text or symbols)P1
natural_image
Grid of black, white, and red dots forming a pattern (no text or symbols)P2

natural_image
Grid of black, white, and red dots forming a pattern (no text or symbols)P3
natural_image
Grid of black, white, and red dots forming a pattern with no text or symbolsP4

natural_image
Grid of black, white, and red dots forming a pattern (no text or symbols)P5

natural_image
Grid of black, white, and red dots forming a pattern (no text or symbols)P6
natural_image
Grid of black, white, and red dots forming a pattern (no text or symbols)P7
natural_image
Grid of black, white, and red dots forming a pattern (no text or symbols)P8
natural_image
Grid of black, white, and red dots forming a pattern (no text or symbols)
natural_image
Grid of black, white, and red dots forming a pattern (no text or symbols)P9

natural_image
Grid of black, white, and red dots forming a pattern (no text or symbols)P11
P10

natural_image
Grid of red and gray dots on a dark background, no text or symbols presentP12
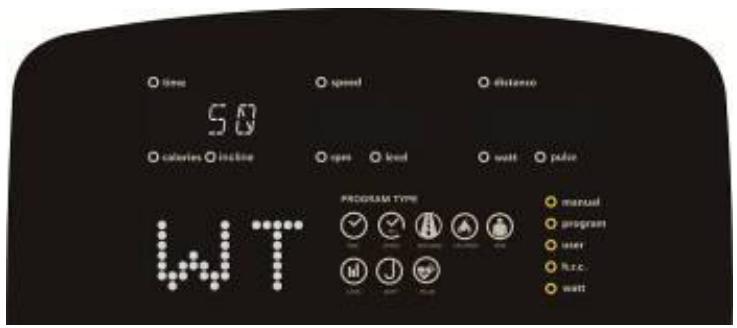
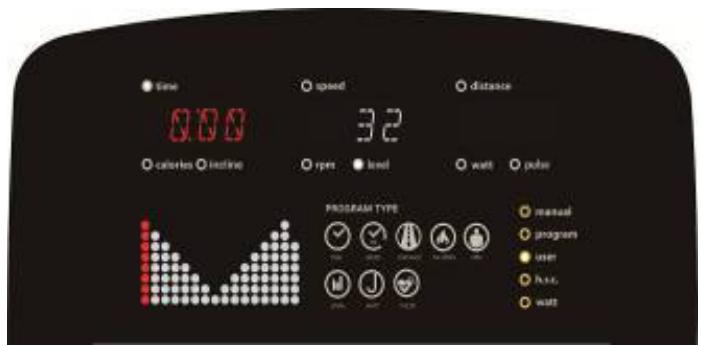
USER PROGRAM FUNCTION:
By rotating the “+” or “-” button, user can set the PROGRAM image, then press MODE/ENTER to confirm the resistance setting value (image 13). If user wants to stop setting, keep pressing MODE/ENTER button for 2 seconds. The display shows the last setting value. While pressing MODE/ENTER button for 2 seconds, user can set “TIME” (picture 14), if no setting value is set, press “START” to enter working picture. In START mode, the user can adjust the resistance. During working time, press “START” to enter pause mode, then press “RESET” button. exits this mode.
text_image
time speed distance 3.2 calories incline rpm level watt pulse PROGRAM TYPE manual program user fuller wattPicture 13

text_image
Time 0:00 calories inline speed 32 rpm level watt polar PROGRAM TYPE manual programm user free waitPicture 14
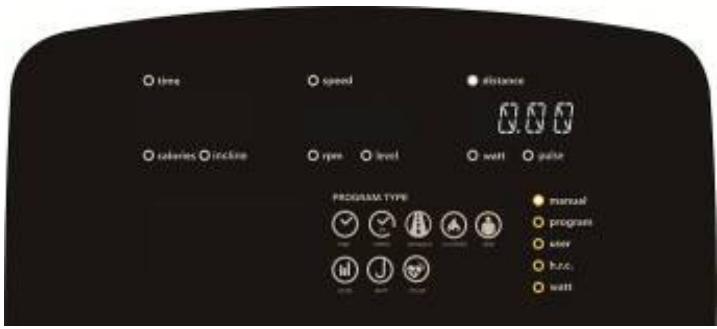
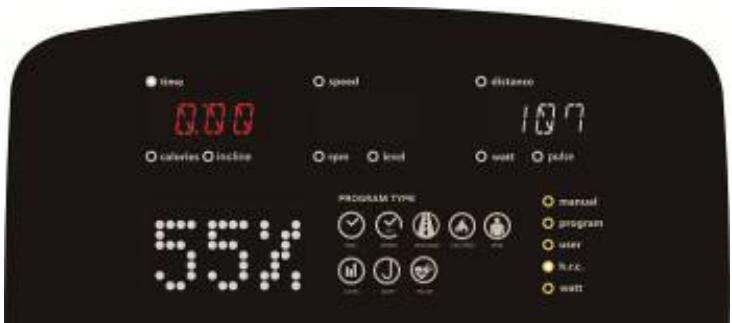
RC FUNCTION:
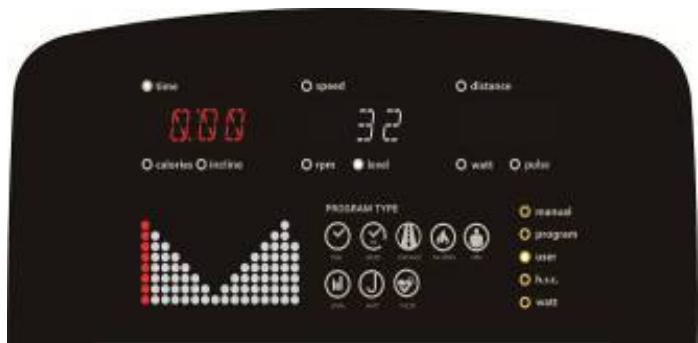
In HRC mode, the screen will display heart rate percentage 55%, 75%, 90% and TARGET. The user can select one of the heart rate percentages by rotating the “+” or “-” button for training (image 15).
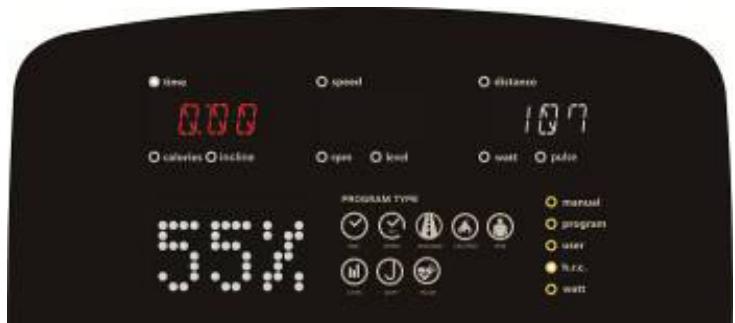
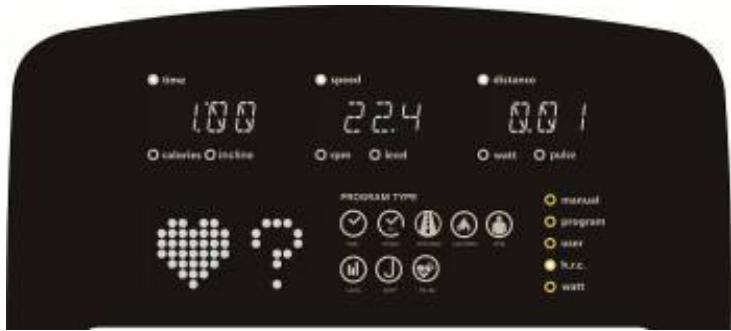
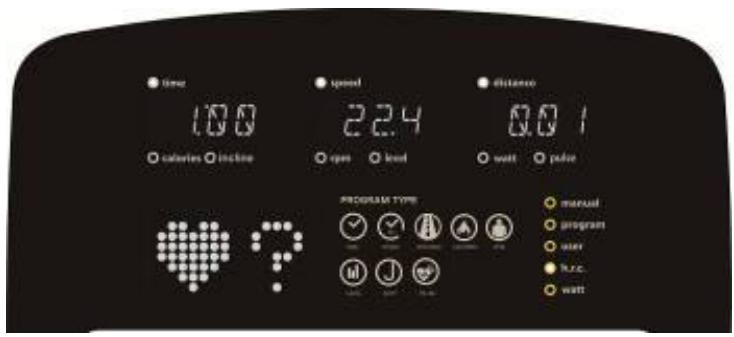
The preset TARGET value is 100, user can set the pulse value by themselves, press the rotary button to set the TIME value (picture 16), if not necessary, press "START/STOP", it will start working according to the HRC function and display the current pulse value. If pulse is not detected, LED display as picture 17. During working time, press "START", enter pause mode, then press "RESET" button exit this mode.
text_image
time calories inline speed open level distance 10.7 wall pilot PROGRAM TYPE manual program user h.c. wall 55%Picture 15
text_image
time 0.00 calories incline speed open level distance 107 watt pace 55% PROGRAM TYPE manual program user h.c. wattPicture 16

text_image
time 100 calories incline speed 2.4 open load distance 0.0 1 watt pulse PROGRAM TYPE manual program user huc. wattPicture 17
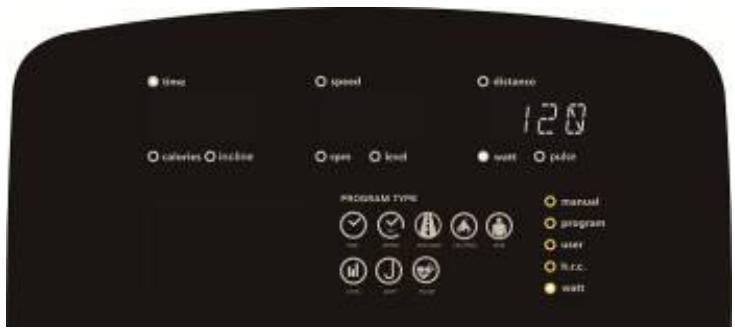
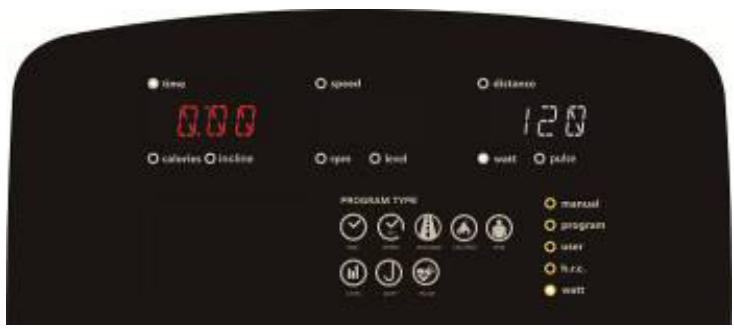
WATTS FUNCTION:
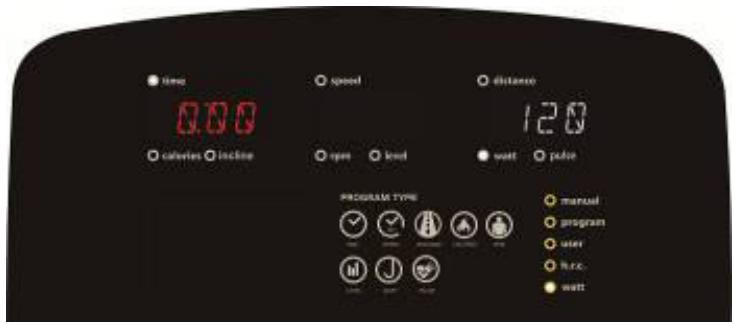
The preset watt value 120 (picture 18), rotating the “+” or “-” button to adjust the WATT value
( adjustment range : 10 \~ 350). Setting finished, press the rotary button to adjust the TIME (picture 19), if you don't need to adjust the time value, press "START/STOP", the resistance value will automatically adjust according to the set target WATT value. During working time, press "START". /STOP" enter pause mode, then press "RESET" button it exit this mode.
text_image
time calories incline speed open load distance 120 watt pulse PROGRAM TYPE manual program user R.R.C. wattPicture 18
text_image
time 0.00 calories incline speed open level distance 120 watt pilot PROGRAM TYPE manual program user h.r.c. wattPicture 19
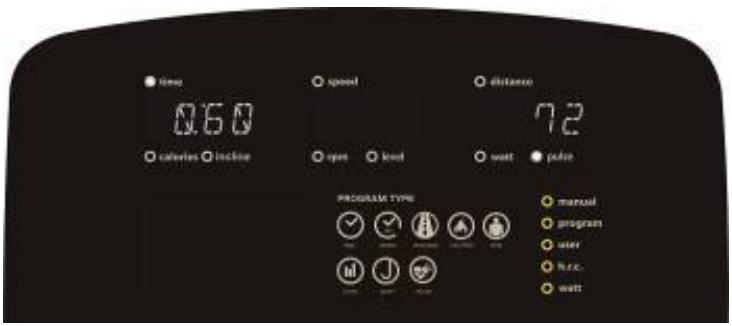
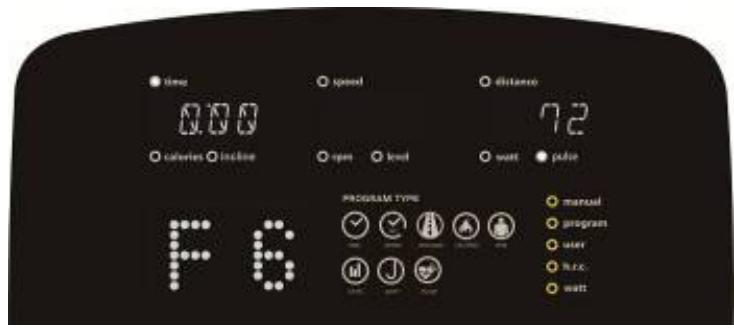
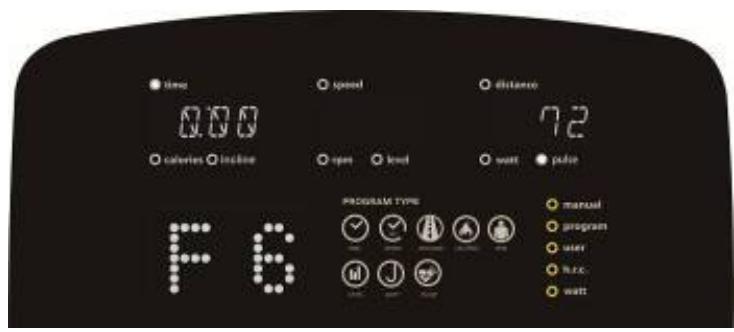
RECOVERY FUNCTION :
A. If there is no pulse input, it is invalid, press the “RECOVERY” button.
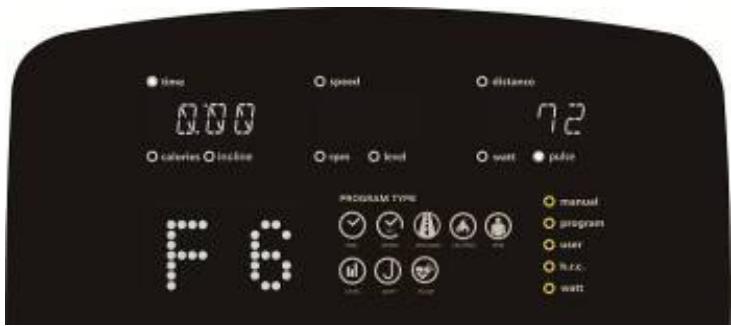
B. If pulse input is detected, press this button to enter “RECOVERY” function mode, countdown from 00:60 to 00:00. (picture 20). The screen will show your heart rate recovery status F1 ,F2 ....to F6 (image 21) . F1 is the best, F6 is the worst. The user can continue to exercise to improve the heart rate recovery state.
C. When testing, press the RECOVERY button to exit this test mode.
text_image
time 0:60 calories incline speed open load distance 72 watt pulse PROGRAM TYPE manual program user h.c. wattPicture 20
text_image
time 0.00 calories inline speed open level distance 72 watt power PROGRAM TYPE manual program user r.r.c. wattPicture 21
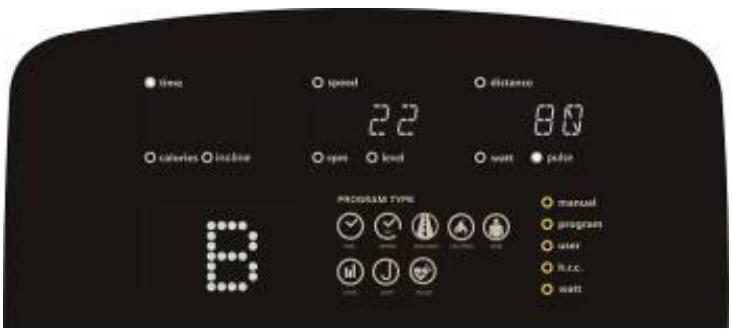
OF BODY FAT :
A. Definition of a personal profile.
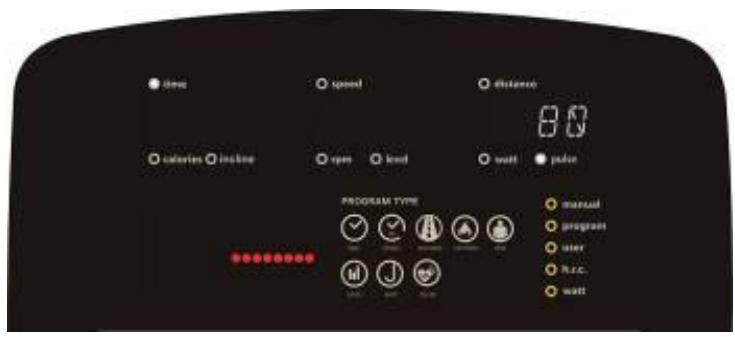
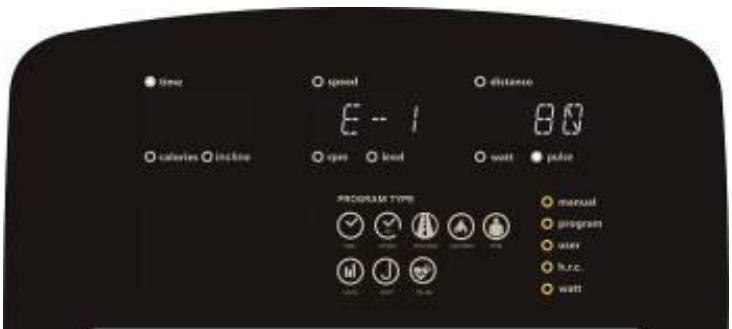
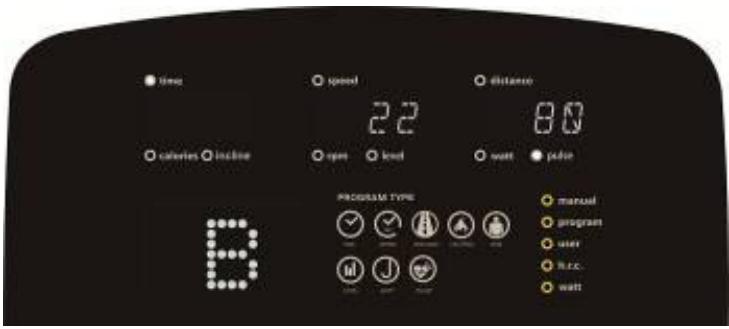
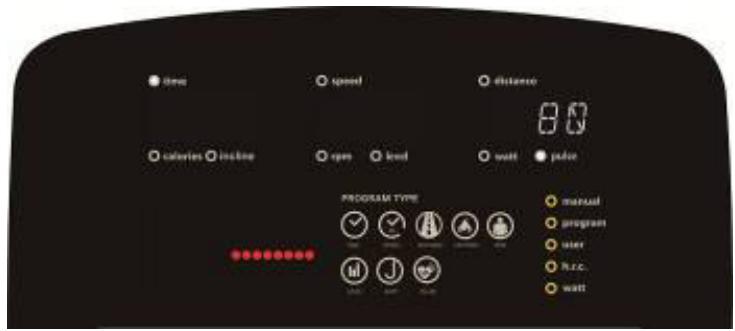
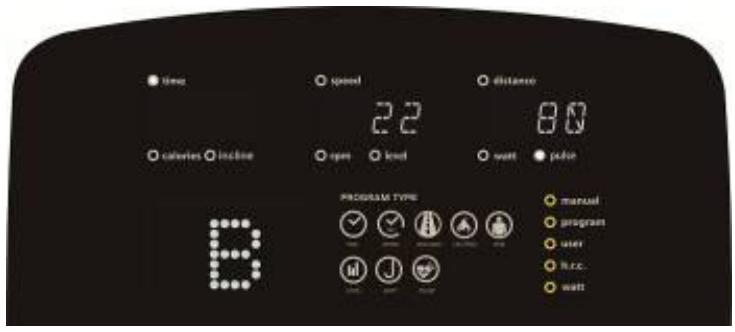
B. Press the "BODY FAT" button to start the body fat test (picture 22 \~ picture 24). At this time, user should grasp the handle correctly, the computer will display the test value.
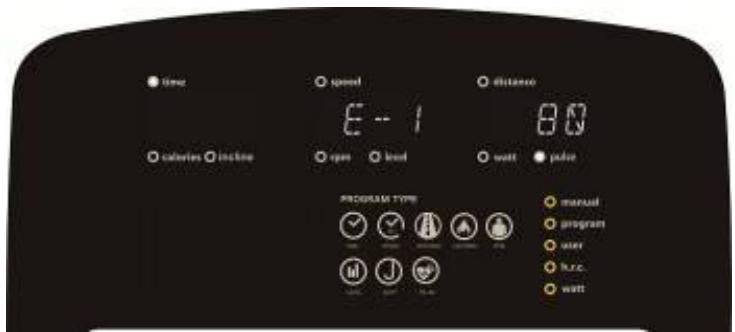
If any of the following situations occur, other possible indications will be displayed on the LCD screen.
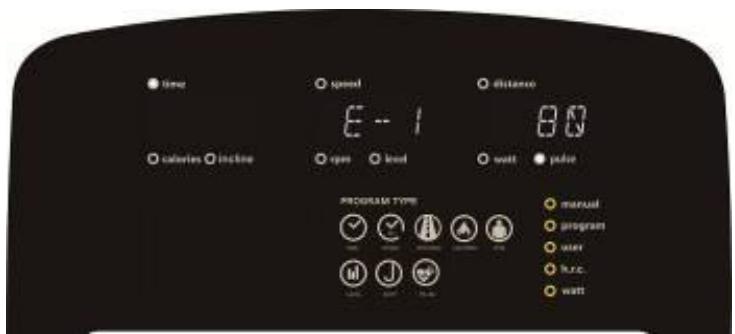
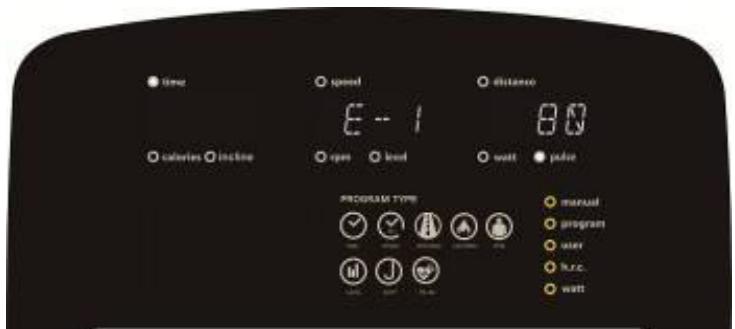
"E-1" (image 25) – When the user sees this indication, it means that the user has not put their thumb on the conductor correctly. Try Again.
"E-4" - When user sees this indication, it means that the BODY FAT notice is exceeded the setting range (5%\~50%).
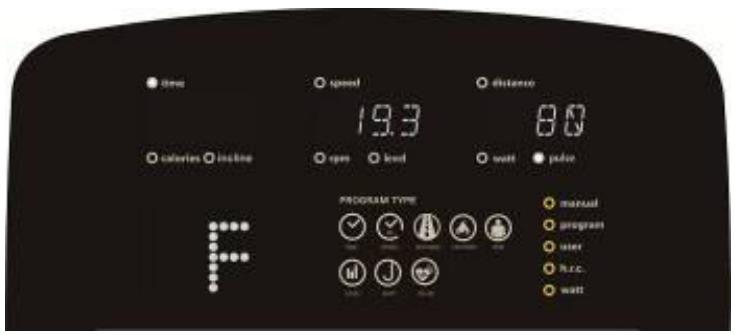
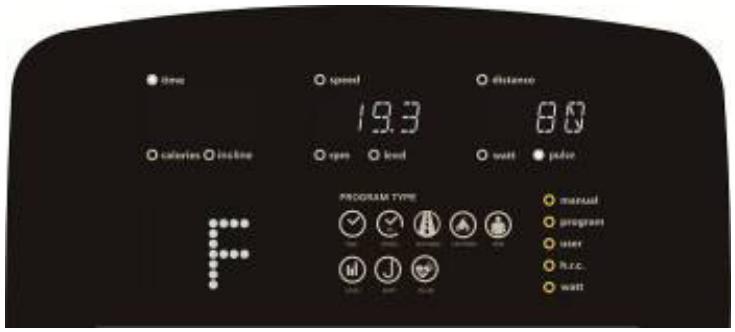
Once testing is complete, the screen displays both Fat % and BMI (image 26, image 27). In the Body FAT Test Mode", press the "BODY FAT" button to cancel this test and go back to continue the previous exercise before the test.
text_image
time calories incline speed open load distance wall color PROGRAM TYPE manual program user R.R.C. wallPicture 22

text_image
time speed distance calories incline open level wait color PROGRAM TYPE manual program user R.R.C. waitPicture 23
text_image
time speed distance calories incline open level wait color PROGRAM TYPE manual program user free. waitPicture 24
text_image
time calories inline speed E - 1 open lend distance 80 watt polar PROGRAM TYPE manual program user huc. wattPicture 25
text_image
time calories incline speed open level distance 80 wait color PROGRAM TYPE manual program user h.c.c. waitPicture 26
text_image
time calories inline speed 19.3 open load distance 80 wall power PROGRAM TYPE manual program user R.R.C. wallPicture 27
Application connection
Copy the link here under to your brower (Edge, Firefox, Chrome, Safari etc)
https://cloud.carefitness.com/index.php/s/E2WD22KMNBQzERL
And Follow the detailed instruction
Cardio – Training:
Before programming your training, it is essential to take account of your age, particularly for people of more than 35 years of age, as well as your physical condition. If you have a sedentary lifestyle without regular physical activity, it is vital that you consult your doctor to determine the level of intensity of your training. Once determined, do not attempt to achieve your maximum during the first training sessions. Be patient; your performance will quickly improve.
This enables you to develop your cardiovascular system (fitness of the heart / blood vessels). During Cardio-Training, the muscles need a supply of oxygen and nutritive substances. They also need to liminate waste. Our heart increases its rhythm and sends a larger amount of oxygen to the body by means of the cardiovascular system.
The more often you exercise regularly and repetitively, the more your heart will develop, just like any other muscle. In daily life, this translates into the ability to bear greater physical effort and improve your intellectual faculties.
Definition of your work Zone:
The Maximum Heart Rate (MHR) = 220 - age (180 - age for sedentary people).
The Warming Up Zone and Cooling Down Zone are equal to 55% of your MHR.
The Fat Loss Zone is between 55 / 65% of your MHR.
The Aerobic Zone is between 65 / 85% of your MHR.
The Anaerobic Zone is between 85% of your MHR and your MHR.
Make a diagram of the target zones
The progressive training stages:
A warming up phase:
Start each training session by warming up progressively (10-20 min, more if you are over 50) which will put your muscles on standby and gently increase your heart rate. Gently increase your pulse to 55% of your MHR (Maximum Heart Rate). Keep your Heart Rate at this level for the duration of the warming up time. If you begin your training too quickly, you are in danger of increasing the risk of tendon or muscle injury.
2) A work phase:
This is the main part of the training session. Depending on your specific goals and your initial physical condition, weight loss, improvement of cardiovascular resistance (aerobic work), development of stamina (anaerobic work), it is possible to choose the appropriate target zone.
The Fat Loss Zone, 55 – 65%
The heart rate must be low and the duration of the exercise quite long. This zone is advised for people resuming physical activity after a long period of idleness, who
are trying to eliminate excess weight or are susceptible to cardiac problems. Do not forget that for this type of training the duration of the exercise must be at least 30 minutes and the Heart Rate (HR) between 55 and 65% of the MHR. -
Gradually increase from 30 to 60 minutes per session.
- Exercise 3 or 4 times a week.
The Aerobic Zone, 65-85%
This zone is recommended for those who are in good physical condition who train
regularly. By training in this zone, you will improve your physical condition but avoid overworking.
- Duration: 20 to 30 minutes per session.
- Frequency: At least 3 or 4 times a week.
The Anaerobic Zone, 85% - MHR
This zone is exclusively for experienced athletes and is never recommended
without medical approval and supervision. This zone is designed only for very fit people. It is used for interval training (or for short sprints) to help you to improve or measure your level of stamina.
The time spent in this zone must be brief to avoid the risk of accident.
3) A cooling down phase:
This entails a reduction of exertion (10 to 20 min). It enables you to return your cardiovascular system to normal (55% of your MHR) and prevent or reduce muscular pain such as cramp and stiffness. You must follow the training with a session of stretching exercises while your joints
are still warm. This relaxes the muscles and helps to prevent stiffness. Stretch slowly and gently. You must never stretch until you reach the pain threshold. Hold each stretch for 30 to 60 seconds while breathing out.
Check your progress
As it improves, your cardiovascular system will have an HR which will be lower when at rest. You will take longer to reach your target zone and it will be easier for you to maintain it. Sessions will seem easier and easier and you will have more stamina in your daily life.
If, on the other hand, your HR is higher than usual when at rest, you will have to rest or reduce the intensity of your training.
Do not be discouraged by the initial sessions. Motivate yourself by scheduling specific training times. Work hard!
To order spare parts
To guarantee an efficient service, make sure you have the following items before you
contact our After Sales Service:
After Sales Service
Email: service-uk@carefitness.com

text_image
CARE time speed distance calories rpm level watt pulse PROGRAM TYPE manual program user h.c.c watt CARE connectANZEIGEFUNKTIONEN
text_image
time speed distance calories incline rpm level watt pulse PROGRAM TYPE manual program user h.r.c. watt TIME SPEED DISTRICT CLOTHES TYPE LEVEL WATT PULSEBild 1
text_image
time 78.0 calories incline speed KM rpm load distance E wait pulse PROGRAM TYPE manual program user lamp wattBild 2
text_image
time speed distance calories incline rgn level watt pulse PROGRAM TYPE manual program user huc wellBild 3
text_image
time speed distance calories incline eye level wall pulse PROGRAM TYPE manual program user h.c. wattBild 4
text_image
time 25 calories inline age speed distance open level watt pulse PROGRAM TYPE manual program user h.c. wattBild 5

text_image
time 160 calories inline speed distance open level wait pulse PROGRAM TYPE manual program user R.R.C. watt HTBild 6
text_image
time 50 calories calories 50 time speed distance open level watt pulse PROGRAM TYPE manual program user h.c.c. wait WTBild 7
Abschalten :
text_image
time calories incline speed rpm level watt pulse program type manual program user user house waterBild 8
text_image
time speed distance calories incline rpm level wall pulse PROGRAM TYPE manual program water hsd wattBild 9

text_image
time calories locked speed open level watt pad distance PROGRAM TYPE manual program user h.c.c. wattBild 10
PROGRAMMFUNKTION:
text_image
time speed distance calories incline rpm level wall pulse PROGRAM TYPE manual program user free wellBild 11
text_image
time 0.00 calories inline speed P1 distance open level watt pulse PROGRAM TYPE manual program user free wattBild 12
B. PROGRAMMBILDER WIE UNTEN:

natural_image
Grid of black, white, and red dots forming a pattern (no text or symbols)P1
natural_image
Grid of black, white, and red dots forming a pattern (no text or symbols)P2

natural_image
Grid of black, white, and red dots forming a pattern (no text or symbols)P3

natural_image
Grid of black, white, and red dots forming a pattern with no text or symbolsP4

natural_image
Grid of black, white, and red dots forming a pattern (no text or symbols)P5
natural_image
Grid of black, white, and red dots forming a pattern (no text or symbols)P6
natural_image
Grid of black, white, and red dots forming a pattern (no text or symbols)P7

natural_image
Grid of black, white, and red dots forming a pattern (no text or symbols)P8
natural_image
Grid of black, white, and red dots forming a pattern (no text or symbols)P9

natural_image
Grid of black, white, and red dots forming a pattern (no text or symbols)P10

natural_image
Grid of black, white, and red dots forming a pattern (no text or symbols)P11

natural_image
Grid of colored circles (white, gray, red) on black background, no text or symbols presentP12
BENUTZERPROGRAMMFUNKTION:
text_image
time speed distance 3:2 calories incline rpm level watt pulse PROGRAM TYPE manual program user h.c. wattBild 13

text_image
Time 0.00 calories inline speed 3.2 times level wait polar PROGRAM TYPE manual program user free. waitBild 14
RC-FUNKTION:
text_image
time calories inline speed open level distance 107 wall polar PROGRAM TYPE manual program user n.r.c. wall 5.5%Bild 15
text_image
time 0.00 calories including 55% speed open level distance 107 watt pulse PROGRAM TYPE manual program user h.c.c. wattBild 16
text_image
time 1.00 calories incline speed 2.24 open level distance 0.01 watt pulse PROGRAM TYPE manual program user h.c. wattBild 17
WATT-FUNKTION:
text_image
time calories inline speed open load distance 120 watt pilot PROGRAM TYPE manual program user R.R.C. wattBild 18

text_image
time 0.00 calories incline speed open level distance 120 watt pade PROGRAM TYPE manual program user h.c. wattBild 19
RECOVERY-FUNKTION :
text_image
time 0.60 calories loading speed open level distance 72 watt pade PROGRAM TYPE manual program user h.c. wattBild 20
text_image
time 0:00 calories inline speed open level distance 72 watt polar PROGRAM TYPE manual program user h.r.c. wattBild 21
KÖRPERFETT :
text_image
time speed distance calories calories open level watt pilot PROGRAM TYPE manual program user R.R.C. wattBild 22
text_image
time calories inline speed open level distance 0.0 watt pilot PROGRAM TYPE manual program user h.c. wattBild 23
text_image
time speed distance 80 calveres incline open level watt pulse PROGRAM TYPE manual program user h.r.c. wattBild 24

text_image
time calories inline speed open bead distance 80 watt color PROGRAM TYPE manual program user h.c. wattBild 25
text_image
time calories incline speed 2.2 open level distance 80 watt polar PROGRAM TYPE manual program user h.c.c. wattBild 26

text_image
time calories inline speed 19.3 open load distance 8.0 watt pulse PROGRAM TYPE manual program user R.R.C. wattBild 27
https://cloud.carefitness.com/index.php/s/E2WD22KMNBQzERL
area
| Age | zone anaerobie | zone aerobie | zone de perte de graisse | | --- | --- | --- | --- | | 20 | 200 | 160 | 120 | | 35 | 180 | 140 | 100 | | 70 | 160 | 120 | 80 |E mail : service-de@carefitness.com
E
text_image
CARE time calories speed rpm level distance watt pulse PROGRAM TYPE manual program user h.r.c. watt CARE connectFUNCIONES DE PANTALLA
text_image
time calories incline speed rpm level distance watt pulse PROGRAM TYPE manual program user h.r.c. watt TIME SPEED DISTANCE CALIFIES RPM LEVEL WATT PULSEImagen 1
text_image
time 78.0 calories incline speed KM open load distance E wait pulse PROGRAM TYPE manual program user lamp wattImagen 2
text_image
time speed distance calories incline rpm level watt pulse PROGRAM TYPE manual program user h.c. wellImagen 3
text_image
time speed distance calories incline eye level wall pulse PROGRAM TYPE manual program user h.c. wattImagen 4
text_image
time 25 calories inline age speed distance open level watt pulse PROGRAM TYPE manual program user free wattImagen 5
text_image
time 160 calories inline speed distance open level watt pulse PROGRAM TYPE manual program user R.R.C. wattImagen 6
text_image
time 50 calories calories time speed distance rpm level wall pulse PROGRAM TYPE manual program user h.c. watt WTImagen 7
Apagar :
text_image
time calories incline speed rpm level watt pulse program type manual program user user h.c. wattImagen 8

text_image
time speed distance calories incline rpm level wall pulse PROGRAM TYPE manual program water hsd wattImagen 9
text_image
time calories locked speed open level watt pad distance PROGRAM TYPE manual program user h.c.c. wattImagen 10
text_image
time speed distance calories incline rpm level wall pulse PROGRAM TYPE manual program user free wellImagen 11

text_image
time 0.00 calories incline speed P1 open level watt color PROGRAM TYPE manual program user h.c.c. wattImagen 12
B. IMÁGENES DEL PROGRAMA COMO ABAJO:
natural_image
Grid of black, white, and red dots forming a pattern (no text or symbols)P1
natural_image
Grid of black, white, and red dots forming a pattern (no text or symbols)P2

natural_image
Grid of black, white, and red dots forming a pattern (no text or symbols)P3

natural_image
Grid of black, white, and red dots forming a pattern with no text or symbolsP4

natural_image
Grid of black, white, and red dots forming a pattern (no text or symbols)P5

natural_image
Grid of black, white, and red dots forming a pattern (no text or symbols)P6

natural_image
Grid of white and red dots forming a pattern (no text or symbols)P7

natural_image
Grid of black, white, and red dots forming a pattern (no text or symbols)P8

natural_image
Grid of black, white, and red dots forming a pattern (no text or symbols)P9

natural_image
Grid of black, white, and red dots forming a pattern (no text or symbols)P10
natural_image
Grid of black, white, and red dots forming a pattern (no text or symbols)P11
natural_image
Grid of colored circles (white, gray, red) on black background, no text or symbols presentP12
text_image
time 0.00 calories inline speed 3.2 rps level watt pulse PROGRAM TYPE manual program user free waitImagen 14
FUNCIÓN RC:
text_image
time calories incline 55% speed open load distance 107 watt color PROGRAM TYPE manual program user h.c. wattImagen 15
text_image
time 0.00 calories 1000 time speed open level distance 107 watt pilot PROGRAM TYPE 55% manual program user h.c.c. wattImagen 16
text_image
time 10.0 calories incline speed 2.4 open load distance 0.0 1 wall pulse PROGRAM TYPE manual program user h.c. wattImagen 17
FUNCIÓN DE VATIOS:
text_image
time calories inline speed open level distance 120 watt pilot PROGRAM TYPE manual program user h.c.c. wattImagen 18

text_image
time 0.00 calories incline speed open level distance 120 watt pade PROGRAM TYPE manual program user h.c. wattImagen 19
text_image
time 0:60 calories incline speed open load distance 72 watt pulse PROGRAM TYPE manual program user h.c. wattImagen 20

text_image
time 0.00 calories inline speed open level distance 72 watt power PROGRAM TYPE manual program user r.r.c. wattImagen 21
DE GRASA CORPORAL :
text_image
time speed distance calories calories open level watt pilot PROGRAM TYPE manual program user R.R.C. wattImagen 22

text_image
time calories inline speed open level distance 0.0 wall power PROGRAM TYPE manual program user h.c. wallImagen 23

text_image
time speed distance 80 calveres incline open level watt pulse PROGRAM TYPE manual program user h.r.c. wattImagen 24

text_image
time calories inline speed E - 1 open lend distance 80 watt color PROGRAM TYPE manual program user h.c. wattImagen 25

text_image
time calories incline speed 2.2 open level distance 80 watt polar PROGRAM TYPE manual program user h.c.c. wattImagen 26
text_image
time calories inline speed 19.3 open load distance 80 watt pulse PROGRAM TYPE manual program user R.R.C. wattImagen 27
https://cloud.carefitness.com/index.php/s/E2WD22KMNBQzERL
text_image
time 78.0 calories incline speed KM rpm level distance E wall power PROGRAM TYPE manual program user house wallImmagine 2
text_image
time speed distance calories incline rgn level watt pulse PROGRAM TYPE manual program user huc well u1Immagine 3

text_image
time speed distance calories incline opere level wall pulse PROGRAM TYPE manual program user h.c. wattImmagine 4
text_image
time 25 calories inline age speed distance open level watt pilot PROGRAM TYPE manual program user h.c.c. wattImmagine 5

text_image
time 160 calories hours speed distance open lind watt pulse PROGRAM TYPE manual program user h.c. wattImmagine 6
text_image
time 50 calories height speed distance open level wall power PROGRAM TYPE manual program user Hz.c watt WTImmagine 7
Spegnere :
text_image
time calories incline speed rpm level watt pulse PROGRAM TYPE manual program user R.R.C. waitImmagine 8
text_image
time speed distance circles inline type level wall pulse PROGRAM TYPE manual program user h.c. wallImmagine 9
text_image
time calories locked speed open level watt power distance PROGRAM TYPE manual program user h.csc wattImmagine 10
FUNZIONE DEL PROGRAMMA:
text_image
time speed distance calories incline rpm level wall pulse PROGRAM TYPE manual program user free. wallImmagine 11

text_image
time 0.00 calories incline speed P1 open load watt pulse PROGRAM TYPE manual program user h.c. wattImmagine 12
B. IMMAGINI DEL PROGRAMMA COME SOTTO:

natural_image
Grid of black, white, and red dots forming a pattern (no text or symbols)P1

natural_image
Grid of black, white, and red dots forming a pattern (no text or symbols)P2

natural_image
Grid of black, white, and red dots forming a pattern (no text or symbols)P3

natural_image
Grid of black, white, and red dots forming a pattern with no text or symbolsP4
natural_image
Grid of black, white, and red dots forming a pattern (no text or symbols)P5

natural_image
Grid of black, white, and red dots forming a pattern (no text or symbols)P6

natural_image
Grid of black, white, and red dots forming a pattern (no text or symbols)P7

natural_image
Grid of black, white, and red dots forming a pattern (no text or symbols)P8

natural_image
Grid of black, white, and red dots forming a pattern (no text or symbols)
natural_image
Grid of black, white, and red dots forming a pattern (no text or symbols)P9
natural_image
Grid of black, white, and red dots forming a pattern (no text or symbols)P11
P10
natural_image
Grid of red and gray dots on a dark background, no text or symbols presentP12
text_image
time speed distance 3:2 calories incline rpm level watt pulse PROGRAM TYPE manual program user huc wattImmagine 13
text_image
Time 0:00 calories inline speed 32 rpm level watt polar PROGRAM TYPE manual program user free waitImmagine 14
FUNZIONE RC:
text_image
time 0.00 calories inline speed open level distance 107 watt pulse PROGRAM TYPE manual program user 8.2% watt 5.5%Immagine 16

text_image
time 100 calories incline speed 2.4 open load distance 0.0 1 watt pulse PROGRAM TYPE manual program user runc. wattImmagine 17
FUNZIONE WATT:
text_image
time calories incline speed open load distance 120 watt pulse PROGRAM TYPE manual program user R.R.C. wattImmagine 18

text_image
time 0.00 calories incline speed open level distance 120 watt pilot PROGRAM TYPE manual program user h.r.c. wattImmagine 19
FUNZIONE DI RECUPERO :
text_image
time 0:60 calories incline speed open level distance 72 watt pilot PROGRAM TYPE manual program user h.c.c. wattImmagine 20

text_image
time 0.00 calories inline speed open level distance 72 watt pulse PROGRAM TYPE manual program user h.c.c. wattImmagine 21
DEL GRASSO CORPOREO :
text_image
time speed distance calibration inline open load watt power PROGRAM TYPE manual program user h.c.c. wallImmagine 22

text_image
time speed distance calories incline open load watt power PROGRAM TYPE manual program user R.c. wattImmagine 23

text_image
time speed distance calveris incline open level watt pulse PROGRAM TYPE manual program user h.c. wattImmagine 24
text_image
time calories inline speed E - 1 open load distance 80 watt polar PROGRAM TYPE manual program user h.c. wattImmagine 25
text_image
time calories incline speed 2.2 open load distance 80 watt power PROGRAM TYPE manual program user n.e.c. wattImmagine 26
text_image
time calories inline speed 19.3 open load distance 80 watt pulse PROGRAM TYPE manual program user R.R.C. wattImmagine 27
https://cloud.carefitness.com/index.php/s/E2WD22KMNBQzERL
E mail : service-it@carefitness.com
NL
text_image
CARE time calories speed rpm level distance watt pulse PROGRAM TYPE manual program user h.r.c. watt CARE connectWEERGAVEFUNCTIES
| ITEMS | BESCHRIJVING |
| TIJD | Instelbereik: 0:00 ~ 99:00 (± 1 minuut)Weergavebereik : 0:00~99:59 |
| AFSTAND | Instelbereik: 0,00 ~ 99,0 (± 1)Weergavebereik : 0,00 ~ 99,99 |
| CALORIEËN | Instelbereik: 0~9990 (±10)Weergavebereik : 0~9999 |
| IMPULS | Instelbereik: 0~30~230 ( ±1 )Weergavebereik : 0~230 |
| WATT | Weergavebereik : 0~999 |
| SNELHEID | Toon huidige werksnelheid, max. 99,9. |
| toerental | WeergaveWeergavebereik: 0~999 |
KNOPFUNCTIES
text_image
time 78.0 calories incline speed KM rpm level distance E wall power PROGRAM TYPE manual program user free. wallAfbeelding 2
text_image
time speed distance calories incline rpm level watt pulse PROGRAM TYPE manual program user huc wattAfbeelding 3
text_image
time speed distance calories incline eye level wall pulse PROGRAM TYPE manual program user h.c. wattAfbeelding 4
text_image
time 25 calories locline age speed open level watt pulse program type manual program user h.c. wattAfbeelding 5
text_image
time 160 calories calories time speed open level wall power PROGRAM TYPE manual program user N.r.c. wall HTAfbeelding 6

text_image
time 50 calories height speed open level wall pade PROGRAM TYPE manual program user h.c.c. watt WTAfbeelding 7
Uitschakelen :
text_image
time calories incline speed rpm level watt pulse PROGRAM TYPE manual program user h.c.c. wattAfbeelding 8
text_image
time speed distance salaries income type level wall pulse PROGRAM TYPE manual programs user huc wallAfbeelding 9
text_image
time speed distance calories incline open level wait pulse PROGRAM TYPE manual program user huc wattAfbeelding 10
PROGRAMMA FUNCTIE:
text_image
time speed distance calories incline rpm level wall pulse PROGRAM TYPE manual program user free wellAfbeelding 11
text_image
time 0.00 calories incline speed P1 open load watt pulse PROGRAM TYPE manual program user h.c. wattAfbeelding 12
B. PROGRAMMA BEELDEN ZOALS HIERONDER:
natural_image
Grid of black, white, and red dots forming a pattern (no text or symbols)P1

natural_image
Grid of black, white, and red dots forming a pattern (no text or symbols)P2

natural_image
Grid of black, white, and red dots forming a pattern (no text or symbols)P3

natural_image
Grid of black, white, and red dots forming a pattern (no text or symbols)P4

natural_image
Grid of black, white, and red dots forming a pattern (no text or symbols)P5

natural_image
Grid of black, white, and red dots forming a pattern (no text or symbols)P6
natural_image
Grid of black, white, and red dots forming a pattern (no text or symbols)P7
natural_image
Grid of black, white, and red dots forming a pattern (no text or symbols)P8
natural_image
Grid of black, white, and red dots forming a pattern (no text or symbols)P9

natural_image
Grid of black, white, and red dots forming a pattern (no text or symbols)P10

natural_image
Grid of black, white, and red dots forming a pattern with no text or symbolsP11

natural_image
Grid of red and gray dots on a dark background, no text or symbols presentP12
GEBRUIKERSPROGRAMMAFUNCTIE:
text_image
time speed distance 3.2 calories incline rpm level watt pulse PROGRAM TYPE manual program user H.E.C watt H.E.CAfbeelding 13
text_image
time 0:00 calories baseline speed 3.2 rps level watt pulse PROGRAM TYPE manual program user bus. waitAfbeelding 14
RC-FUNCTIE:
text_image
time 0.00 calories incline speed open level distance 107 watt pulse PROGRAM TYPE manual program user h.c. watt 5.5%Afbeelding 16
text_image
time 10.0 calories incline speed 2.4 rpm load distance 0.0 1 watt pulse PROGRAM TYPE manual program user taxc. wattAfbeelding 17
WATT FUNCTIE:
text_image
time calories inline speed open level distance 120 watt polar PROGRAM TYPE manual program user h.c.c. wattAfbeelding 18
text_image
time 0.00 calories incline speed open level 120 watt pulse PROGRAM TYPE manual program user h.r.c. wattAfbeelding 19
HERSTELFUNCTIE :
text_image
time 0:60 calories incline speed open load distance 72 watt pulse PROGRAM TYPE manual program user h.c. wattAfbeelding 20
text_image
time 0.00 calories inline speed open level distance 72 watt pulse PROGRAM TYPE manual program user R.R.C. wattAfbeelding 21
VAN LICHAAMSVET :
text_image
time speed distance calories hours open level wall pulse PROGRAM TYPE manual program user h.c. wallAfbeelding 22
text_image
time calories inline speed open load wall power PROGRAM TYPE manual program user R.R.C. wallAfbeelding 23
text_image
time calories incline speed open level watt distance 0.0 power PROGRAM TYPE manual program user free. wallAfbeelding 24
text_image
time calories inline speed open level distance 80 wall pade PROGRAM TYPE manual program user kuc wallAfbeelding 25
text_image
time calories incline speed open level distance 80 watt padar PROGRAM TYPE manual program user n.e.c. wattAfbeelding 26
text_image
time calories inline speed 19.3 open lend distance 8.0 watt pulse PROGRAM TYPE manual program user h.c. wattAfbeelding 27
C. Applicatie-verbinding
https://cloud.carefitness.com/index.php/s/E2WD22KMNBQzERL
De harttraining (cardiotraining):
area
| Age | zone anaerobie | zone aerobie | zone de perte de graisse | | --- | --- | --- | --- | | 20 | 200 | 130 | 110 | | 35 | 180 | 100 | 100 | | 70 | 160 | 80 | 60 |2 tot 3 trainingen per week = circa 30 minuten per keer.
1 tot 2 trainingen per week = circa 50 minuten per keer.
E-mail: service-nl@carefitness.com