
MIRAGE - Headphones PLANTRONICS - Free user manual and instructions
Find the device manual for free MIRAGE PLANTRONICS in PDF.
| Product type | Headset |
| Brand | Plantronics |
| Model | Mirage |
| Category | Wired headset |
| Power source | Batteries (for M12 amplifier) – replace every 6 to 9 months |
| Weight | Approximately 30 g |
| Microphone type | Directional microphone for eliminating ambient noise or standard voice tube |
| Volume control | Variable control dial on M12 or E10 adapter |
| Secret (Mute) function | Button on adapter to mute the microphone |
| Quick Disconnect connector | Quick disconnect jack for call hold |
| Eyeglass adapter | Specific clip to stabilize the headset |
| Retention clip | Clip to secure cable to clothing |
| Phone compatibility | Standard modular connector (for Polaris and StarBase models) |
| Routine maintenance | Monthly cleaning with a damp cloth |
| Voice tube replacement | Every 6 months for optimal performance |
| Usage precautions | Do not bend or rotate the boom within 50 mm of the microphone |
Frequently Asked Questions - MIRAGE PLANTRONICS
User questions about MIRAGE PLANTRONICS
0 question about this device. Answer the ones you know or ask your own.
Ask a new question about this device
Download the instructions for your Headphones in PDF format for free! Find your manual MIRAGE - PLANTRONICS and take your electronic device back in hand. On this page are published all the documents necessary for the use of your device. MIRAGE by PLANTRONICS.
USER MANUAL MIRAGE PLANTRONICS
Interface Business Park
Bincknoll Lane
Wootton Bassett
Wiltshire
SN48QQ
England
Tel: +44 1793 842200
Fax: +44 1793 848853
Plantronics Denmark
Anderson Nexo vej 29
2860 Søborg
Denmark
Tel: +45 3955 1051
Fax: +45 3955 1052
Plantronics B.V.
South Point, Building C
Scorpius 140
2132 LR Hoofddorp
The Netherlands
Tel: (0)0800 PLANTRONICS 08007526876 (NL) 0080075268766 (BE/L
Fax: +31 2356 48015
Plantronics France
Plantronics Nordic Region
Oskarsvagen 10
S-702 14 Örebro
Sweden
Tel: +46 19 121930
Fax: +46 19 121933
Plantronics MEEA
Sales Region
262 Regents Park Road
Finchley
London N3 3HN
England
Tel: +44 208 349 3579
Fax: +44 203 346 0038
Plantronics Ltd, Interface Business Park, Bincknoll Lane, Wootton Bassett, Wiltshire SN4 8QQ. ENGLAND
www.plantronics.com

PLANTRONICS
User Guide
Brugsanvising
Gebruiksaanwijzing
7 Noise-Cancelling Microphone
Stojannulleringsmikrofon
Noise-Cancelling microfoon
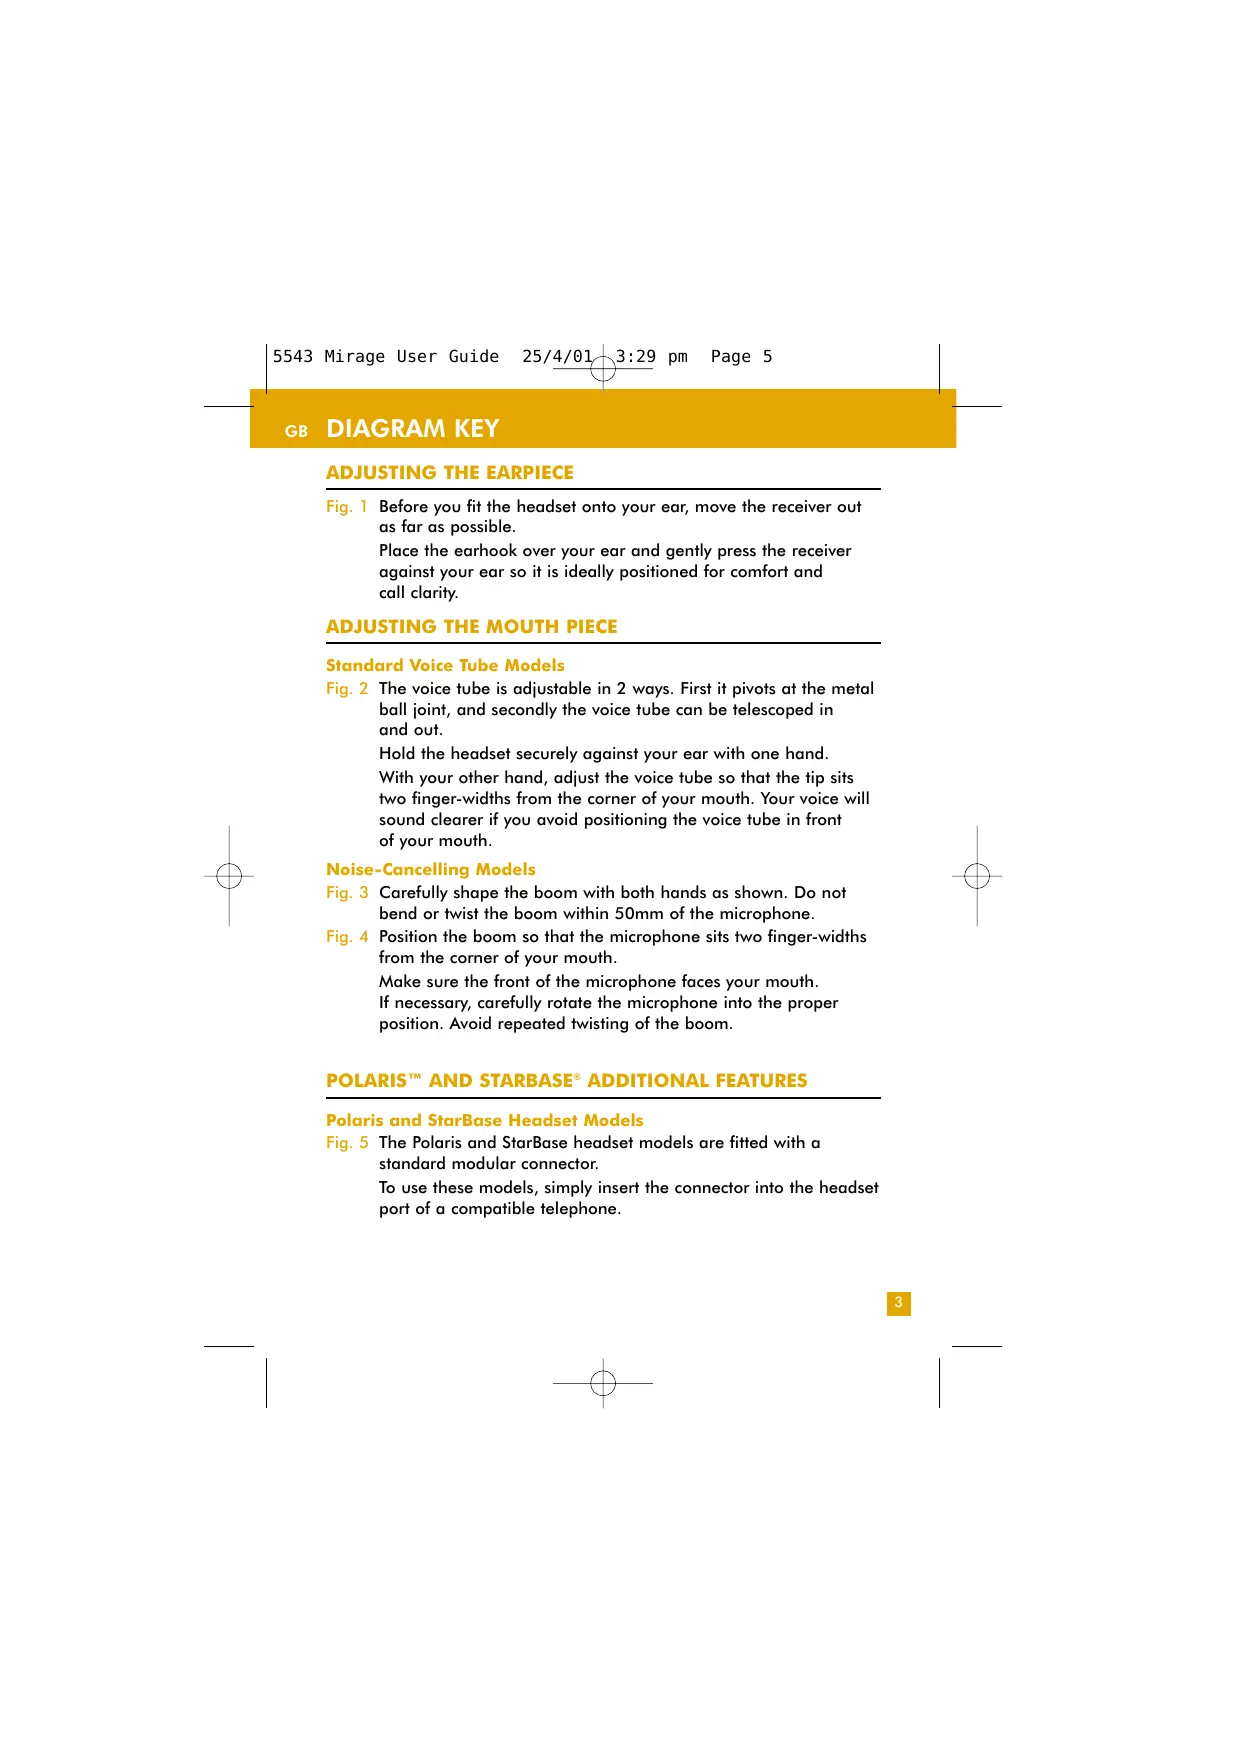
Fig. 1 Before you fit the headset onto your ear, move the receiver out as far as possible.
Place the earhook over your ear and gently press the receiver against your ear so it is ideally positioned for comfort and call clarity.
ADJUSTING THE MOUTH PIECE
Standard Voice Tube Models
Fig. 2 The voice tube is adjustable in 2 ways. First it pivots at the metal ball joint, and secondly the voice tube can be telescoped in and out.
Hold the headset securely against your ear with one hand.
With your other hand, adjust the voice tube so that the tip sits two finger-widths from the corner of your mouth. Your voice will sound clearer if you avoid positioning the voice tube in front of your mouth.
Noise-Cancelling Models
Fig. 3 Carefully shape the boom with both hands as shown. Do not bend or twist the boom within 50mm of the microphone.
Fig. 4 Position the boom so that the microphone sits two finger-widths from the corner of your mouth.
Make sure the front of the microphone faces your mouth. If necessary, carefully rotate the microphone into the proper position. Avoid repeated twisting of the boom.
POLARISTM AND STARBASE ADDITIONAL FEATURES
Polaris and StarBase Headset Models
Fig. 5 The Polaris and StarBase headset models are fitted with a standard modular connector.
To use these models, simply insert the connector into the headset port of a compatible telephone.
VOLUME ADJUSTMENT/MUTE SWITCH
Fig. 6 If you are using an M12 or E10 adapter there is a variable volume control. Start with setting 4, then increase or decrease the setting until you reach a comfortable listening volume.
You can prevent a caller from hearing your voice by pressing the mute switch on the adapter. Voice contact can be retrieved by pressing the switch again.
If you use an adapter please refer to the adapter user guide. If you do not have an adapter these features will be controlled by your telephone system. Please refer to the appropriate user guide.
CLOTHING CLIP
Fig. 7 The clothing clip keeps the headset properly positioned by supporting the weight of the cord. Attach the clothing clip comfortably at chest height, making sure there is enough slack to allow for head movement.
FITTING WITH GLASSES
Fig. 8 If you are wearing glasses you can use the glasses clip to help make the headset feel more stable. Slip the clip onto your glasses and attach the headset to the clip. If you are wearing thinner metal frames, use the middle tab to help hold the clip in place. Then you can attach the headset.
QUICK DISCONNECT
Fig. 9 Some headsets are fitted with a Quick Disconnect connector.
Before you use your headset, join the adapter cable and the Quick Disconnect together.
When you separate the Quick Disconnect, you put the ongoing conversation 'on hold' without removing the headset.
To do this, grasp the Quick Disconnect as shown and pull straight apart. To resume the call, reconnect the two halves.
PROBLEM
Earpiece is uncomfortable
Headset is not fitted correctly. Check that the earhook is properly positioned.
Move the receiver to different positions for ideal comfort.
PROBLEM
Callers cannot hear me
Blocked voice tube. Remove voice tube and speak into silver tube; if you can now be heard, then replace voice tube.
Poor position of voice tube or microphone. Ensure voice tube is positioned correctly (see fig 2).
Ensure noise cancelling microphone is positioned correctly (see fig 4).
Transmit level too low. If you have an M12 or E10 adapter, turn up the transmit volume on the side of the adapter until the caller can hear you. Refer to the adapter user guide.
PROBLEM
I cannot hear callers/sudden loss of sound
Headset is not fitted correctly. Check that the earhook is properly positioned.
Headset not plugged in correctly. Check that the Quick Disconnect™ and other connectors are correctly plugged in.
Receive level too low. Turn up the receive volume control on the adapter.
PROBLEM
Echo on line/hear my own voice
Transmit level too high. Adjust the transmit volume control. Refer to your adapter or telephone equipment user guide for guidance.
Replace voice tube every six months.
Clean the headset and cable with a moist cloth once a month.
If using a M12 amplifier, replace the batteries every six to nine months.