
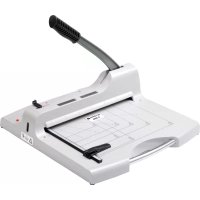
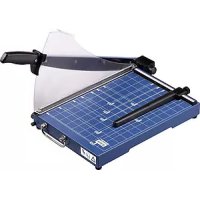
G 4410 - Paper cutter OLYMPIA - Free user manual and instructions
Find the device manual for free G 4410 OLYMPIA in PDF.


| Product type | Paper cutter (guillotine) |
| Brand | Olympia |
| Model | G 4410 |
| Dimensions (W x D x H) | Approx. 350 x 250 x 80 mm |
| Weight | Approx. 1.5 kg |
| Max. paper size | A4 (210 x 297 mm) |
| Cutting capacity (sheets 80 g/m²) | Up to 10 sheets |
| Blade type | Stainless steel, sharpened |
| Cutting mechanism | Manual lever with safety stop |
| Power supply | None (manual) |
| Main functions | Straight paper cutting, cutting line display |
| Safety | Blade guard, transport lock, anti-return |
| Maintenance and cleaning | Clean with a dry cloth, do not use solvents |
| Spare parts and repairability | Replacement blade available, standard screws |
| General information | Office use, grey/black color |
Frequently Asked Questions - G 4410 OLYMPIA
User questions about G 4410 OLYMPIA
0 question about this device. Answer the ones you know or ask your own.
Ask a new question about this device
Download the instructions for your Paper cutter in PDF format for free! Find your manual G 4410 - OLYMPIA and take your electronic device back in hand. On this page are published all the documents necessary for the use of your device. G 4410 by OLYMPIA.
USER MANUAL G 4410 OLYMPIA
Exemption From Liability 12
Intended Use....12
Features 12
Operating Elements 13
Operation 14
Guarantee....16
Français FR BE CH
Bild 1
Bild 2
Bild 3
Bild 4
Bild 5
Garantie
Please observe the following to ensure the guillotine is used reliably and safely:
1 Read this manual thoroughly and observe the instructions and information in it when operating the machine.
2 Keep this operating manual in a safe place for future reference.
3 Before starting to use the device, set it down on a level, stable working base.
4 Never take hold of the knife blades when carrying the device or putting it away.
5 Use both hands to operate the device.
6 Keep loose clothing, ties, jewellery, long hair and other loose objects away from the cutting unit.
Risk of injury!
7 The device has been exclusively designed to cut paper.
8 Before cutting, remove any staples or paper clips from the document.
9 The cutting blade must be neither greased nor ground.
10 The device must not be used if the blade is damaged.
11 Pay attention not to cut your fingers.
Avoid contact with the cutting blade at all times.
12 Keep the device out of the reach of children.
13 Children and minors may only use the device under the supervision of an adult.
14 The device is not intended to cut fingernails.
Exemption From Liability
We cannot guarantee that the information which relates to the technical properties of the product or to the product itself contained in this document is correct. The product and, where applicable, its accessories, described in this document are subject to constant improvement and further development. For this reason, we reserve the right to modify components, accessories, technical specifications and related documentation of the product described herein at any time without notice.
Intended Use
This cutting unit may only be used to cut paper, card, photo paper and laminating foil.
Any other use is considered unintended use.
Unauthorised modifications or reconstructions are not permitted.
Never cut any materials with a metallic or glass content.
Remove any paper clips and staples before cutting.
Never exceed the maximum cutting capacity (max. 10 sheets).
Features
For cutting photos, card, printouts or laminated paper perfectly to size.
• Guillotine including pressing rail with finger protection
- Visual positioning aids in cm (lines, angles, scale)
- Rubber footpads for secure, non-slip base
• Maximum cutting capacity: Maximum 10 sheets simultaneously.
• Dimensions: 525x332x70 mm (LxWxH)
- Weight: 1.8 kg
• Cutting length: 423 mm
Operating Elements
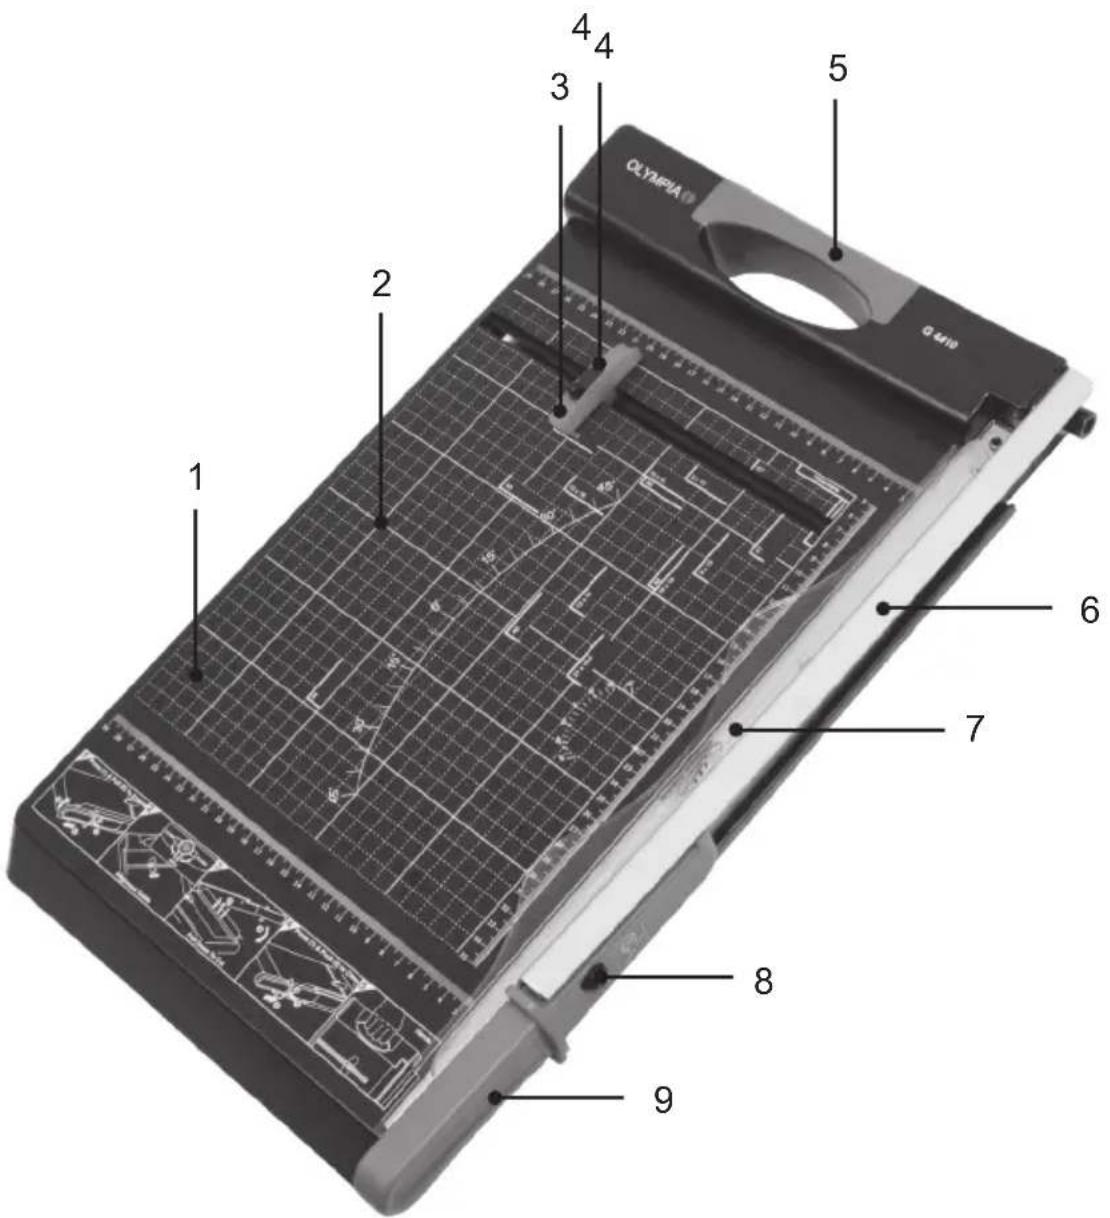
1 Base for paper
2 Visual positioning aid (aligning marks)
3 Adjustable positioning rail
4 Lock for paper aligning rail
5 Carrying handle
6 Guillotine blade (made of stainless steel)
7 Transparent pressing rail with finger protection
8 Guillotine arm lock
9 Handle for guillotine arm
Operation
-
Place the guillotine on a stable, level base with the guillotine side facing up.
-
The guillotine arm is locked on the cutting unit. Proceed as follows to unlock the guillotine arm:
-
Press the arm lock downwards (Fig. 1/1).
- At the same time, pull the guillotine arm towards you using the handle (Fig. 1/2).
- Move the guillotine arm upwards (Fig. 1/3).
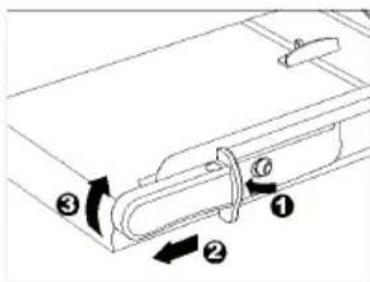
Fig. 1
-
Adjust the aligning rail to the position you require (Fig. 2):
-
Release the aligning rail's locking mechanism by turning it to OPEN.
- Slide the aligning rail to the position necessary.
- Turn the locking mechanism back to CLOSE. There are two positions provided: turn to the right or to the left.
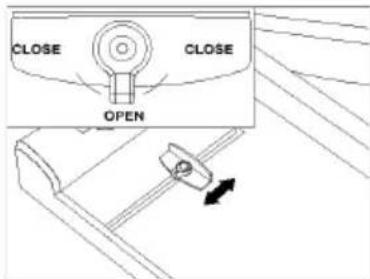
Fig. 2
-
Proceed as follows to make a cut:
-
Move the guillotine arm upwards.
- Slide the material to be cut under the pressing rail and align it to the aligning marks on the base. Slide it against the aligning rail, if necessary.
- Press down with one hand on the pressing rail to clamp the material to be cut (Fig. 3/1).
- Use the other hand to move the guillotine arm down and cut the material (Fig. 3/2).
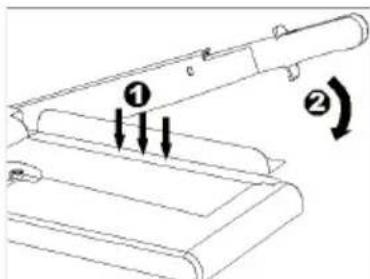
Fig. 3
-
For reasons of safety, lock the guillotine arm again after finishing your work:
-
Move the guillotine arm down as far as possible.
- Press the arm lock downwards (Fig. 4/1).
- At the same time, slide the guillotine arm to the rear using the handle (Fig. 4/2).
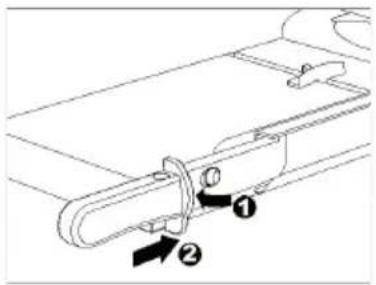
Fig. 4
- In order to transport the guillotine, carry it by the handle.
Note: Prior to transporting it, ensure that the guillotine arm is locked.
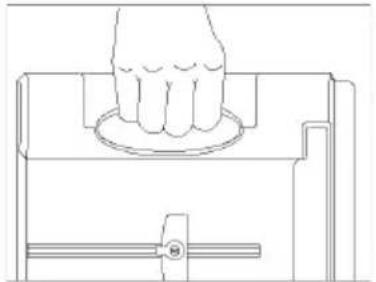
Fig. 5
Guarantee
In the case of a defect, please return the device together with the receipt and original packing material to the point-of-sale.
Fig. 1
Fig. 2
Fig. 3
Fig. 4
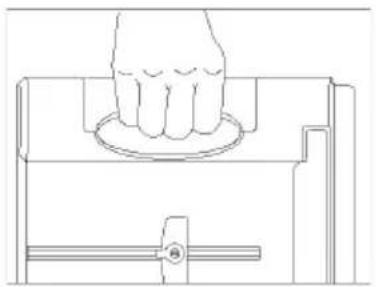
Fig. 5
Garantie
Cher client,
Figura 1
Figura 2
Figura 3
Figura 4
Figura 5
Garantía
Estimado cliente,
Afb. 1
Afb. 2
Afb. 3
Afb. 4
Afb. 5
Garantie
Geachte klant,
Figura 1
Figura 2
Figura 3
Figura 4
Figura 5
Garanzia
Caro cliente,
obr. 1
obr. 2
obr. 3
obr. 4
obr. 5
Záruka


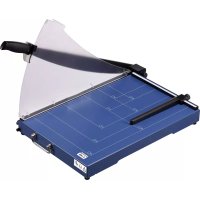
Brand : OLYMPIA
Model : G 4410
Category : Paper cutter