
GC3001 - Multicooker MOULINEX - Free user manual and instructions
Find the device manual for free GC3001 MOULINEX in PDF.
| Product type | Multi-cooker |
| Brand | MOULINEX |
| Model | GC3001 |
| Main functions | Grill, Barbecue, Mini-oven |
| Cooking plates | Removable with non-stick coating, dishwasher safe |
| Drip trays | Removable for grease collection, dishwasher safe |
| Thermostat | Adjustable (positions Min, 2, 3, Max) |
| Indicator lights | Red (heating) and Green (ready) |
| Preheating | Approximately 5 minutes |
| Power supply | Mains with earth connection |
| Cooking types | Sear, grill, reheat, cook without crushing |
| Included accessories | Grill plates, drip trays (depending on model) |
| Plate maintenance | Dishwasher safe; do not use metal sponges |
| Appliance maintenance | Do not immerse, clean with a damp cloth |
| Safety | Plate locking, hot surfaces, do not use without plates |
| Use | Household use only |
| Spare parts | Available from authorized after-sales service |
| Cooking temperature | Thermostat 2 for sandwiches, 3 for meat/fish/vegetables, Max for mini-oven |
| Storage position | Vertical (depending on model) |
| Warranty | Not specified |
Frequently Asked Questions - GC3001 MOULINEX
User questions about GC3001 MOULINEX
0 question about this device. Answer the ones you know or ask your own.
Ask a new question about this device
Download the instructions for your Multicooker in PDF format for free! Find your manual GC3001 - MOULINEX and take your electronic device back in hand. On this page are published all the documents necessary for the use of your device. GC3001 by MOULINEX.
USER MANUAL GC3001 MOULINEX
- in accordance with the model
F
a a a a a a a a a a a a a a a a a a a a a a a a a a a a a a a a
S OBC = S COD + S BOC - S BOC
1 1 1 1 1 1 1 1 1 1 1 1 1 1 1 1 1
gall aasll galsaas gaaagaaal nssnll clal cslssgjll gaa - gall jgsaas gaaas gaaas glc tssgjll
. 1
(1) 15.15.15.15.15.15.15.15.15.15.15.15.15.15.15.15.15.15.15.15.15.15.15.15.15.15.15.15.15.15.15.15.15.15.
galllll pallll lalldy dally s i yall llll lalldy gial y gial y gial y gial y
1
jssssssssssssssssssssssssssssssssssssssssssssssss
Jnnnnn nn nnnn
ARA
e 111111111111111111111111111111111
aal j 1j aai jai jai (j) jai jai jai jai jai jai jai jai
Jg 1000000000000000000000000000000000000000000000000000000000000000000000000
1jiaololgall
aill 1 gil 1 j, 1, 1, 1, 1, 1, 1, 1, 1, 1, 1, 1, 1, 1, 1, 1, 1, 1, 1, 1, 1, 1, 1, 1, 1, 1, 1, 1, 1, 1, 1, 1, 1, 1, 1.
1
gjg jyaiiiaaiiaaiuui
gll jag jao aalall gaaalall algo gai
1/ll/JaJy 3j0g jgs Jg 1JLJy 1:ajg 1JLJ
Jd1sI Jd1sI e 120000000000000000000000000000
aalalal alalalal alalalal alalalal alalalal alalalal
()
a a a a a a a a a a a a a a a a a a a a a a a a a a a a
1
1
1
aaii jaiiaaiy eaiy iie yalil (jaiy) aaiy aiaiy
:aijgai jabi
aiaeaia jyo joljiall al, gaiiagao jaiyall glblal baiiwl gaiiail gaiiaaiwll gaiiaoi iayi, yiljglal jilalaiill
g
...
y 1- -wll lIbbln y Iy 1y 1y 1y 1y 1y
()-
-
(g)
gll gddjlddglg
1 1
1
VJ#-j#s#g#j#i#:j#i#j#j#j#j#j#j#j#j#j#
ARA
Lg 150
sji
| العربية | العربية | العربية |
| العربية £0-£. | £0 | £0 |
| العربية £1-£. | £1 | £1 |
FAR

1
a 1
1 1iie.5jai jia jia jia jia jia jia jia
(J)
aJ 1s jS sss ss s
a a a a a a a a a a a a a a a a a a a a a a a a a a a a a a a a
a 1
a /0dlaasj
(MIN)
iJl jj j j j j j j j j j
- yj- -dj jji, iij jij jj jjj jjj jjj jjj jjj jjj jjj jjj jjj jjj jjj jjj jjj jjj jjj jjj jjj jjj jjj jjj jjj jjj jjj jjj jjj jjj jjj jjj jjj jjj jjj jjj jjj jjj jjj jjj jjj jjj jjj jjj jjj jjj jjj jjj jjj jjj jjj jjj jjj jjj jJJ
a 100
i 1
aaii (s) 1 aii i j y j g o o k k k k k k k k k k k k k k k k k k k k k k
(0) 3 1 1 1 1 1 1 1 1 1 1 1 1 1 1 1 1 1 1 1 1
Ss
a a a a a a a a a a a a a a a a a a a a a a a
= 23
S ACD = S COD + S BDO - S CDA
15 15
11-2d jui 15uuee cuiuoy uuiy
15.2015 (1) | x - 3| = 1 - 1x .
FAR
()
jglstl 1 jy jy g (oic g oai j l sglgilu (alj aqgl i) da g ool J L oji slslid
jdu jdu gdy (oysg yLg, sdo
9-1. 12345678901234567890123456789012345678901234567890
- 12.5.15.24.35.45.5.6.7.8.9
a
1 1
Jg
1JLJUc1,3y
jai jia jia jia jia jia jia jia jia jia jia jia jia jia jia jia jia jia jia jia jia jia jia jia jia jia jia jia jia jia jia jia jia jia jia jia jia jia jia jia jia jia jia jia
iLjui iLi uji yj 10s
:Jyj Jj jjj
i j 1
J 15
a 1
i j 10000j j jik pwww w yj jddw w yj
5a yds - 12000000000000000000000000000000000
100 100
S OBC = S COD + S_ BOC
a 1
5b
1
i 1

aai aai ai iai iai iai iai iai iai iai iai iai iai iai
:
Cuiiui Cuiiui
S OBC = S COD + S BOC - S BOC
12 < ( x - 1) ( y - 2) ( z + 3) = 12 × ( x - 2) × ( y - 3) × ( z + 4)
a 1
.
s sssssssssssssssssssssssssssssssss
aennnnnne
j 1 j 1 j 1 j 1 j 1 j 1 j 1 j 1 j 1 j 1 j 1 j 1 j 1 j 1 j 1 j 1 j 1 j 1 j 1 j 1 j 1 j 1 j 1 j 1 j 1 j 1 j 1 j 1
S OBC = S COD + S_ BOC
S OBC = S COD + S BOC - S BOC
Thank you for buying this appliance, which is intended for domestic use only.
Read the instructions in this leaflet carefully and keep them within reach.
They apply to every version depending on the accessories that come with your appliance.
Any commercial use, inappropriate use or failure to comply with the instructions, the manufacturer accepts no responsibility and the guarantee will not apply.
For your safety, this product conforms to all applicable standards and regulations (Low Voltage Directive, Electromagnetic Compatibility, Food Compliant Materials, Environment, ...).
Our company has an ongoing policy of research and development and may modify these products without prior notice.
Do not consume foodstuff that comes into contact with the parts marked with logo.
Prevention of accidents at home
- This appliance is not intended for use by persons (including children) with reduced physical, sensory or mental capabilities, or lack of experience and knowledge, unless they have been given supervision or instruction concerning use of the appliance by an adult responsible for their safety. Children should be supervised to ensure that they do not play with the appliance.
- Accessible surface temperatures can be high when the appliance is operating. Never touch the hot surfaces of the appliance.
- Never leave the appliance unattended when plugged in or in use.
- If an accident occurs, rinse the burn immediately with cold water and call a doctor if necessary.
- Cooking fumes may be dangerous for animals which have a particularly sensitive respiratory system, such as birds. We advise bird owners to keep them away from the cooking area.
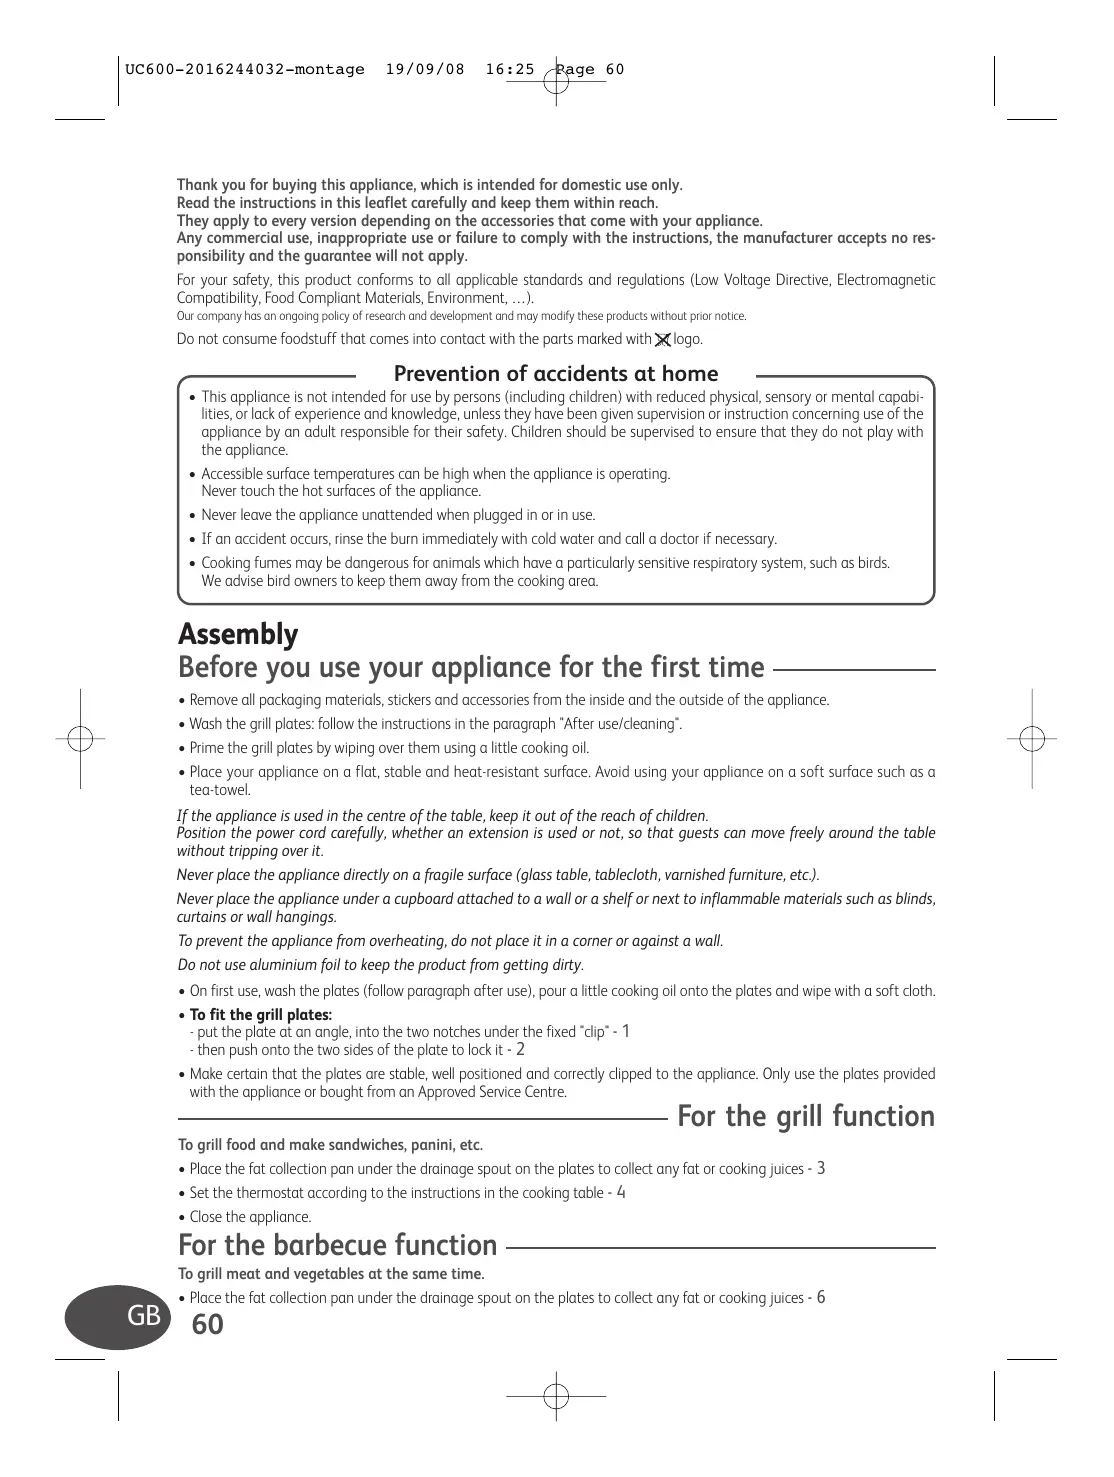
Assembly
Before you use your appliance for the first time
- Remove all packaging materials, stickers and accessories from the inside and the outside of the appliance.
- Wash the grill plates: follow the instructions in the paragraph "After use/cleaning".
- Prime the grill plates by wiping over them using a little cooking oil.
- Place your appliance on a flat, stable and heat-resistant surface. Avoid using your appliance on a soft surface such as a tea-towel.
If the appliance is used in the centre of the table, keep it out of the reach of children.
Position the power cord carefully, whether an extension is used or not, so that guests can move freely around the table without tripping over it.
Never place the appliance directly on a fragile surface (glass table, tablecloth, varnished furniture, etc.).
Never place the appliance under a cupboard attached to a wall or a shelf or next to inflammable materials such as blinds, curtains or wall hangings.
To prevent the appliance from overheating, do not place it in a corner or against a wall.
Do not use aluminium foil to keep the product from getting dirty.
-
On first use, wash the plates (follow paragraph after use), pour a little cooking oil onto the plates and wipe with a soft cloth.
-
To fit the grill plates:
-
put the plate at an angle, into the two notches under the fixed "clip" - 1
-
then push onto the two sides of the plate to lock it - 2
-
Make certain that the plates are stable, well positioned and correctly clipped to the appliance. Only use the plates provided with the appliance or bought from an Approved Service Centre.
To grill food and make sandwiches, panini, etc.
- Place the fat collection pan under the drainage spout on the plates to collect any fat or cooking juices - 3
- Set the thermostat according to the instructions in the cooking table - 4
- Close the appliance.
For the barbecue function
To grill meat and vegetables at the same time.
- Place the fat collection pan under the drainage spout on the plates to collect any fat or cooking juices - 6
- Open the grill.
- Grasp the handle, pull up firmly on the upper section of the appliance, then open to form a 180^ : the appliance is wide open - 7
— For the mini-oven function (in accordance with the model)
To reheat fresh or frozen ready meals (quiche, pancakes, pre-topped sandwiches, etc.) and to grill fragile foods (e.g.: fish, kebabs...), without crushing them.
- Open the grill: take the handle (insulated, depending on the model), pull the top part upwards - 9
- Lift the base up to the 2 stops - 9
- Place the top gently on top of the base until the mini-oven position is reached - 9
- Release the handle. The 2 plates are held as far apart as possible.
Connection and pre-heating
- Fully unwind the power cord.
- Make sure that the electric power supply is compatible with the power rating and voltage indicated on the bottom of the appliance.
Always plug the appliance into an earthed socket. - If an extension cord is used:
- make sure to choose an extension lead of equivalent diameter with an earthed socket;
- take all necessary precautions to prevent anyone tripping over an extension cord.
If your appliance is fitted with a removable power cord: if the power cord is damaged, it must be replaced by a special cable or unit available from the manufacturer or its after-sales service.
If your appliance is fitted with a fixed power cord: if the power supply cord is damaged, it must be replaced by the manufacturer or its service agent or a similarly qualified person in order to avoid a hazard.
This appliance is not intended to be operated by means of an external timer or separate remote-control system.
- Set the thermostat to the position indicated in the cooking table - 4 The position of the thermostat during pre-heating is the same as that used for cooking.
- Plug the power cord into the appliance (depending on the model), then plug the cord into the mains: the red indicator light comes on and the appliance starts to heat up - 5a
Never leave the appliance plugged in when not in use.
Never plug the appliance in without putting the 2 cooking plates in place.
Never run the appliance empty.
- Pre-heat the appliance for about 5 minutes. Pre-heating has finished when the green indicator light comes on - 5b
To preserve the non-stick properties of the coating, avoid excessive pre-heating with the appliance empty.
On first use, there may be a slight odour and a little smoke during the first few minutes.
Never leave the appliance unattended when in use.
Cooking
- After pre-heating, the appliance is ready for use.
To preserve the non-stick properties of the coating:
-as a preference,usea wooden spatula to turn the food over,
- never cut food directly on the plates,
- do not cook food in aluminium foil.
To prevent damage to the plates, only use them on the appliance for which they were designed (e.g., do not place in an oven, on the gas ring or electric hot-plate, etc.).
Do not use aluminium foil or other objects between the plate or the grill and the food being cooked.
Do not put any cooking utensils on the appliance to heat up.
Do not touch the metal parts of the appliance when it is heating or operating, as they are very hot: use the handle and wear oven gloves if necessary.
Do not move the appliance when in use.
- Do not remove the fat recovery drawer during cooking. At the end of cooking of each batch of meat, check that the juice has not reached the MAX level. If the MAX level is reached, wait for the appliance to cool down completely then empty the fat recovery drawer(s) before cooking a new batch of meat.
For the grill function
- Place the food on the lower grill plate.
- Close the appliance.
- Let the food cook according to the instructions in the cooking table.
- The space between the two grill plates is adjusted automatically (0 cm to 3,5 cm) depending on the thickness of the food to be cooked - 8
When you cook meats containing bones, use the barbecue position to ensure the meat is cooked uniformly.
For the barbecue function
- Spread the food evenly on the two grill plates.
- When only one cooking surface is used, as a preference use the upper grill plate.
- Let the food cook according to the instructions in the cooking table.
For the mini oven function (in accordance with the model) —
- Place the food on the lower grill tray.
- Fragile foods can be grilled without being crushed.
- It is possible to reheat fresh or frozen ready meals (quiches, pancakes, pre-topped sandwiches, etc.).
Note: this appliance cannot be used to make gratin toppings (pizzas or other dishes).
After use/cleaning
- Set the thermostat to the min. position.
- Unplug the appliance. Open the appliance.
- Let the appliance cool down (approximately 1 hour) in the open position.
- Empty the juice collection pans. Be careful never to move the appliance when the pans are full.
-
Once cooled down, close the appliance.
-
To remove the grill plates:
-
press on the two side hooks on the cooking plate to release it, then remove it by lifting it at an angle - 10
- The fat tank and plates can be washed in the dishwasher or be cleaned with a sponge, hot water and washing up liquid.
- The appliance and its power supply cord must not be put in the dishwasher.
Do not place the hot plate under water or on a fragile surface.
Do not use a metallic sponge or scouring powder as these could damage the cooking surface (e.g., non-stick coating, etc.).
- If washed regularly in a dishwasher we recommend that the plates are seasoned by wiping with a little cooking oil from time to time to maintain their non-stick performance.
- The heating coil is not to be cleaned. If it is really dirty, wait until it has cooled down and wipe with a dry cloth.
Over time the non-stick of the grill plates may discolour slightly – this is normal.
- Clean the juice collection pans after each use.
Do not immerse the appliance in water.
Never immerse the appliance or power supply cord in water.
- Connect the power cord to the appliance (in accordance with the model) then wind it around the appliance and secure with the cord clip.
- For products with an oven wire: close the product, swivel the oven wire upwards, then place the product vertically.
The product can be stored in the vertical position - 11
Do not carry the appliance by the handle or metallic wires.
GB 62
Cooking tables
Cooking times are given as an indication only: they can vary according to quantity, personal taste, size of the pieces and type of food.
Meat and skewered kebabs
| Thermostat 3 | Function | Cooking time |
| Beef rib steaks | grill | 9-11 min |
| Beef fillets | grill | 3-4 min |
| Tournedos | grill | 4-5 min |
| Veal rib steaks | barbecue | 8-9 min/side |
| Lamb chops | barbecue | 7-8 min/side |
| Rump steak | grill | 3-4 min |
| Hamburger patties | grill | 4 min |
| Sausages | grill | 7-9 min |
| Lamb skewered kebabs Liver/kidney | barbecue | 20-22 min |
| skewered kebabs | barbecue | 20-25 min |
| Chicken skewered kebabs | barbecue | 20-25 min |
| Cocktail sausages | barbecue | 7-9 min |
Reheating cooked dishes (in accordance with the model) —
| Thermostat Max | Function | Cooking time |
| Frozen dishes (about 500g) | oven | 30-45 min |
| Fresh products (about 500g) | oven | 20-30 min |
Fish
| Thermostat 3 | Function | Cooking time |
| Sole | barbecue | 6-7 min/side |
| Sardine fillets | barbecue | 4-5 min/side |
| Salmon steaks | barbecue | 5-6 min/side |
Vegetables
| Thermostat 3 | Function | Cooking time |
| Mushrooms | barbecue | 5-7 min/side |
| Tomatoes | barbecue | 5-7 min/side |
| Courgettes | barbecue | 5-10 min/side |
| Aubergines | barbecue | 5-10 min/side |
Sandwiches
| Thermostat 2 | Function | Cooking time |
| Panini | grill | 7-9 min |
| Pre-toasted sandwich | grill | 4-5 min |
F 4-7
NL 8-11
D 12-15
I 16-19
E 20-23
P 24-27
TR 28-31
GR 32-35
DK 36-39
S 40-43
N 44-47
FIN 48-51
ARA 52-55
FAR 56-59
GB 60-63
Ref. 2016244032 - 06/08


- F
- 1jiaololgall
- 1
- gjg jyaiiiaaiiaaiuui
- g
- (g)
- ARA
- FAR
- (J)
- a /0dlaasj
- Jg
- Prevention of accidents at home
- Assembly
- Before you use your appliance for the first time
- For the barbecue function
- — For the mini-oven function (in accordance with the model)
- Connection and pre-heating
- Cooking
- For the grill function
- For the mini oven function (in accordance with the model) —
- After use/cleaning
- GB 62
- Cooking tables
Brand : MOULINEX
Model : GC3001
Category : Multicooker