
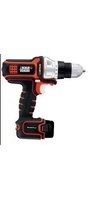
MTOS4 - Multifunction tool BLACK & DECKER - Free user manual and instructions
Find the device manual for free MTOS4 BLACK & DECKER in PDF.


| Product Type | Oscillating Multi-Tool |
| Brand | Black & Decker |
| Model | MTOS4 |
| Dimensions (L x W x H) | 30 x 8 x 10 cm |
| Weight | 1.2 kg |
| Power Supply | Electric, 230 V ~ 50 Hz |
| Power | 250 W |
| No-Load Speed | 11,000 - 20,000 oscillations/min |
| Oscillation Angle | 3.2° |
| Main Functions | Cutting, sanding, scraping, grout removal |
| Included Accessories | Segmented saw blade, plunge blade, sanding pad, hex key |
| Maintenance and Cleaning | Clean with a dry cloth after use; lubricate moving parts if necessary |
| Safety | Wear safety glasses and gloves; unplug before changing accessories |
| Spare Parts and Repairability | Accessories and blades available; repairs possible by an authorized service center |
| General Information | Designed for renovation and DIY projects |
Frequently Asked Questions - MTOS4 BLACK & DECKER
User questions about MTOS4 BLACK & DECKER
0 question about this device. Answer the ones you know or ask your own.
Ask a new question about this device
Download the instructions for your Multifunction tool in PDF format for free! Find your manual MTOS4 - BLACK & DECKER and take your electronic device back in hand. On this page are published all the documents necessary for the use of your device. MTOS4 by BLACK & DECKER.
USER MANUAL MTOS4 BLACK & DECKER
natural_image
3D CAD model of a mechanical component with internal cavities and mounting holes (no text or symbols)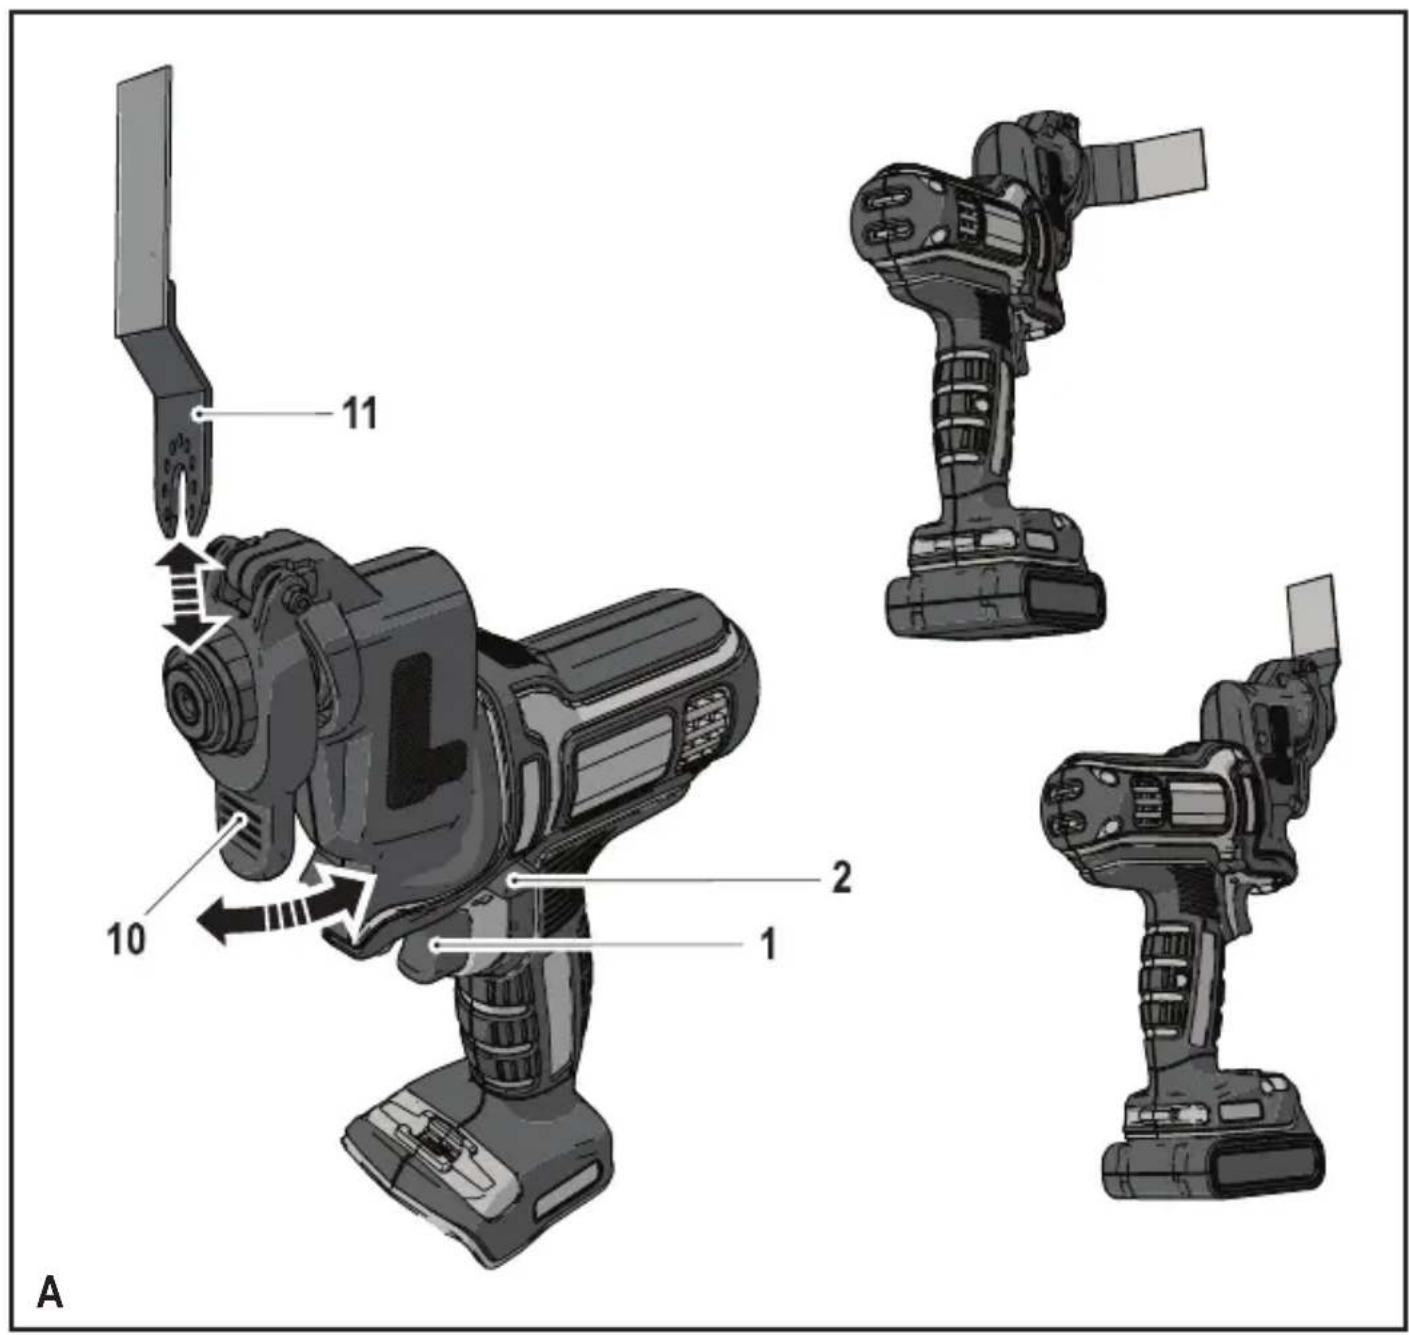
(Original instructions)
ENGLISH
Intended use
Your BLACK+DECKER multi-purpose tool has been designed for a wide range of DIY applications.
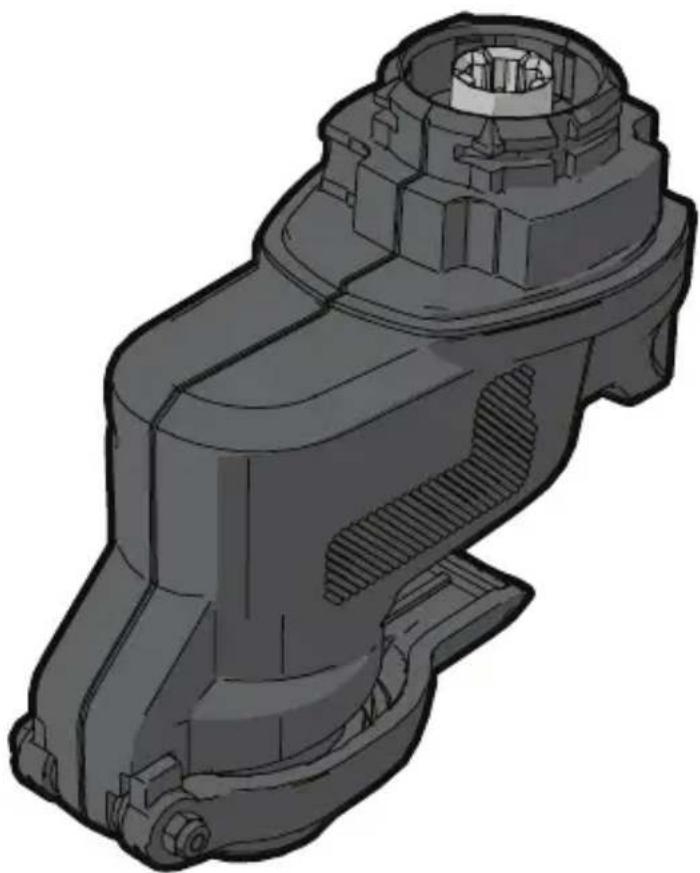
Using the oscillating tool head (MTOS4), this tool is intended for DIY applications such as sanding operations. It is also suitable for cutting wooden materials, plastic, gypsum, non-ferrous metals and fastening elements (e.g., unhardened nails, staples), working soft wall tiles and scraping of small surfaces.
This tool is intended for consumer use only.
Safety instructions
General power tool safety warnings

Warning! Read all safety warnings and all instructions. Failure to follow the warnings and instructions listed below may result in electric shock, fire and/or serious injury.

Warning! Read all safety warnings and all instructions provide with your power tool (MT143, MT350, MT108 or MT18) before using this accessory. Failure to follow the warnings and instructions may result in electric shock, fire and/or serious injury.
Save all warnings and instructions for future reference. The term "power tool" in the warnings refers to your mains operated (corded) power tool or battery operated (cordless) power tool.

Warning! Additional safety warnings for oscillating tools
- Hold power tool by insulated gripping surfaces when performing an operation where the cutting accessory may contact hidden wiring. Cutting accessory contacting a “live” wire may make exposed metal parts of the power tool “live” and could give the operator an electric shock
- Use clamps or another practical way to secure and support the workpiece to a stable platform. Holding the work by hand or against your body leaves it unstable and may lead to loss of control.

Warning! Contact with or inhalation of dusts arising from sanding applications may endanger the health of the operator and possible bystanders. Wear a dust mask specifically designed for protection against dust and fumes and ensure that persons within or entering the work area are also protected.
ENGLISH
(Original instructions)
- Thoroughly remove all dust after sanding.
◆ Take special care when sanding paint which is possibly lead based or when sanding some woods and metal which may produce toxic dust:
- Do not let children or pregnant women enter the work area.
- Do not eat, drink or smoke in the work area.
◆ Dispose of dust particles and any other debris safely.
- The intended use is described in this instruction manual. The use of any accessory or attachment or performance of any operation with this tool other than those recommended in this instruction manual may present a risk of personal injury and/or damage to property.
- The accessory will continue to move after releasing the switch. Always switch the tool off and wait for the accessory to come to a complete standstill before putting the tool down.
-
Keep hands away from cutting area. Never reach underneath the work piece for any reason. Do not insert fingers or thumb into the vicinity of the reciprocating blade and blade clamp. Do not stabilize the saw by gripping the shoe.
-
Keep blades sharp. Dull or damaged blades may cause the saw to swerve or stall under pressure. Always use the appropriate type of saw blade for the workpiece material and type of cut.
- When cutting pipe or conduit, make sure that they are free from water, electrical wiring, etc.
- Do not touch the workpiece or the blade immediately after operating the tool. They can become very hot.
- Be aware of hidden hazards, before cutting into walls, floors or ceilings, check for the location of wiring and pipes.
Features (fig. A)
Tool shown is MT143. Other tools are available for use with this tool head.
This tool includes some or all of the following features.
- Super-lok™ Tool free accessory clamping lever
Accessories
This tool includes some or all of the following accessories.
(Original instructions)
ENGLISH
The performance of your tool depends on the accessory used. BLACK+DECKER and Piranha accessories are engineered to high quality standards and designed to enhance the performance of your tool. By using these accessories you will get the very best from your tool.
| Precision plunge cut saw blade for wooden materials, soft plastics.(Part number - X26105-XJ)Separating, plunge and flush cutting of wood and soft plastics. Ideal for working on doors, skirting boards, windowsills and flooring. | |
| Plunge cut saw blade for wood and metal. (Part number - X26110-XJ)Separating, plunge and flush cutting of wood, plastics, thin-walled non-ferrous pipes and extrusions, nails and screws. | |
| Plunge cut saw blade for wood and metal.(Part number - X26115-XJ)Separating, plunge and flush cutting of wood, plastics, thin-walled non-ferrous pipes and extrusions. |
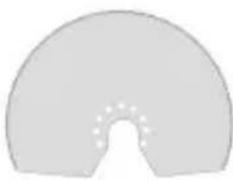 | Segmented saw blade.(Part number - X26120-XJ)Long life blade which is ideal for cutting wood, plastics, thin walled ferrous and non-ferrous material. |
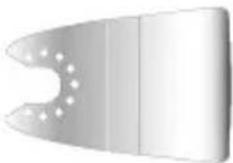 | Rigid scraper.(Part number - X26135-XJ)Ideal for removal of hard and soft material from flat surfaces such as the removal of vinyl flooring, bonded carpet adhesive, tile floor adhesive, grout, paint and varnish. |
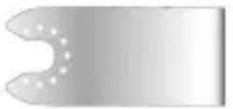 | Flexible scraper.(Part number - X26140-XJ)Ideal for removal of elastomer materials from hard flat surfaces in difficult to reach areas such as silicon sealant and other caulking materials. |
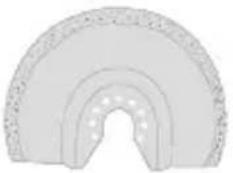 | Carbide grout removal blade.(Part number - X26125-XJ)Carbide coated surface ideal for clearing grout and tile adhesive from flat surfaces and for fast stock removal of wood, chipboard and fibreglass. |
ENGLISH
(Original instructions)
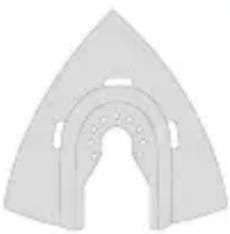 | Carbide rasp.(Part number - X26130-XJ)Carbide coated surface ideal for grout removal and for fast stock removal of plastics, chipboard and fibreglass. |
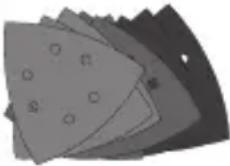 | Sanding Sheets.Various grades for sanding of wood, painted and varnished surfaces. |
Assembly
Warning! Before assembly, remove the battery from the tool.
Fitting a BLACK+DECKER / Piranha accessory (fig. A)
◆ Hold the tool and squeeze the accessory clamping lever (10).
- Slide the accessory (11) between the shaft and the accessory holder making sure the accessory engages all eight pins on the holder and is flush with the shaft.
◆ Release the accessory clamping lever.
Note: Some accessories, such as scrapers and blades can be mounted at an angle if required.
Removing a BLACK+DECKER / Piranha accessory (fig. A)
◆ Hold the tool and squeeze the accessory clamping lever (10).
◆ Pull the accessory from the tool making sure the accessory dis-engages from all eight pins on the holder.
◆ Release the accessory clamping lever.
Warning: Gloves must be worn when removing accessories as they may become hot during use.
Fitting a sanding sheet (fig. B)
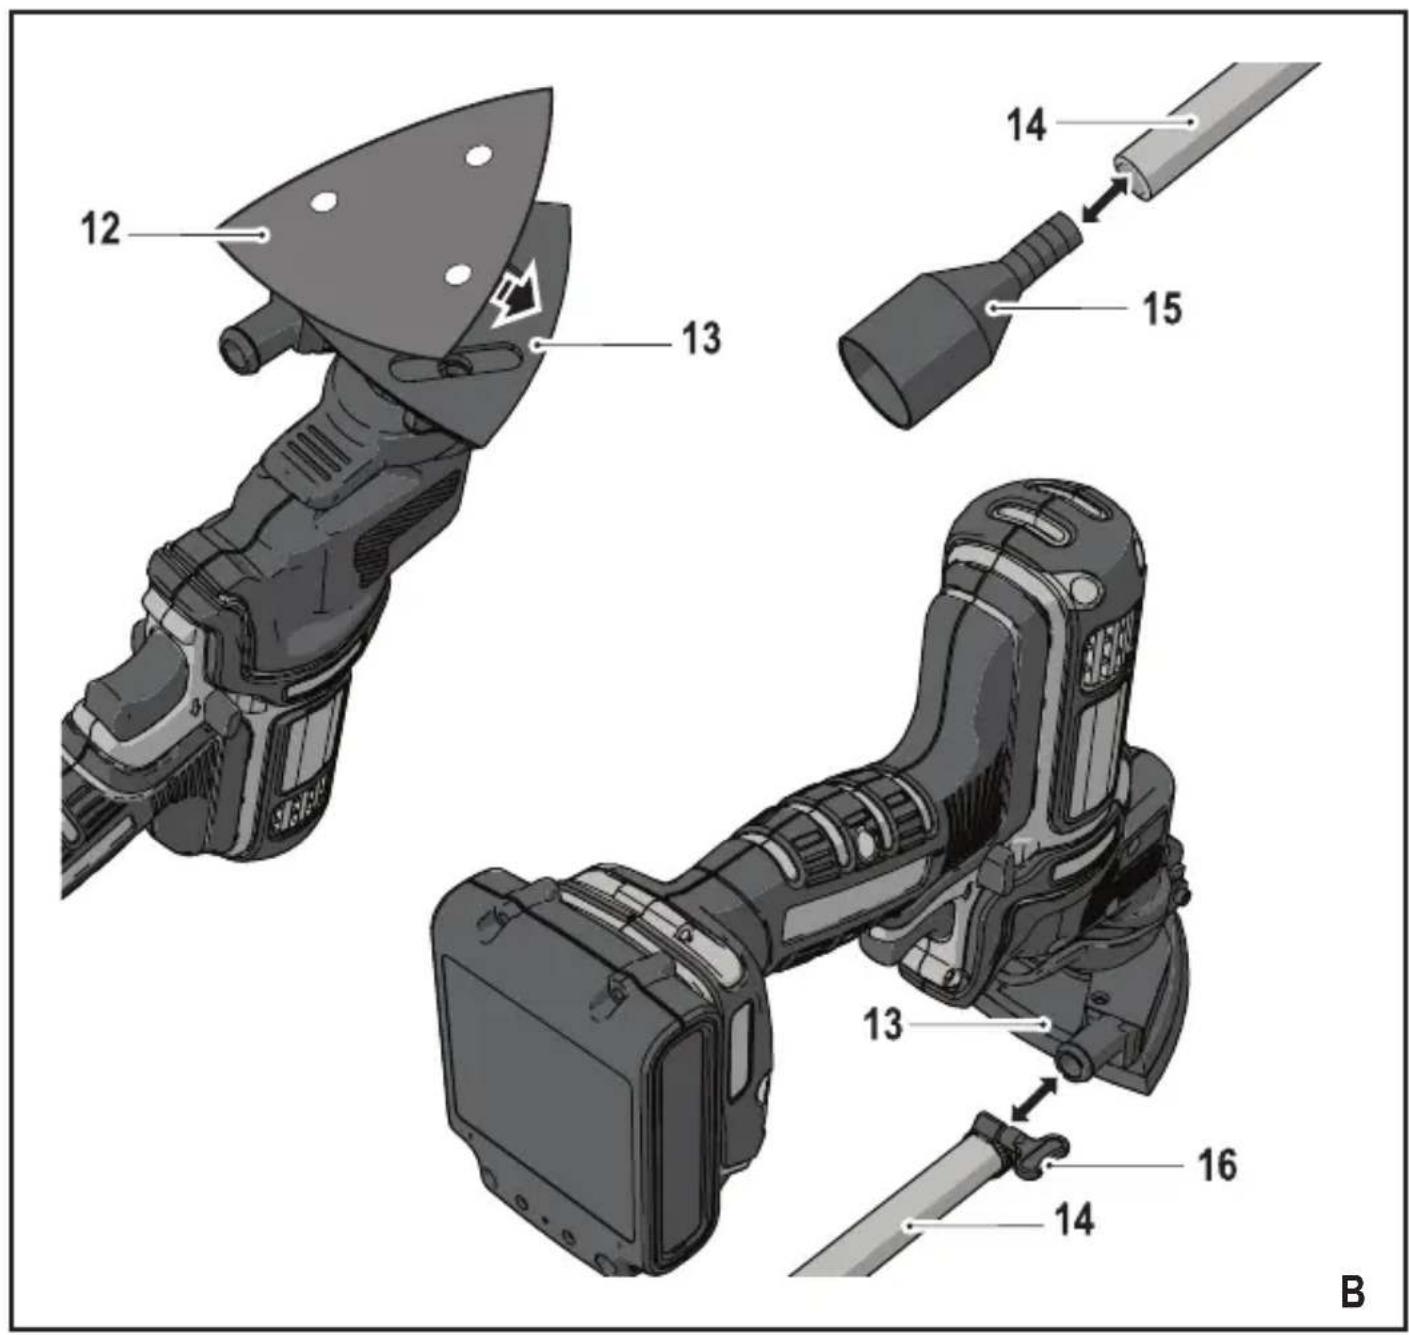
◆ Line up the sanding sheet (12) with the sanding base (13) as shown.
- Press the sheet firmly and evenly onto the sanding base, making sure that the holes in the sheet coincide with the holes in the base.
Removing a sanding sheet
◆ Pull the sanding sheet (12) off the sanding base (13).
Warning! Never use the sanding base without a sanding sheet or accessory in place.
Fitting the dust extraction adaptor (fig. B)
◆ Line up the vacuum adaptor (15) with one end of the tube (14) as shown.
◆ Press the adaptor firmly and evenly in to the tube.
(Original instructions)
ENGLISH
◆ Line up the tube (14) with the sanding base (13) as shown.
- Press the tube firmly and evenly on to the sanding base.
◆ Secure the tube by turning the locking nut (16) clockwise.
- Connect a vacuum cleaner to the vacuum adaptor.
Removing the dust extraction adaptor
◆ Turn the locking nut (16) anti-clockwise.
◆ Pull the tube(14) out of the sanding base (13).
Fitting alternative accessories (fig. C)
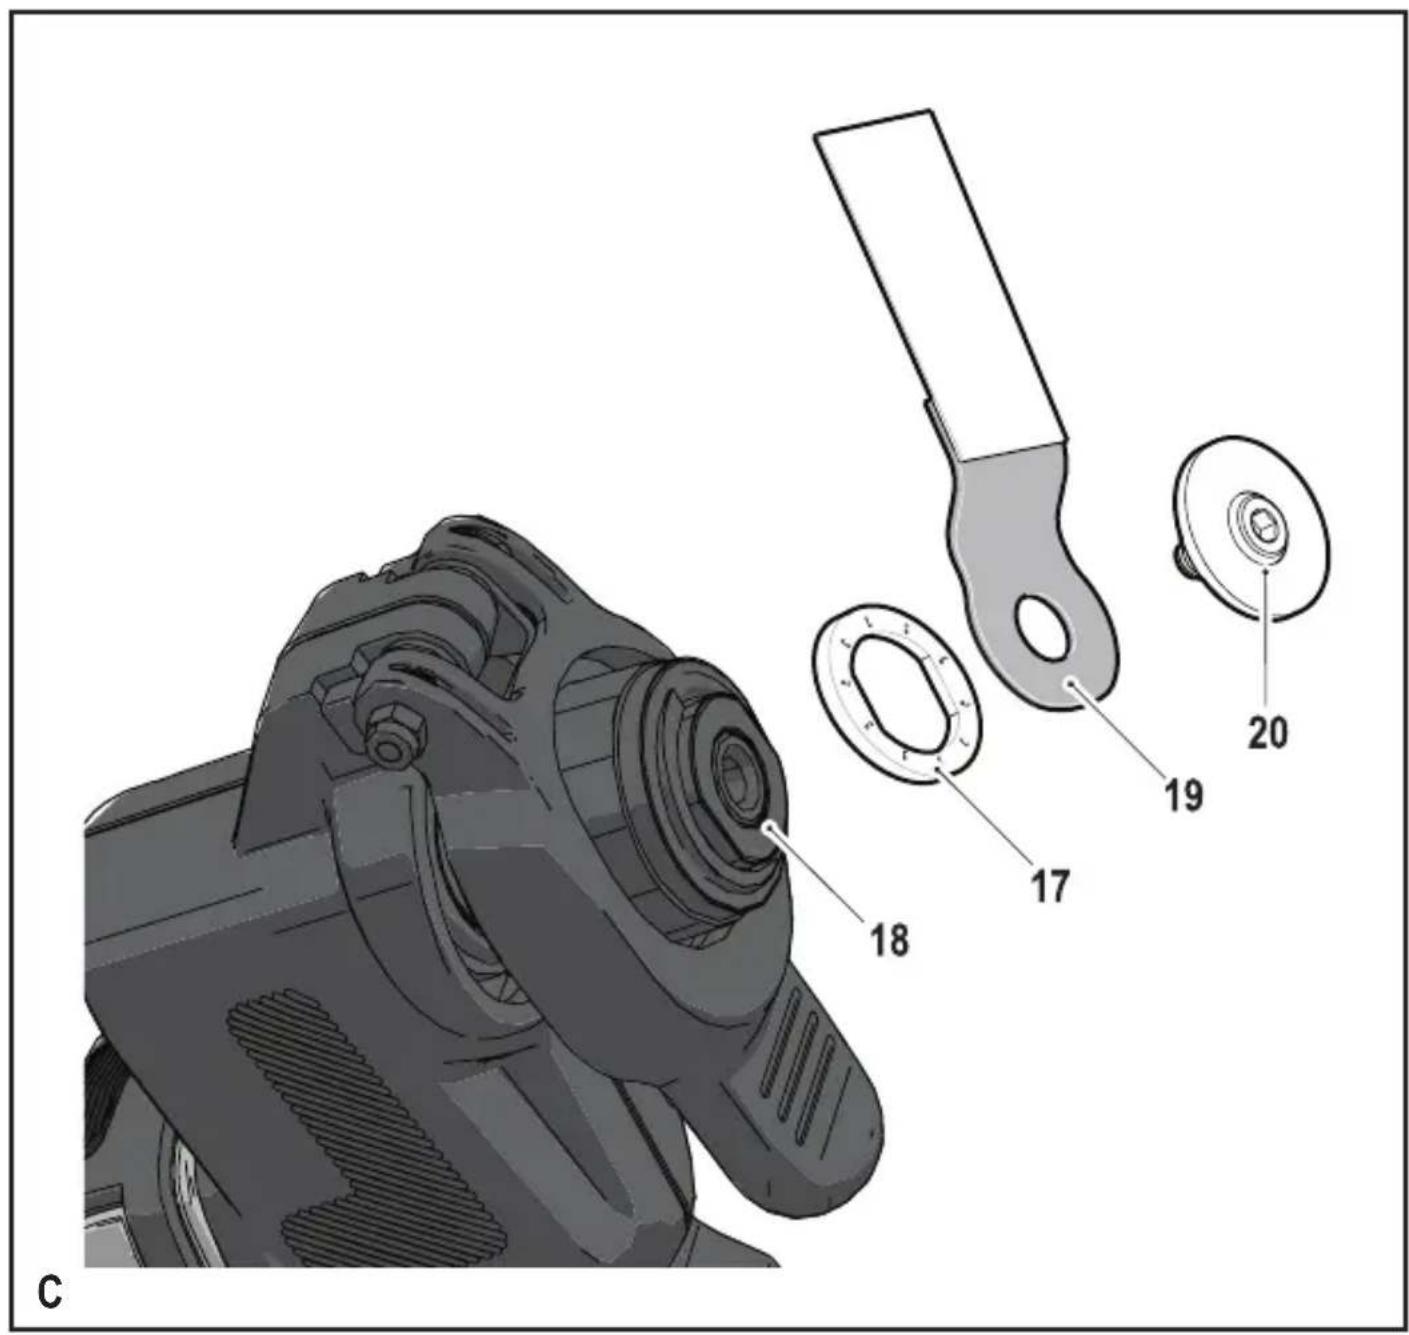
◆ Place the spacer (17) onto the collar (18).
◆ Place the alternative accessory (19) onto the collar (18).
- Firmly attach the fixing bolt (20) into place to ensure a tight fit for the alternative accessory (19) with the hex key provided.
Note: The spacer and fixing bolt are not used to attach BLACK+DECKER accessories. Black and Decker accessories are attached using the Superlok™ Tool free accessory clamping lever.
Use
Warning! Let the tool work at its own pace. Do not overload.
Variable speed control (fig. A)
Note: Ensure the forward reverse slider (2) is not in the locked position.
◆ To switch the tool on, press the variable speed switch (1). The tool speed depends on how far you press the switch.
◆ To switch the tool off, release the variable speed switch.
Hints for optimum use
◆ Always hold the tool securely. For precision work, hold the tool near the front.
◆ Clamp the workpiece whenever possible, especially when using cutting blades.
◆ Do not exert too much pressure on the tool.
◆ Always use the appropriate type of attachment for the workpiece material and type of cut.
- Regularly check the condition of accessories. Replace when necessary.
◆ Mark the desired starting point.
- Switch the tool on and slowly feed attachments into the workpiece at the desired starting point.
◆ Clamp a piece of plywood or soft wood to the back of the workpiece and saw through the combination in order to obtain a clear cut.
ENGLISH
(Original instructions)
Do not force the cutting blade into the workpiece. Note that cutting sheet metal will normally take more time than sawing thicker wooden workpieces.
- When cutting metal spread a thin film of oil along the cutting line before cutting.
- When sanding new layers of paint before applying another layer, use extra fine grit.
- On very uneven surfaces, or when removing layers of paint, start with a coarse grit. On other surfaces, start with a medium grit. In both cases, gradually change to a fine grit for a smooth finish.
- Consult your retailer for more information on available accessories.
Technical data
| MTOS4(14.4 V)(H1) | MTOS4(Max) (H1) | ||
| No-load speed min | -1 | 16300 18500 | |
| Oscillating angle Degrees | 2.8 2.8 | ||
| Weight | kg 1.3 | 1.3 | |
| Level of sound pressure according to EN 60745: |
| Sound pressure (LpA) 86.5 dB(A), uncertainty (K) 3 dB(A) |
| Sound power (LWA) 97.5 dB(A), uncertainty (K) 3 dB(A) |
| Vibration total values (triax vector sum) according to EN 60745: |
| Cutting wood ( a_h, CW ) 6.2 m/s ^2 , uncertainty (K) 1.5 m/s ^2 |
| Cutting metal ( a_h, CM ) 9.8 m/s ^2 , uncertainty (K) 1.5 m/s ^2 |
| Sanding ( a_n ) 11.8 m/s ^2 , uncertainty (K) 1.5 m/s ^2 |
Guarantee
Black & Decker is confident of the quality of its products and offers an outstanding guarantee. This guarantee statement is in addition to and in no way prejudices your statutory rights. The guarantee is valid within the territories of the Member States of the European Union and the European Free Trade Area.
If a Black & Decker product becomes defective due to faulty materials, workmanship or lack of conformity, within 24 months from the date of purchase, Black & Decker guarantees to replace defective parts, repair products subjected to fair wear and tear or replace such products to ensure minimum inconvenience to the customer unless:
- The product has been used for trade, professional or hire purposes;
- The product has been subjected to misuse or neglect;
- The product has sustained damage through foreign objects, substances or accidents;
◆ Repairs have been attempted by persons other than authorised repair agents or Black & Decker service staff.
To claim on the guarantee, you will need to submit proof of purchase to the seller or an authorised repair agent. You can check the location of your nearest authorised repair agent by contacting your local Black & Decker office at the address indicated in this manual. Alternatively, a list of authorised Black & Decker repair agents and full details of our after-sales service and contacts are available on the Internet at: www.2helpU.com
Please visit our website www.blackanddecker.co.uk to register your new BLACK+DECKER product and to be kept up to date on new products and special offers. Further information on the BLACK+DECKER brand and our range of products is available at www.blackanddecker.co.uk
EC declaration of conformity MACHINERY DIRECTIVE

MTOS4
Black & Decker declares that these products described under "technical data" are in compliance with:
2006/42/EC, EN60745-1, EN60745-2-1, EN60745-2-4
These products also comply with Directive 2014/30/EU and 2011/65/EU. For more information, please contact Black & Decker at the following address or refer to the back of the manual. The undersigned is responsible for compilation of the technical file and makes this declaration on behalf of Black & Decker.
R. Laverick
Engineering Manager
Black & Decker Europe, 210 Bath Road, Slough,
Berkshire, SL1 3YD
United Kingdom
16/09/2014
DEUTSCH
Black & Decker Europe, 210 Bath Road, Slough,
Berkshire, SL1 3YD
Großbritannien
16/09/2014
Utilisation
natural_image
Simple geometric diagram of an arched structure with circular cutouts (no text or symbols)Râpe couverte de carbures. (Réf. - X26130-XJ)
natural_image
Stack of three sheets of paper with circular indentations, no visible text or symbolsFeuilles abrasives.
Responsible technique
Black & Decker Europe, 210 Bath Road, Slough,
Berkshire, SL1 3YD
Royaume-Uni
16/09/2014
Uso inteso
Black & Decker Europe, 210 Bath Road, Slough, Berkshire, SL1 3YD
Regno Unito
16/09/2014
Beoogd gebruik
natural_image
Stack of overlapping sheets with circular patterns and a hole, no text or symbols visibleSchuurpapier.
Black & Decker Europe, 210 Bath Road, Slough,
Berkshire, SL1 3YD
Verenigd Koninkrijk
16/09/2014
ESPAÑOL
Black & Decker Europe, 210 Bath Road, Slough,
Berkshire, SL1 3YD
Reino Unido
16/09/2014
Utilização prevista
Director de Engenharia
Black & Decker Europe, 210 Bath Road, Slough, Berkshire, SL1 3YD
Reino Unido
16/09/2014
Användningsområde
Black & Decker Europe, 210 Bath Road, Slough,
Berkshire, SL1 3YD
Storbritannien
16/09/2014
Bruksområde
Black & Decker Europe, 210 Bath Road, Slough,
Berkshire, SL1 3YD
Storbritannia
16/09/2014
Tilsigtet brug
Black & Decker Europe, 210 Bath Road, Slough,
Berkshire, SL1 3YD
Storbritannien
16/09/2014
Käyttötarkoitus
Black & Decker Europe, 210 Bath Road, Slough,
Berkshire, SL1 3YD
natural_image
Abstract geometric shape resembling a triangular arch or arch, with no text or symbols present.
natural_image
Stack of three sheets of paper with circular patterns, no visible text or symbolsBlack & Decker Europe, 210 Bath Road, Slough,
Berkshire, SL1 3YD
Ηνωμένο Βασίλειο
16/09/2014
België/Belgique/Luxembourg Stanley Black & Decker Belgium BVBA Tel. NL +32 15 47 37 65
www.blackanddecker.be Egide Walschaertsstraat 16 Tel. FR +32 15 47 37 66
enduser.be@sbdinc.com 2800 Mechelen Fax. +32 15 47 37 99
Danmark Black & Decker kundeservice.dk@sbdinc.com
- (Original instructions)
- ENGLISH
- Intended use
- Safety instructions
- General power tool safety warnings
- Features (fig. A)
- Accessories
- Assembly
- Fitting a BLACK+DECKER / Piranha accessory (fig. A)
- Removing a BLACK+DECKER / Piranha accessory (fig. A)
- Fitting a sanding sheet (fig. B)
- Removing a sanding sheet
- Fitting the dust extraction adaptor (fig. B)
- Removing the dust extraction adaptor
- Fitting alternative accessories (fig. C)
- Use
- Variable speed control (fig. A)
- Hints for optimum use
- Guarantee
- EC declaration of conformity MACHINERY DIRECTIVE
- DEUTSCH
- Utilisation
- Uso inteso
- Beoogd gebruik
- Schuurpapier.
- ESPAÑOL
- Utilização prevista
- Användningsområde
- Bruksområde
- Tilsigtet brug
- Käyttötarkoitus
Brand : BLACK & DECKER
Model : MTOS4
Category : Multifunction tool