CLAR3004BN - Clock NEDIS - Free user manual and instructions
Find the device manual for free CLAR3004BN NEDIS in PDF.

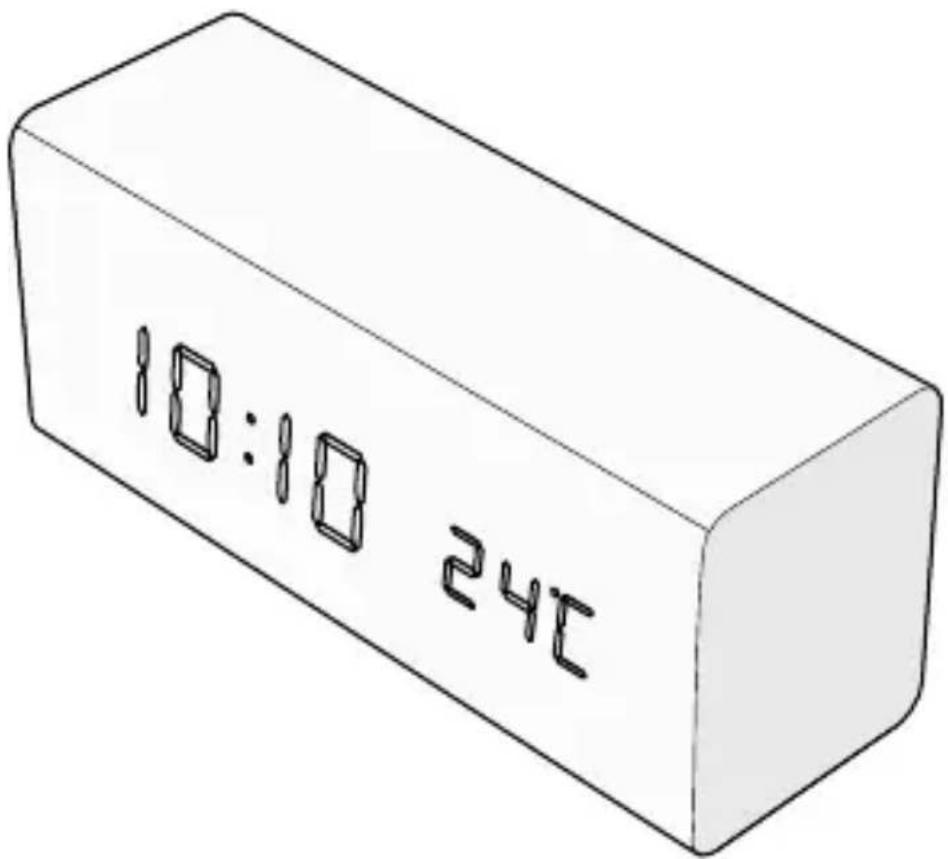
| Product type | Digital clock with alarm, thermostat and FM radio |
| Brand | Nedis |
| Model | CLAR3004BN |
| Main power supply | Built-in rechargeable battery via USB-C™ port |
| Backup power supply | CR2032 button cell battery |
| Display | Digital with dimming (low, medium, high) |
| Radio | FM with auto scan and 15 presets |
| Alarms | 3 programmable alarms (buzzer or radio), with snooze and day selection |
| Thermostat | Temperature display in °C or °F |
| Additional features | Power saving mode (auto off, sound wake-up), calendar |
| Intended use | Indoor, household applications (kitchen, bedroom) |
| Safety | Do not open, keep out of reach of children, do not expose to water |
| Cleaning | Unplug before cleaning, do not use harsh chemicals |
| Waste disposal | Do not dispose with household waste, take to a collection point |
| Certifications | RED Directive 2014/53/EU, declaration of conformity available online |
| Manual languages | FR, CS, DA, DE, EL, EN, ES, FI, HU, IT, NL, NO, PL, PT, RO, SV |
Frequently Asked Questions - CLAR3004BN NEDIS
User questions about CLAR3004BN NEDIS
0 question about this device. Answer the ones you know or ask your own.
Ask a new question about this device
Download the instructions for your Clock in PDF format for free! Find your manual CLAR3004BN - NEDIS and take your electronic device back in hand. On this page are published all the documents necessary for the use of your device. CLAR3004BN by NEDIS.
USER MANUAL CLAR3004BN NEDIS
with Time, Date and Temperature
CLAR3004BN

Quick start guide 5

Kurzanleitung 9

natural_image
Illustration of a portable air conditioner unit with control panel and fan (no text or symbols)Specifications
| Product Wooden FM Digital Alarm Clock Radio | |
| Article number CLAR3004BN | |
| Dimensions (l × w × h) 160 × 73 × 70 mm | |
| Material Wood / ABS | |
| Radio bands FM | |
| FM frequency range 87.5 - 108.0 MHz | |
| Preset stations 15 | |
| Light types LCD light | |
| Power input USB-CTM 5 V DC – 1.2 A | |
| Power cable USB-CTM | |
| Power output USB-A 5.0 V – 1.0 A | |
| Backup battery type CR2032 | |
| Power 5 W | |
Wooden FM Digital Alarm Clock Radio

For more information see the extended manual online: ned.is/clar3004bn
Intended use
This product is a digital clock with integrated alarm, thermostat, and FM radio.
This product functions wirelessly with a built-in, rechargeable battery.
This product is intended for indoor use only.
This product is intended to be used in household and similar applications such as kitchen areas.
This product can be used by children aged from 8 years and above and persons with reduced physical, sensory or mental capabilities or lack of experience and knowledge if they have been given supervision or instruction concerning use of the product in a safe way and understand the hazards involved.
This product is not a toy. Never allow children or pets to play with this product. Cleaning and user maintenance shall not be done by children without supervision.
The product is not intended for professional use.
Any modification of the product may have consequences for safety, warranty and proper functioning.
Main parts (image A)
1 Display
2 USB – USB-C™ charging cable
3 Snooze button
4 Mode button
5 USB-C™ charging port
6 FM button
7 USB-A™ charging port
8 Up button
9 Down button
10 Battery compartment
11 Volume up button
12 Volume down button
13 Antena
Safety instructions
WARNING
- Ensure you have fully read and understood the instructions in this document before you install or use the product. Keep the packaging and this document for future reference.
- Only use the product as described in this document.
- Do not let children play with the packaging material. Always keep the packaging material out of the reach of children.
- Always keep button cell batteries, both full and empty, out of reach of children to avoid the chance of swallowing. Dispose of used batteries immediately and safely. Button cell batteries can cause serious internal chemical burns in as little as two hours when swallowed. Keep in mind that the first symptoms may look like child diseases like coughing or drooling. Seek immediate medical attention when you suspect that batteries have been swallowed.
- Do not use any cell or battery that is not designed for use with the product.
- Do not use the product if a part is damaged or defective. Replace a damaged or defective product immediately.
- Keep the product away from heat sources. Do not place the product on hot surfaces or near open flames.
- Do not drop the product and avoid bumping.
- Do not immerse the product in water or other liquids.
- Do not expose the product to water, rain, moisture or high humidity.
- Do not open the product, there are no user-serviceable parts inside.
- Disconnect the product from the power source before cleaning.
- Do not use aggressive chemical cleaning agents when cleaning the product.
Inserting the battery (image B)
- Open the battery compartment.
- Insert a CR2032 button cell battery.
Make sure that the battery polarity (+/-) matches the polarity markings inside the battery compartment.
Using the product
Press the Mode button to cycle through the following modes;
- Timemode
-
Datemode
-
Alarm1
- Alarm2
- Alarm3
Press and hold the Mode button A4 for 2 seconds to adjust settings.
Press the Up button A 8 to increase a settings value.
Press the Down button A9 to decrease a settings value.
Press the Mode button A4 to confirm the settings.
Setting the time
- Enter the time setting mode.
- Select the time format (12h or 24h).
- Adjust the current hour and confirm.
- Adjust the current minute and confirm.
- Press the Mode button A 4 to confirm the settings.
After 15 seconds of inactivity the product will return to the time display mode.
Setting the date
- Enter the date setting mode.
- Adjust the current year and confirm.
- Adjust the current month and confirm.
- Adjust the current day and confirm.
- Press the Mode button A 4 to confirm the settings.
After 15 seconds of inactivity the product will return to the time display mode.
Setting the alarm
- Press the Mode button A 4 to cycle through the three alarms.
The display shows ‘--A’ with the corresponding alarm number. - Press and hold the Mode button A 4 for 2 seconds to adjust the selected alarm.
The display starts flashing. - Adjust the hour and confirm.
- Adjust the minutes and confirm.
-
Select between buzzer alarm (bu) or radio alarm (rd) and confirm.
The buzzer alarm automatically switches off after one minute.
The radio alarm plays the latest selected radio channel until a button is pressed. -
Select the alarm interval between daily (E1-7), only on weekdays (E1-5), or only in the weekend (E6-7) and confirm.
The alarm is now set.
- Press the Up button A 8 to switch on the alarm. “--” is replaced by “oN”. Press the Snooze button A 3 to silence the alarm for 5 minutes. Press any other button to switch off the alarm until the next occurrence.
Selecting the display mode
Press the Up button A 8 to cycle through the available display modes.
DP-1 Display cycles between time (10s) and date (2s).
DP-2 Display always shows the selected mode.
DP-3 Display always shows the time.
Setting dimming mode
Press the Snooze button A3 to cycle through the three available dimming modes.
- Lowbrightness
- Mediumbrightness
- Highbrightness
Select the temperature unit
Press and hold the Down button A⑨ for 2 seconds to change the units from °C to °F.
Entering FM mode and searching for a radio station
- Press the FM button A 6 to switch on the FM radio.
- Use the Up A 8 and Down button A 9 to manually adjust the FM frequency.
- Press and hold the Up A 8 or Down button A 9 to automatically search for the next or previous radio channel.
- Press and hold the FM button A 6 to automatically search for and save 15 radio channels. When all channels are stored, the first preset radio channel (P01) plays.
The preset radio channels are displayed as P01, P02, etcetera..
Switch between preset radio channels
-
Press and hold the Mode button A 4 to switch between the preset radio channels.
-
Use the Up A 8 and Down button A9 to cycle through the preset radio channels.
- Press the Mode button A 4 to confirm.
Controlling the volume
Use the Volume Up A8 and Volume Down button A9 to change the volume.
Power saving mode
Press the Down button A9 to switch power saving mode on or off While power saving mode is active, the display will switch off after 10 seconds. Clap your hands, make a loud sound, or press any button to switch on the display.
Disposal

The product is designated for separate collection at an appropriate collection point. Do not dispose of the product with household waste.
For more information, contact the retailer or the local authority responsible for the waste management.
Declaration of Conformity
We, Nedis B.V. declare as manufacturer that the product CLAR3004BN from our brand Nedis ^® , produced in China, has been tested according to all relevant CE standards and regulations and that all tests have been passed successfully. This includes, but is not limited to the RED 2014/53/EU regulation.
The complete Declaration of Conformity (and the safety datasheet if applicable) can be found and downloaded via:
nedis.com/clar3004bn#support

Kurzanleitung
Holz FM Digitaler Alarm Wecker Radio
CLAR3004BN