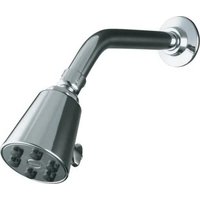
Spout K-179 - Shower system KOHLER - Free user manual and instructions
Find the device manual for free Spout K-179 KOHLER in PDF.

User questions about Spout K-179 KOHLER
0 question about this device. Answer the ones you know or ask your own.
Ask a new question about this device
Download the instructions for your Shower system in PDF format for free! Find your manual Spout K-179 - KOHLER and take your electronic device back in hand. On this page are published all the documents necessary for the use of your device. Spout K-179 by KOHLER.
USER MANUAL Spout K-179 KOHLER
natural_image
Three identical mechanical component diagrams with numbered labels (②, ③, ④) and no visible text or symbols.Mproduct numbers are for Mexico (i.e. K-12345M)
WARNING: When using electrical products, basic precaution should always be followed, including the following:

WARNING: Riskofelectricshock. Disconnect power to the valve before servicing.

WARNING: Riskofinjuryorpropertydamage. Please read all instructions thoroughly before beginning installation.
NOTICE: Followallplumbing, electrical, and building codes.
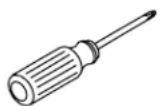
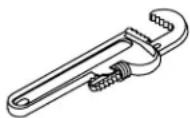
ToolsandMaterials
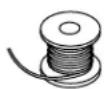
Solder Sealant Tape Screwdriver
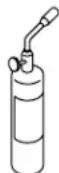
Propane Torch

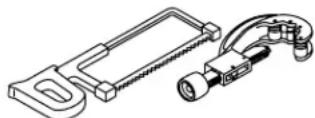
Hacksaw or Tubing Cutter Pipe Wrench
Plus:
• (2) 1/2" 90° Elbow
• (2) 1/2" Tees
• (4) 1/2" Unions
• (1) 3/4"-1/2" Reducing Adapter
• 1/2" and 3/4" Copper Tubing
• (1) 3/4" Union
• (4) 1/2" Threaded Adapters
• (1) 1/2" NPT Female Adapter
• (1) 3/4"-1/2" Reducing Tee
• (1) Water Hammer Arrester
BeforeYouBegin
NOTICE: Do not apply excessive heat near the valve or apply flux or acids directly onto the valve. This valve contains plastic and rubber components which will melt if heat is directly applied.
NOTICE: Do not apply petroleum-based lubricants to the valve components. Doing so will damage the valve components.
NOTICE: Do not use oil-based, non-setting compounds, such as plumbers putty, on the threaded connections. Inlet and outlet threaded connections should be made using sealant tape or liquid sealant.
NOTICE: Do not allow any outlet to flow more than 10 gal (37.9 L) per minute.
□ Observe all local plumbing, building, and electrical codes.
☐ Read these instructions and determine all required components along with their installation locations before beginning this installation.
□ Provide access for servicing.
☐ For optimum performance, 3/4" dedicated water supply lines are recommended.
□ When possible, install the valve prior to installing the other components.
☐ If possible, flush all piping thoroughly before installing the valve to prevent clogging the inlet filters.
☐ Kohler Co. reserves the right to make revisions in the design of faucets without notice, as specified in the Price Book.
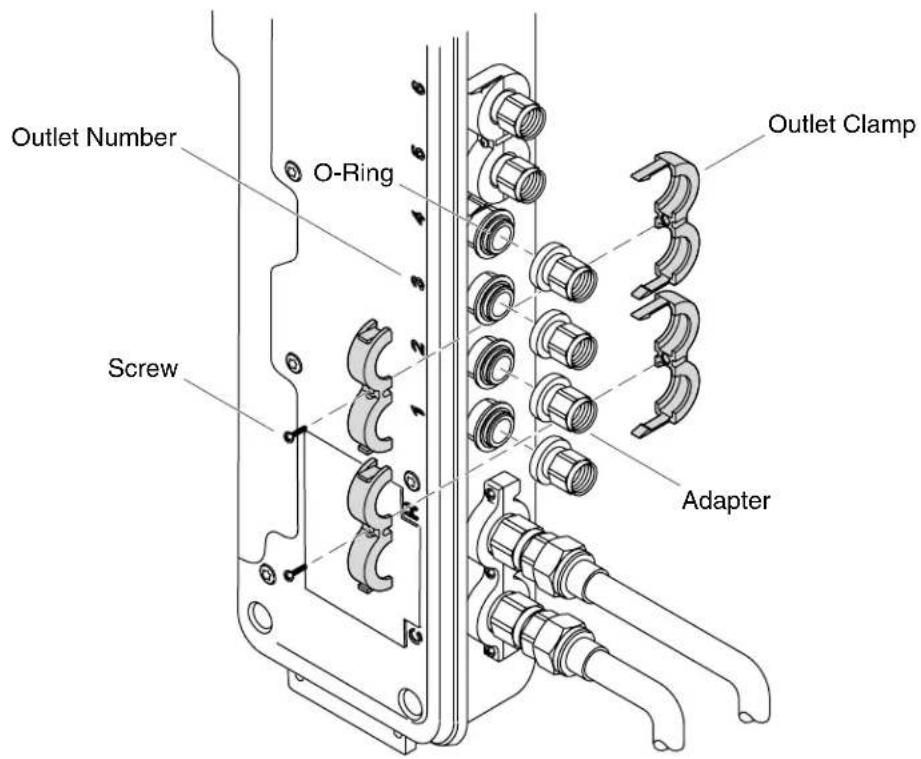
text_image
Outlet Number O-Ring Screw Outlet Clamp Adapter1. RemoveOutletClampsandExistingAdapters
- Remove the outlet clamps for the valve outlets 1 through 4. Set the clamps and screws aside.
☐ Remove and discard the outlet adapters from outlets 2, 3, and 4. Verify the o-rings remain in place on the valve outlets.
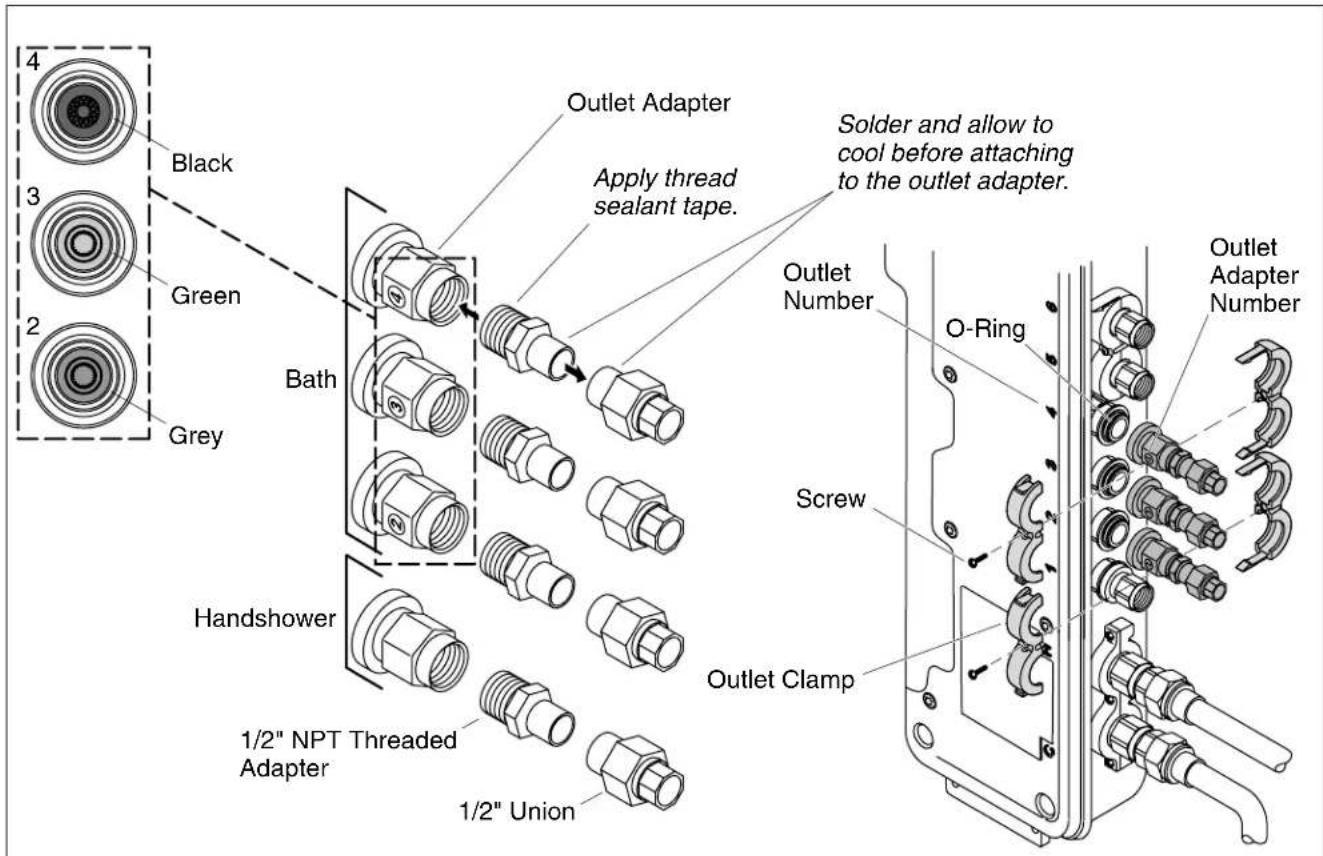
text_image
4 3 2 Black Green Grey Bath Handshower 1/2" NPT Threaded Adapter 1/2" Union Outlet Adapter Apply thread sealant tape. Solder and allow to cool before attaching to the outlet adapter. Outlet Number O-Ring Screw Outlet Clamp Outlet Adapter Number2. Assemble and Install the New Adapters
NOTICE: Do not apply excessive heat near the valve or apply flux or acids directly onto the valve. This valve contains plastic and rubber components which will melt if heat is directly applied.
NOTICE: Do not use oil-based, non-setting compounds, such as plumbers putty, on the threaded connections. Inlet and outlet threaded connections should be made using sealant tape or liquid sealant.
IMPORTANT! Verify the appropriate flow regulator is in place inside each outlet adapter prior to assembling to the valve; note the flow regulator colors in the above illustration.
IMPORTANT! If installing a handshower to the system: Remove the adapter from outlet 1 and follow the instructions below. Installations with handshower and bath spout will have 4 adapter assemblies; bath spout only installations will have 3 adapter assemblies.
☐ Solder one 1/2" NPT threaded adapter to each 1/2" union fitting. Allow to cool completely before proceeding.
□ Apply thread sealant tape to the threads of the 1/2"NPT threaded adapters. Thread an adapter assembly into each of the numbered flow regulators/adapter.
□ Verify that the O-rings are in place on the valve outlets.
☐ Install the flow regulators/adapter to the corresponding valve outlet. Handshower assembly will install to outlet 1.
- Position the outlet clamps over the flow regulator/adapter assemblies and snap into place.
□ Secure the outlet clamps with the screws.
text_image
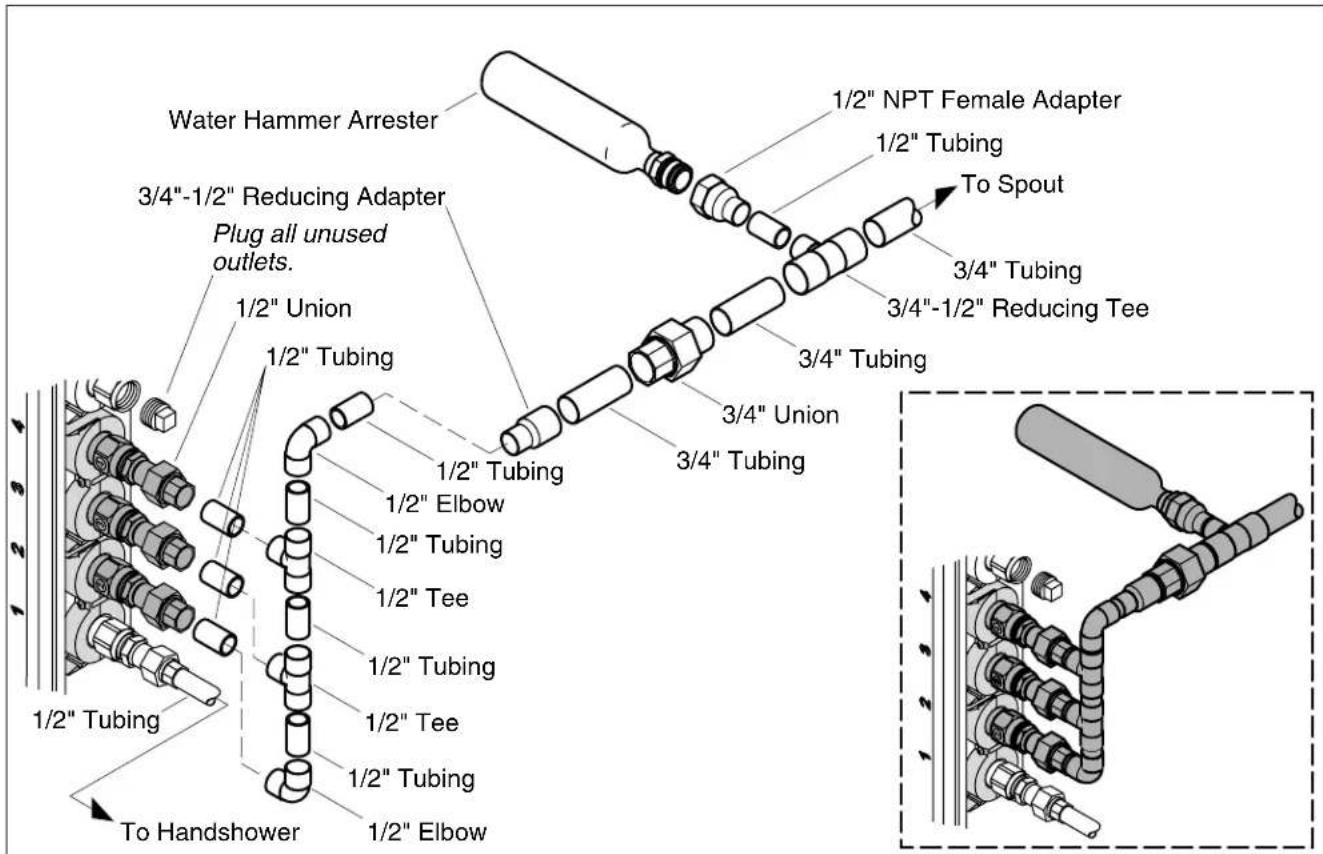
Water Hammer Arrester 3/4"-1/2" Reducing Adapter Plug all unused outlets. 1/2" Union 1/2" Tubing 1/2" Elbow 1/2" Tubing 1/2" Tee 1/2" Tubing 1/2" Tee 1/2" Tubing 1/2" Elbow 1/2" NPT Female Adapter 1/2" Tubing To Spout 3/4" Tubing 3/4"-1/2" Reducing Tee 3/4" Tubing 3/4" Union 3/4" Tubing 1/2" Tubing 1/2" Elbow 1/2" Tubing 1/2" Tee 1/2" Elbow 1/2" Tubing 1/2" Elbow3. CreatePipingAssembly
☐ Using copper elbows, tees, and tubing, join the three 1/2" unions into a single 3/4" outlet (as illustrated above).
□ Verify fit, making adjustments as needed.
□ Solder all piping assembly connections.
☐ Solder the piping assembly to the 1/2" unions.
☐ Install a water hammer arrestor (Sioux Chief model #652AD or equivalent) as close to the piping assembly as possible.
☐ Route piping from outlet 1 to the handshower installation location.
□ Install brass plugs to all unused outlets.
□ Refer to the Installation Guides for all other components to complete system installation.
□ Turn on the water and power to the system.
□ Run water into the bath and check all connections for leaks.