Antique K-332 - Shower system KOHLER - Free user manual and instructions
Find the device manual for free Antique K-332 KOHLER in PDF.

User questions about Antique K-332 KOHLER
0 question about this device. Answer the ones you know or ask your own.
Ask a new question about this device
Download the instructions for your Shower system in PDF format for free! Find your manual Antique K-332 - KOHLER and take your electronic device back in hand. On this page are published all the documents necessary for the use of your device. Antique K-332 by KOHLER.
USER MANUAL Antique K-332 KOHLER
natural_image
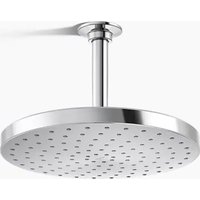
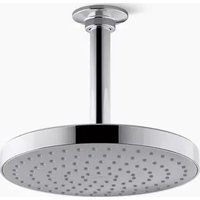
Line drawing of a showerhead with a bulb and handle (no text or symbols)M product numbers are for Mexico (i.e. K-12345M)
Thank You For Choosing Kohler Company
We appreciate your commitment to Kohler quality. Please take a few minutes to review this manual before you start installation. If you encounter any installation or performance problems, please don't hesitate to contact us. Our phone numbers and website are listed on the back cover. Thanks again for choosing Kohler Company.
Before You Begin
□ Observe all local plumbing and building codes.
□ Shut off the main water supply.
☐ Kohler Co. reserves the right to make revisions in the design of products without notice, as specified in the Price Book.
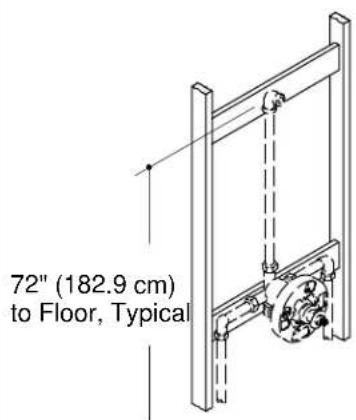
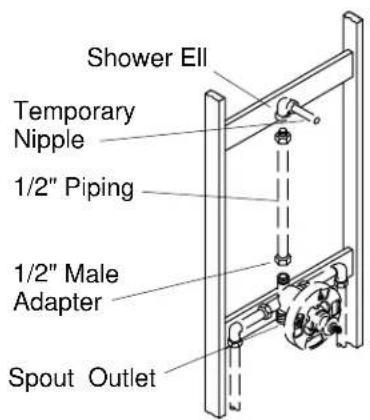
1. Prepare the Site
IMPORTANT! Secure the piping to the framing.
□ Install or relocate the water supplies as necessary.
☐ A typical bath and shower installation is plumbed using 1/2" copper tubing and adapters.
□ Use thread sealant on all threaded connections.
☐ Temporarily install 1/2" nipples to the bath and shower elbows, extending at least 2" (5.1 cm) beyond the finished wall.
□ Turn on the water supply and check for leaks.
□ Complete the finished wall.
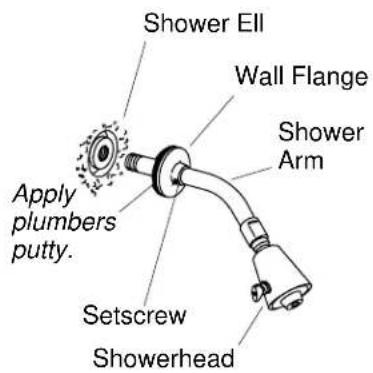
2. Install the Showerhead
□ Remove the temporary nipple from the shower ell.
□ Apply a bead of plumbers putty or other sealant to the back of the wall flange according to the manufacturer's instructions.
□ Slide the wall flange over the shower arm.
□ Apply thread sealant to the shower arm and thread it into the ell.
□ Use a clean strap wrench to securely tighten the shower arm.
☐ Slide the wall flange tight against the wall and tighten the setscrew.
□ Remove any excess plumbers putty.
□ Run hot and cold water through the shower arm to flush out dirt and debris.
□ Apply thread sealant to the showerhead side of the shower arm.
☐ Thread the showerhead to the shower arm.
□ Use a clean strap wrench to tighten the showerhead.
□ Check for proper operation.