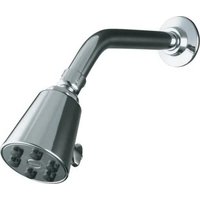
Awaken K-76465 - Shower system KOHLER - Free user manual and instructions
Find the device manual for free Awaken K-76465 KOHLER in PDF.

User questions about Awaken K-76465 KOHLER
0 question about this device. Answer the ones you know or ask your own.
Ask a new question about this device
Download the instructions for your Shower system in PDF format for free! Find your manual Awaken K-76465 - KOHLER and take your electronic device back in hand. On this page are published all the documents necessary for the use of your device. Awaken K-76465 by KOHLER.
USER MANUAL Awaken K-76465 KOHLER
Mproduct numbers are for Mexico (i.e. K-12345M)
natural_image
Line drawing of a pair of scissors with a handle and clasp (no text or symbols)Strap Wrench
Thin Bladed
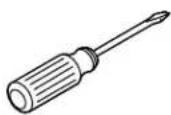
Screwdriver
ImportantInformation

WARNING: Riskofscalding. High water temperature can cause severe burns. Set the water temperature at or below 120°F (49°C) following the adjustment procedure in the valve Installation and Care Guide.
NOTICE: Choose an automatic compensating valve with the appropriate minimum flow rating to verify that your valve will provide safety at the lowest flow rates.
□ Observe all local plumbing and building codes.
NOTE: After each use, tilt the showerhead to drain.
NOTE: For service parts information, visit your product page at kohler.com/serviceparts.
text_image
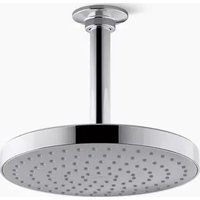
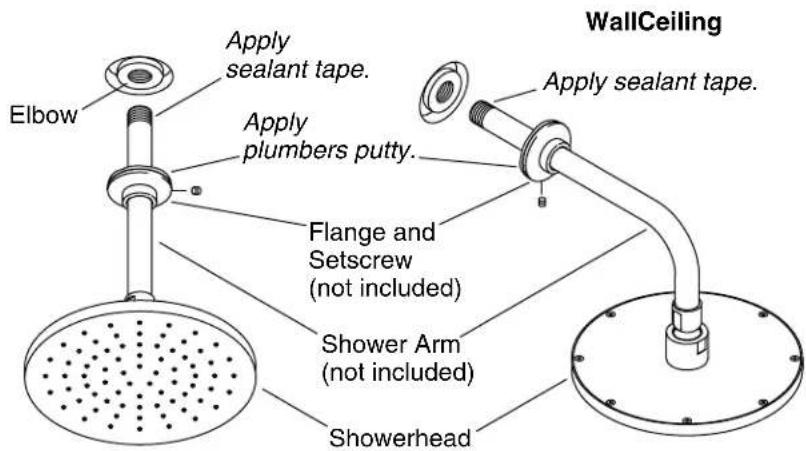
Elbow Apply sealant tape. Apply plumbers putty. Flange and Setscrew (not included) Shower Arm (not included) Showerhead WallCeiling Apply sealant tape.1. InstalltheShowerhead
NOTE: The shower arm with flange is not provided.
□ Remove the existing showerhead and shower arm, if applicable.
☐ Install the shower elbow. Make sure that the elbow is securely mounted and has adequate strength to support the showerhead.
□ Apply a bead of plumbers putty or other sealant to the back of the flange.
☐ Place the flange onto the long end of the shower arm as shown.
□ Apply sealant tape to the threads of each end of the shower arm.
☐ Install the shower arm to the shower elbow and tighten securely with a clean strap wrench.
☐ Press the flange against the finished wall/ceiling and secure to the shower arm by tightening the setscrew.
□ Remove any excess plumbers putty.
☐ Turn on the water to flush any debris through the shower arm.
□ Turn off the water.
☐ Install the showerhead to the shower arm and tighten securely with a clean strap wrench.
□ Check all connections for leaks.
NOTE: After each use some water may remain in the showerhead. To prevent dripping, tilt the showerhead to drain.
natural_image
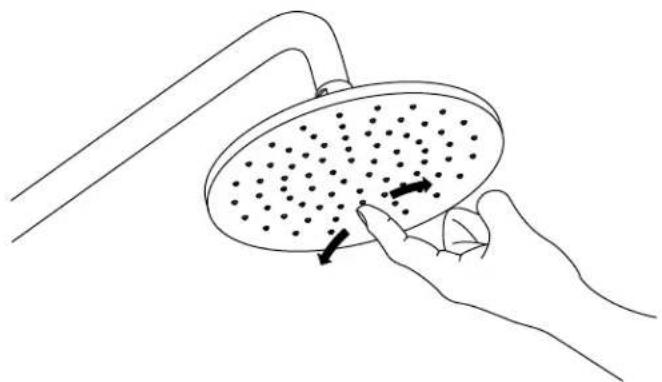
Line drawing of a hand holding a showerhead with dots and arrows indicating shading (no text or symbols)CleantheSprayNozzles
To dislodge debris and mineral build-up:
□ Run water through the showerhead.
□ Firmly rub your finger back and forth across the spray holes in the showerhead face.
☐ If this procedure fails to improve the performance of the showerhead, proceed to the "Clean the Screen Washer" section of this guide.
text_image
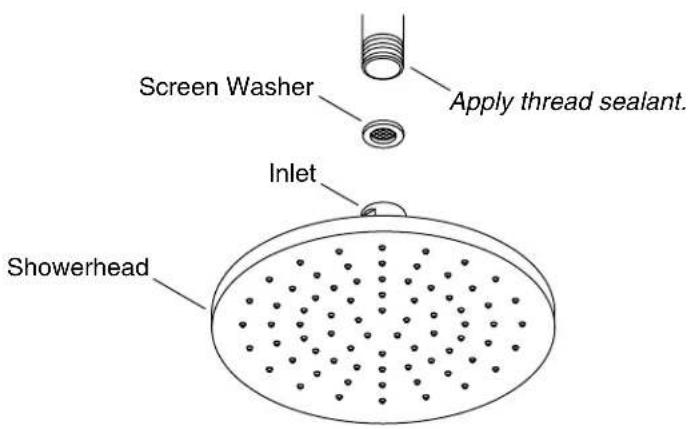
Screen Washer Apply thread sealant. Inlet ShowerheadCleantheScreenWasher
☐ Use a clean wrench to remove the showerhead from the shower arm; be careful not to mar the finish.
☐ Use a thin flat-blade screwdriver to carefully pry up the edge of the screen washer. Remove and clean the screen washer.
NOTE: Do not attempt to remove the flow control.
□ Reinstall the screen washer with the tapered end out.
□ Apply sealant tape to the threads of the shower arm.
□ Reinstall the showerhead.
natural_image
Line drawing of a pair of scissors with a handle, no text or symbols present1.Installerlapommededouche
natural_image
Line drawing of a hand holding a showerhead with dots and arrows indicating shading (no text or symbols)natural_image
Line drawing of a pair of scissors with a handle and loop (no text or symbols)Llave de correa