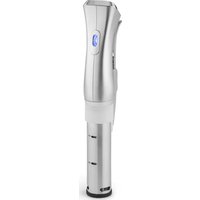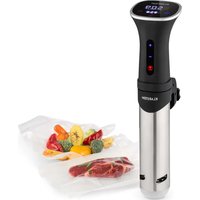
Quickstick Smart - Vacuum machine Klarstein - Free user manual and instructions
Find the device manual for free Quickstick Smart Klarstein in PDF.


User questions about Quickstick Smart Klarstein
0 question about this device. Answer the ones you know or ask your own.
Ask a new question about this device
Download the instructions for your Vacuum machine in PDF format for free! Find your manual Quickstick Smart - Klarstein and take your electronic device back in hand. On this page are published all the documents necessary for the use of your device. Quickstick Smart by Klarstein.
USER MANUAL Quickstick Smart Klarstein
Berlin Brands Group UK Limited PO Box 42 272 Kensington High Street London, W8 6ND United Kingdom
Congratulations on purchasing this device. Please read the following instructions carefully and follow them to prevent possible damages. We assume no liability for damage caused by disregard of the instructions and improper use. Scan the QR code to get access to the latest user manual and more product information.

CONTENT
Technical Data 18
Safety Instructions 19
Device Overview 20
Control Panel and Keys 21
Settings 21
Operation 24
Device Control by Smartphone 2.5
Cleaning and Care 26
Disposal Considerations 27
Declaration of Conformity 27
TECHNICAL DATA
| Item number 10035556 | |
| Power supply 220-240 V ~ 50/60 Hz | |
| Performance 1200 W | |
| Minimum temperature 20°C | |
| Maximum temperature 95°C | |
| Temperature accuracy ±1% | |
| Minimum water depth 11 cm | |
| Minimum pot/container size 10 L | |
| Maximum pot/container size 15 L | |
| Pump circulation volume 8,5 L/minute | |
| WiFi standard | 802.11 b/g/n |
| WiFi frequency | 2,4 GHz |
| WiFi radio-frequency power (max.) | 20 dBm |
SAFETYINSTRUCTIONS
- This device may be only used by children 8 years old or older and persons with limited physical, sensory and mental capabilities and / or lack of experience and knowledge, provided that they have been instructed in use of the device by a responsible person who understands the associated risks.
- Keep the appliance under constant supervision while in use. Keep an eye on any children in the vicinity of the appliance when it is in use. The appliance is not a toy.
- Incorrect use of this appliance may cause personal injury and damage the appliance.
- Use for its intended purpose only. The manufacturer is not responsible for any injury or damage resulting from incorrect use or handling (see also Warranty Terms).
- For domestic use only. Not for outdoor or commercial use.
- Remove all packaging and transport materials from the inside and outside of the appliance.
- Check that the appliance has no visible damage and that no parts are missing.
- Do not use with any cords other than that supplied.
- Check that it is not possible to pull or trip over the cord or any extension cord.
- The appliance must not be used together with a timer switch or a separate remote control system.
- Turn off the appliance and remove the plug from the socket before cleaning, or when the appliance is not in use.
- Avoid pulling the cord when removing the plug from the socket. Instead, hold the plug.
- Keep the cord and appliance away from heat sources, hot objects and naked flames.
- Ensure that the cord is fully extended.
- The cord must not be twisted or wound around the appliance.
- Check regularly that neither the cord nor plug is damaged and do not use the appliance if there is any damage, or if it has been dropped on the floor, dropped in water or damaged in any other way.
- If the appliance, cord or plug has been damaged, have the appliance inspected and if necessary repaired by an authorised repairer.
- Connect to 230V, 50Hz only. The warranty is not valid if the appliance is connected to incorrect voltage.
- Unauthorised repairs or modifications will invalidate the warranty.
- Only place vacuum-packed foods in the appliance. Do not try to cook unwrapped food.

CAUTION
Risk of burns! Some parts of this product can become very hot and cause burns. Particular attention should be paid where children and vulnerable people are present.
DEVICE OVERVIEW
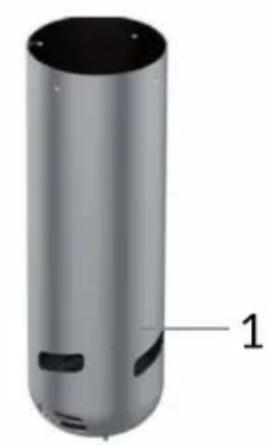
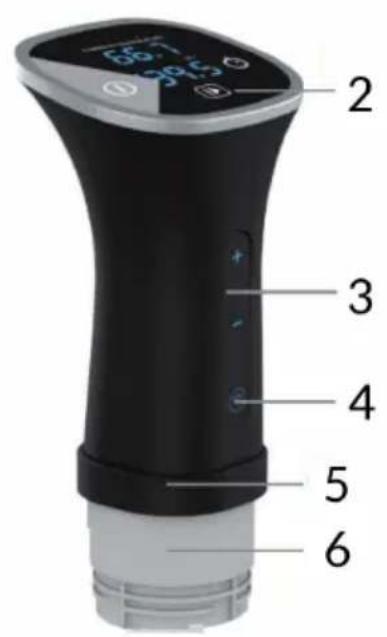
| 1 | Pump covers | 5 | Motor housing |
| 2 | Control panel | 6 | Pump housing |
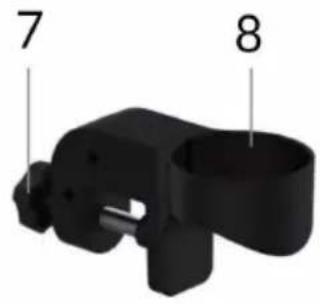
| 3 | Adjustment keys (+/-) | 7 | Ring terminal button |
| 4 | WiFi button | 8 | Adjustable ring clamp |
CONTROL PANEL AND KEYS
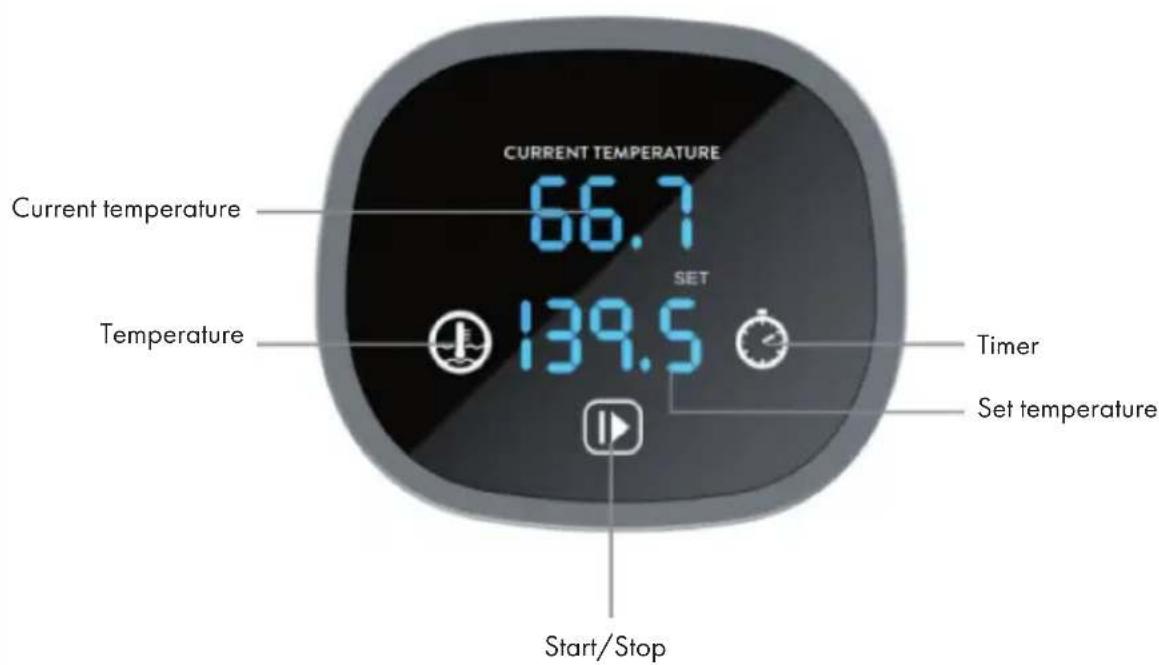
The control panel consists of an LED display, a timer, temperature control buttons and a start/stop button.
SETTINGS
Changing the temperature unit
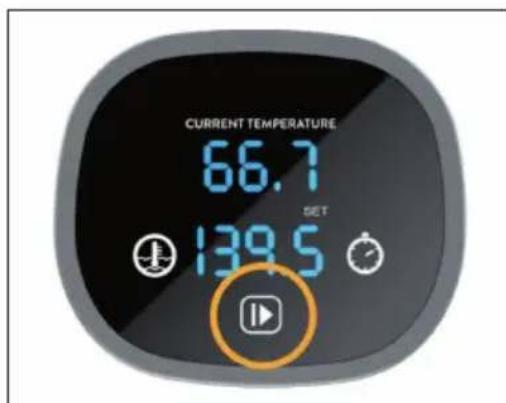
Press and hold the Start/Stop button for about 3 seconds to toggle between the temperature units Fahrenheit and Celsius.
Setting the timer
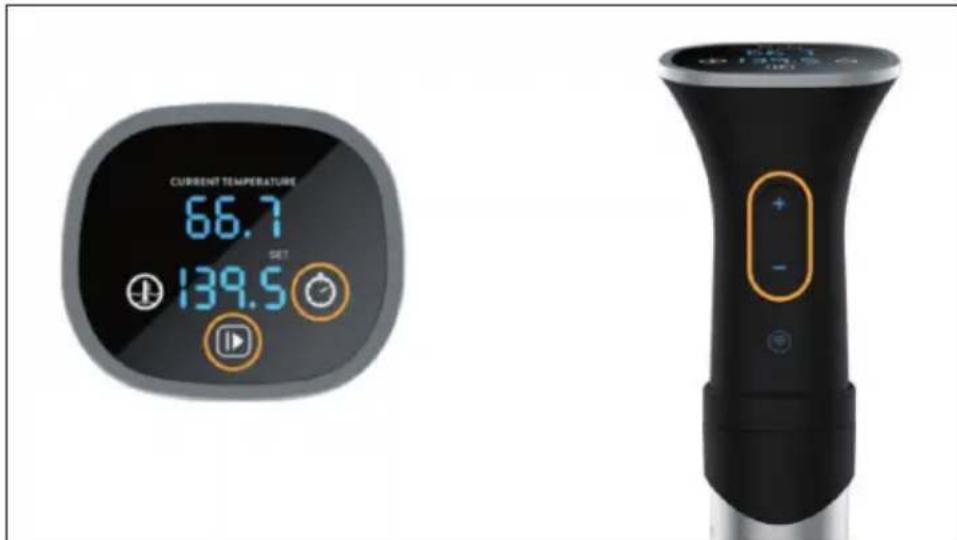
- Press the Timer button on the control panel and then the adjustment buttons (+ / - ) to set the hours.
- Press the Timer button to save the hour value and then press the adjustment buttons (+ / - ) to set the minutes.
- Press the Start/Stop button to save the minute value. The Timer button will flash for about 3 seconds to indicate that the timer is set. Once the water has reached the set temperature, the timer will start the countdown.
Change flow direction
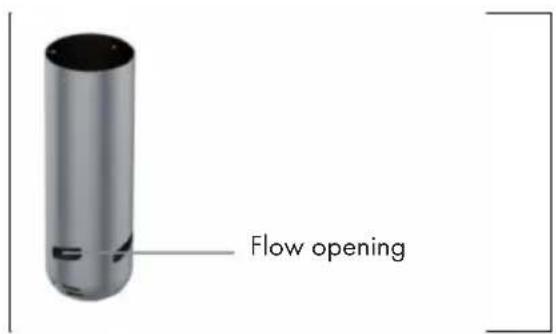
The sous-vide stick can circulate water clockwise or anticlockwise. In addition, it can be adjusted to direct the flow rate of the pump sideways into the container to protect sensitive food such as eggs or salmon or to prevent the water jet from being blocked by food.
- Turn the pump cover clockwise to release it from the motor housing.
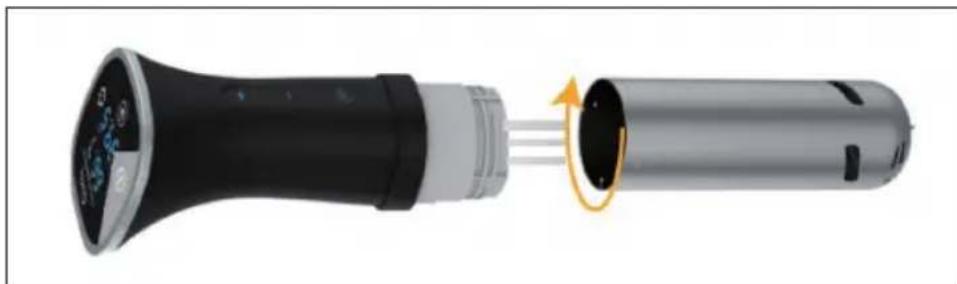
- Position the flow openings on the side of the pump cover as desired. Insert the retaining tabs into the slots, then turn the cap counterclockwise to lock it in place.
Calibration of the temperature sensor
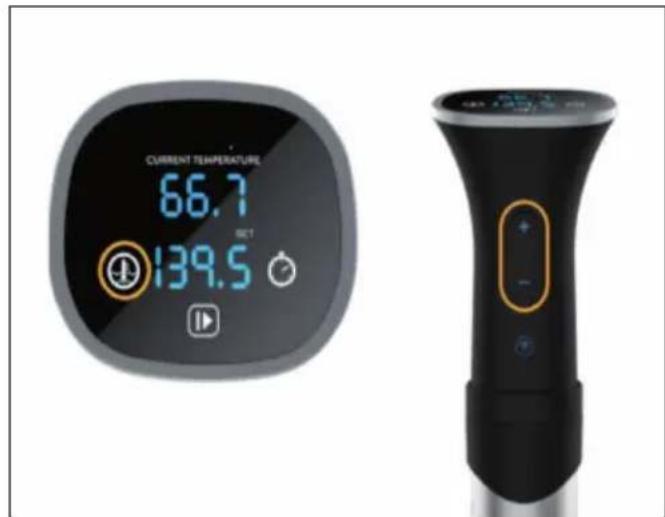
The temperature sensor on the sous-vide stick is extremely accurate and is calibrated at the factory. However, if you want the readings on the stove to match those of your thermometer, follow these steps to recalibrate the sous-vide stick.
- Determine the difference between the temperature reading on the sous-vide stick and the temperature reading on your thermometer. You can change the display on the stove by up to ± 9.9^ .
- Press and hold the temperature button for about 5 seconds. The display shows 0.0^ .
- Press the adjustment buttons (+ / - ) to add or subtract up to 9.9^
- Press the temperature button again to save the set value.
OPERATION
| 1 | 2 |
| Make sure that the stove is disconnected from the power source. Attach the adjustable ring clamp to the side of your pot or container and then clamp it in place. | Insert the sous-vide stick into the adjustable ring clamp. |
| 3 | |
| Fill the pot with water to a certain level between the MIN and MAX lines on the side of the pump housing. |
| 4 | Place the pot/container near a power outlet. Make sure that the pot/container is not placed on a stove or other heat source. |
| 5 | Connect the sous-vide stick to the power outlet. |
| 6 | Press the temperature button on the control panel and then the adjustment buttons (+/-) to set the target temperature. |
| 7 | Press the Start/Stop button to start cooking. |
| 8 | When cooking is complete, press the Start/Stop button to stop cooking. |
DEVICE CONTROL BY SMARTPHONE
If you integrate the device into your home WiFi, you can conveniently operate it via the associated Klarstein app. The app not only allows you to remotely control the device via your smartphone, but also gives you access to recipes and additional information.
Follow these steps to connect your smartphone to your Klarstein device:
- Download the Klarstein app first by scanning the QR code with your smartphone (see below), or download it directly from App Store or Google Play.
- Make sure your smartphone is connected to the same WiFi network that your Klarstein device is to be connected to.
- Open the Klarstein app.
- Sign in to your account. If you do not have an account, sign up in the Klarstein app.
- Follow the instructions from the app.
App Download
Use the scan function of your smartphone to scan the QR code and save the app on your smartphone.
Note: The app provides further information on how to use the app and help on how to connect to your device as soon as you open it for the first time.

iOS Android
Troubleshooting connection problems
If your Klarstein device cannot be found in the WLAN, check the following:
Is the device plugged in?
- Is the WiFi feature of my phone enabled?
- Is the WiFi function of the Klarstein device activated? (Follow the instructions in the app)
- Has the WLAN password been entered correctly?
- Are the router, Klarstein device and smartphone in the immediate vicinity during the connection attempt? (Ideally no more than 5 m apart)
- If you have deactivated the 2.4 GHz band in the settings of your wireless router, activate it in your router settings.
Note: For further help, follow the instructions in the app when setting up the connection.
CLEANING AND CARE
- Turn the pump housing clockwise to detach it from the motor housing and then remove it.
- Turn the pump cover clockwise to release it from the pump housing and then remove it.
- Clean the pump casing and pump cover in the dishwasher or sink.
- Use detergent and a soft toothbrush to clean the heating coil, pump shaft and sensor, then rinse under running water.
- Allow all parts to dry completely before reassembly.
Note: Make sure that only the metal parts are exposed to the water. Do not expose the upper part of the sous-vide stick (motor housing) to water.
DISPOSAL CONSIDERATIONS
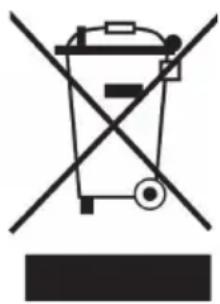
If there is a legal regulation for the disposal of electrical and electronic devices in your country, this symbol on the product or on the packaging indicates that this product must not be disposed of with household waste. Instead, it must be taken to a collection point for the recycling of electrical and electronic equipment. By disposing of it in accordance with the rules, you are protecting the environment and the health of your fellow human beings from negative consequences. For information about the recycling and disposal of this product, please contact your local authority or your household waste disposal service.
DECLARATION OF CONFORMITY
CE UK CA
Manufacturer:
Chal-Tec GmbH, Wallstrasse 16, 10179 Berlin, Germany.
Importer for Great Britain:
Berlin Brands Group UK Limited
PO Box 42
272 Kensington High Street
London, W8 6ND
United Kingdom
Hereby, Chal-Tec GmbH declares that the radio equipment type Quickstick Smart is in compliance with Directive 2014/53/EU.
The full text of the EU declaration of conformity is available at the
following internet address: use.berlin/Artikelnummer
For Great Britain: Hereby, Chal-Tec GmbH declares that the radio equipment type Quickstick Smart is in compliance with the relevant statutory requirements. The full text of the declaration of conformity is available at the following internet address: use.
Berlin Brands Group UK Limited PO Box 42 272 Kensington High Street London, W8 6ND United Kingdom
Chere cliente, cher client,
Berlin Brands Group UK Limited PO Box 42 272 Kensington High Street London, W8 6ND United Kingdom
Berlin Brands Group UK Limited
PO Box 42
272 Kensington High Street
London, W8 6ND
United Kingdom