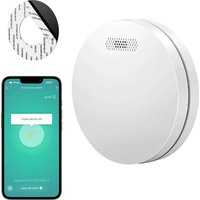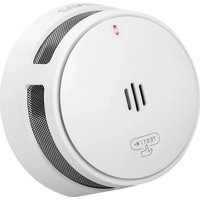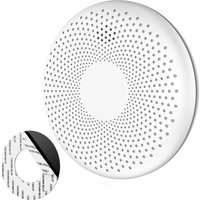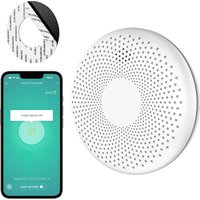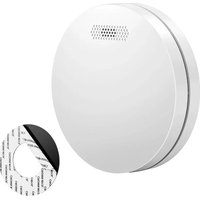
SM11R4 - Smoke detector SAVS - Free user manual and instructions
Find the device manual for free SM11R4 SAVS in PDF.


| Product Type | Optical smoke detector |
| Brand | SAVS |
| Model | SM11R4 |
| Dimensions | Diameter 120 mm, height 31 mm |
| Weight | Approximately 150 g |
| Material | ABS plastic |
| Power supply | 2 lithium batteries CR14505 1600 mAh (included) |
| Battery life | 10 years |
| Sensor type | Photoelectric optical |
| Coverage area | 20 to 45 m² |
| Alarm sound level | ≥ 85 dB at 3 meters |
| Standard | EN 14604:2005+AC:2008 |
| Temperature range | 0 °C to 55 °C |
| Max number of connected units | 30 wireless detectors (SAVS SafeLink series) |
| Wireless range | 100 m in open space |
| Power consumption | Standby < 10 µA, Alarm < 70 mA |
| Pause mode duration | Approximately 10 minutes |
| Main functions | Smoke detection, audible alarm, test/silence, wireless pairing, LED indicator |
| Maintenance and cleaning | Monthly test, cleaning with vacuum cleaner (soft brush), do not use chemicals, do not paint |
| Safety | Not suitable for hearing impaired, detects only smoke (not flames, heat, CO) |
| Spare parts and repairability | Replaceable batteries (CR14505); do not open the housing (warranty void) |
| Warranty | Standard manufacturer warranty (consult manual) |
| Installation | On ceiling or wall, with screws/plugs or provided adhesive tape |
Frequently Asked Questions - SM11R4 SAVS
User questions about SM11R4 SAVS
0 question about this device. Answer the ones you know or ask your own.
Ask a new question about this device
Download the instructions for your Smoke detector in PDF format for free! Find your manual SM11R4 - SAVS and take your electronic device back in hand. On this page are published all the documents necessary for the use of your device. SM11R4 by SAVS.
USER MANUAL SM11R4 SAVS
SM11R4 INTERCONNECTED
User manual
NL | EN | DU | FR
text_image
Red QR code image, scannable for digital content retrievalScan QR to download
SAVS
natural_image
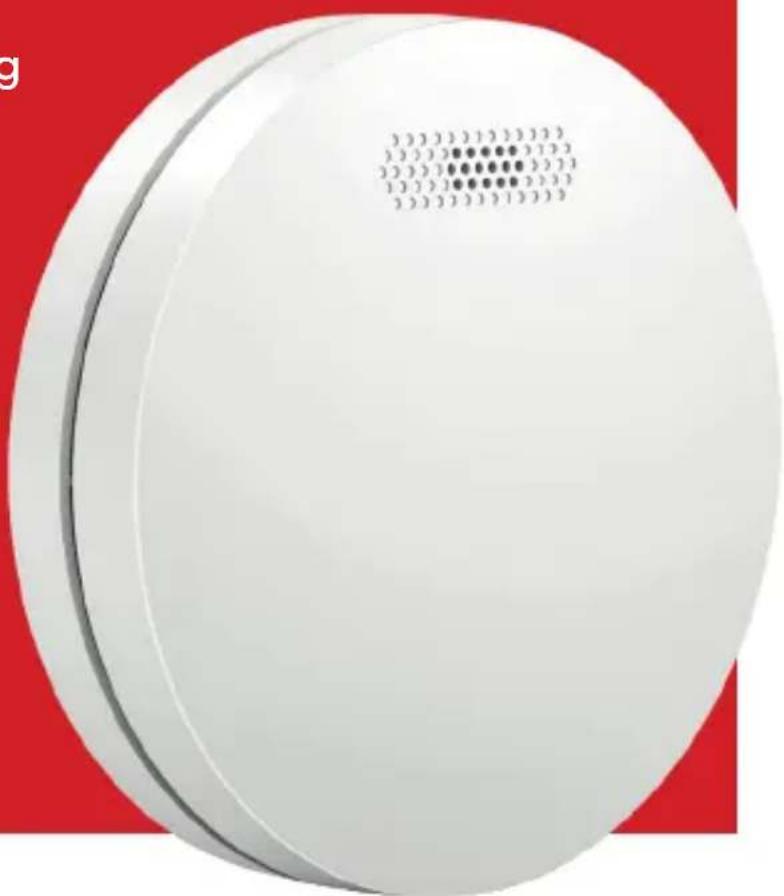
White circular electronic device with a grid pattern on its surface, set against a red background (no text or symbols visible)
CONTENTS
Nederlands 1
Deutsch 13
Engels 7
Français 20
NEDERLANDS
text_image
Attic Bedroom Hallway Wash Bathroom Living room Kitchen Garage Basement Smoke detector Heat detector CO detectorThank you for your purchase. Please read this manual carefully before installation or use. Are you installing the detector for someone else? If so, please leave the manual with the end user.
IMPORTANT SAFETY INFORMATION
- This smoke alarm is not suitable for alerting people with hearing impairments.
■ Consumption of alcohol or narcotics may prevent you from hearing the alarm sound.
■ Fires in chimneys, walls or enclosed spaces may not be detected.
■ This detector only detects smoke; not flames, heat, carbon monoxide or other gases.
IMPORTANT WARNINGS
■ Never ignore an alarm signal. Not responding to smoke detection can lead to serious injury or death.
- Silent mode (pause) suppresses noise only. Always check for danger.
- Test the detector at least once a month. Does the test not work? Replace the detector immediately.
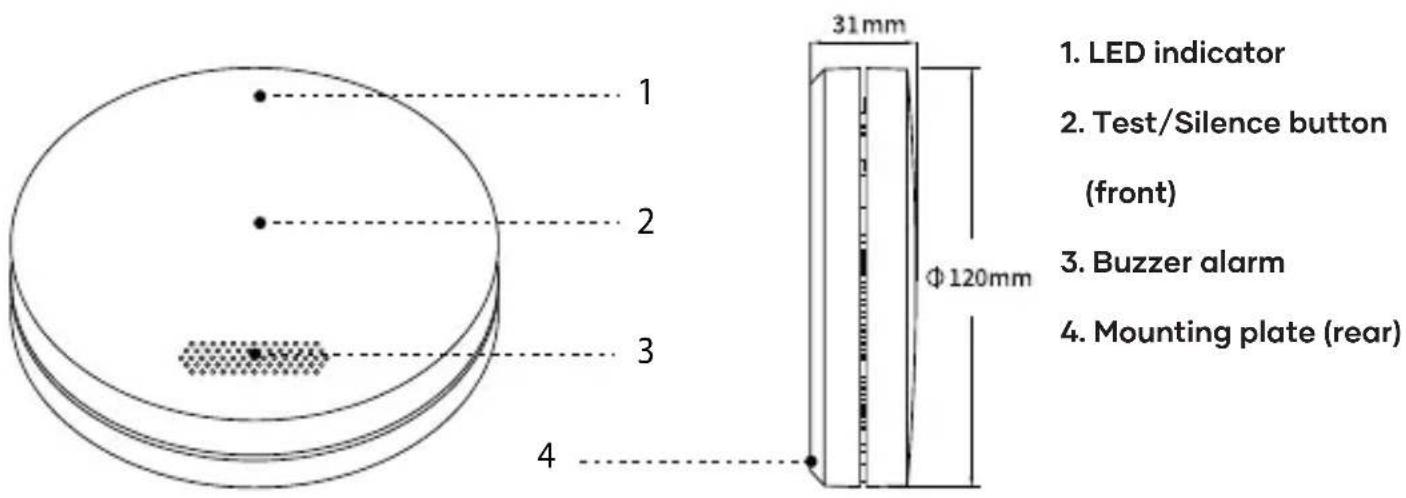
1. Product overview SM11R4
text_image
1. LED indicator 2. Test/Silence button (front) 3. Buzzer alarm 4. Mounting plate (rear) 31mm Φ 120mm2. Activate detector
WARNING: This smoke detector is disabled by default! Activate the detector before using it.
2.1 Activate smoke detector
- Press the test/silence button (in the middle of the front of the detector)
- Press and hold the button for about 10 seconds. A beep sounds and the red LED lights up
- Release the button as soon as this happens
- The smoke detector is now switched on and ready for use
2.2 Deactivating smoke detector
Note that this switches off the detector. Press and hold the test/silence button for 10 seconds. The smoke detector beeps twice and the red LED flashes twice. Then, release. The detector is now switched off.
3. Wireless link detector
Each SM11R4 detector has a built-in RF module that allows up to 30 detectors from the SAVS - SafeLink series to be linked wirelessly. As soon as one detector detects smoke, all detectors will sound simultaneously.
3.1 Connecting smoke detectors
Please note: the smoke detectors must first be activated before they can be connected to each other. See chapter [Activating detector] for more information.
- Press the test/silence button on detector 1 four times to start the connection mode (green LED flashes slowly).
- Then press the test/silence button on detector 2 twice (green LED flashes quickly). When pairing is successful, the LED stops flashing. The detector is now successfully paired.
- Want to pair an additional detector? Repeat these steps with a detector that is already paired. This allows you to connect up to 30 smoke detectors to each other.
Please note: after pairing, test each detector as described in the section "Test detector".
Remarks
- If pairing is unsuccessful, the green LED will continue to flash for approximately one minute. The red LED will then light up for two seconds to indicate an error. In this case, repeat the pairing process from the beginning.
■ Wireless pairing works up to 100 metres in open space, without obstacles.
3.2 Unpairing smoke detectors
Press the test/silence button twice quickly. The green LED flashes for 60 seconds: the detector is in receive mode. After 60 seconds, the flashing stops. The interconnection is now broken.
4. Test and mute
4.1 Test detector
Ensure that the smoke alarm is switched on as described in the section [Activate detector]". To test the alarm, proceed as follows:
- Press the test/silence button in the centre of the front of the alarm.
■ Loud beeps will sound (2 times 3 times).
■ The red LED flashes approximately once per second.
■ If the detectors are wireless linked, all linked detectors will emit the same beep.
Note: This test checks the operation of the smoke detection system without smoke. Do you hear no sound? Please see the [Troubleshooting] section later in this manual.
4.2 Mute alarm (Pause Mode)
During an alarm, press the test/silence button to temporarily to mute the alarm. The red LED then flashes once every 8 seconds. After 10 minutes, the detector automatically Figure 1: best locations resumes normal operation.
- LED lights and audible alarm
| STATUS LED INDICATOR | LIGHT ACOUSTIC ALARM | |
| Test Red LED flashes once | per second. Beep 1x per second. | |
| Alarm Red LED flashes once | per second. Beep 1x per second. | |
| Silent mode (pause) Red | LED flashes once every 8 seconds. No sound | |
| Battery low Red LED flashes | once every 56 seconds. Beep once every 56 seconds. | |
| Failure Red LED flashes | once every 40 seconds. Beep once every 40 seconds. |
6. Installation location
The correct installation of a smoke detector is crucial for quick and reliable warning in case of fire. Follow the guidelines below to install the smoke detector as effectively as possible.
In the kitchen: place the smoke detector as far as possible from the cooker and sink to avoid false alarms
■ Make sure the test/silence button is easily accessible.
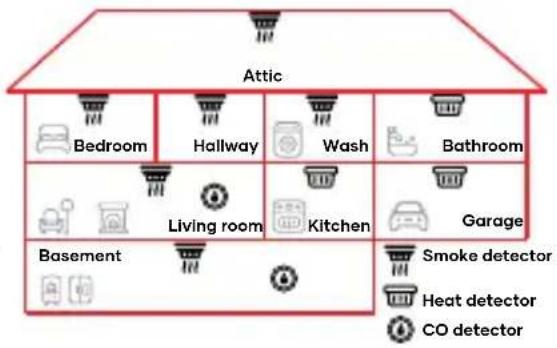
- In bedrooms, corridors and escape routes: make sure the alarm is easily audible in each sleeping area.
- Only one smoke detector available? Then place it as close at all bedrooms, never in the basement or near the central heating system.
- At the top of stairs: install a smoke detector at the top of the stairs on each floor.
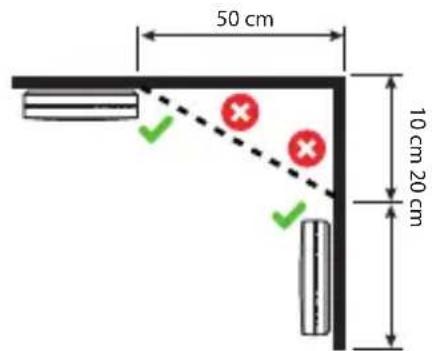
- On the ceiling: smoke rises and spreads horizontally. Preferably mount the smoke detector in the centre of the ceiling, at least 50 cm from walls or corners (see figure 2).
- On the wall: can't mount the detector on the ceiling? Install the detector 10 to 30~cm below the ceiling.
flowchart
graph TD
    A["Attic"] --> B["Bedroom"]
    A --> C["Hallway"]
    A --> D["Wash"]
    A --> E["Bathroom"]
    A --> F["Living room"]
    A --> G["Kitchen"]
    A --> H["Garage"]
    A --> I["Basement"]
    I --> J["Smoke detector"]
    I --> K["Heat detector"]
    I --> L["CO detector"]
- Longer spaces: is a corridor or room longer than 10 metres? Then use multiple detectors for full coverage.
- Sloping ceilings: mount the smoke detector between 50 and 100cm from the highest point of the ceiling (see Figure 3).
text_image
50 cm 10 cm 20 cm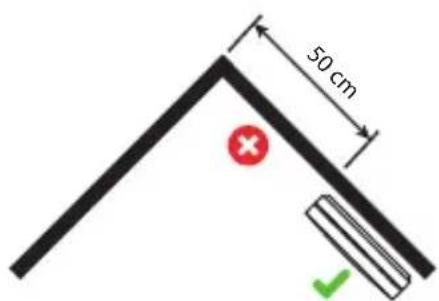
text_image
50 cm ×Figure 2: min. 50 cm from wall Figure 3: min. 50 cm
Important warnings
■ Always have the smoke detector installed by a competent person.
- This smoke alarm is not a substitute for the proper installation, use and maintenance of fuel-burning appliances, such as stoves or boilers.
7. Install detector
This SAVS smoke detector can be attached in two ways: with screws and plugs or with the supplied tape strip.
7.1 Installation with screws and dowels
■ Unscrew the mounting plate from the smoke detector.
- Mark the screw holes on the wall or ceiling and drill 5 mm holes.
- Insert the dowels and fix the mounting plate with screws.
- Tighten the detector clockwise until it is tight.
7.2 Installation with tape strip
■ Unscrew the mounting plate from the smoke detector.
- Clean the surface where you want to attach the smoke detector so that it is dry and grease-free.
■ Remove one protective layer and stick the tape to the back of the mounting plate.
■ Remove the second protective layer, press the mounting plate into place and hold for 60 seconds.
- Place the smoke detector on the mounting plate and tighten it clockwise until it is secure.
8. Maintenance
- Test the smoke detector every month. Check that the sound signal sounds and the LED light works.
- Clean the detector monthly with a hoover (soft brush) after removing the ceiling.
- Do not use cleaning agents or solvents.
- Do not use sprays such as air fresheners, hairspray or other aerosols near the detector.
■ Never paint the detector. This may block the sensors and interfere with operation. -
Do not open the detector or clean the inside. This will void the warranty.
■ Always replace the detector immediately after maintenance. -
Technical specifications
| Power supply 2x CR14505 1600mAh | |
| Battery life 10 years | |
| Power consumption <10uA (standby); <70mA (alarm) | |
| Sensor type Optical (photoelectric) | |
| Max. number of interconnected units | 30 wireless units (only compatible with SAVS SafeLink detectors) |
| Transmission range 100 m in open air | |
| Standards EN 14604:2005+AC:2008 | |
| Coverage area 20-45 m^2 | |
| Temperature range 0-55 °C | |
| Sound level alarm ≥ 85 dB at 3 metres | |
| Pause Mode duration About 10 minutes |
- Troubleshooting
| PROBLEM SOLUTION | |
| No sound on activation Press in the centre of the detector and hold for 10 seconds until you hear a beep. | |
| No sound during testing Check that the detector is activated. Press the test/silence button firmly. | |
| False alarm when cooking or showering | Check the location of the detector. See 6. Installation position.Clean the detector. See 8. Maintenance. |
| Beeps every 56 seconds + red LED flashes The battery is low. Replace immediately. | |
| Beeps every 40 seconds+ red LED flashes | The alarm is not functioning. Clean the detector or replace it immediately. |
11. Environmental information

Electronic devices that are no longer used should not be disposed of in the ordinary waste. Deliver them to a collection point for recycling. Ask your local council or retailer for advice on recycling.
12. Contact details and customer service
SAVS® Saves Lives