Steward K-4918 - Toilet KOHLER - Free user manual and instructions
Find the device manual for free Steward K-4918 KOHLER in PDF.


User questions about Steward K-4918 KOHLER
0 question about this device. Answer the ones you know or ask your own.
Ask a new question about this device
Download the instructions for your Toilet in PDF format for free! Find your manual Steward K-4918 - KOHLER and take your electronic device back in hand. On this page are published all the documents necessary for the use of your device. Steward K-4918 by KOHLER.
USER MANUAL Steward K-4918 KOHLER
natural_image
Isometric line drawing of a mechanical component with a circular cutout and mounting hole (no text or symbols)Mproduct numbers are for Mexico (i.e. K-12345M)
Thank You For Choosing Kohler Company
We appreciate your commitment to Kohler quality. Please take a few minutes to review this manual before you start installation. If you encounter any installation or performance problems, please don't hesitate to contact us. Our phone numbers and website are listed on the back cover. Thanks again for choosing Kohler Company.
Tools and Materials
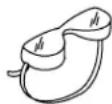
Safety
Glasses

Tape
Measure
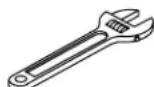
Adjustable Wrench
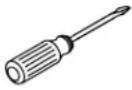
Blade
Screwdriver
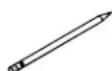
Pencil
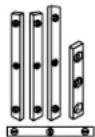
Levels

Thread Sealant
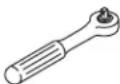
1/4" Ratchet
Plus:
- Hole Cutting Equipment
Before You Begin

CAUTION: Risk of personal injury or product damage. Handle with care. Vitreous china can break or chip if the product is handled carelessly.
□ Observe all local plumbing and building codes.
□ Carefully inspect the new urinal for damage.
☐ Roughing-in remains the same when using the optional 3" outlet spud.
☐ Fixture dimensions are nominal and conform to tolerances by ANSI Standard A112.19.2.
□ Site preparation may require additional tools and hardware.
☐ Kohler Co. reserves the right to make revisions in the design of products without notice, as specified in the Price Book.
text_image
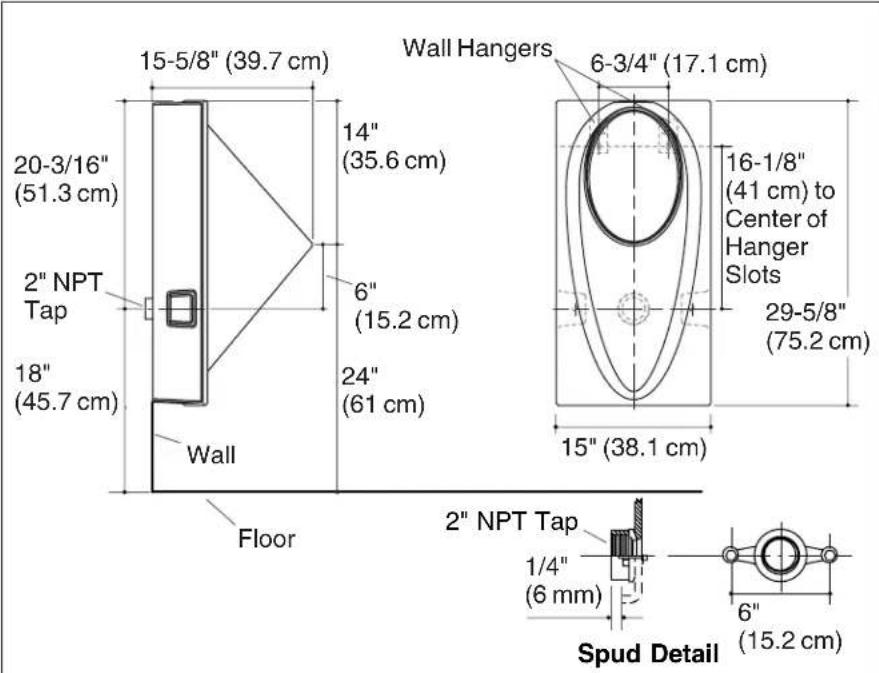
15-5/8" (39.7 cm) 20-3/16" (51.3 cm) 2" NPT Tap 18" (45.7 cm) Wall Floor 14" (35.6 cm) 6" (15.2 cm) 24" (61 cm) Wall Hangers 6-3/4" (17.1 cm) 16-1/8" (41 cm) to Center of Hanger Slots 29-5/8" (75.2 cm) 15" (38.1 cm) 2" NPT Tap 1/4" (6 mm) 6" (15.2 cm) Spud DetailRoughing-In
- Roughing-in dimensions are identical if using an optional 3" outlet spud.
- The urinal complies with ADA requirements when the rim is mounted no higher than 17" (43.2 cm) from the finished floor.
1. Prepare the Site
NOTE: If a pre-existing waste pipe will be used and will result in an acceptable rim height (refer to the rough-in dimensions), follow the retrofit installation instructions.
ForRetrofitInstallations
☐ Turn the water supply line off, remove the existing urinal, then cap off the water supply line inside the wall.
ForNewInstallations
□ Install waste pipe as necessary to conform to the roughing-in dimensions.
□ Install adequate support framing for the hangers as needed.
text_image
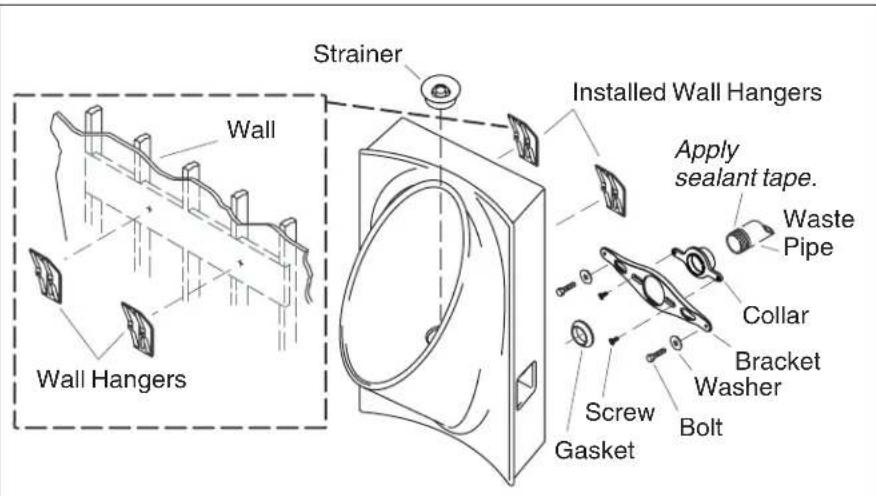
Wall Wall Hangers Strainer Installed Wall Hangers Apply sealant tape. Waste Pipe Collar Bracket Washer Screw Gasket Bolt2. Install the Urinal
ForRetrofitInstallations
NOTE: The lip height of the urinal will be 6" (15.2 cm) above the center of the outlet location. If this lip height is not acceptable, relocate the outlet to achieve an acceptable lip height. The existing collar may be used with the bracket.
ForAllInstallations
☐ Reference the installation template and position each wall hanger at the vertical dimension above the outlet hole shown on the template. To allow for vertical adjustment, place initial screws through the center of the slots on the wall hangers.
□ Apply thread sealant tape to the threads on the waste pipe, then and install the collar to the waste pipe.
☐ Center the bracket on top of the collar. Secure two screws through the slots on the bracket and into the threaded holes on the collar.
□ With the beveled surface of the gasket facing away from the collar, seat the gasket firmly against the collar.

CAUTION: Risk of personal injury or product damage. Handle with care. Vitreous china can break or chip if the product is handled carelessly.
□ Carefully position the urinal on the wall hangers.
□ Verify the urinal is properly positioned, then remove the urinal from the wall.
Install the Urinal (cont.)
NOTE: If adjustment is necessary, make vertical adjustments along the slots on each wall hanger until the urinal can be tightened to the collar.
☐ Install permanent screws into the holes on the wall hangers, as shown on the installation template.

CAUTION: Riskofproductdamage. Do not overtighten the bolts.
□ Carefully position the urinal on the wall hangers, then secure the urinal to the bracket using the washers and bolts provided.
3. Complete the Installation
☐ Pour 1/2 gallon (1.89 L) of water into the trapway.
□ Check for leaks. Repair as needed.
☐ Pour 3 ounces (89 ml) of sealing liquid (provided) into the trapway. The sealing liquid will float on top of the water in the trapway.
□ Place the strainer in the drain hole.