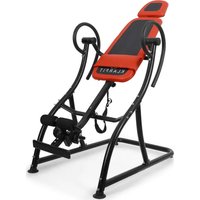
Relax Zone Pro - Fitness Equipment Klarfit - Free user manual and instructions
Find the device manual for free Relax Zone Pro Klarfit in PDF.


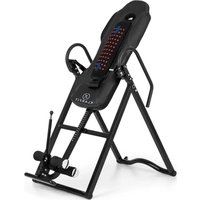
| Product Type | Inversion Table |
| Brand | Klarfit |
| Model | Relax Zone Pro |
| Category | Fitness Equipment |
| Maximum User Weight | 150 kg (330 lbs) |
| Recommended Use | Therapeutic inversion, muscle strengthening, stretching |
| Maximum Inversion Angle | Up to 180° (vertical position with locking) |
| Safety | Consult a doctor before use; do not use if you have heart problems, pregnancy, hernia, etc.; flat, clear surface; max weight 150 kg |
| Main Materials | Steel, foam, rubber |
| Included Parts | Cushion, foot, support tubes (x2), adjustable lever, short supports (x2), rod, rubber ankle supports, footrest, foam ankle supports, handles (x2), strap, screws, keys |
| Assembly | Manual assembly, tools included (wrench, Allen key) |
| Adjustments | Adjustable footrest height for balance; adjustable ankle supports |
| Power | None (manual device) |
| Maintenance | Clean with a damp cloth; regularly check tightness of screws |
| Warranty | Not specified, contact manufacturer |
| Replacement Parts Available | Yes, contact Klarfit to order |
| Repairability | Easy replacement of standard parts (screws, foams, etc.) |
Frequently Asked Questions - Relax Zone Pro Klarfit
User questions about Relax Zone Pro Klarfit
0 question about this device. Answer the ones you know or ask your own.
Ask a new question about this device
Download the instructions for your Fitness Equipment in PDF format for free! Find your manual Relax Zone Pro - Klarfit and take your electronic device back in hand. On this page are published all the documents necessary for the use of your device. Relax Zone Pro by Klarfit.
USER MANUAL Relax Zone Pro Klarfit
INHALTSVERZEICHNIS
Berlin Brands Group UK Limited
PO Box 42
272 Kensington High Street
London, W8 6ND
United Kingdom
SICHERHEITSHINWEISE
BEDIENUNG
Congratulations on the purchase of your device. Please read the following instructions carefully and follow them to prevent potential damage. We accept no liability for damage caused by disregarding the instructions and improper use. Please scan the QR code to access the latest operating instructions and further information about the product.

CONTENTS
Safety Instructions 16
Individual parts 17
Assembly 20
Operation 23
MANUFACTURER & IMPORTER (UK)
Manufacturer:
Chal-Tec GmbH, Wallstraße 16, 10179 Berlin, Germany.
Importer for Great Britain:
Berlin Brands Group UK Limited
PO Box 42
272 Kensington High Street
London, W8 6ND
United Kingdom
SAFETY INSTRUCTIONS
This inversion bench has been designed and built for optimal safety. However, you should keep the following points in mind for each exercise. Read the instructions before assembly and operation. Please follow the safety instructions listed.
- Consult a doctor or medical professional before use.
• Always wear suitable training clothes. - If you experience weakness or drowsiness at any time during use, stop exercising immediately. You should also stop exercising if you feel pressure or pain.
- Children and animals should stay away from the device during training.
- Only one person is allowed to use the unit at a time.
- Before use, make sure that the unit has been assembled correctly. Check all screws, nuts and bolts for tightness.
- Do not use the unit if it is damaged.
- Pay attention to your body: get up slowly. Dizziness after an exercise means that you got up too fast. If you feel sick after eating, wait until you feel better before using the appliance.
- Use the unit on a free, flat surface. Never use it outside or near water.
- Keep hands and feet away from the moving parts. Do not insert any objects into openings.
- Keep loose clothing and jewelry away from moving parts.
- Before you start exercising, consult a doctor. This is especially true for people with pre-existing conditions.
Note: Maximum weight: 150 kg \~330 lbs
INDIVIDUAL PARTS
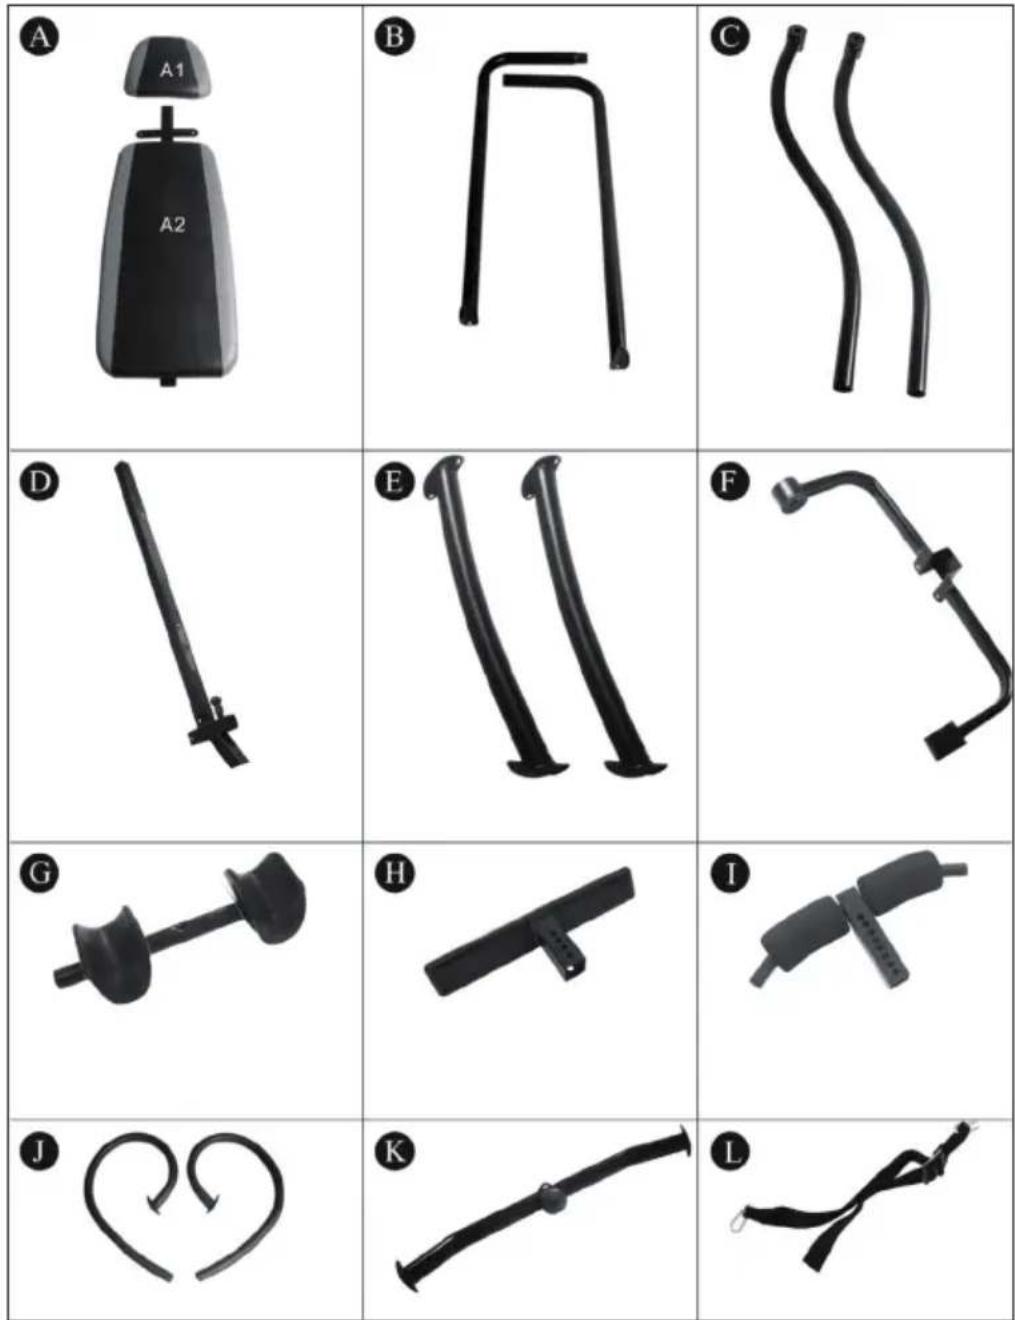
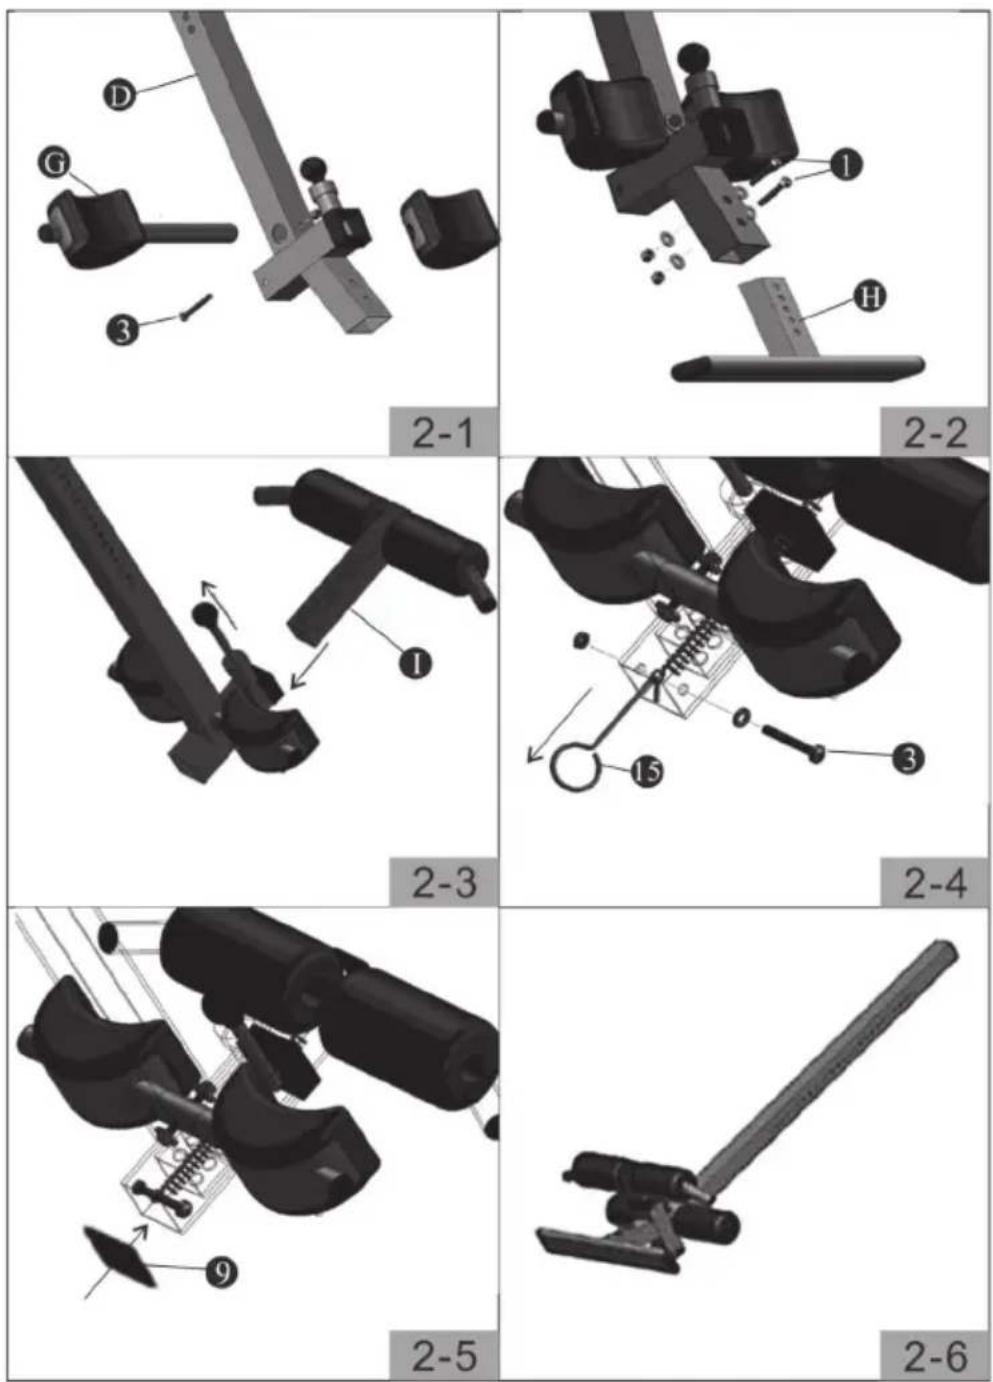
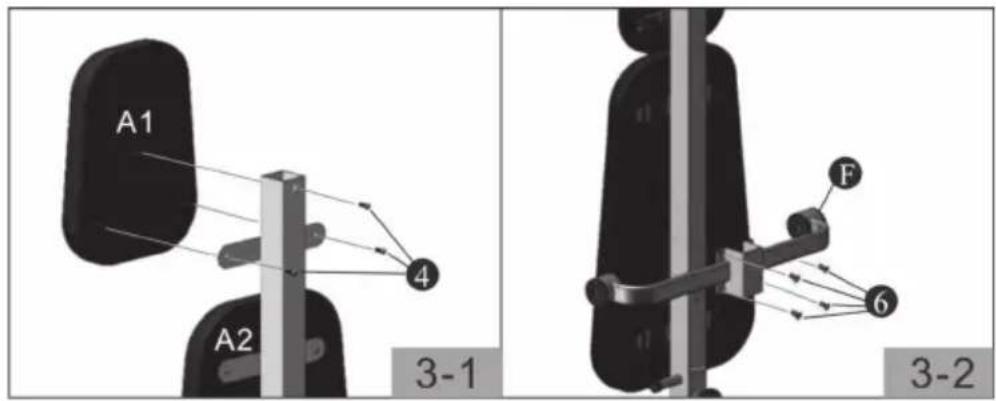
A Cushion (1x)
B Stand (1x)
C Support tube (1 pair)
D Adjustable lever (1x)
E Short support (1 pair)
F Rod (1x)
G Rubber ankle support (1x)
H Footrest (1x)
I Foam ankle support (1x)
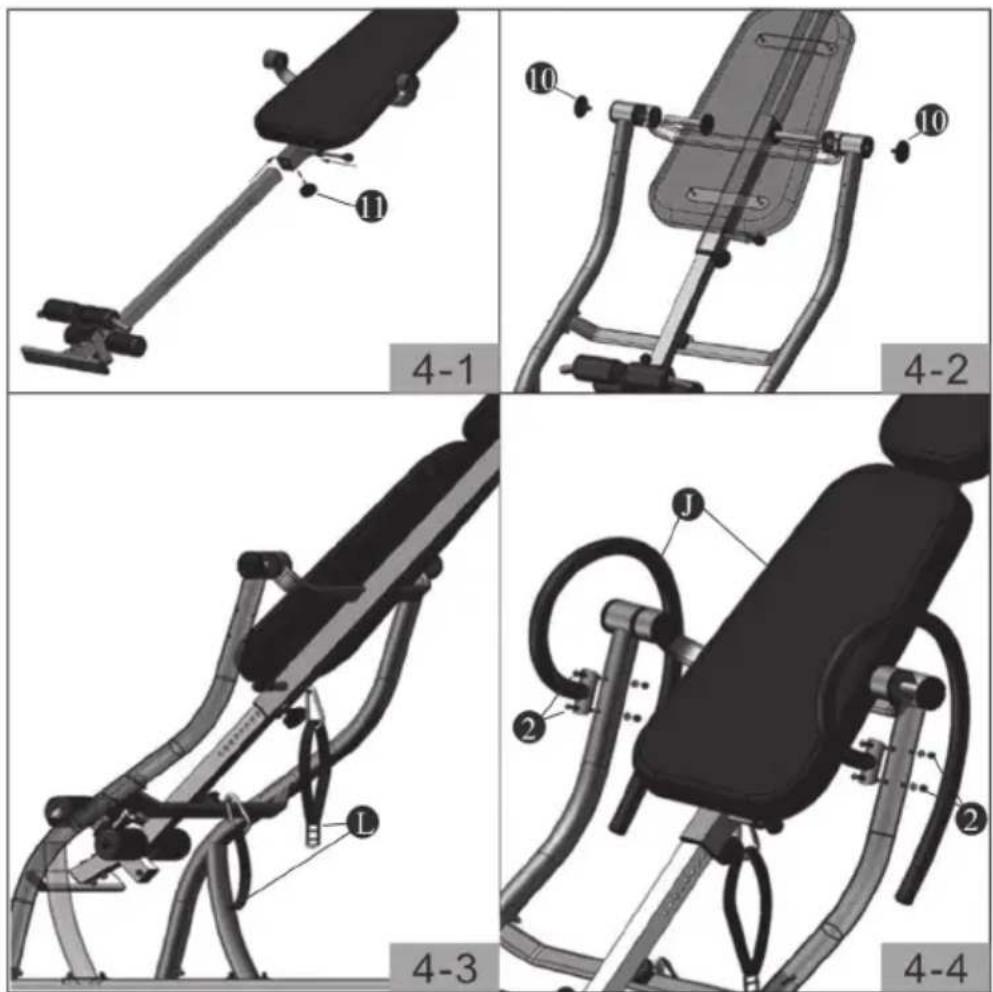
J Handle (1 pair)
K Rod (1x)
L Belt (1x)
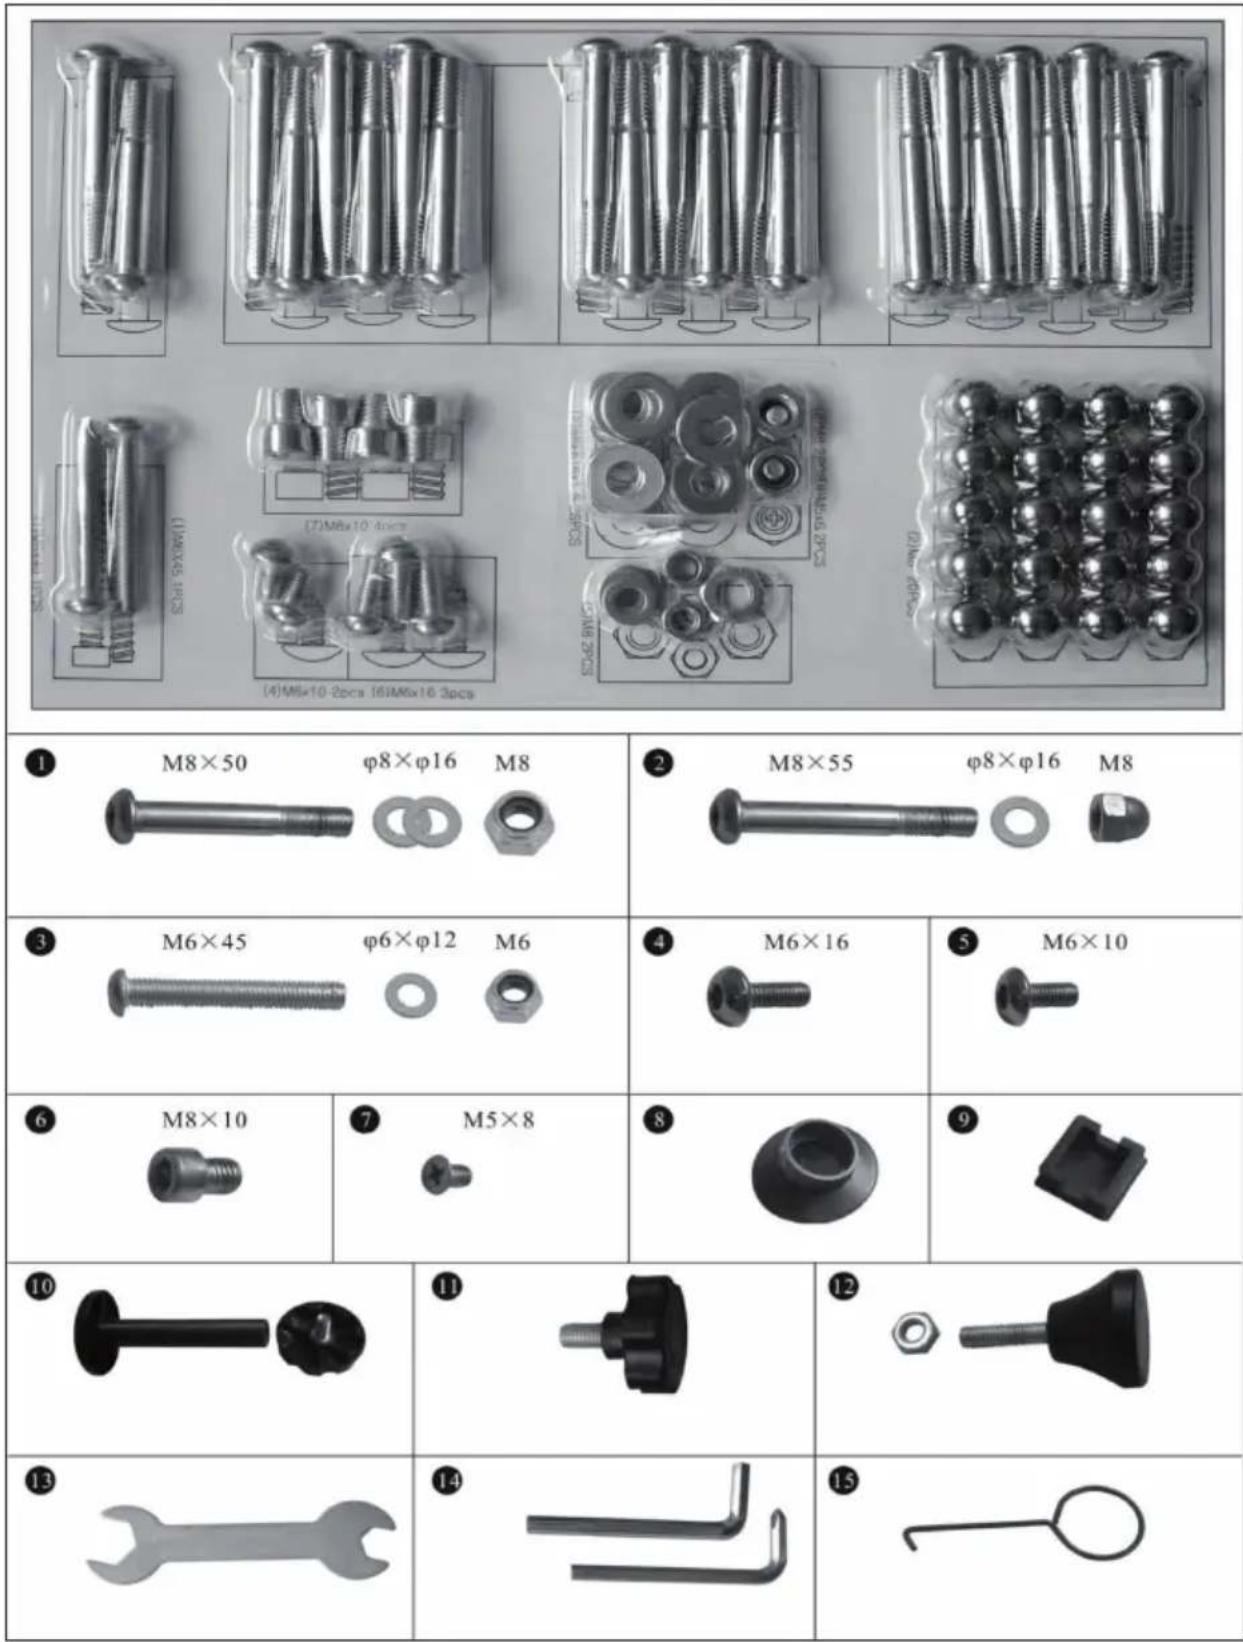
| No. | Designation Pc. No. Designation Pc. | |||
| 1 | Screw M8x50 | 2sets | 9 End cap angular 1 | |
| 2 | Screw M8x55 | 2sets | 10 Plastic knob | 2sets |
| 3 | Screw M6x45 | 2sets | 11 Turn knob 1 | |
| 4 | Screw M6x16 3 12 Adjustable foot | 2 | ||
| 5 | Screw M6x10 3 13 Open-end spanner 1 | |||
| 6 | Screw M8x10 4 14 Allen key 2 | |||
| 7 | Screw M5x8 2 15 Hook 1 | |||
| 8 | End caps round | 2 | ||
ASSEMBLY
Step 1
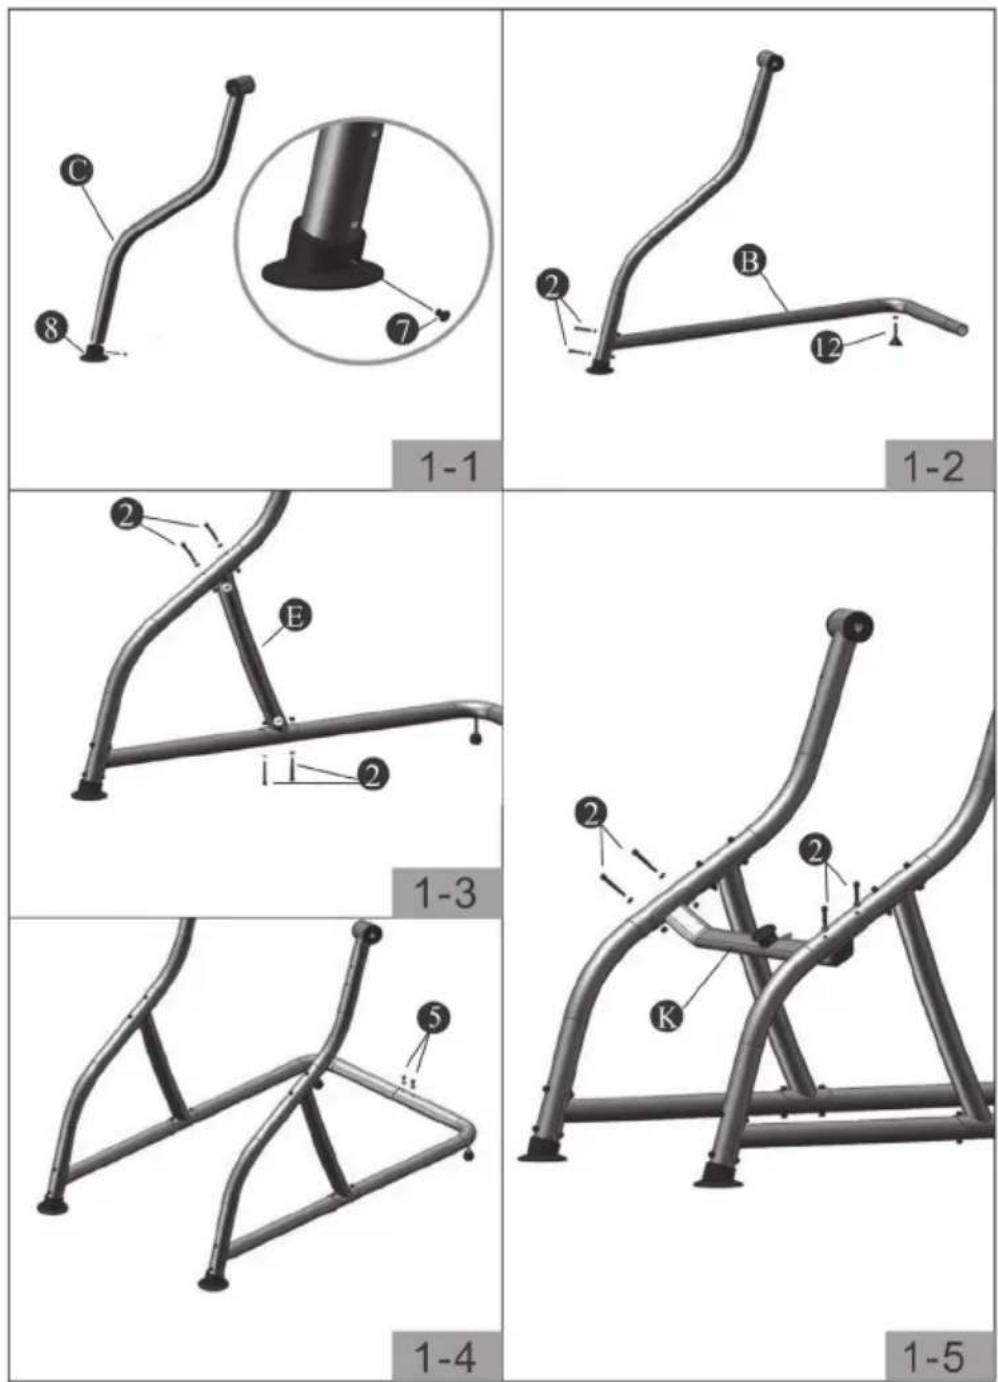
Step 2
Step 3
Step 4
OPERATION
Ask a doctor if this device is suitable for you before use. Do not use it without your doctor's consent. Also do not use it with the following diseases or conditions:
- Extreme obesity, glaucoma, retinal detachment or conjunctivitis.
- Pregnancy, spinal injuries, cerebral sclerosis or acutely swollen joints as well as otitis media.
- High blood pressure, hypertension, stroke or transient ischaemic attack.
- Cardiovascular diseases for which you are being treated.
• Hiatal hernia or abdominal hernia. - Bone weakness including osteoporosis, healed fractures, modular pins or surgically implanted orthopaedic supports.
- Use of anticoagulants, including aspirin in high doses.
Balance inversion bench
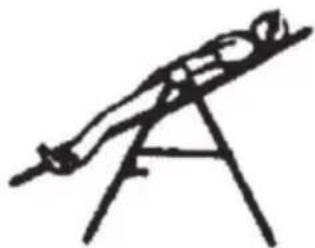
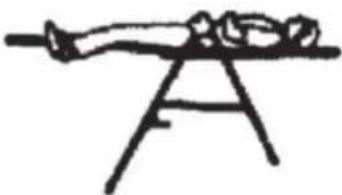
The inversion bench is a very precisely balanced piece of equipment. It reacts to the slightest shift in weight. For this reason, it is very important to set the height correctly. To do this, set up the unit, attach your ankles to the brackets and lean back with your hands at your sides. Slowly cross your arms in front of your chest. In this position your head must be higher than your feet. If the feet are higher, straighten up, detach yourself from the unit and adjust the height.
Use of the inversion bench
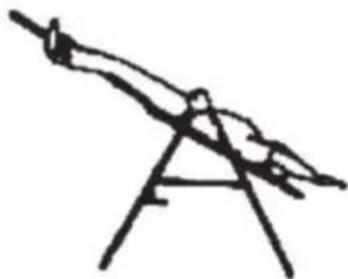
- Start with your whole back lying against the cushion, arms resting at your sides or on your thighs.
- Keeping the hands close to the body, raise the arms upwards and rotate the bench backwards. Stop or lower the arms and let the bench rotate back down in a controlled way.
- Raise your arms until they are above your head; at this point the bench rotates as far back as possible.
- For more comfort, rock the bench by slowly moving your arms up and down.
- In the beginning, the recommendation is to use the inversion bench every morning and evening for 5 to 10 minutes.
- Straighten up by slowly placing your hands on your thighs.
1
natural_image
Simple line drawing of a person lying on a seesaw (no text or symbols)3
natural_image
Simple line drawing of a person standing on a tripod, no text or symbols present2
natural_image
Simple line drawing of a person lying on a seesaw (no text or symbols)4
natural_image
Simple line drawing of a mechanical lever or fulcrum with no text or symbolsRecommendations for use
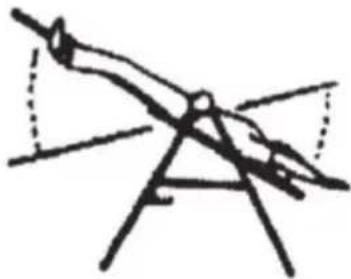
- Start slowly: invert only 15\~20° at the beginning. Stay in this position as long as it is comfortable. Then straighten up again.
- Change the position by degrees: Increase the angle only when it is comfortable. Increase this by a few degrees and hold the position for 1\~2 minutes for a duration of a few weeks. Add stretching and light exercise only if the inversion is not uncomfortable.
- Pay attention to your body: get up slowly. Dizziness after an exercise means that you got up too fast. If you feel sick after eating, wait until you feel better before using the appliance.
- Keep moving: Exercise promotes blood circulation. Movement can be rhythmic muscle tension or light exercise. Do not do inversion training too intensely. Hold a full inversion without movement for only a few seconds.
- Invert regularly: Depending on your condition, you should invert 2 to 3 times a day. Always try to exercise on the same day of the week.
Set the cushion
When the inversion bench is rotated over the vertical, this will be set. This allows you to stand on your head without touching the cushion. You can perform a handstand or train your waist in this position. To get into this position, you have to pass the bolts of the torsion bars through the topmost holes and then use them as usual. If you now extend your arms completely above your head, the bench rotates completely backwards into the locking position.
To get out of this position, simply grasp the handles and pull on them while pushing the ankle holders backwards. If you cannot reach the handles, grip the back of the cushion with one hand and the back of the U-frame with the other. Now press both hands together.
Cher client, chère cliente,
SOMMAIRE
Berlin Brands Group UK Limited
PO Box 42
272 Kensington High Street
London, W8 6ND
United Kingdom
CONSIGNES DE SÉCURITÉ
UTILISATION
Berlin Brands Group UK Limited
PO Box 42
272 Kensington High Street
London, W8 6ND
United Kingdom
A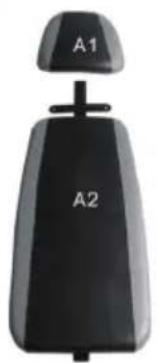 | B | C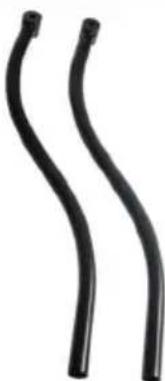 |
D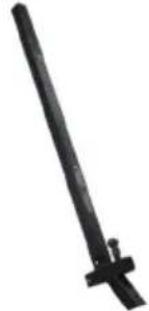 | E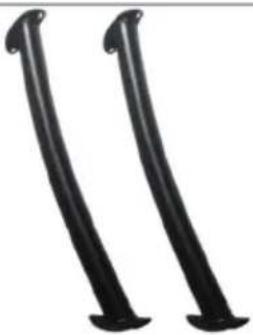 | F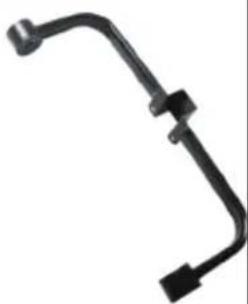 |
G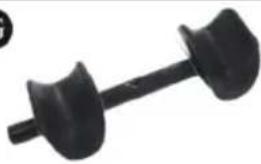 | H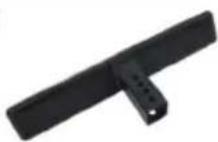 | I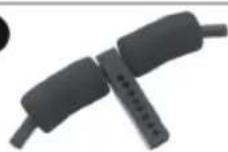 |
J | K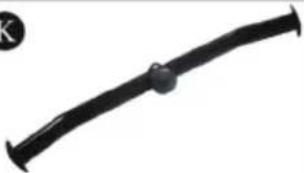 | L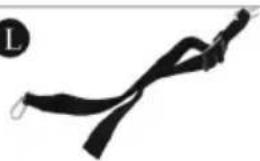 |
INDICE
PRODUTTORE E IMPORTATORE (UK)
Produttore:
Chal-Tec GmbH, Wallstraße 16, 10179 Berlino, Germania.
Berlin Brands Group UK Limited
PO Box 42
272 Kensington High Street
London, W8 6ND
United Kingdom
AVVERTENZE DI SICUREZZA
UTILIZZO

- INHALTSVERZEICHNIS
- SICHERHEITSHINWEISE
- BEDIENUNG
- CONTENTS
- MANUFACTURER & IMPORTER (UK)
- Manufacturer:
- Importer for Great Britain:
- SAFETY INSTRUCTIONS
- INDIVIDUAL PARTS
- ASSEMBLY
- OPERATION
- Balance inversion bench
- Use of the inversion bench
- Recommendations for use
- Set the cushion
- Cher client, chère cliente,
- SOMMAIRE
- CONSIGNES DE SÉCURITÉ
- UTILISATION
- INDICE
- PRODUTTORE E IMPORTATORE (UK)
- Produttore:
- AVVERTENZE DI SICUREZZA
- UTILIZZO
Brand : Klarfit
Model : Relax Zone Pro
Category : Fitness Equipment