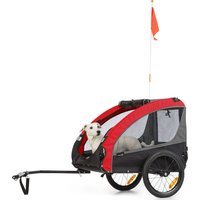
Husky Race - Bike trailer Klarfit - Free user manual and instructions
Find the device manual for free Husky Race Klarfit in PDF.


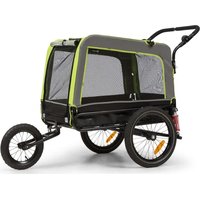
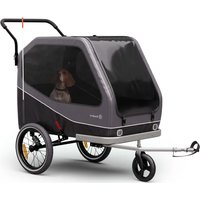
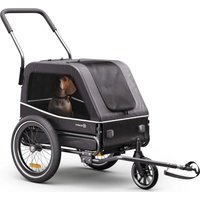
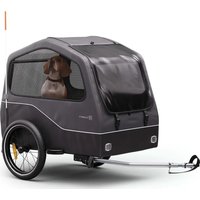
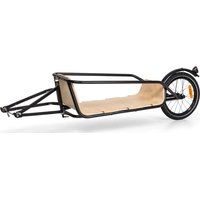
| Product Type | Bicycle Trailer |
| Brand | Klarfit |
| Model | Husky Race |
| Article Number(s) | 10034690, 10034691, 10040085, 10040086, 10040087 |
| Weight | 15.7 kg |
| Maximum Permissible Load | 40 kg |
| Maximum Recommended Speed | 16 km/h |
| Dimensions (L x W x H) | 80 x 56 x 65 cm |
| Wheel Diameter | 16 inches (40.64 cm) |
| Tire Width | 1.75 inches (4.44 cm) |
| Coupling Type | Universal (solid axle and quick-release axle) |
| Structure | Foldable with fabric walls and safety frame |
| Openings | Front door and rear door |
| Safety | Signal flag included, animal safety belt, safety leash |
| Usage | Transportation of loads and pets |
| Bike Attachment | On the rear axle, compatible with solid axle and quick-release |
| Care and Cleaning | Clean with a damp cloth and mild detergent; store in a dry place |
| Repairability | Spare parts available upon request; contact the manufacturer |
| Manufacturer | Chal-Tec GmbH, Wallstraße 16, 10179 Berlin, Germany |
Frequently Asked Questions - Husky Race Klarfit
User questions about Husky Race Klarfit
0 question about this device. Answer the ones you know or ask your own.
Ask a new question about this device
Download the instructions for your Bike trailer in PDF format for free! Find your manual Husky Race - Klarfit and take your electronic device back in hand. On this page are published all the documents necessary for the use of your device. Husky Race by Klarfit.
USER MANUAL Husky Race Klarfit
INHALTSVERZEICHNIS
Berlin Brands Group UK Limited
PO Box 42
272 Kensington High Street
London, W8 6ND
United Kingdom
SICHERHEITSHINWEISE
Congratulations on purchasing this device. Please read the following instructions carefully and follow them to prevent possible damages. We assume no liability for damage caused by disregard of the instructions and improper use. Scan the QR code to get access to the latest user manual and more product information.

CONTENT
Safety Instructions 12
Assembly 12
Attachment to Bicycle 15
Transport of Pets 17
TECHNICAL DATA
| Item number 10034690, 10034691, 10040085, 10040086, 10040087 | |
| Weight 15,7 kg | |
| Permissible load 40 kg | |
| Recommended maximum speed 16 km/h | |
| Wheels / dimensions 16" x 1.75 / 80 x | 56 x 65 cm |
MANUFACTURER & IMPORTER (UK)
Manufacturer:
Chal-Tec GmbH, Wallstrasse 16, 10179 Berlin, Germany.
Importer for Great Britain:
Berlin Brands Group UK Limited
PO Box 42
272 Kensington High Street
London, W8 6ND
United Kingdom
SAFETY INSTRUCTIONS
- The trailer must not be loaded with more than 45 kg.
• The recommended maximum speed is 16 km/h.
- The trailer must not be used to carry persons.
- Do not make any technical modifications to the equipment. This may result in road hazards and void the manufacturer's warranty.
• Always wear a helmet.
- Do not use the trailer on stony, uneven terrain or in dangerous traffic situations.
- The towing bicycle must be in perfect condition. The brakes should work perfectly. A trailer (and load) will increase your braking distance.
- Only load the trailer up to the top edge so that falling objects do not endanger road traffic.
ASSEMBLY
Mounting the wheels
| 1 | 2 |
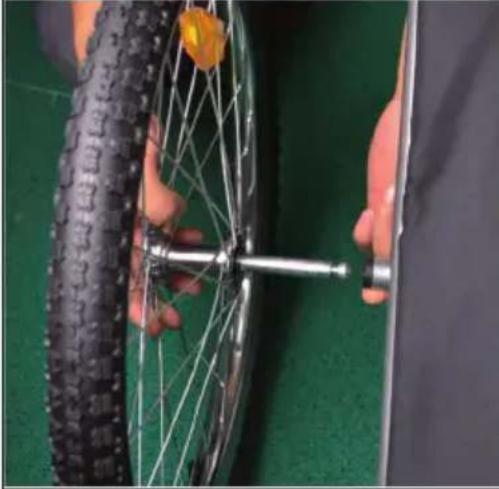 | 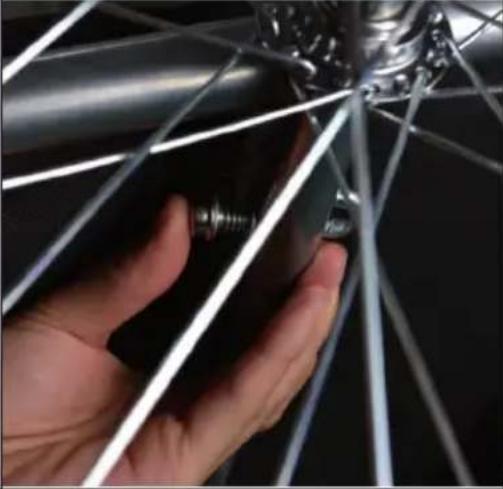 |
| Place the wheel hub on the axle by simply pushing in the wheel until it snaps in place, so the wheel cannot be removed. | To remove the wheels, lift back of trailer up and simply push on the push buttons located on the axle and remove the wheel (See diagram). |
Attaching the trailer hitch
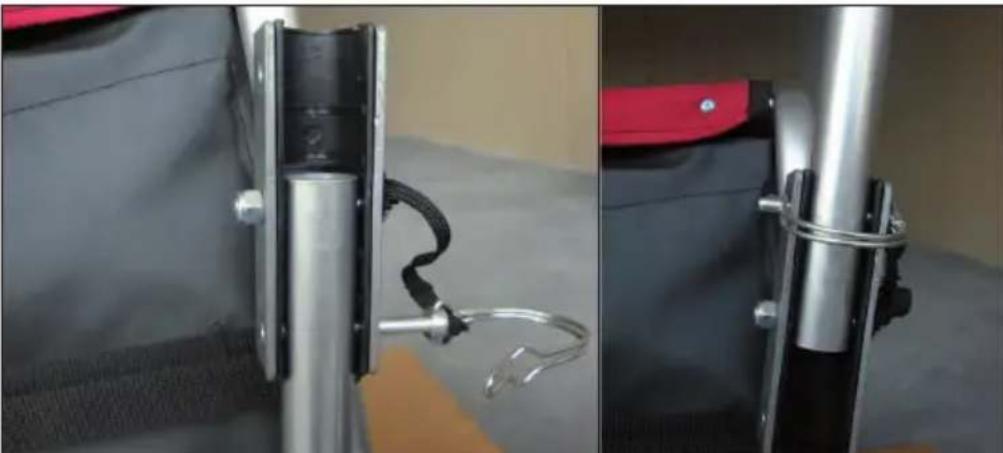
Lift the trailer. Remove the safety pin from the rear hole. Swivel the trailer coupling 180° . Lock the trailer coupling by reinserting the safety pin.

WARNING
Risk of injury! The safety pin must be locked before using the trailer. A trailer coupling that is not properly secured can become loose while driving, which can lead to serious injury or death.
Opening the trailer
| 1 | 2 |
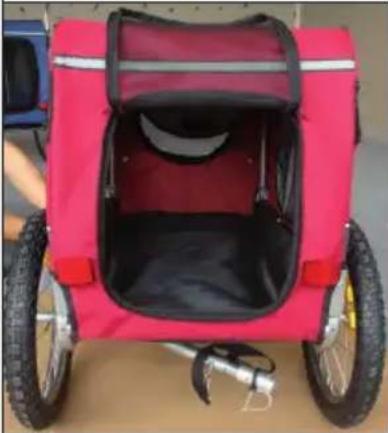 | 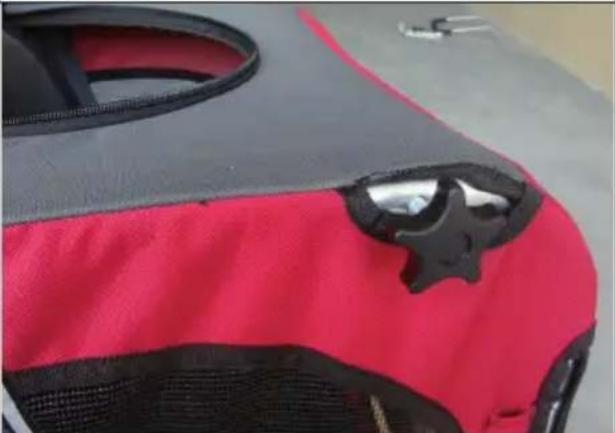 |
| If the trailer frame is lying flat, lift the side walls so that they are vertical. | Position the roll bar so that the holes in the side walls and the holes in the ends of the roll bar are aligned. Insert the button from the outside on the side wall and then into the thread at the end of the roll bar. Repeat for the other side and tighten both buttons. |
Attaching the safety flag
Insert the flag pole into the flag holder at the left rear corner of the side wall.
Note: Always use the safety flag during transport. It is an important safety device that can help make you more visible to motorists and other cyclists.
ATTACHMENT TO BICYCLE
Note: The universal coupling is only suitable for bicycles with full axle and/or with quick-release axle.
Bicycles with full axle
Remove the left axle nut from the bicycle. Any spacers or washers can be retained. Place the clutch on the axle and reinsert the nut.

WARNING
Risk of injury! The axle nut must be tightened at least 5 full turns on the axle thread to ensure sufficient clamping force. Too short a thread can lead to unintentional loosening of the rear wheel and thus to serious injuries or death. If in doubt, contact your dealer.
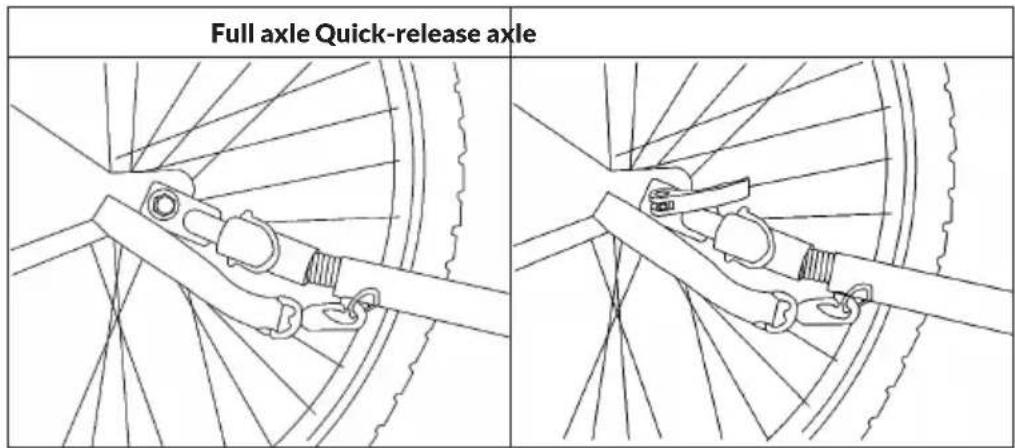
Bicycles with quick-release axle
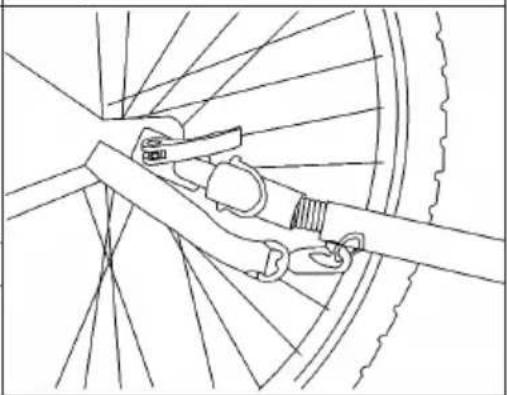
Remove the quick release from the bicycle and guide it through the trailer coupling together with the quick release axle. Push the quick-release through the wheel axle again, tighten the nut and clamp the quick-release with the correct pressure. To ensure that the hub is sufficiently clamped in the hollow axle, the quick-release lever must engage in the middle position when moving from the open position, and there must be clear resistance when approaching the closed position. If it is too easy or too difficult to move the quick-release lever, tighten or tighten it. Loosen the quick-release nut on the other side of the hub.

WARNING
Risk of injury! The thread of the quick-release nut must be tightened at least 5 full turns on the quick-release axle to ensure sufficient clamping force. If the quick-release axle is too short, this can lead to unintentional loosening of the rear wheel and thus to serious injuries or death. If in doubt, contact your dealer.
After mounting
Insert the safety pin through the holes both in the coupling and in the coupling connections. Turn and lock the pin. Wrap the seat belt around the chain stay and attach it to the D-ring of the trailer coupling using the snap hook.

WARNING
Risk of injury! The trailer and trailer coupling must be correctly fitted. Check the trailer and trailer coupling regularly for damage or loose fastening elements. Damage or improper installation can lead to serious injury or death.
TRANSPORT OF PETS
Loading and unloading pets
- Only load and unload the pet through the rear door when the front door is closed and the trailer is attached to the bicycle.
- If the pet is in the trailer, attach one end of the safety leash (supplied) to the pet's collar and the other end to the D-ring in the trailer. Adjust the length of the leash so that the pet cannot exit through the windscreen when the leash is open.
• Always close the rear door while driving.
Getting to know the trailer
Slowly familiarise your pet with the trailer, open and close the doors and let your pet get out on command.
Moving
Familiarise your pet with the movement of the trailer by slowly pushing the team. If the pet is sitting still, drive a little. If it gets restless, stop the team, calm it down and reward it with treats as soon as it is quiet.
At full speed
Make sure that your pet is calm and accepts the trailer well, extend the journey time gradually.
Estimado cliente:
Berlin Brands Group UK Limited
PO Box 42
272 Kensington High Street
London, W8 6ND
United Kingdom
SOMMAIRE
Berlin Brands Group UK Limited
PO Box 42
272 Kensington High Street
London, W8 6ND
United Kingdom
CONSIGNES DE SÉCURITÉ
INDICE
PRODUTTORE E IMPORTATORE (UK)
Produttore:
Chal-Tec GmbH, Wallstraße 16, 10179 Berlino, Germania.
Berlin Brands Group UK Limited
PO Box 42
272 Kensington High Street
London, W8 6ND
United Kingdom
AVVERTENZE DI SICUREZZA
- INHALTSVERZEICHNIS
- SICHERHEITSHINWEISE
- CONTENT
- MANUFACTURER & IMPORTER (UK)
- MANUFACTURER
- IMPORTER FOR GREAT BRITAIN
- SAFETY INSTRUCTIONS
- ASSEMBLY
- MOUNTING THE WHEELS
- ATTACHING THE TRAILER HITCH
- WARNING
- OPENING THE TRAILER
- ATTACHING THE SAFETY FLAG
- ATTACHMENT TO BICYCLE
- BICYCLES WITH FULL AXLE
- BICYCLES WITH QUICK-RELEASE AXLE
- AFTER MOUNTING
- TRANSPORT OF PETS
- LOADING AND UNLOADING PETS
- GETTING TO KNOW THE TRAILER
- MOVING
- AT FULL SPEED
- ESTIMADO CLIENTE
- SOMMAIRE
- CONSIGNES DE SÉCURITÉ
- INDICE
- PRODUTTORE E IMPORTATORE (UK)
- PRODUTTORE
- AVVERTENZE DI SICUREZZA
Brand : Klarfit
Model : Husky Race
Category : Bike trailer