
RoyalCut30 - Lawn mower Stahlmann - Free user manual and instructions
Find the device manual for free RoyalCut30 Stahlmann in PDF.


User questions about RoyalCut30 Stahlmann
0 question about this device. Answer the ones you know or ask your own.
Ask a new question about this device
Download the instructions for your Lawn mower in PDF format for free! Find your manual RoyalCut30 - Stahlmann and take your electronic device back in hand. On this page are published all the documents necessary for the use of your device. RoyalCut30 by Stahlmann.
USER MANUAL RoyalCut30 Stahlmann
RoyalCut30 (Var.ID. 4115)
D-54552 Nerdlen (Germany)
Tel: +49 (0)6592-1730200
Fax: +49 (0)6592-1730209
www.albatros-international.de
info@albatros-international.eu
RoyalCut30 (Var.ID. 4115)
Please do not dispose of this product in regular household waste. Familiarize yourself with local regulations regarding the separate collection of electrical and electronic devices. Follow local guidelines and do not dispose of old devices through household waste. Proper disposal of old devices helps protect the environment and the health of others from potential negative impacts. Material recycling contributes to reducing the consumption of resources.
RoyalCut30 (Var.ID. 4115)
D-54552 Nerdlen (Germania)
Tel: +49 (0) 6592-1730200
Fax: +49 (0) 6592-1730209
www.albatros-international.de
info@albatros-international.eu
RoyalCut30 (Var.ID. 4115)
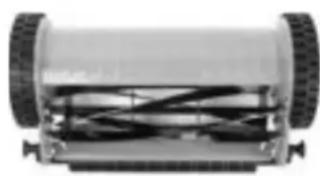
Cortacésped:
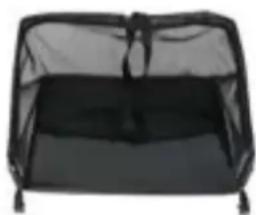
Recipiente recolector:
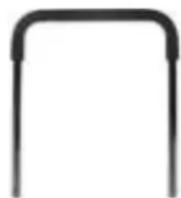
A: Marco del mango (arriba):
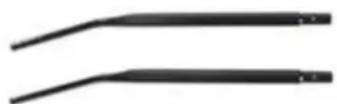
B:Travesanos centrales (marco del mango (medio)):
Cylinder mower with a cutting width of 40cm
RoyalCut30 (Var.ID. 4115)
Cylinder mower with a cutting width of 30cm

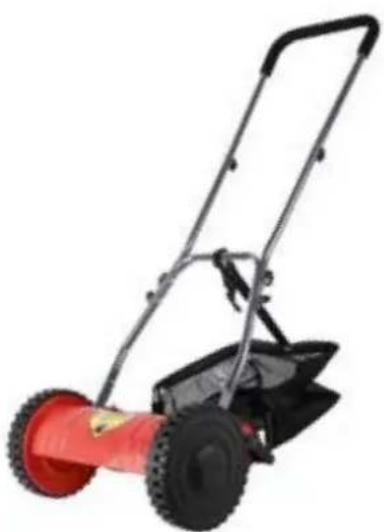
User Manual

Read this manual carefully and fully understand it before the initial use of your new RoyalCut.

Follow all safety instructions!

Please read all safety precautions and instructions carefully. Failure to follow these warnings and instructions can result in serious injury. Keep all warnings and instructions for future reference. Keep children away
from the device. Ensure that all components of the product, especially the cutting mechanism, are assembled correctly for smooth operation. Please note that modifications, independent adjustments, and improper use can affect the functionality of the product.
Safety Instructions:
- The device should only be used in perfect condition. If there are defects or damaged parts, inspection and repair by authorized personnel are necessary.
- Individuals under 16 years old, individuals with limited physical or mental abilities, as well as inexperienced users, should not operate the device.
- Always wear protective clothing during operation.
- Check the operating area for potential hazards such as stones, sticks, or wires that could damage or be thrown by the cutting mechanism.
- Always maintain a safe distance from the cutting mechanism.
- Operate the device at a walking pace and avoid working barefoot or with open sandals.
- Wear sturdy footwear and long pants during operation.
- Ensure adequate brightness and visibility when using.
- Always maintain a secure stance, especially on slopes. Always mow across a slope and avoid working uphill or downhill. Exercise caution when changing mowing direction on a slope. Do not work on excessively steep slopes.
Overview of Parts:
Mower:
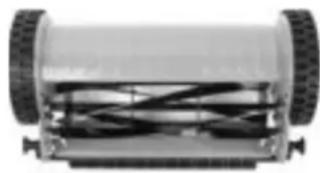
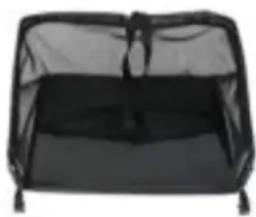
Grass Catcher:
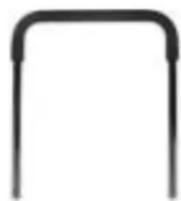
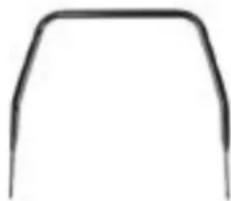
A: Handle frame (top):
B: Intermediate frame (middle):
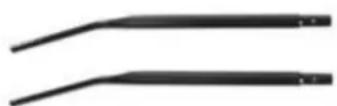
C: Handle frame (bottom):
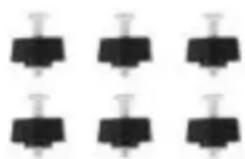
Screws & nuts:
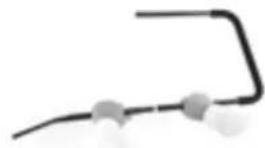
Assembly Tools:
- To assemble the handles, you will need: screwdriver and wrench (not included).
- To loosen or tighten the bottom blade, use a hex key (not included).
Assembly Instructions:
- Connect the middle bars (B) to the upper handle frame (A) using screws and nuts for fastening.
- Attach the middle bars (B) to the lower handle frame (C) using screws and nuts for fastening.
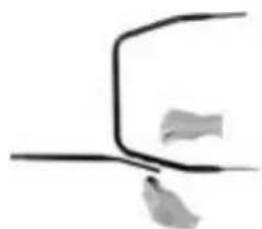
- The handle is now fully assembled.
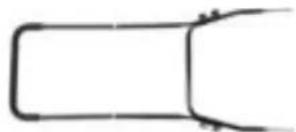
- Secure the lower handle section (C) to the designated holders on the mower.
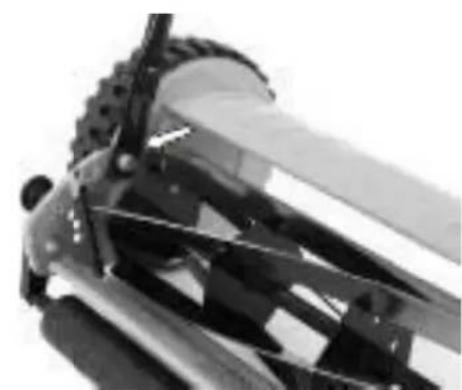
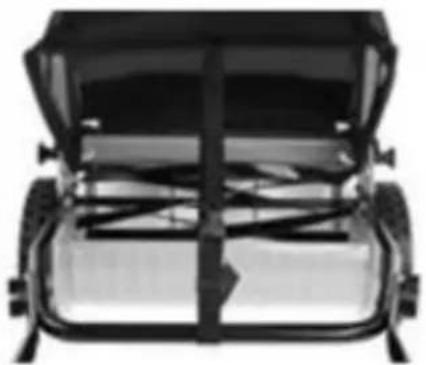
- Mount the grass catcher on both sides of the mower.
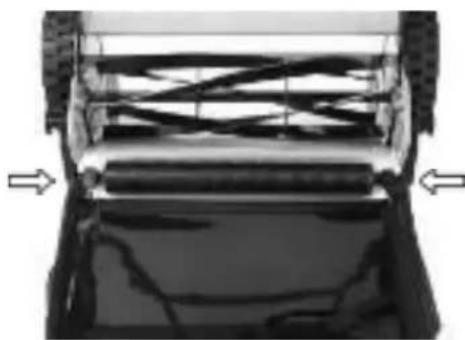
- Attach the strap of the grass catcher to the lower handle section (C) and tighten it until the grass catcher hangs slightly above the ground.
Adjusting the Cutting Height:
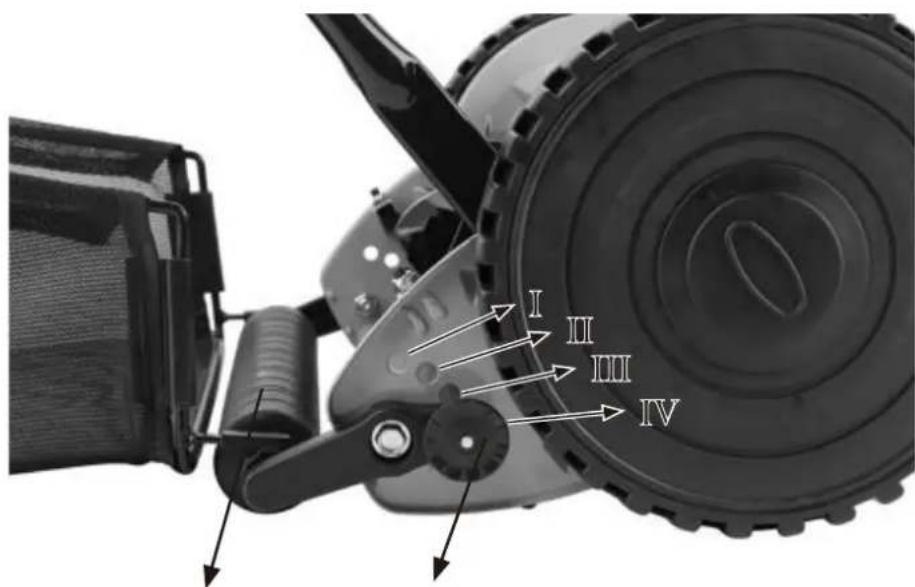
- Pull out the spring bolts (1) and use the support roller (2) to adjust the desired cutting height.
- Slide the spring bolts (1) back into their original positions.
(2)
(1)
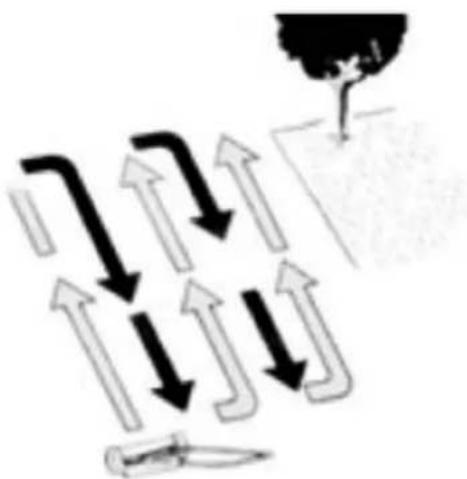
Mowing direction:
| TECHNICAL DATA | ||
| Model: RoyalCut40 RoyalCut30 | ||
| Cutting Width: 400mm 300mm | ||
| Cutting Height: 15~35mm 15~35mm | ||
Adjustment of the cutting blade gap
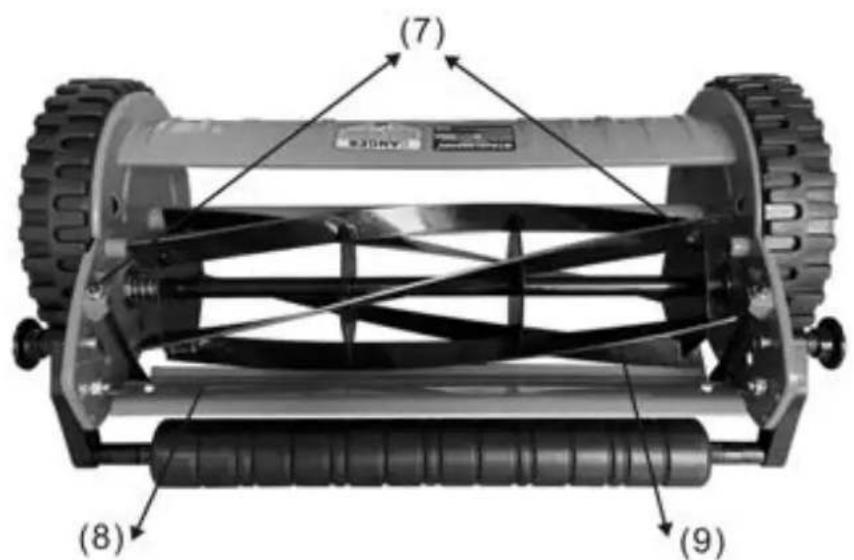
You achieve the best mowing results when, during operation, the rotating blade (9) touches the cutting edge (8) along its entire length according to the scissor principle.
If you do not hear any cutting sounds or if the cutting sounds are not continuous when pushing the lawnmower, the blade gap should be readjusted (reduced): Slowly tighten the hexagonal nut (7) on the sides of the device clockwise until the blade rotates with a consistent cutting sound.
If the rotating blade (9) does not move at all or is difficult to move, the blade gap needs to be readjusted (increased): Identify where (left or right) the rotating blade (9) is sticking against the cutting edge (8). Loosen the corresponding hexagonal nut (7) counterclockwise slowly until the rotating blade (9) turns again in contact with the cutting edge and produces a smooth cutting sound during mowing.
Cleaning and Maintenance:

Caution!
Improper maintenance may damage the device and cause injuries.
Cleaning the Device:
Clean the device after each use, as dried grass residues can be difficult to remove.
- Remove Grass Residues: Use a brush and a plastic spatula, if necessary, to remove stubborn grass residues. Avoid using sharp tools for cleaning.
- Clean the Tires: Remove deposits from the tires.
- Use a Damp Cloth: Wipe the mower with a damp cloth to remove dirt and impurities. Thoroughly dry the device after cleaning.
- Moderate Use of Water: To avoid potential damage, use only a damp cloth for cleaning. Please refrain from excessively using water on the device and avoid using a high-pressure washer to prevent damage.
Storage oft he Device:
- Thorough Cleaning Before Storage: Ensure a thorough cleaning of the device before storing it.
- Blade Protection for Extended Storage: Apply a light layer of oil to the blades if you intend to store the device for an extended period to protect them.
- Secure Storage: Store the device in a dry place and out of the reach of children. Safe and dry storage ensures the longevity of the device and minimizes the risk of damage.

DISPOSAL GUIDELINES
Please do not dispose of this product in regular household waste. Familiarize yourself with local regulations regarding the separate collection of electrical and electronic devices. Adhere to local guidelines and do not dispose of old devices through household waste. Proper disposal of old devices protects the environment and the health of others from potential negative impacts. Material recycling helps reduce the consumption of raw materials.
The components are quality products. They were designed taking into consideration the latest technical knowledge, and carefully constructed using a standard, good quality material.
The warranty period is 24 months from the time of handover, which must be confirmed through a sales receipt, invoice or delivery note. Within the warranty period, any functional defects in the components will be fixed by our customer service team if these can be shown to be the result of a material defect that has arisen despite prudent handling in accordance with our operating instructions.
The warranty will include repairing defective parts or providing properly functioning replacements free of charge and at our discretion. Any parts that are replaced will become our property. The repair or replacement of individual parts does not result in an extension to the warranty period, nor is there a new warranty period for the specific components affected. There is no separate warranty period for built-in spare parts. We offer no warranty for damage or defects affecting components or their parts if these are caused by excessive use, or incorrect handling or maintenance. The same applies for failure to follow the operating instructions and for the installation of spare parts or accessories not listed in our range. Warranty claims shall be void in the event of interference or modifications to components by unauthorised individuals.
The warranty does not cover parts that are subject to natural wear and tear. In the event of a warranty claim, fault, need for a spare part or accessory, please contact the customer support centre specified here:
Customer support centre:
D-54552 Nerdlen (Germany)
Tel: +49 (0)6592-1730200
Fax: +49 (0)6592-1730209
www.albatros-international.de
info@albatros-international.eu
Subject to modification.
Model:
Purchased at:
In (town/city, street):
Buyer's name:
Street, building number:
Postcode, town/city:
Telephone:
Date, signature:
Fault description: