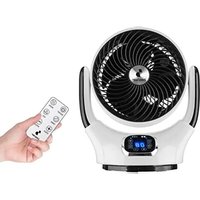
VE.112 - Fan Beper - Free user manual and instructions
Find the device manual for free VE.112 Beper in PDF.


User questions about VE.112 Beper
0 question about this device. Answer the ones you know or ask your own.
Ask a new question about this device
Download the instructions for your Fan in PDF format for free! Find your manual VE.112 - Beper and take your electronic device back in hand. On this page are published all the documents necessary for the use of your device. VE.112 by Beper.
USER MANUAL VE.112 Beper
For further information and/or for instructions for use in other languages, please visit: beper.com
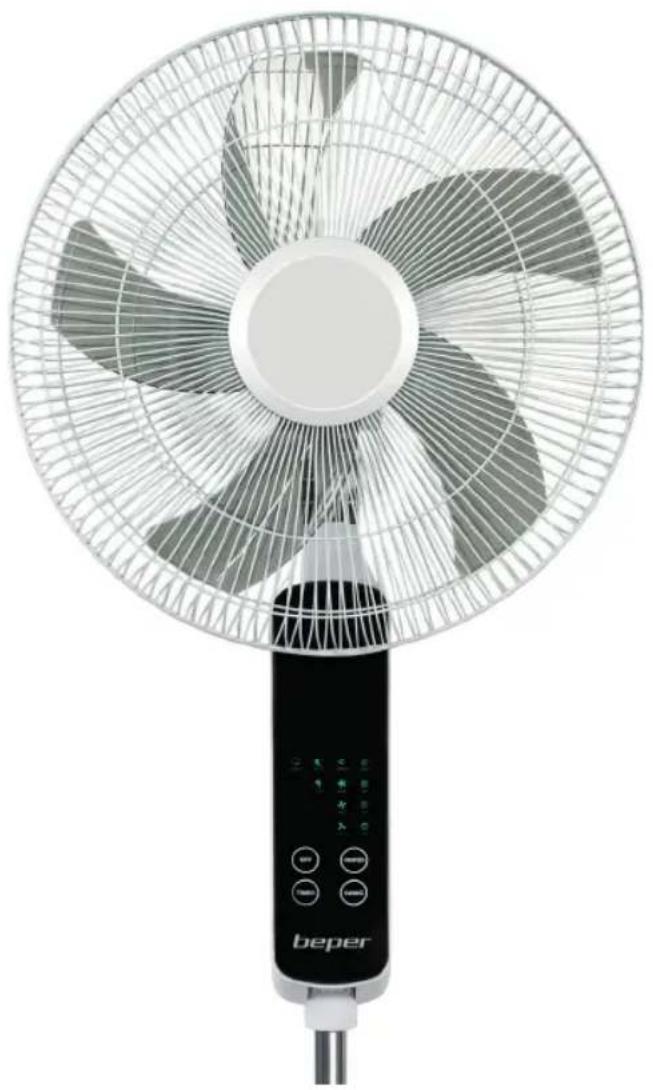
Cod.: VE.112
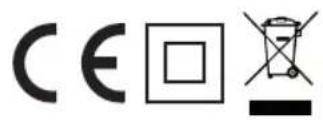
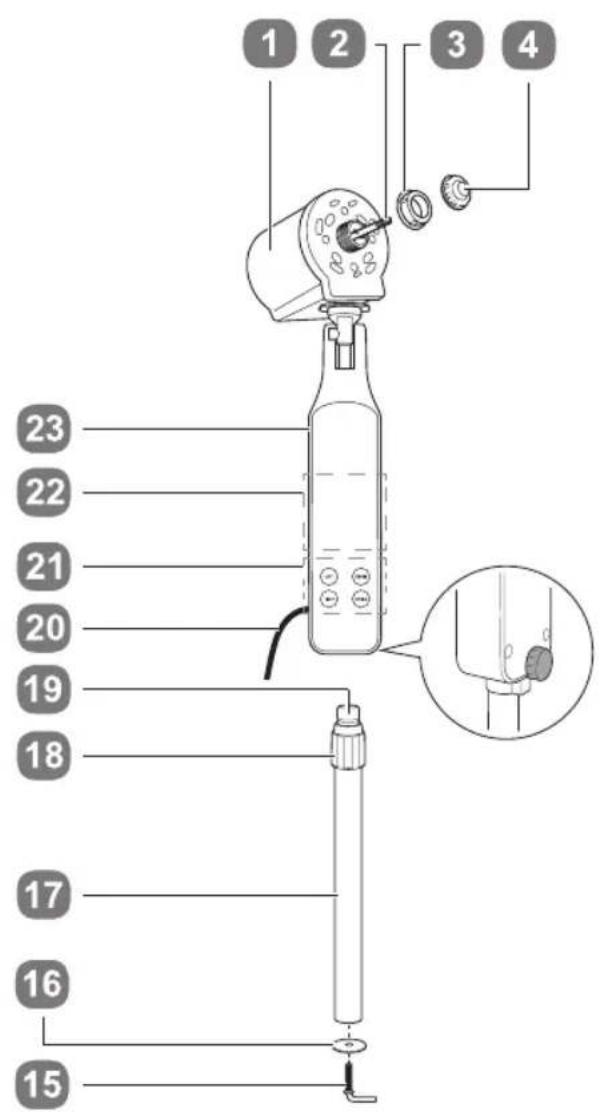
Fig.A
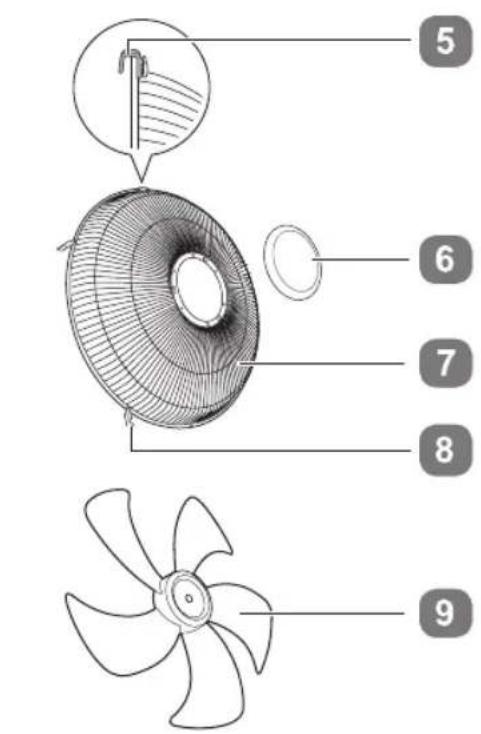
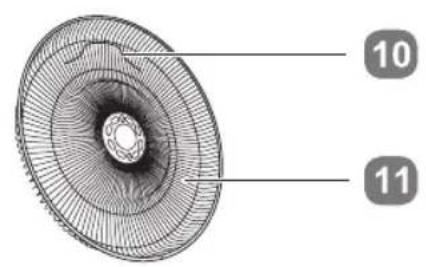
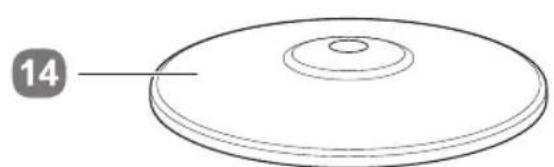
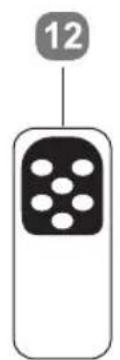
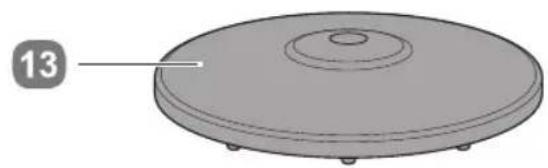
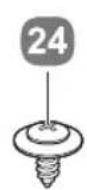
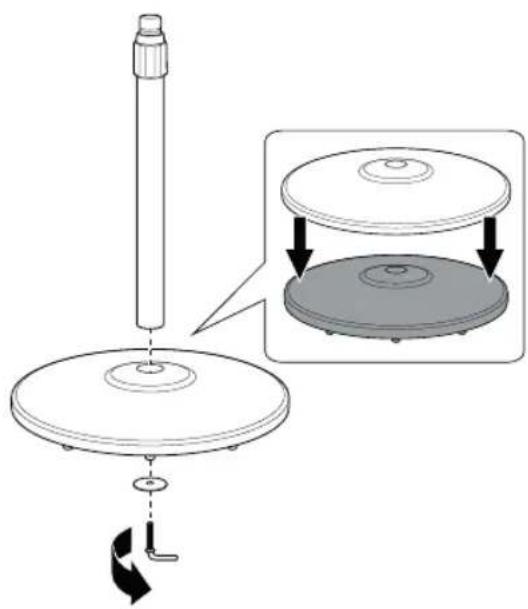
Fig.B
Avvertenze generali
Read the following instructions carefully, since they give you useful safety information about installation, use and maintenance and help you avoid mishaps and possible accidents.
Remove the packing and make sure that the appliance is intact, with special attention to the supply cable.
The elements of the packing (plastic bags, polystyrene, etc) do not have to be accessible to the children, in order to preserve them from danger sources. It is recommended not to throw these packing material in the domestic waste, but to deliver them to the appropriate station of collection or destruction refusals, asking eventually information to the manager of the Sanitation Department of your own municipality.
If the supply cord is damaged, it must be replaced by the manufacturer, its service agent or similarly qualified persons in order to avoid a hazard.
Before connecting the appliance make sure that the mains voltage corresponds to the data specified on the label.
The appliance can be damaged if the voltage is not correct.
If the plug does not suit the socket, let it be replaced with another suitable plug by qualified personnel only, which shall also ensure that the section of the socket cables is suitable for your appliance power absorption.
Generally, the use adaptors multiple plugs and/or extensions is not recommended; should they be necessary, please use only simple or multiple adaptors and extensions in compliance with the safety rules in force, making sure that the capacity absorption limit marked on the simple adaptors and the extensions and the maximum power limit marked on the multiple adaptor are not exceeded.
Do not use the appliance if the cable or the plug shows any damages. Do not use the appliance after a possible irregular working. In this case, switch it off and do not break it open. Refer to an authorized Beper after-sale service for repair and require original spare parts only. Failing to follow these instructions may impair the safety of your appliance.
This appliance is to be destined to its special purpose only. Any other use is to be considered as improper and thus dangerous. The manufacturer cannot be responsible for any damages deriving from improper, wrong or incautious use.
This appliance is for household use only.
To protect against electric shock, do not immerse cord, plug or any parts of the appliance into water or other fluids.
Do not use the appliance near explosives, highly flammable materials, gases or burning flames.
Do not allow children, disabled people or every people without experience or technical ability to use the appliance if they are not properly watched over. Close supervision is necessary when any appliance used by or near children.
Description of product Fig.A
-
Motor head unit
-
L-shape bolt
-
Drive shaft
-
Washer
-
Locking nut
-
Support pole
-
Locking cap
-
Height adjustment ring
-
Grid hook
-
Extension pole
-
Central disc
-
Mains cord
-
Front fan grid
-
Control panel
-
Fan grid clip (x4)
-
Display panel
-
Fan blades
-
Main unit
-
Handle
-
Central disc screws (x3)
-
Rear fan grid
-
Grid locking screw
-
Remote control
-
Grid locking nut
-
Weighted base
-
Fixing screw
-
Base cover
Assembly instructions
Unscrew and detach the L-shape bolt and the washer from the bottom of the support pole.
Attach the base cover to the weighted base by pressing them together.
Insert the bottom of the support pole into the hole in the assembled base. Screw the washer and the L-shape bolt back into the support pole to secure everything together.
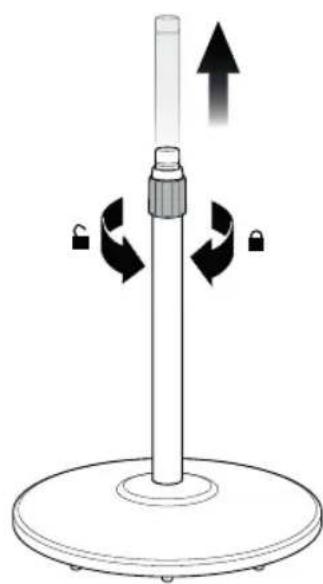
Pull the extension pole out of the support pole. To do so, loosen the height adjustment ring by rotating it a few turns anti-clockwise. Then turn the height adjustment ring clockwise to lock the extension pole at the desired height.
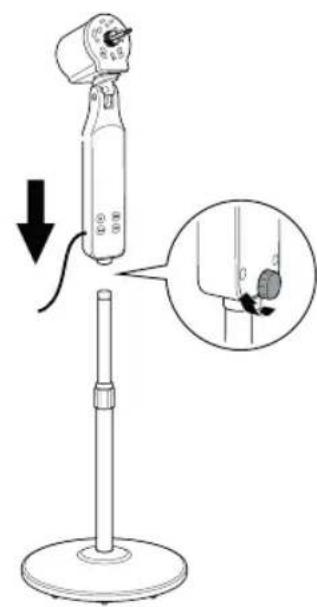
Slide the main unit onto the extension pole. Rotate the fixing screw clockwise to secure the connection.
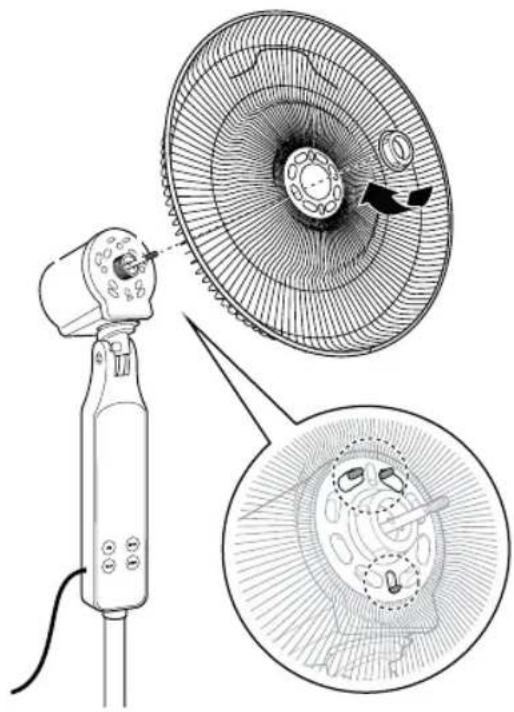
Rotate the locking nut anticlockwise to remove it from the drive shaft. Be sure to remove and dispose of the plastic sleeve on the drive shaft, if not done already, before continuing with assembly.
Put the rear fan grid onto the motor head unit, with the handle at the top, and replace the locking nut.
Tighten the locking nut by rotating it clockwise and fix the rear fan grid in place. Make sure the 3 tabs on the motor head are inserted into the slots in the rear fan guard.
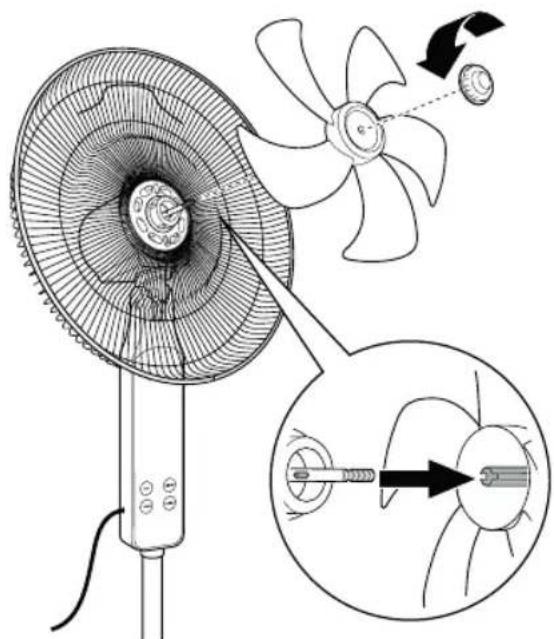
Fit the groove in the centre of the fan blades into the pins on the drive shaft and replace the locking cap. Tighten the locking cap by rotating it anti-clockwise and fix the fan blades in place.
Check the position of the blade by rotating it by hand and making sure that they do not touch the locking nut. The blade must rotate freely.
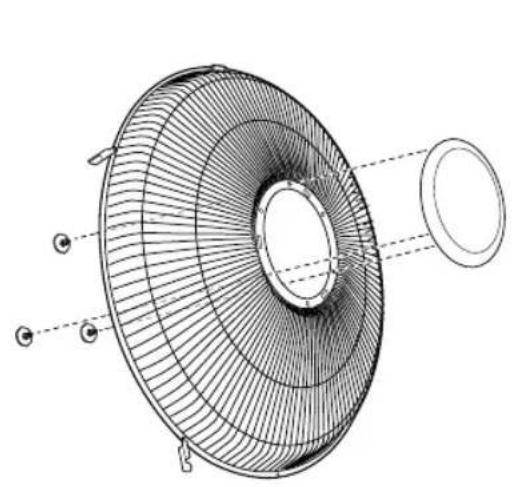
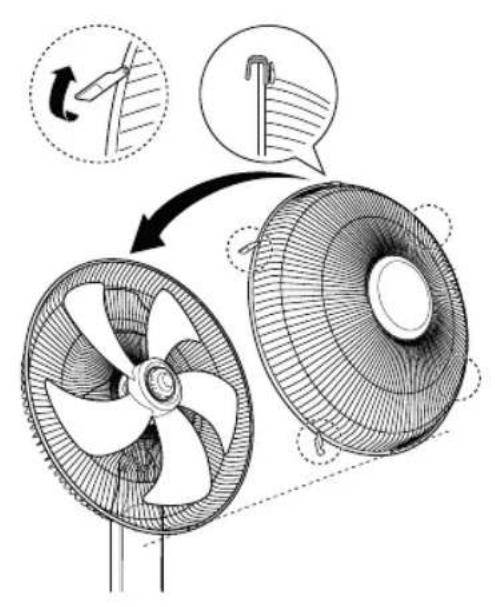
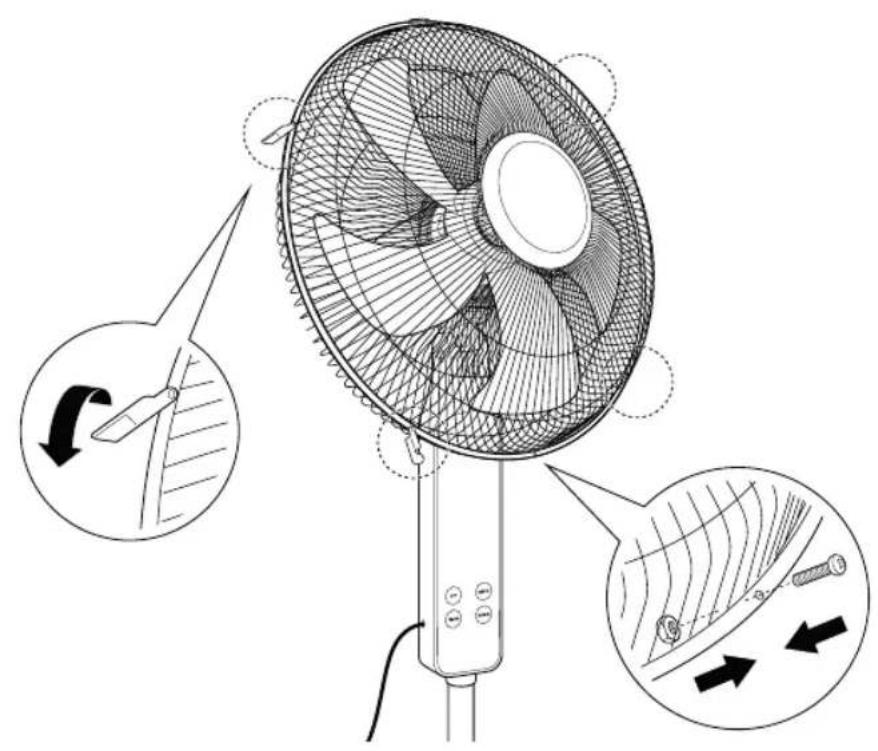
Attach the plastic disc to the front fan grid with the 3 screws provided using a cross-head screwdriver (not included). Finally, place the fan front grid onto the rear fan grid and fix it with the grid clips.
Operation
Place the fan on a dry, even surface, plug it to a wall socket.
All available settings options will start flashing on the control panel. Ensure the remote controls contains two AAA size batteries (not supplied).
ON/Speed button
Press the ON/SPEED button (on the remote control or on the control panel) to switch on the fan. At first operation it will start at medium speed; for following operations, the fan will start at the last selected settings.
Press the ON/SPEED button again to select HIGH or LOW speed.
Off button
Press the OFF button to switch off the fan.
Mode (only on remote control)
Press the MODE button to change the operating mode:
Normal: the fan operates at a constant speed. The mode indicator is off.
Nature: the fan simulates a natural breeze mode by automatically alternating fan speeds, as in nature. The NAT mode indicator is green.
Sleep: the fan simulates a soft, natural breeze suitable for night-time use. The SLP mode indicator is green.
Swing
Press the SWING button to activate the oscillation function for widespread breeze distribution.
Press the button again to stop oscillation.
Lamp (only on remote control)
Press the LAMP button on the remote control to turn off all indicators on control panel, when the fan is off but still plugged to the wall socket (stand-by mode). This option cannot be selected when the fan is on.
Timer
Push the TIMER button (when the fan is working) to set the time in which the fan will shut off (the led indicators corresponding to the time set will appear on control panel). Timer can be set to a maximum of 7,5 hours; by pressing the button, the rime is set half hour by half hour, and the green LED indicators corresponding to the set time will turn on.
Adjusting tilt of the fan head
The fan head can be tilted so that the breeze is directed towards a precise angle.
To tilt the fan head, make sure the fan is disconnected from the power supply.
Hold the motor housing of the fan with one hand, and grip the fan head with the other. Carefully tilt the fan head until it reaches the desired angle.

Caution: Do not attempt to tilt the fan head further than it is intended to. Doing so will damage the unit.
Cleaning
Before performing any cleaning operation, switch off and unplug the fan.
For cleaning the fan, use a soft cloth, that can be slightly damp.
Do not use alcohol or chemical substances, or any detergent that could damage this appliance.
Do not spray water or other liquids on the fan in order to protect it.
After cleaning, dry every component before using the appliance.
During the winter season and when not in use for a long time, keep the appliance in a dry and clean place.
Technical data
Power:50W
Adapter:220-240V\~50Hz
For any improvement reasons, Beper reserves the right to modify or improve the product without any notice.
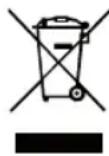
The European directive 2011/65/EU on Waste Electrical and Electronic Equipment (WEEE), requires that old household electrical appliances must not be disposed of in the normal unsorted municipal waste stream. Old appliances must be collected separately in order to optimize the recovery and recycling of the materials they contain, and reduce the impact on human health and the environment. The crossed out "wheeled bin" symbol on the product reminds you of your obligation, that when you dispose of the appliance, it must be separately collected.
GUARANTEE CERTIFICATE
This appliance has been checked in the factory. From the date of original purchase a 24 month guarantee applies to material and production defects. The purchase receipt and the guarantee certificate must be submitted together in case of claim to guarantee.
The guarantee is valid only with a guaranty certificate and proof of purchase (fiscal receipt) indicating the date of purchase and the model of the appliance
For any technical assistance, please contact directly the seller or our head office in order to preserve the appliance's efficiency and NOT TO void the guarantee. Any intervention on this appliance by non-authorized persons will automatically void the guarantee.
GUARANTEE CONDITIONS
If the appliance shows defects as a result of faulty material and/or production during the period of guarantee, we guarantee repair free of charge on condition that:
- The appliance has been used properly and for the purpose for which it has been intended.
- The appliance has not been tampered with, otherwise it is not maintainable.
- The purchase receipt shall be presented.
- The appliance showing a fair wear and tear shall not be covered by this guarantee.
Therefore, any part that could be accidentally broken or having visible signs of use in consumable products (such as lamps, batteries, heating elements...) the aesthetic parts are excluded from the guarantee, and any defect whatsoever resulting from non-respect of the rules for use, negligence in usage and/or maintenance of the appliance, carelessness, wrong or improper installation, damage during transport and any other damage not attributable the supplier.
For every defect that could not be repaired within the guarantee period, the appliance will be replaced free of charge.
In any case, if the part to be replaced for defect, breakage or malfunction is an accessory and/or a detachable part of the product, Beper reserves the right to replace only the very part in question and not the entire product
Contact your distributor in your country or after sales department Beper.
E-mail assistenza@beper.com which will forward your enquiries to your distributor.
CONDITIONS DE GARANTIE
OBECNÉ PODMINKY ZÁRUKY
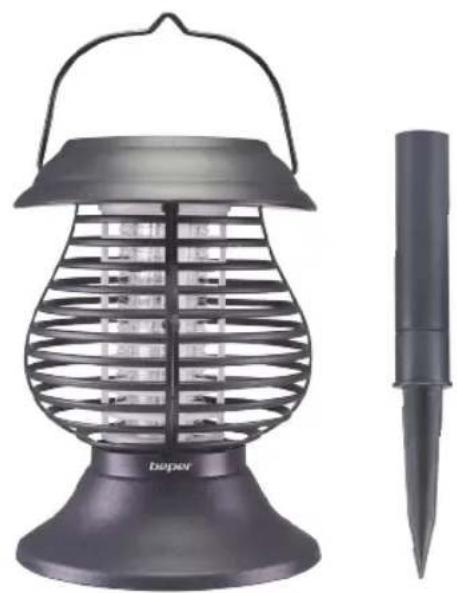
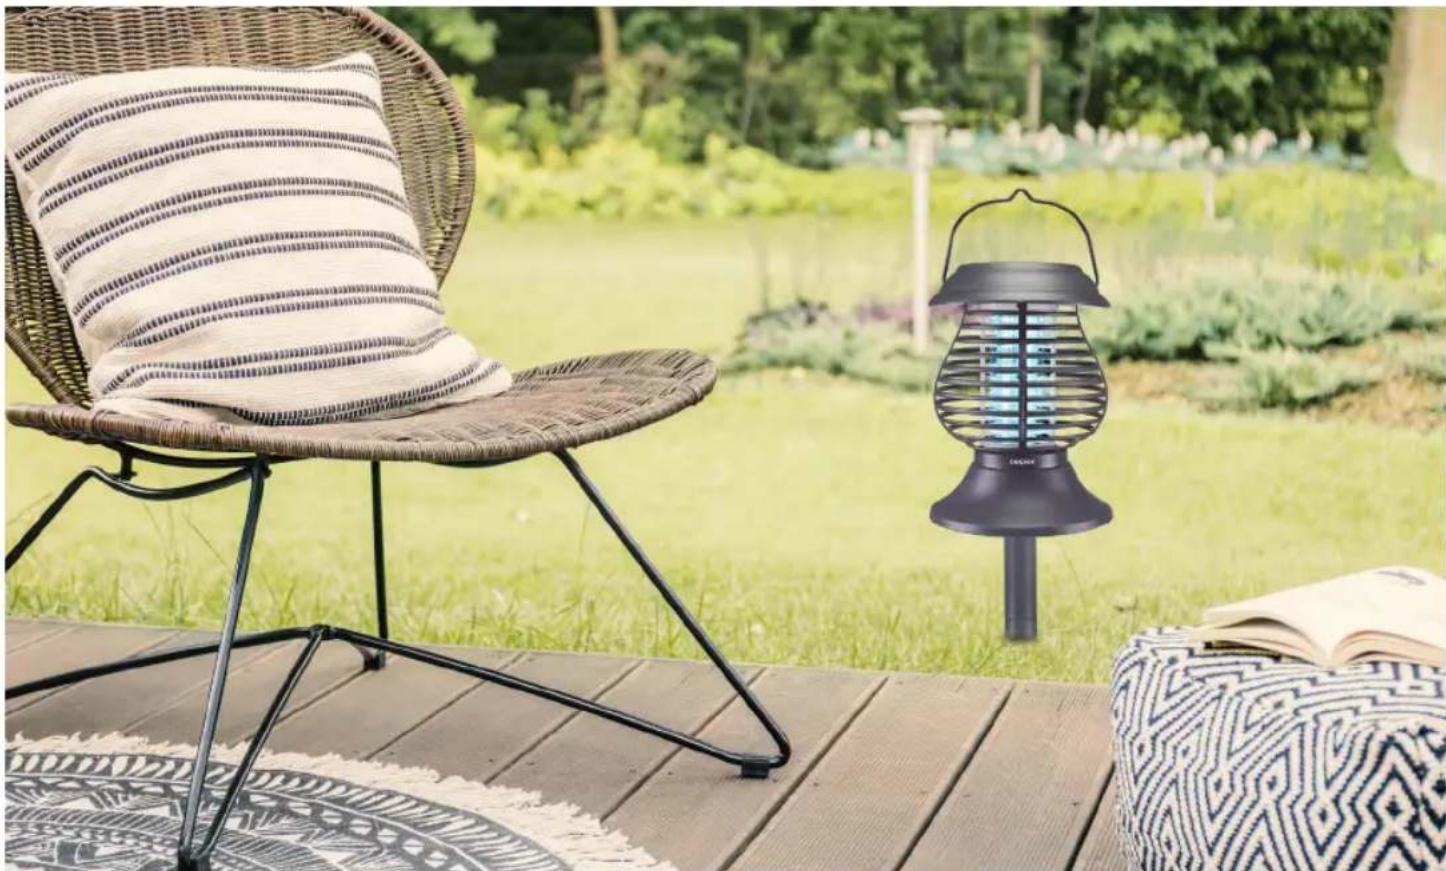
Solar powered lantern
Ideal for terraces, verandas, patios, etc.
Spike to install the mosquito net in the garden
Works with 1 rechargeable AA Ni-Mh battery
not included)