P301PIS200 - Hair Straightener Beper - Free user manual and instructions
Find the device manual for free P301PIS200 Beper in PDF.


User questions about P301PIS200 Beper
0 question about this device. Answer the ones you know or ask your own.
Ask a new question about this device
Download the instructions for your Hair Straightener in PDF format for free! Find your manual P301PIS200 - Beper and take your electronic device back in hand. On this page are published all the documents necessary for the use of your device. P301PIS200 by Beper.
USER MANUAL P301PIS200 Beper
For further information and/or for instructions for use in other languages, please visit: beper.com
natural_image
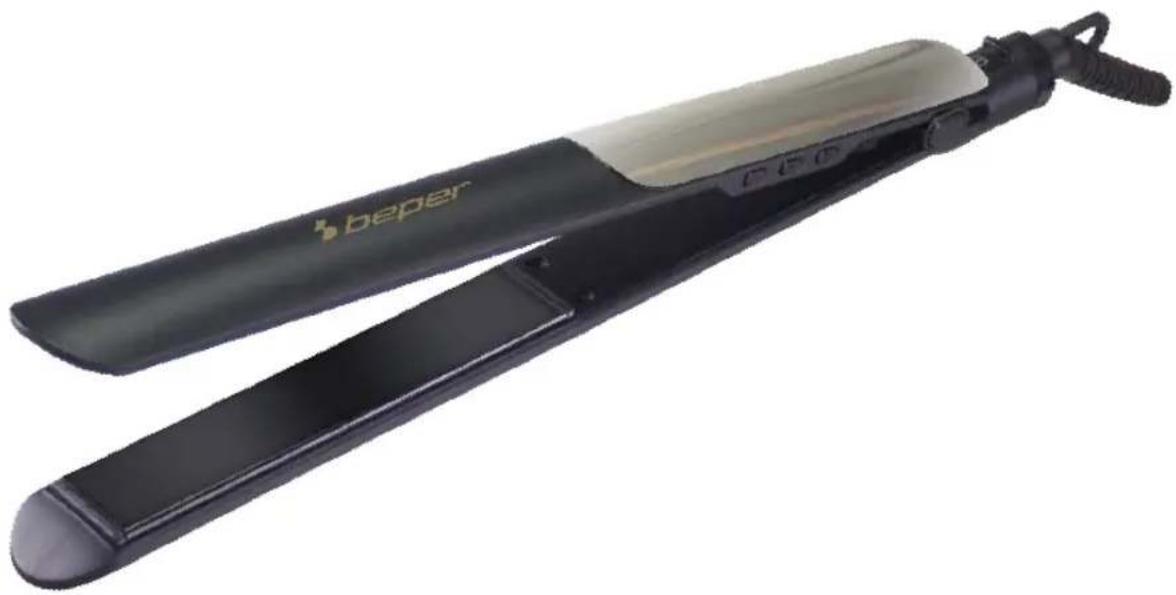
Beper-style iron cutting iron with a black frame and roller, shown against a white background (no text or symbols visible)Fig.A
text_image
beper 1 230°C 2 3 4 5 6 7Avvertenze generali
Read the following instructions before using the appliance.
Before and during use of the appliance, some basic precautions must be followed.
After removing all packaging materials, check the integrity of the appliance. In case of any doubt do not use the appliance and contact professionally qualified personnel. Packaging materials (plastic bags, styrofoam, etc.) must always be kept out of the reach of children, as potential cause of risk.
Always make sure that the mains voltage equals to the voltage indicated on the technical data label and that the electrical system is compatible with the power of the appliance.
Never unplug the appliance from the socket by pulling the power cord.
Make sure the cable never gets in contact with hot or sharp surfaces.
Do not use the appliance if the power cord is damaged.
If the power cord is damaged, it must be replaced by the manufacturer or by its Technical After Sales service or by a qualified person, in order to avoid any potential risk.
Only connect the appliance to an AC power outlet.
It is generally not advisable to use adapters, multiple sockets and/or cord extensions.
When their use is necessary only use adapter and cord extensions compliant with the applicable safety regulations.
This appliance must only be used for the operation for which it was expressly designed. Any other use is to be considered incorrect and thus dangerous, causing the expiration of warranty. The manufacturer cannot be held responsible for any damage caused by incorrect, improper and unreasonable use.
To avoid dangerous overheating completely unwind the power cord and unplug the socket from the power outlet when the appliance is not in use.
Before carrying out any cleaning or maintenance operation, unplug the socket from the power outlet.
Do not immerse the appliance in water or other liquids.
Keep the appliance away from heating sources (e.g. radiator).
This appliance must not be used by persons (including children) with limited physical, sensory or mental capabilities, by persons that lack experience and knowledge of the appliance, unless they are closely watched or well instructed by a person responsible for their safety regarding the use of the appliance.
Children must not play with the appliance.
When the appliance must be disposed of, it is recommended to make it inoperative.
It is also recommended to render harmless those parts of the appliance likely to constitute a danger.
This appliance must not be used by children.
Children must not play with the appliance. Keep the appliance and its cable away from children under 8 years of age.
This appliance can be used by children of 8 years or older and by persons with limited physical, sensory or mental capabilities, or by persons that lack experience and knowledge of the appliance, provided they have been given complete instructions concerning the safe use of the appliance and provided that they understand the related risks.
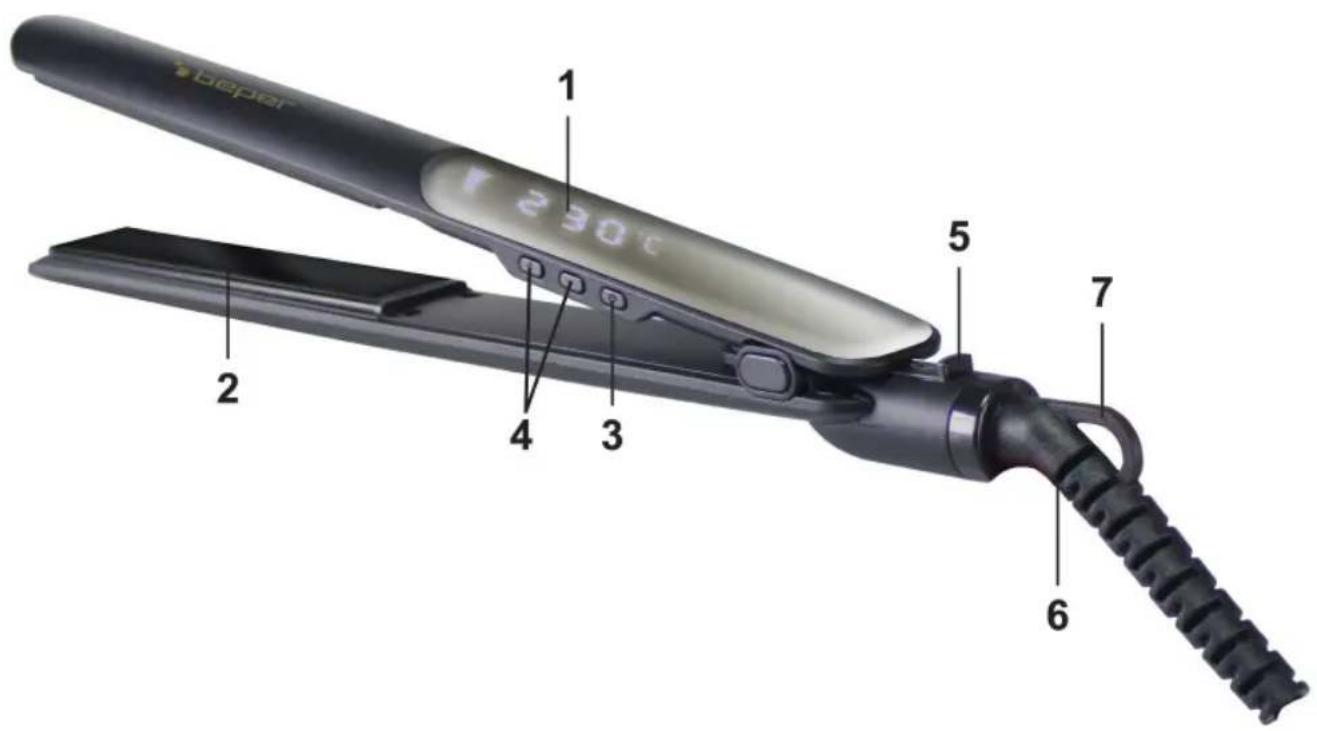
Product description Fig. A
- Display
- Plates with ceramic coating
- ON/OFF switch button
- Temperature control buttons
- Plates lock/unlock button
- 360°C rotating cable
- Hanging hook
Usage
Fully unroll the power cord.
Open the plates using the appropriate unlock button.
Connect the appliance to a suitable power outlet. The LED indicator lights up to indicate OFF.
Press the ON/OFF button to turn on the appliance on. The screen lights up and displays the preset temperature of 190^ C and the plates will automatically reach this temperature in a few seconds.
Set the desired temperature with the temperature control keys from the 6 available levels: 130°C-150°C
-170°C -190°C -210°C -230°C. Through the display, you can see the increase or decrease in temperature.
When the temperature is reached, the LED indicator signals the selected heat level.

Warning: Do not hold hair between the plates for longer than two seconds.
To make sure you get the desired results, you should always experiment at first on a small area of hair.
Dry previously washed hair with a hairdryer, untangling it with a wide-toothed comb.
Separate the hair into strands of about 3 cm.
Then proceed as follows:
To curl your hair
For natural curls
Take up a section of hair and place the straightener at the roots with the curved plates facing the scalp.
Turn the straightener 90^ downwards so that the curved plates face outwards.
You can hold the stay-cool tip with your other hand so that it is easier to handle the straightener and maintain an even pressure on the section.
Slowly slide the straightener down the whole length of the section, from the roots to the tips.
The curved structure of the appliance gives the effect and fixes the curl.
Remove the straightener and use your fingers to twist the section again so that it takes its natural position.
Repeat if necessary.
You may wish to set the curls using a light misting of hairspray.
For more sophisticated curls
Take up a section and place the straightener at the roots with the curved plates facing your scalp.
Turn the straightener 90^ upwards so that the curved plates now point outwards.
You can use your other hand to hold the stay-cool tip to make handling the straightener easier and to maintain an even pressure on the section.
Slowly glide the straightener over the length of the section, from the roots to the tips.
The more even and the slower the stroke, the more marked the curl!
The curved structure of the plate gives the effect and fixes the curl.
Remove the straightener and use your fingers to twist the section again so that it takes its natural position.
Repeat if necessary.
You may wish to set the curls using a light misting of hairspray.
To straighten your hair
Separate your hair into sections. Clip the upper sections to the top of your head so that you can work with the sections underneath.
Take up a section of about 2/3cm wide and place it between the 2 heating plates, near the roots of your hair.
Press the straightener, hold firmly to keep the section, and slide the unit slowly down the section from roots to tips. Proceed with another strand in the same way and then with all the others, until the whole hair is completely straightened.
If necessary, repeat the operation, and release the pressure on the plate.
Style the hair for the final touch. If necessary, fix the straightening with a light mist of hairspray.
To shape your hair
Beper hair straightener can also be used to highlight some strands (fringe, waving the tips inwards or outwards, etc.) and lift the roots.
To lift the roots, take up a section and hold it vertically from your scalp.
Place the appliance as close as possible to the roots, close the section between the plates and give the appliance a forward rotation to give the maximum volume to the root. Hold for a few seconds, then slowly straight from the roots to the tips.
To turn the tips of your hair inside, use as described above but directing the appliance inwards (as with a brush during brushing).
Hold in place for a few seconds and release.
To turn the points outwards, follow the same steps but turn in the other direction.
After use, turn off the straightener by pressing the appropriate ON/OFF button for a couple of seconds. The appliance turns off and the initials OFF appears on the display.
Unplug the appliance from the electrical outlet.
Allow the appliance to cool off before storing it away.
Cleaning and maintenance of your straightener
Unplug the unit and allow it to cool completely.
Clean the plates using a soft, damp cloth, without detergent, to preserve the optimal quality of the plates.
Do not scratch the plates.

Warning: after use, do not roll the cord around the appliance. Before putting the straightener away, wrap the cable in large, soft circles.
Technical data
Power: 54W
Power supply: 110-240V - 50/60Hz
For any improvement reasons, Beper reserves the right to modify or improve the product without any notice.
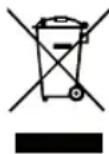
The European directive 2011/65/EU on Waste Electrical and Electronic Equipment (WEEE), requires that old household electrical appliances must not be disposed of in the normal unsorted municipal waste stream. Old appliances must be collected separately in order to optimize the recovery and recycling of the materials they contain, and reduce the impact on human health and the environment. The crossed out “wheeled bin” symbol on the product reminds you of your obligation, that when you dispose of the appliance, it must be separately collected.
GUARANTEE CERTIFICATE
This appliance has been checked in the factory. From the date of original purchase a 24 month guarantee applies to material and production defects. The purchase receipt and the guarantee certificate must be submitted together in case of claim to guarantee.
The guarantee is valid only with a guaranty certificate and proof of purchase (fiscal receipt) indicating the date of purchase and the model of the appliance
For any technical assistance, please contact directly the seller or our head office in order to preserve the appliance's efficiency and NOT TO void the guarantee. Any intervention on this appliance by non-authorized persons will automatically void the guarantee.
GUARANTEE CONDITIONS
If the appliance shows defects as a result of faulty material and/or production during the period of guarantee, we guarantee repair free of charge on condition that:
- The appliance has been used properly and for the purpose for which it has been intended.
- The appliance has not been tampered with, otherwise it is not maintainable.
- The purchase receipt shall be presented.
- The appliance showing a fair wear and tear shall not be covered by this guarantee.
Therefore, any part that could be accidentally broken or having visible signs of use in consumable products (such as lamps, batteries, heating elements...) the aesthetic parts are excluded from the guarantee, and any defect whatsoever resulting from non-respect of the rules for use, negligence in usage and/or maintenance of the appliance, carelessness, wrong or improper installation, damage during transport and any other damage not attributable the supplier.
For every defect that could not be repaired within the guarantee period, the appliance will be replaced free of charge.
In any case, if the part to be replaced for defect, breakage or malfunction is an accessory and/or a detachable part of the product, Beper reserves the right to replace only the very part in question and not the entire product
Contact your distributor in your country or after sales department Beper.
E-mail assistenza@beper.com which will forward your enquiries to your distributor.