
SCB122 - Bicycles Vevor - Free user manual and instructions
Find the device manual for free SCB122 Vevor in PDF.
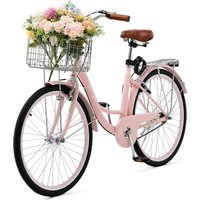


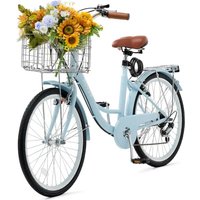
| Product Type | Cruiser Bike |
| Brand | Vevor |
| Model | SCB122 (SCB122-B, SCB122-P) |
| Wheel Size | 26 inches |
| Number of Speeds | 1 speed (model SCB122-B/SCB122-P) |
| Maximum Load Capacity | 330 lb (149.68 kg) |
| Maximum Front Basket Load | 11 lb (5 kg) |
| Maximum Rear Rack Load | 110.2 lb (50 kg) |
| Recommended Tire Pressure | 40 psi |
| Recommended Rider Height | 155 cm and above |
| Brake Type | V-Brakes |
| Frame Material | Steel |
| Available Colors | Light Blue, Pink |
| Included Accessories | Front basket, rear rack, bell, reflectors, lock cable, gloves, assembly tools |
| Saddle Adjustment | Yes, with quick-release lever |
| Maintenance | Chain lubrication after cleaning; tire inflation to 40 psi; regular check of brakes and tightness |
| Safety | Front/rear reflectors, bell, lock cable with password |
| Spare Parts and Repairability | Standard bicycle parts available commercially; technical support via www.vevor.com/support |
Frequently Asked Questions - SCB122 Vevor
User questions about SCB122 Vevor
0 question about this device. Answer the ones you know or ask your own.
Ask a new question about this device
Download the instructions for your Bicycles in PDF format for free! Find your manual SCB122 - Vevor and take your electronic device back in hand. On this page are published all the documents necessary for the use of your device. SCB122 by Vevor.
USER MANUAL SCB122 Vevor
Technical Support and E-Warranty Certificate www.vevor.com/support
CRUISER BIKE
MODEL: SCB721-B/SCB122-B/SCB122-P/SCB722-B/SCB722-P
We continue to be committed to provide you tools with competitive price. "Save Half", "Half Price" or any other similar expressions used by us only represents an estimate of savings you might benefit from buying certain tools with us compared to the major top brands and does not necessarily mean to cover all categories of tools offered by us. You are kindly reminded to verify carefully when you are placing an order with us if you are actually saving half in comparison with the top major brands.
MODEL: SCB721-B/SCB122-B/SCB122-P/SCB722-B/SCB722-P
NEED HELP? CONTACT US!
Have product questions? Need technical support? Please feel free to contact us:
Technical Support and E-Warranty Certificate www.vevor.com/support
This is the original instruction, please read all manual instructions carefully before operating. VEVOR reserves a clear interpretation of our user manual. The appearance of the product shall be subject to the product you received. Please forgive us that we won't inform you again if there are any technology or software updates on our product.
 | Warning - To reduce the risk of injury, user must read instructions manual carefully. |
 | This symbol, placed before a safety comment, indicates a kind of precaution, warning, or danger. Ignoring this warning may lead to an accident. To reduce the risk of injury, fire, or electrocution, please always follow the recommendation shown below. |
 | Warning- Be sure to wear gloves when using this product. |
WARNING
1. General Notice
- Read all these instructions completely prior to assembly, use, adjustment, and maintenance.
- Contact customer service if any point is unclear.
- Provide this manual to anyone who will use or service this bicycle and provide it with this bicycle (whether already assembled or not) if it is ever given or sold to a third party.
- Only assemble, use, adjust, and maintain this bicycle in accordance with these instructions.
- Failure to follow these instructions may lead to serious property damage and severe personal injury.
2. Traffic Rules
● Always obey all applicable local and national laws and regulations while riding. - Do not allow use by children, by persons unfamiliar with this bicycle or these instructions, or by anyone whose physical or mental impairment precludes safe use. - Do not ride this bicycle while tired or under the influence of drugs or medication. - Do not ride this bicycle in ANY area prohibited to manual bicycles. ● Always maintain your reflectors and other required safety equipment. - It is advisable to equip your bicycle with a warning device such as a horn, bell, and light in case you are riding at times of poor visibility.
3. Clothing
- Consult the legal and regulatory documents in your jurisdiction to determine whether helmets or other protective gear that meets safety standards is required for riding a manual bicycle on roads. ● Always wear appropriate hand protection during assembly, disassembly, adjustment, or repair of this bicycle.
- Do not wear loose footwear or clothing that may become caught in the wheels or any other moving parts while riding.
- Do not ride this bicycle with bare feet. ● Always wear closed-toe shoes with good traction to maintain grip on the pedals and provide protection for your feet.
- Gloves with grip padding are strongly recommended for riding. They can strengthen your hold on the handlebars and protect your hands in case of a fall.
- Wear sunglasses or other clear protective eyewear to shield your eyes from dust, debris, and insects.
- In sunny conditions, it is advisable to wear a hat or a cycling cap to shield your head and face from the sun (if helmets are not legally required).
- Also apply sunscreen to exposed skin, especially for long rides.
- For best results, choose brightly colored or reflective clothing or attach reflective accessories or strips to your clothing to enhance visibility from all angles, especially during low-light conditions.
4. Safety Checks
● Always check that both the front and the rear brakes are positioned properly before riding. ● Always check that all components and fasteners are intact and securely tightened before and after riding. - Regularly check the reflectors to make sure that they are clean, straight, unbroken, and securely mounted. - Also perform this check for lights if any have already been installed. Riding with low light or without reflectors or lights is extremely dangerous. - Do not ride this bicycle if any part is damaged or shows any sign of malfunction. ● Repair or replace worn and broken components before further use, especially
bent or broken spokes and wheel rims.
- Never replace any components or fasteners with non-identical ones.
5. Sensible Use
- Only allow one person to ride this bicycle at a time.
- Do not carry children or pets on the rear rack while riding.
- If carrying pets in the front basket, ensure that this act is permitted in your jurisdiction and they are safely secured with comfort.
- For optimal safety, it is not recommended to ride your bicycle at night or in environments with poor visibility (e.g., foggy or snowy conditions).
- If you have an emergency that makes it necessary to do so, be sure to have proper lights and ride at low speed.
- Do not ride this bicycle in extreme weather conditions, such as thunderstorms and hurricanes.
- If you meet with them during a ride, stop your bicycle, find a safe shelter, and wait until they pass.
- When meeting a strong wind, keep a firm grip on the handlebars, lean into the wind, and adjust your position as needed to maintain control.
- In wet weather, be careful to avoid sharp turns, which are easy to cause an accidental fall. ● Always be mindful of your speed.
- Be sure to have sufficient room to brake in an emergency. ● Always allow more distance for braking when riding through leaves, loose gravel, or other debris, as these can affect the stopping power of your brakes. ● Always be cautious when using the front brake.
- While riding down slopes, do not use the front brake only BUT apply both brakes simultaneously. ● Always be alert for people, animals, or any obstacles that may appear in front of you while riding your bicycle. ● Always be careful when passing parked cars, whose doors might open suddenly.
- It is advisable to install warning devices to draw their attention, BUT always be ready to turn safely out of their way if needed. ● Always be careful at road and rail crossings.
- Slow down and check both ways for oncoming traffic.
- Do not ride this bicycle near precipices or on highly uneven, sandy, or sloped surfaces.
- Do not carry packages or objects on your bicycle in a way that obstructs your view of the road.
- Do not load this bicycle with more than 330 pounds (149.68 kg), including 11 pounds (5 kg) in the front basket and 110.2 pounds (50 kg) on the rear rack.
- Do not use harsh abrasives or caustic chemicals to maintain this bicycle.
- In winter and summer, it is recommended to inflate the tire to 40 psi.
- Place this bicycle in locations inaccessible to children after each use.
- Otherwise, provide constant supervision to avoid accidents.
- To prevent theft, use the provided cable lock and other appropriate tools to lock this bicycle to immovable objects between uses, especially when parking it outdoors.
PRODUCT CONFIGURATION
| Model | SCB721-B | SCB122-B | SCB122-P | SCB722-B | SCB722-P |
| Wheel Specifications (inch) | 24 | 26 | 26 | 26 | 26 |
| Adjustable Speed | 7th gear | 1th gear | 1th gear | 7th gear | 7th gear |
| Suggested Inflation Pressure (psi) | 40 | 40 | 40 | 40 | 40 |
| Total Max Capacity (lbs) | 330 | 330 | 330 | 330 | 330 |
| Rider Height Range (cm) | 135-170 | 155+ | 155+ | 155+ | 155+ |
| Front Basket Max Capacity (lbs) | 11 | 11 | 11 | 11 | 11 |
| Rear Rack Max Capacity (lbs) | 110 | 110 | 110 | 110 | 110 |
| Colour | Light Blue | Light Blue | Pink | Light Blue | Pink |
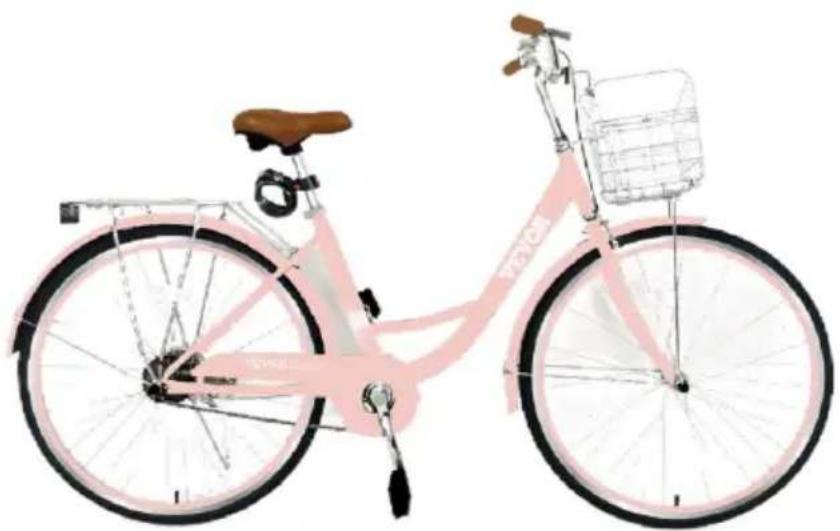
PARTS LIST
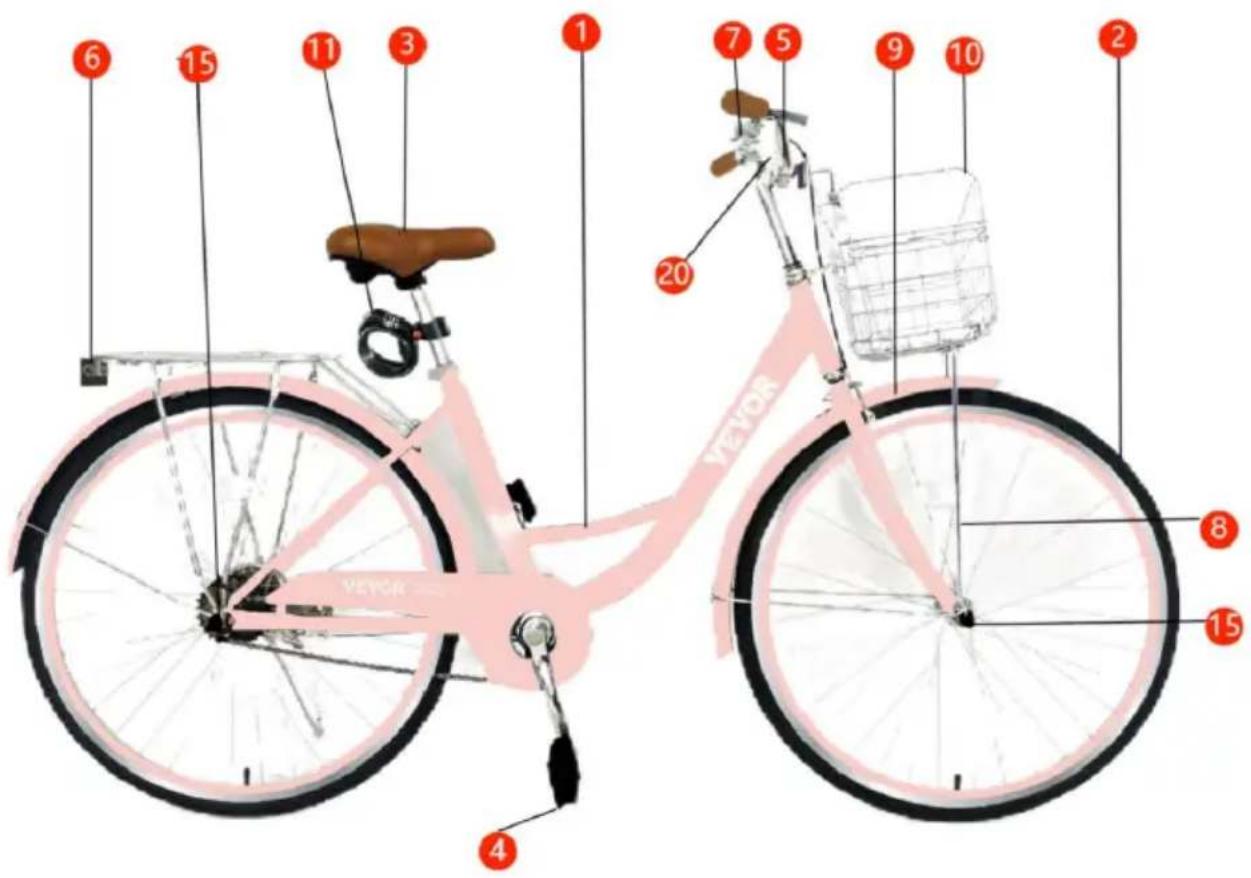
| No. | Name | Photo | Qty. | |
| 1 | Main Frame With Rear Wheel | 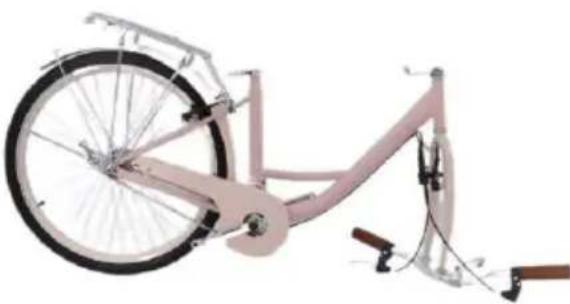 | 1 | |
| 2 | Front Wheel | 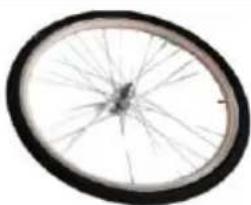 | 1 | |
| 3 | Seat And Seat Post | 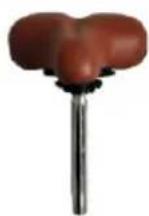 | 1 | |
| 4 | Pedals | 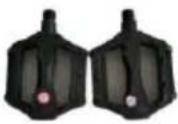 | 2 | |
| 5 | Front Reflector |  | 1 | |
| 6 | Rear Reflector With 2 Nuts | 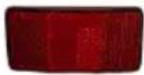 | 1 | |
| 7 | Bell |  | 1 | |
| 8 | Front Basket Support |  | 1 | |
| 9 | Front Fender With Stay |  | 1 | |
| 10 | Front Basket |  | 1 | |
| 11 | Cable Lock | 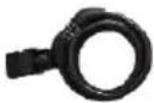 | 1 | |
| 12 | Manual |  | 1 | |
| 13 | Gloves | 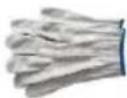 | 1 | |
| 14 | Front Basket Parts Sets | A.M5×16 Phillips Bolts |  | 4 |
| B. Installation board |  | 3 | ||
| C.M5 nuts |  | 2 | ||
| 15 | Wheel Caps |  | 4 | |
| 16 | 5 mm Hex Wrench |  | 1 | |
| 17 | 6 mm Hex Wrench |  | 1 | |
| 18 | 8×10 mm Wrench | 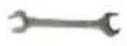 | 1 | |
| 19 | 13×15 mm Wrench | 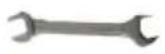 | 1 | |
| 20 | Phillips Screwdriver |  | 1 | |
| 21 | Decorative Cover |  | 1 | |
INSTALLATION INSTRUCTIONS
Adjustment: Brake cable tensions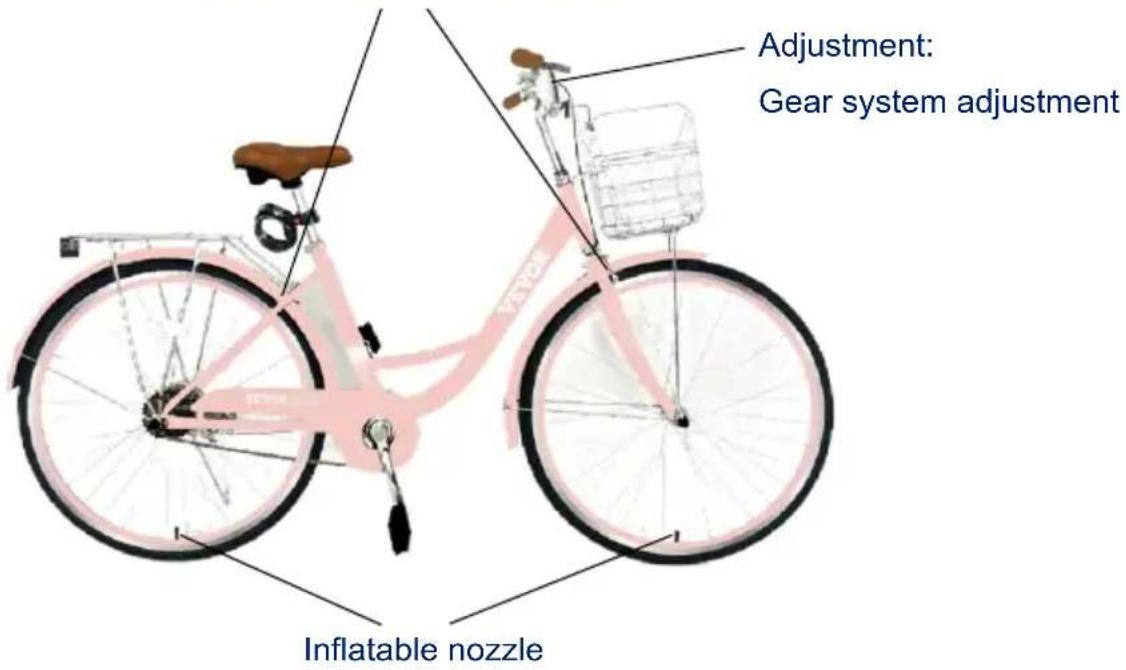
Step 1: Handlebar Installation
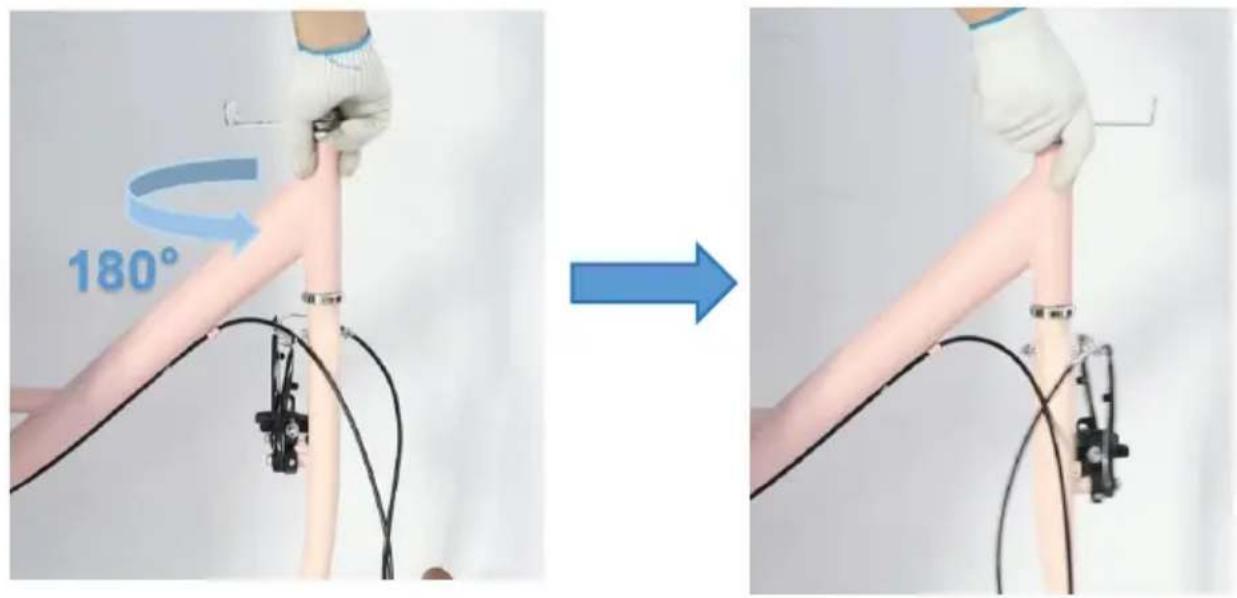
a. Please turn the front fork 180° clockwise before assembling the stem.
b. Then use the 6 mm hex wrench (17) to install the stem as shown in the following pictures.
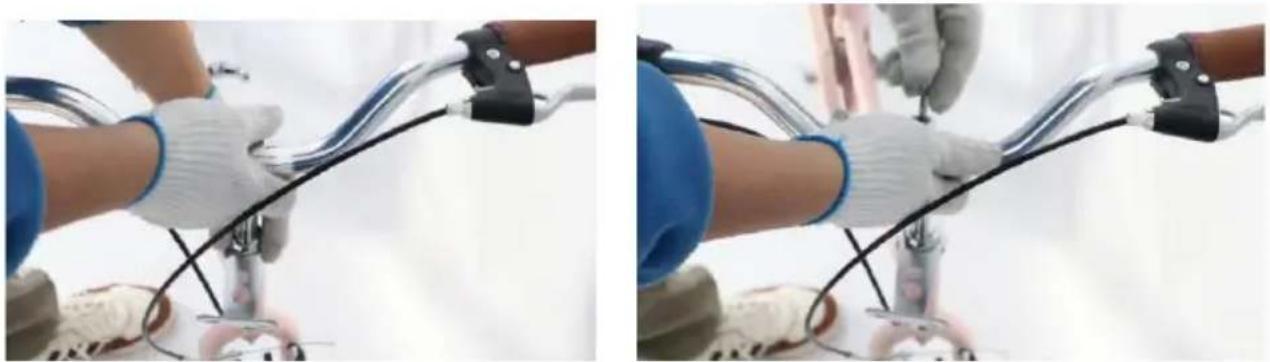
c. Press the decorative cover (21) onto the bolt to shield it.
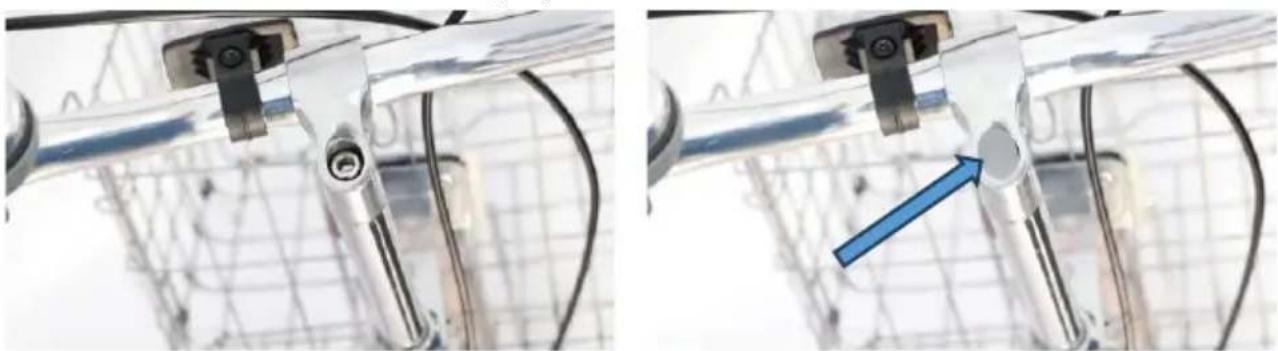
Step 2: Front Fender Installation
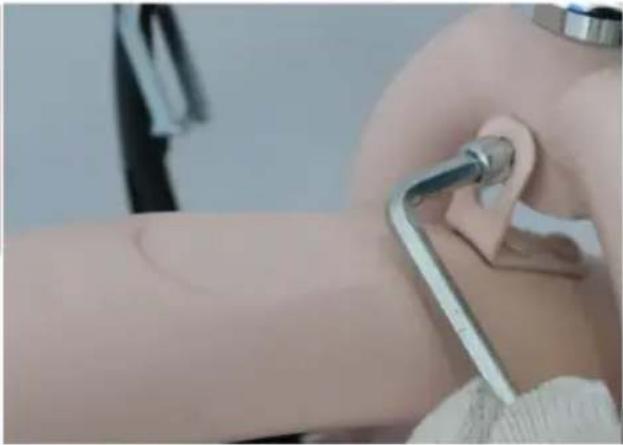
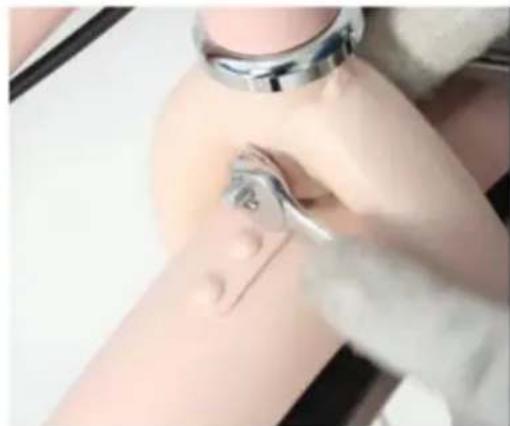
a. Before putting the front fender on the fork, please loosen the screw on the front fork with an 8-10 mm wrench (18) and a 5 mm hex wrench (16).
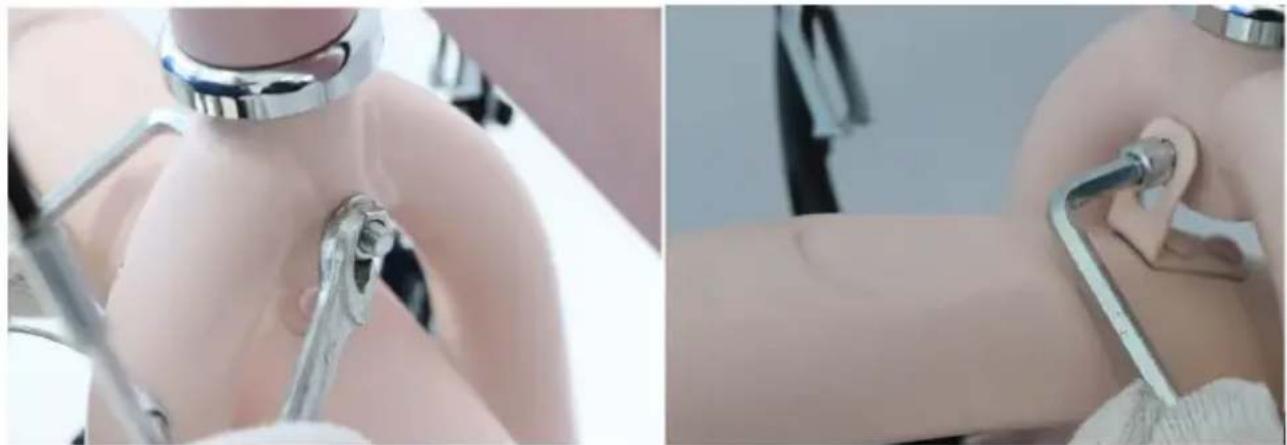
b. Tighten the hex bolt and nut using the tools mentioned in Step a.
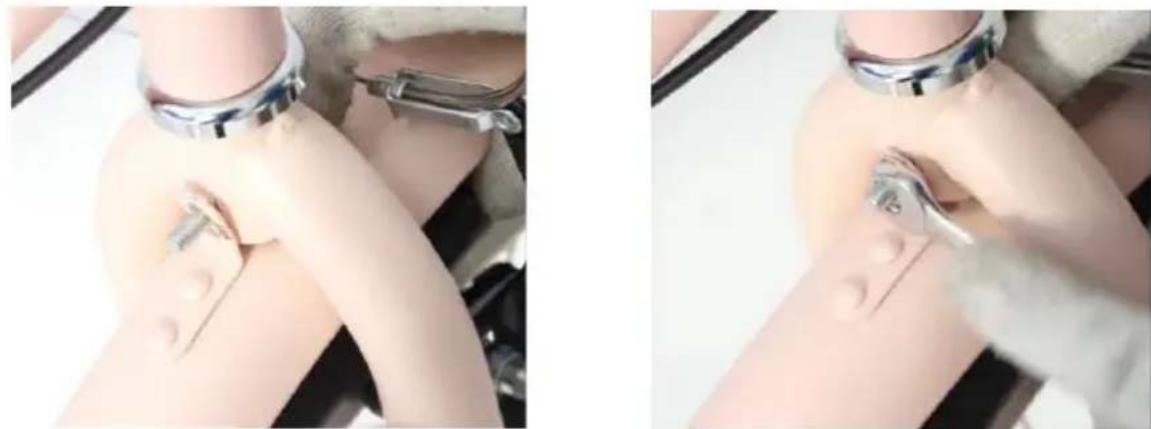
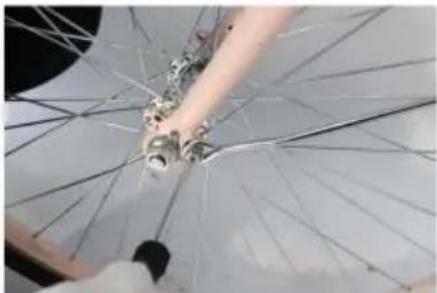
Step 3: Front Wheel Installation
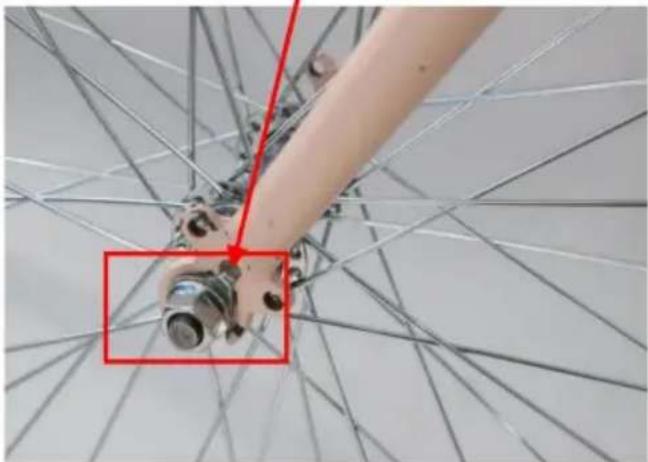
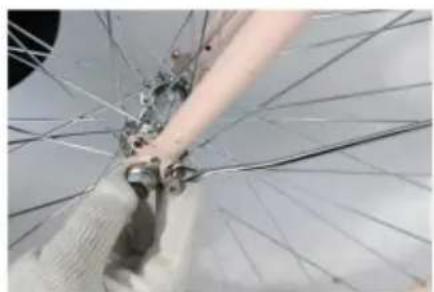
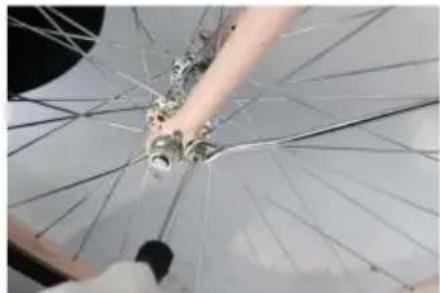
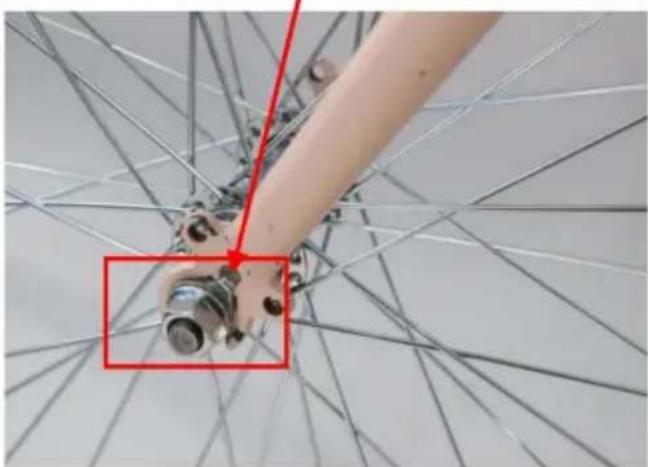
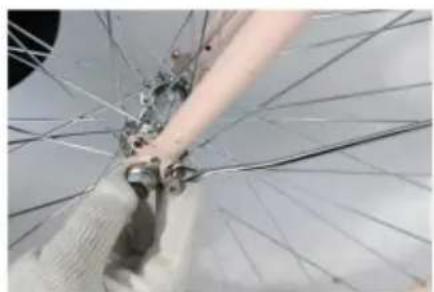
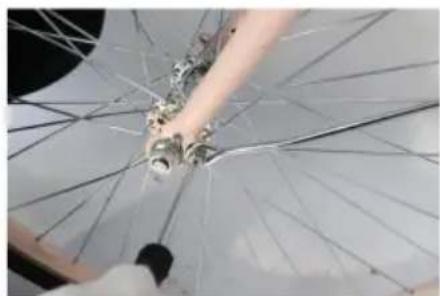
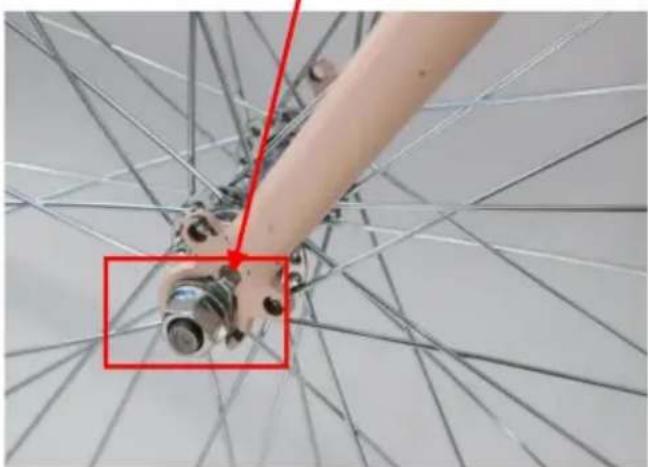
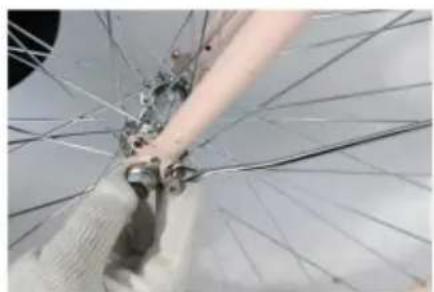
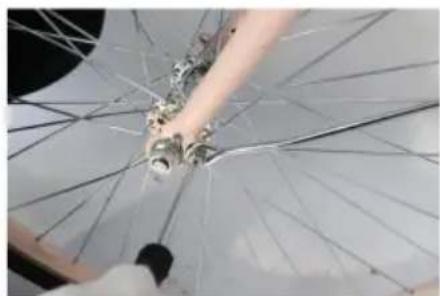
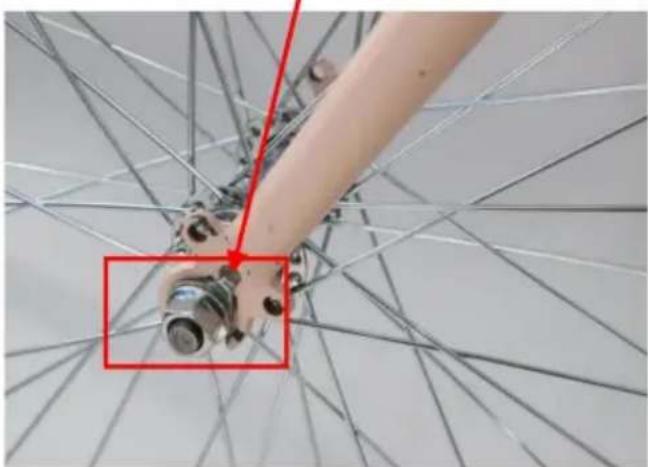
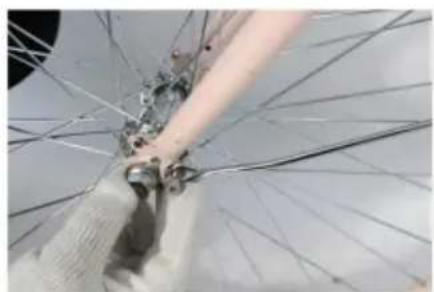
a. Please use a 13-15 mm wrench (19) to loosen the screw of the front hub and remove the fork protector.
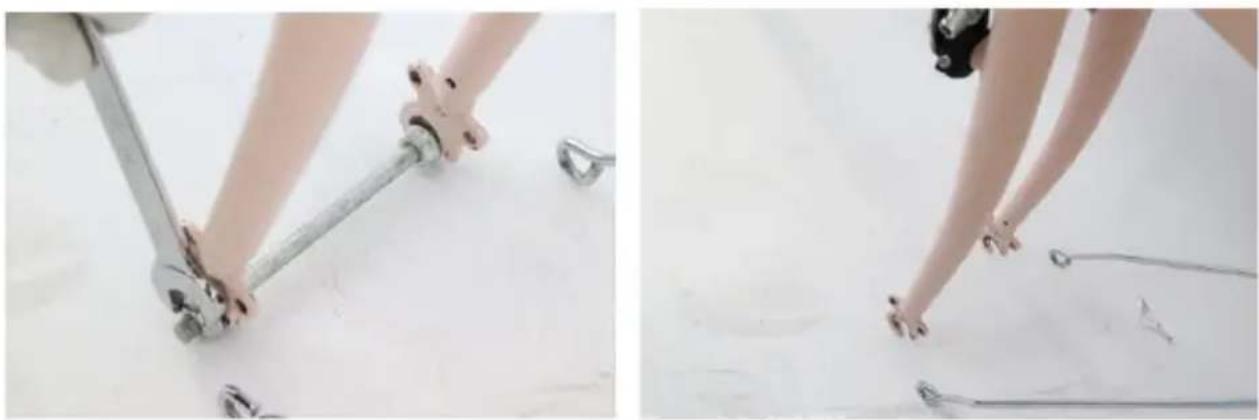
b. Please use a 13-15 mm wrench (19) to install the front wheel (2). Then test if the front wheel is fixed tightly.
(Note: The front wheels are oriented forward.)
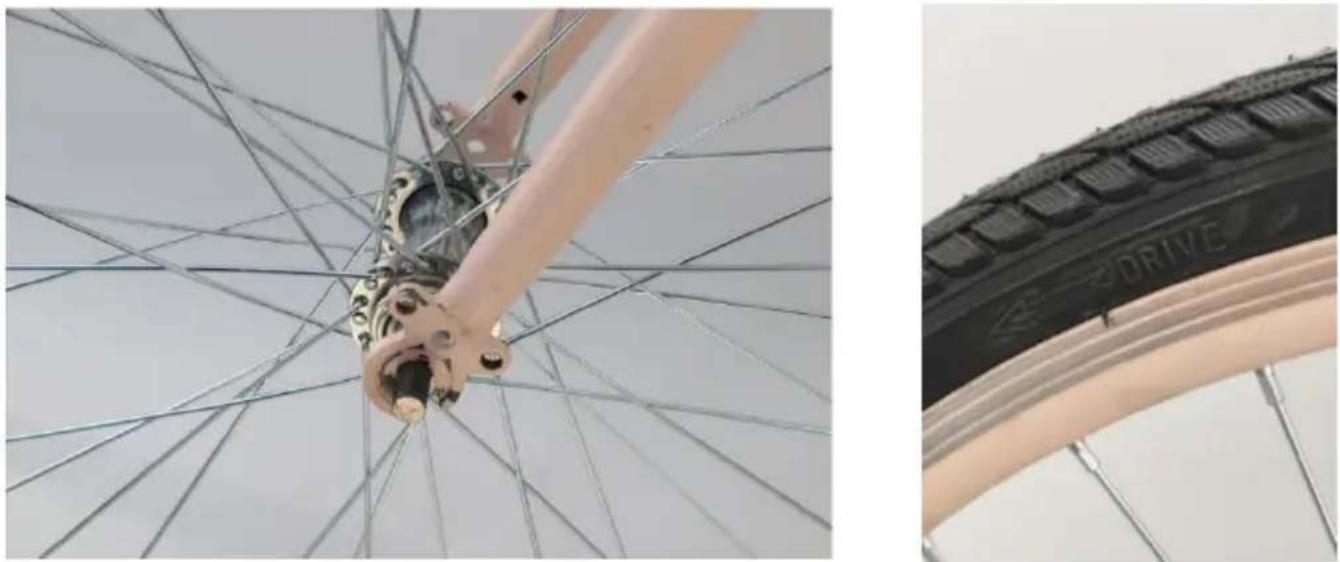
Note: Pay attention to insert this hole.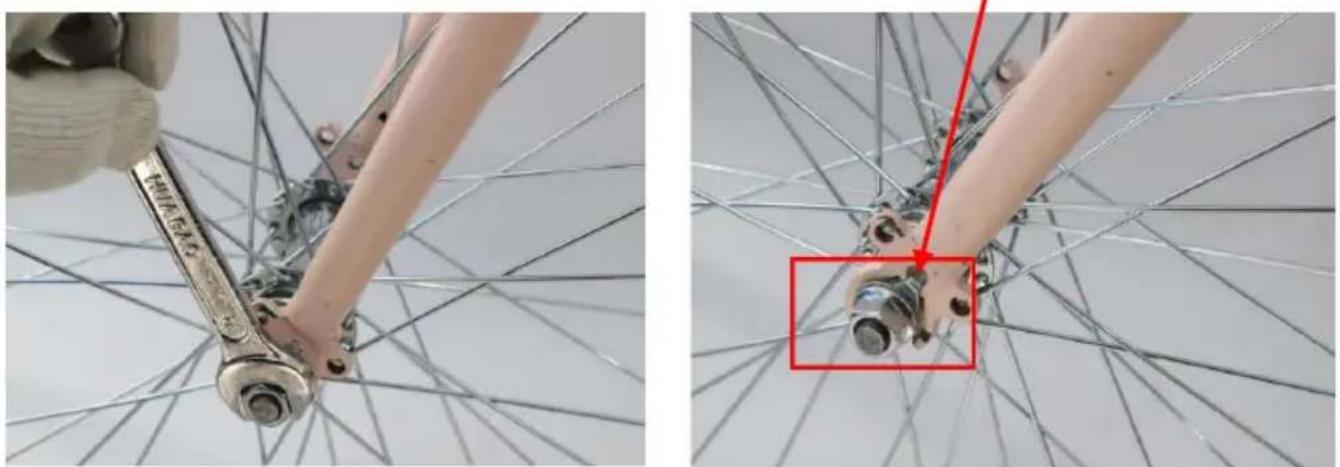
c. Locate the front fender stay (9) and the hole. d. Align either slot on the stay with the bolt hole at the same side. e. Use the screwdriver (20) to tighten a Phillips bolt.
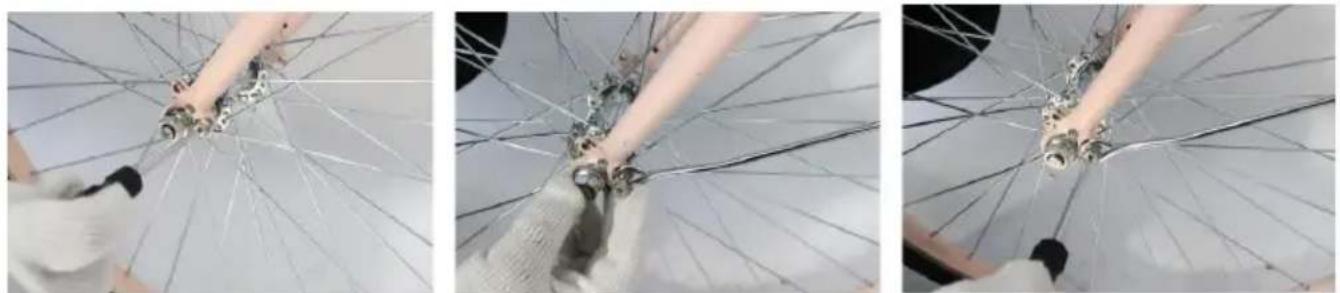
Step 4: Pedal Installation
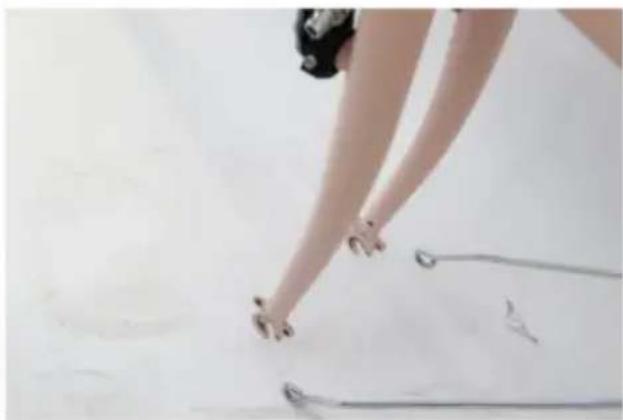
Find the 13-15 mm wrench (19) to install the pedals (4) on the left and right sides. L represents the left side, R represents the right side. Follow the corresponding crank to tighten the pedals with the wrench.
(Note: Twist the right pedal clockwise and the left pedal counterclockwise.)
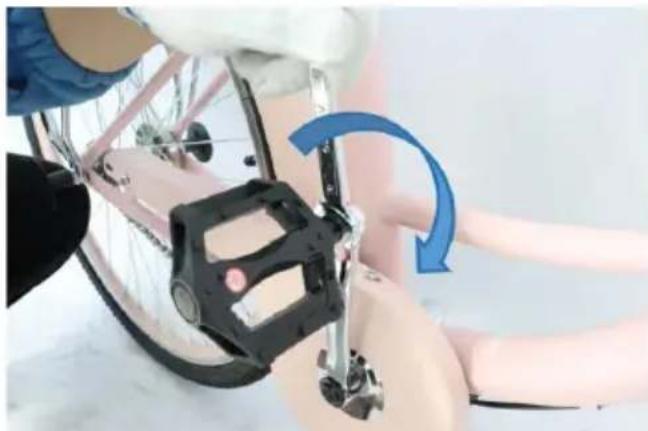
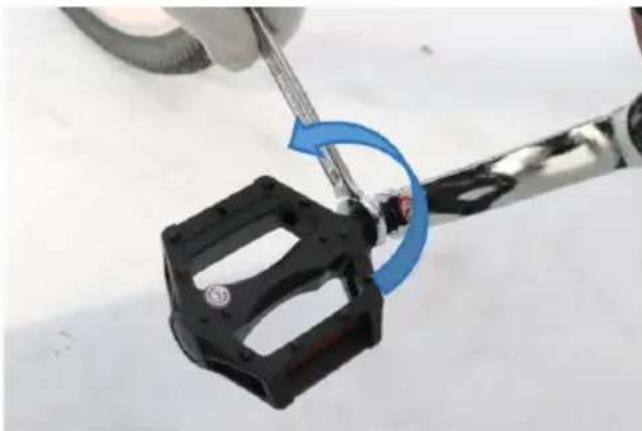
Note: The two pedals are different and should not be mixed up. The right pedal is marked with an R and the left with an L.
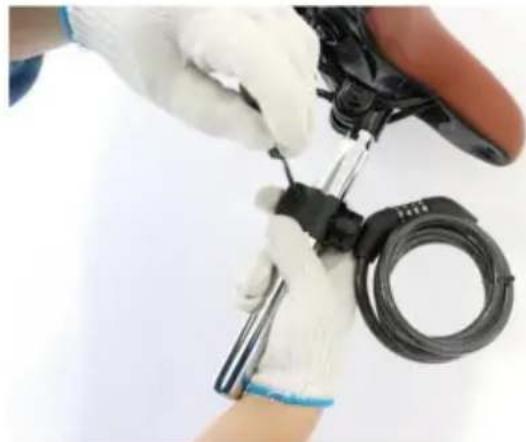
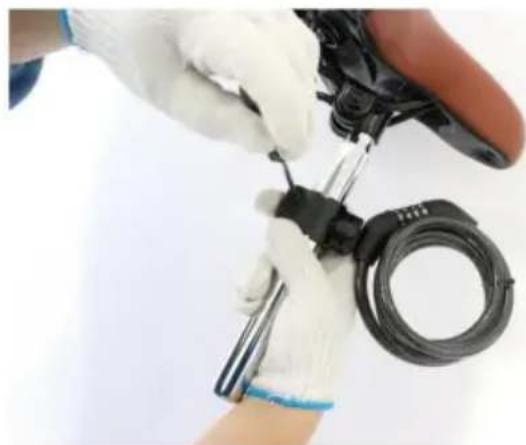
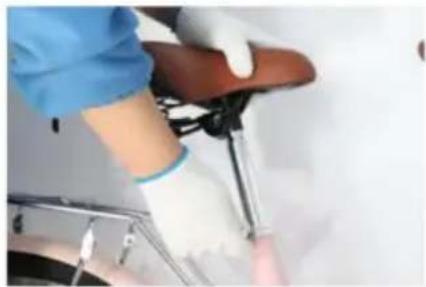
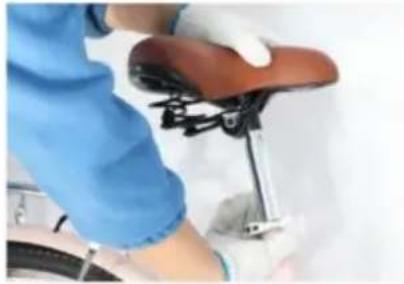
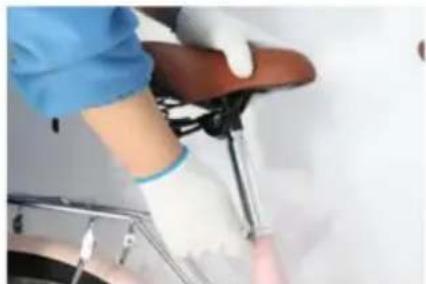
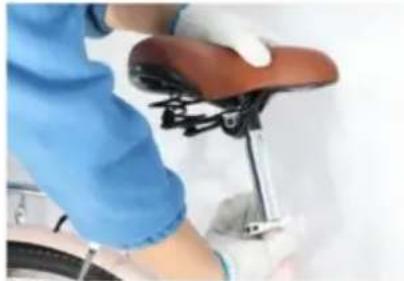
Step 5: Cable Lock and Saddle Installation
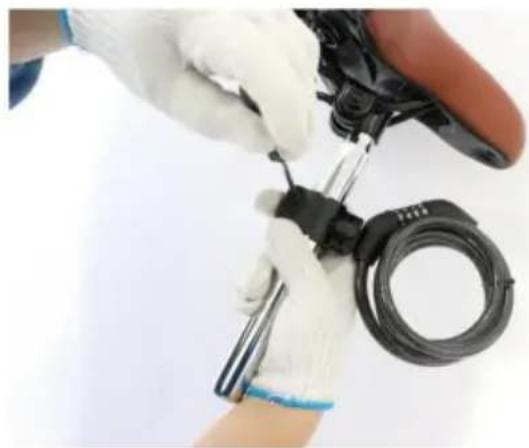
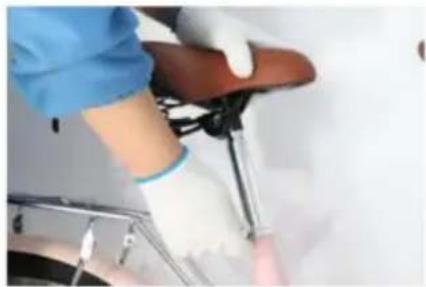
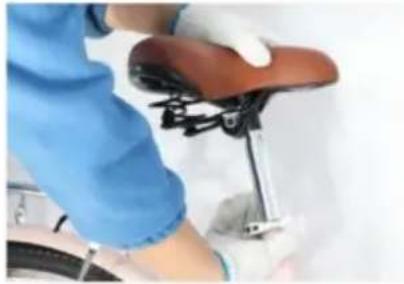
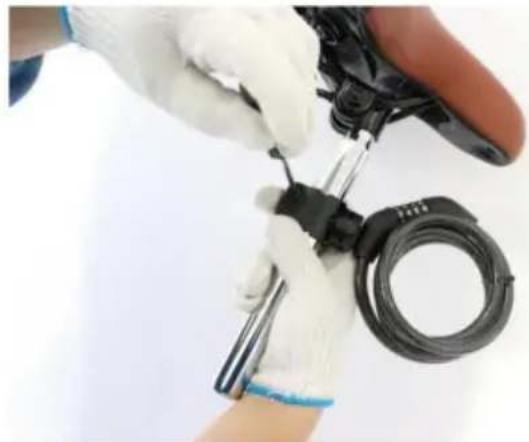
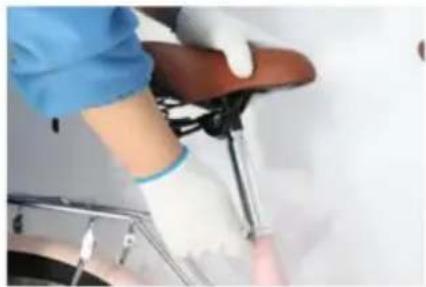
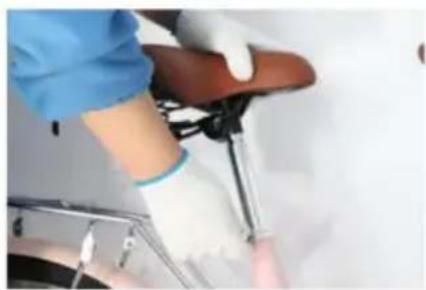
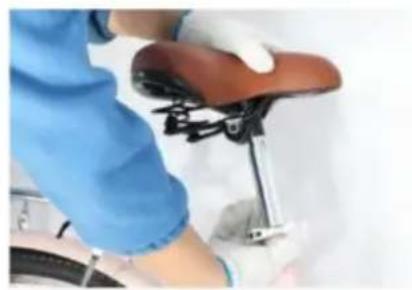
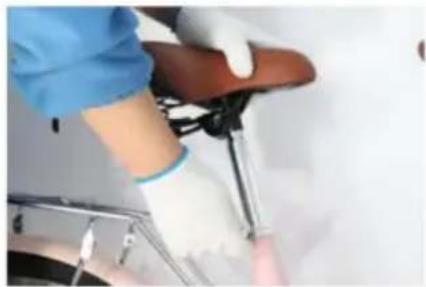
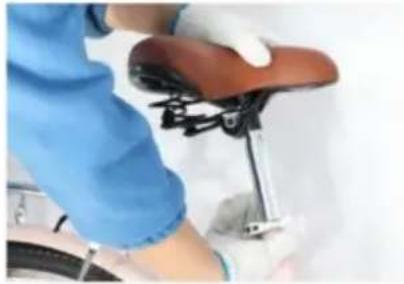
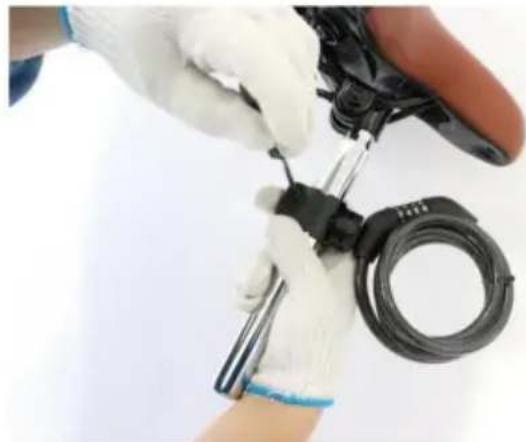
a. Wrap the clamp around the saddle post. b. Use the screwdriver (20) to tighten a Phillips bolt.
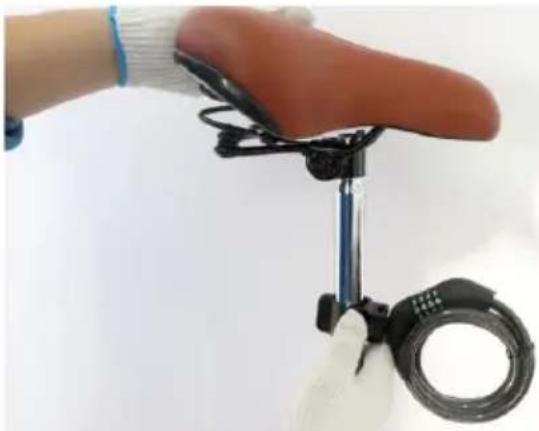
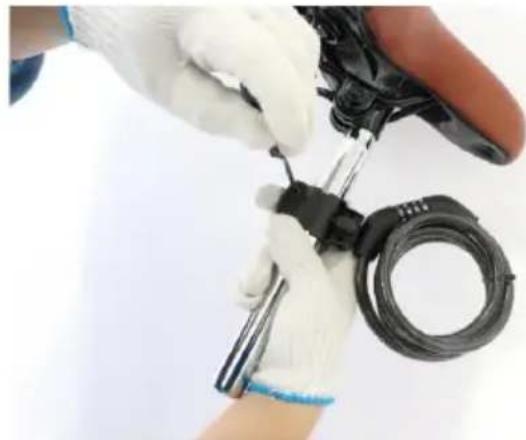
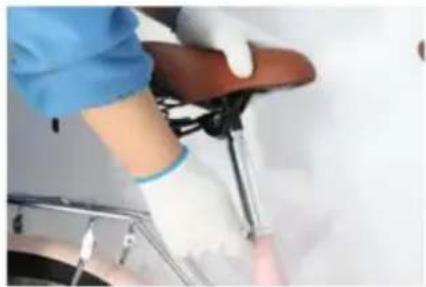
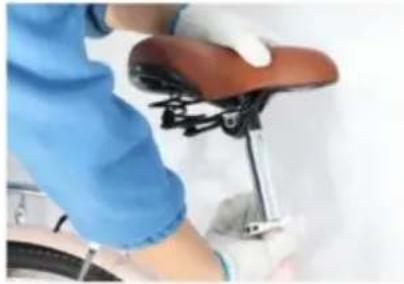
c. Release the locking lever on the seat tube. d. Insert the seat post into the seat tube, adjusting it to your preferred height. e. Spin the lever to lock the seat post in place.
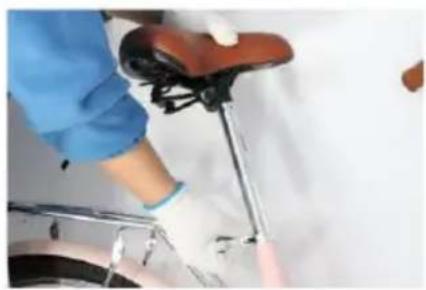
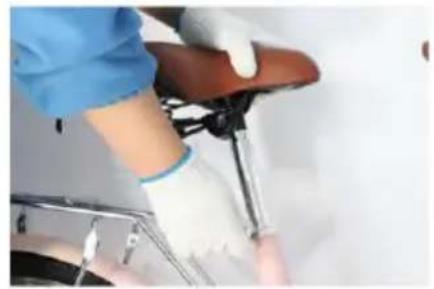
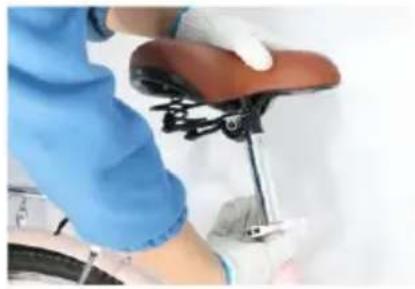
Note: It is recommended to sit on the seat after the seat quick-release lever is locked to confirm whether there is any looseness and shaking.
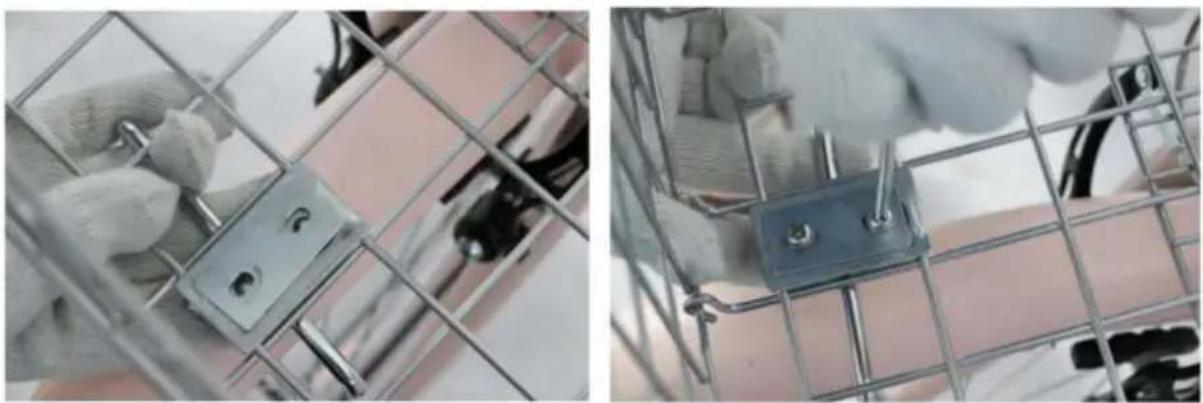
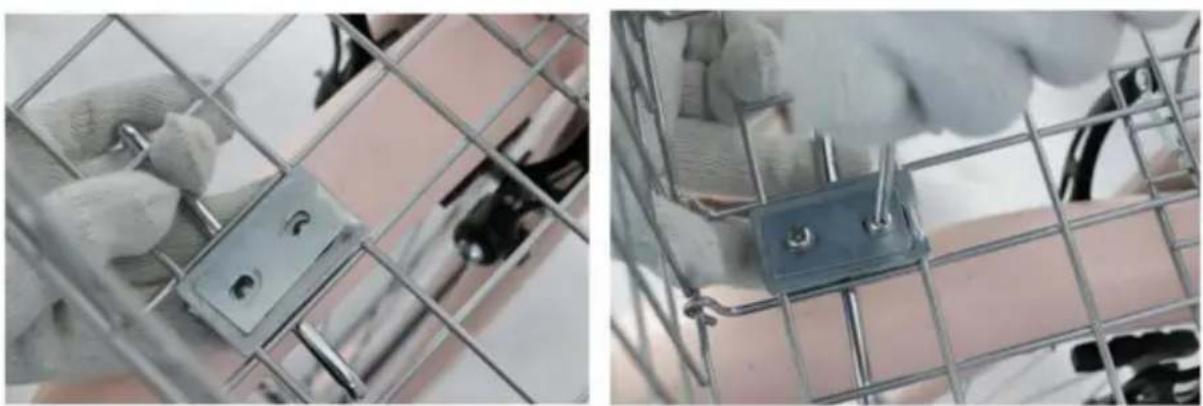
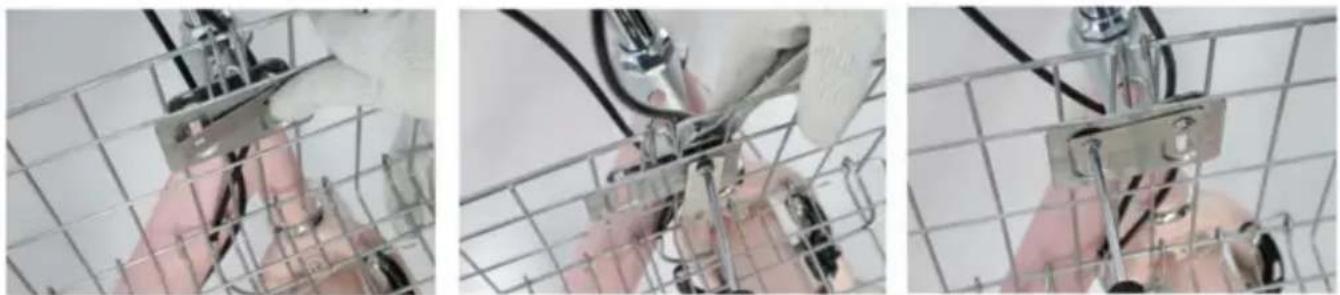
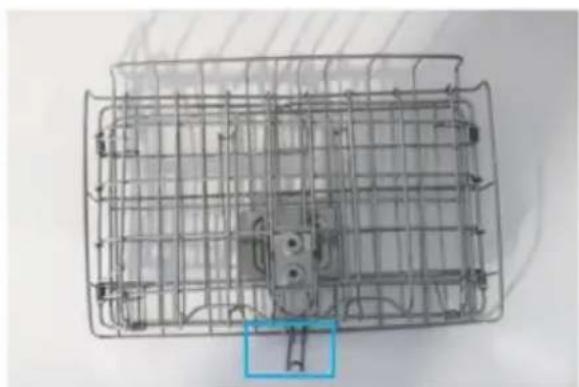
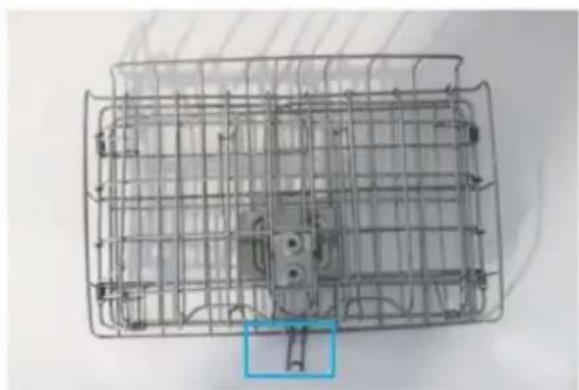
Step 6: Front Basket Installation
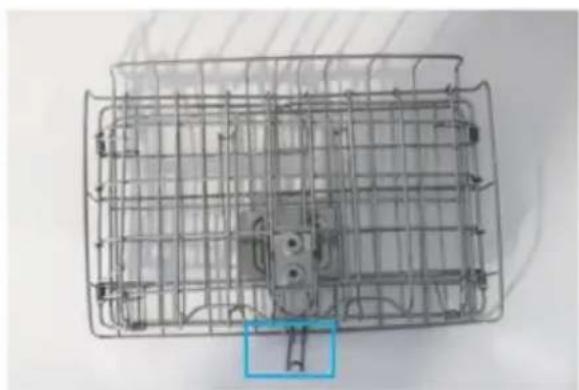
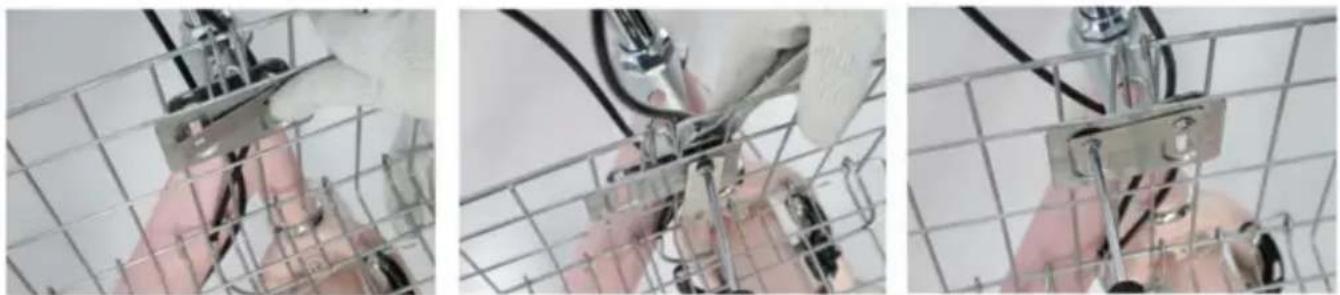
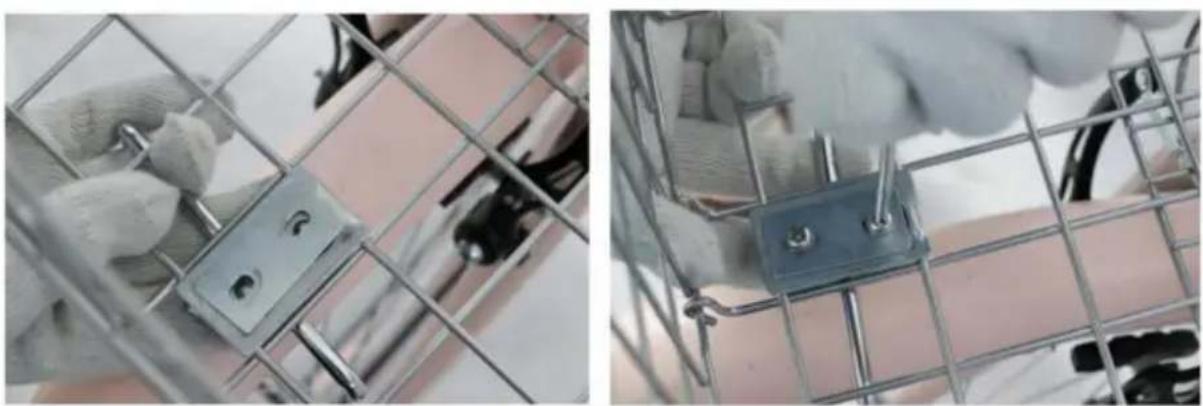
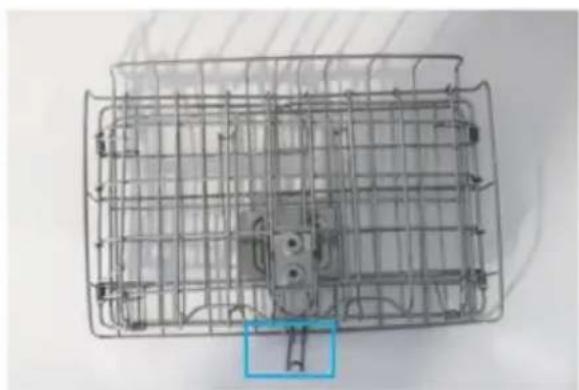
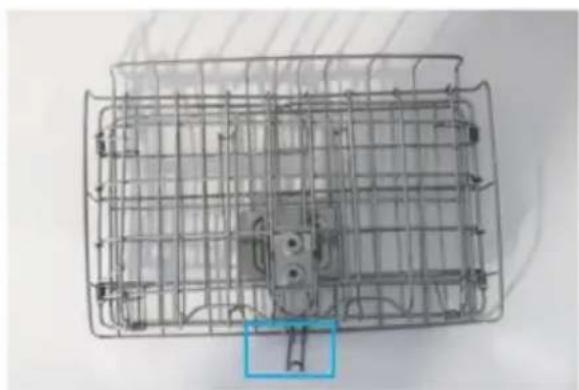
a. Mount the front basket support (8) onto the front wheel axle using its slots and tighten using 8-10mm wrench (18).
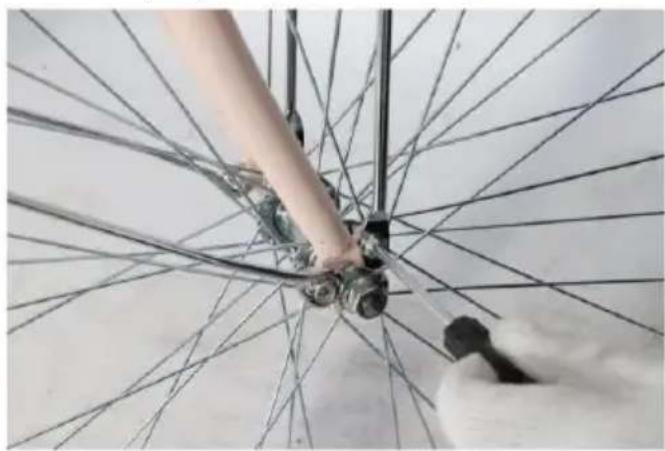
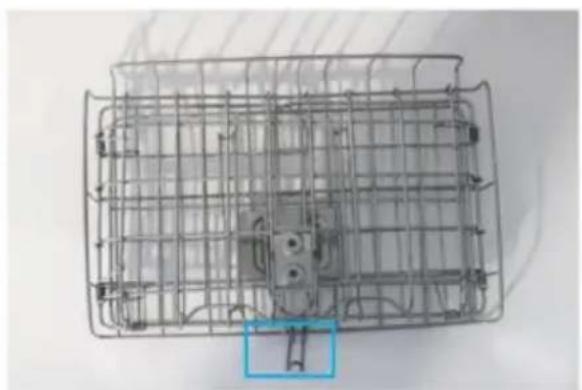
b. Unfold the basket (10) then put it on the position above the front basket support (8).
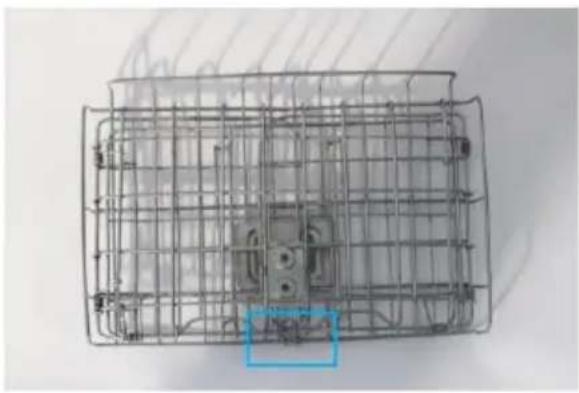

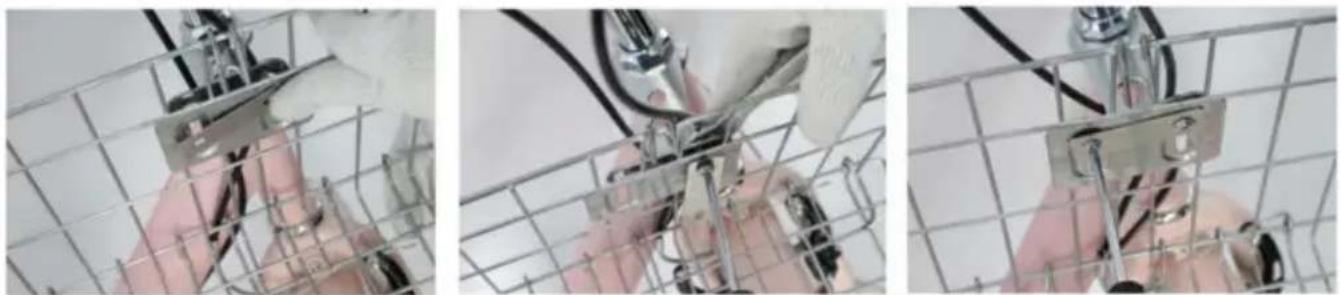
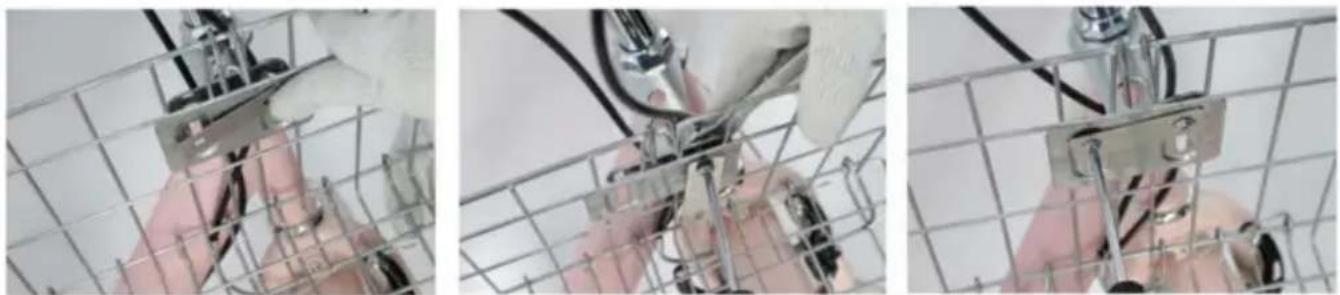
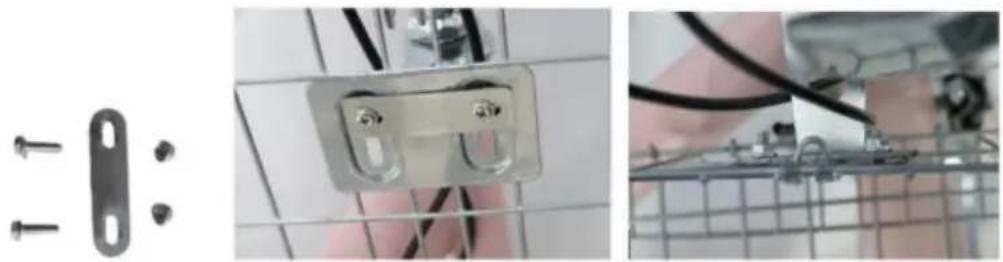
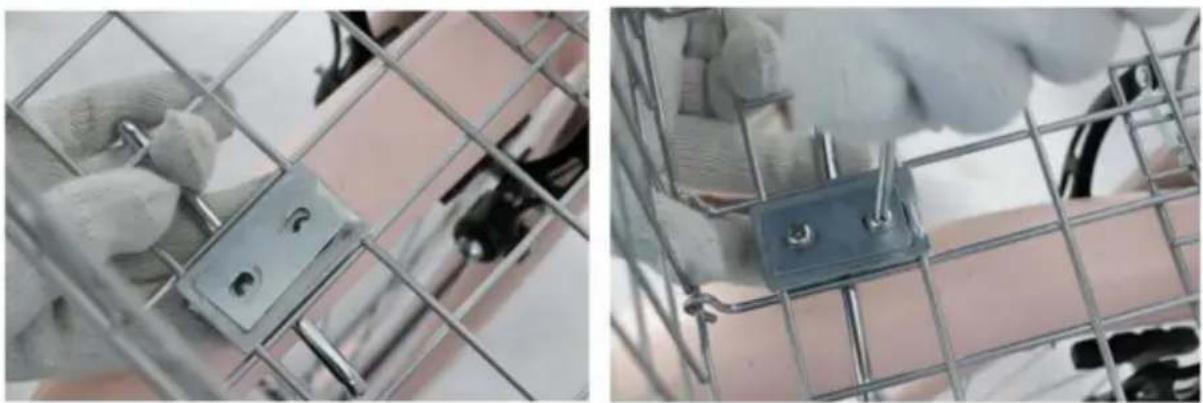
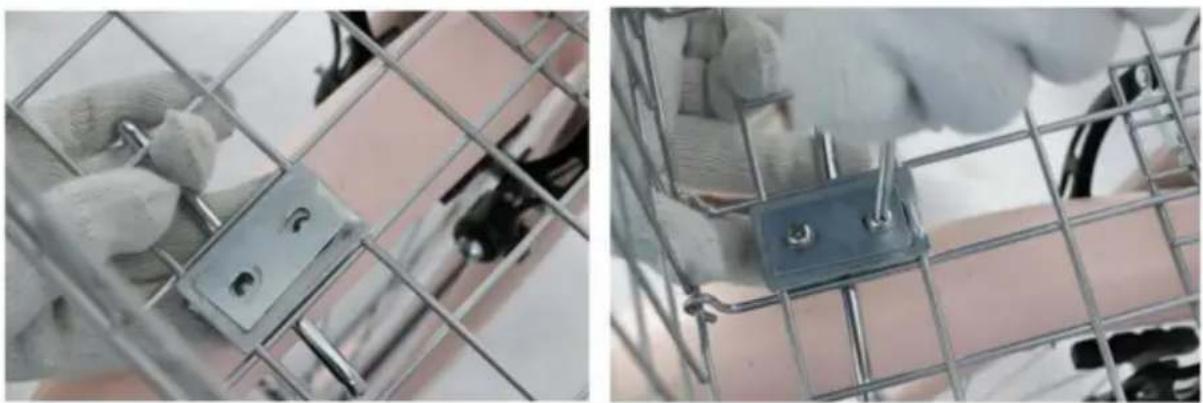
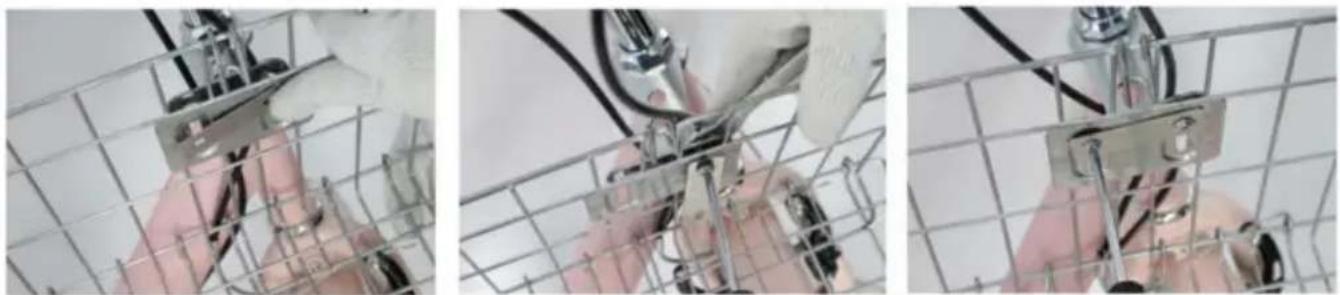
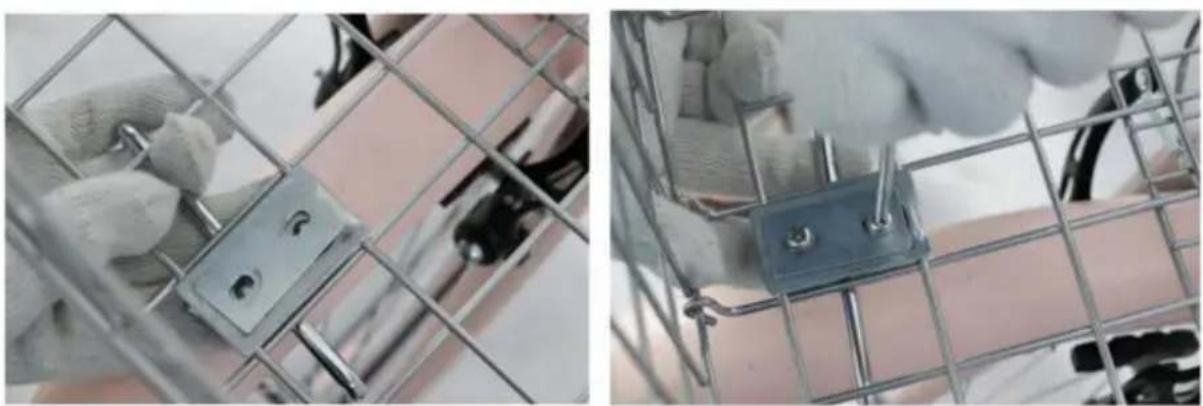
c. Install the front basket on the pre-assembled bracket by using M5x16 Phillips Bolts (14A), over plate (14B), M5 nuts (14C).
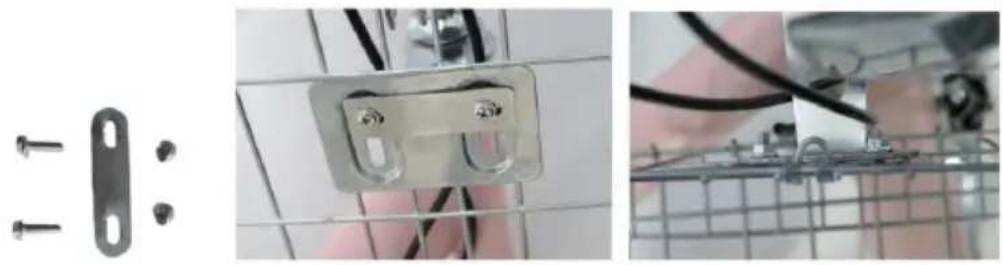
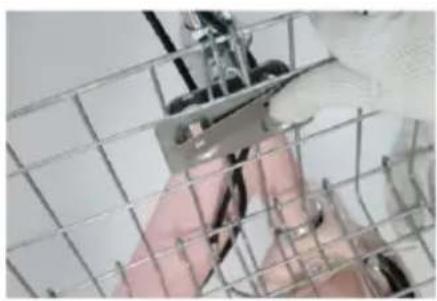
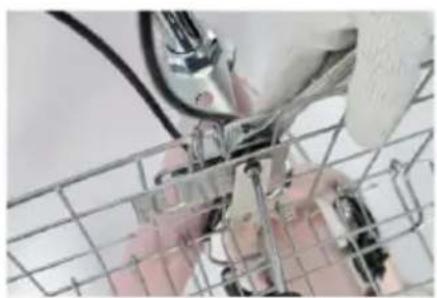
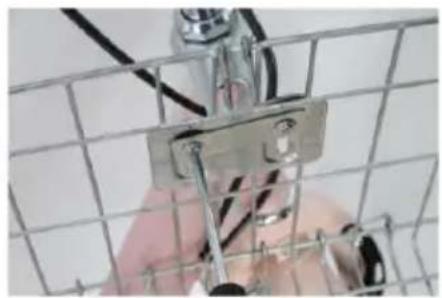
d. Check that the bottom and installation board are well aligned with each other. e. Join the two M5×16 Phillips bolts (14A). Tighten these bolts using the provided screwdriver (20).
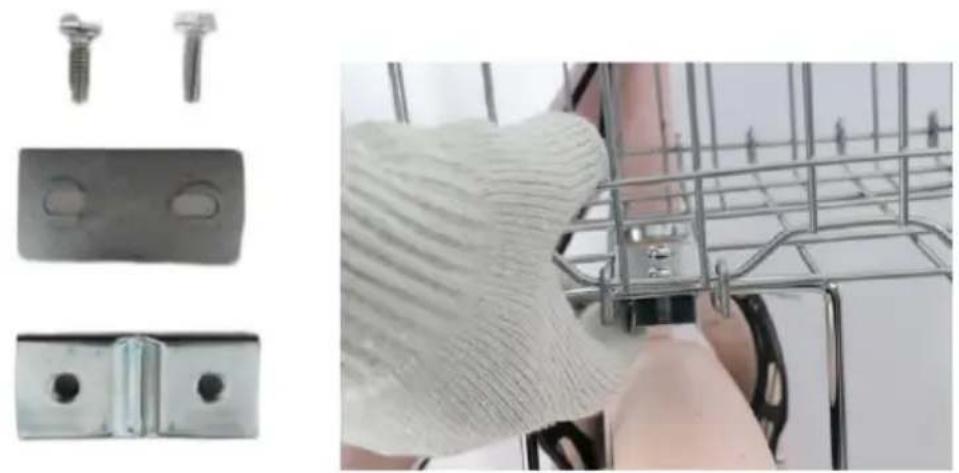
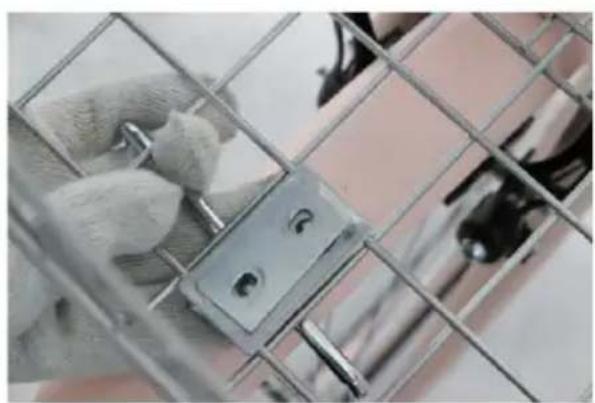
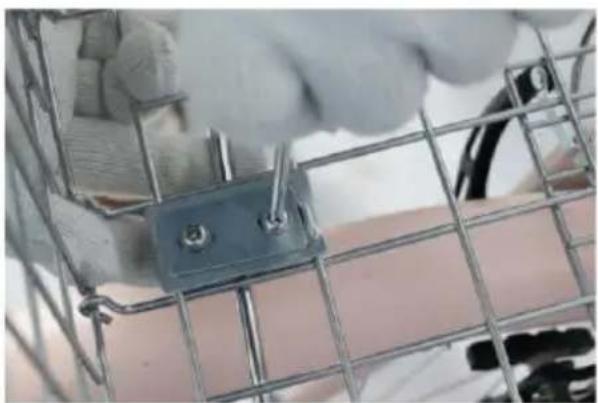
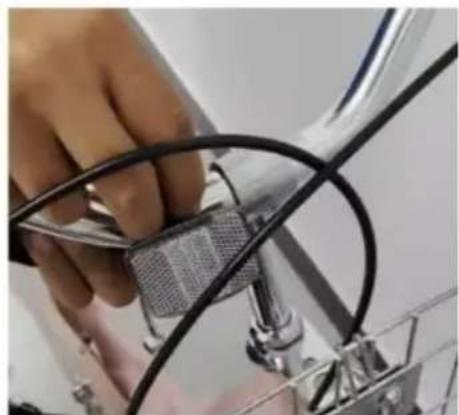
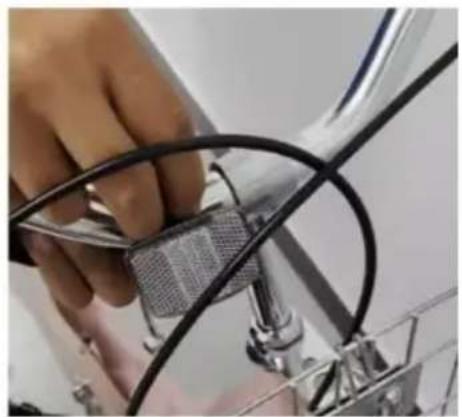
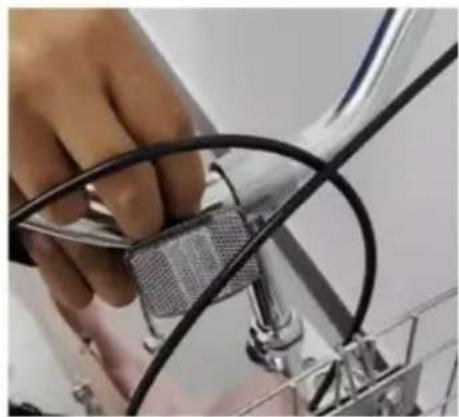
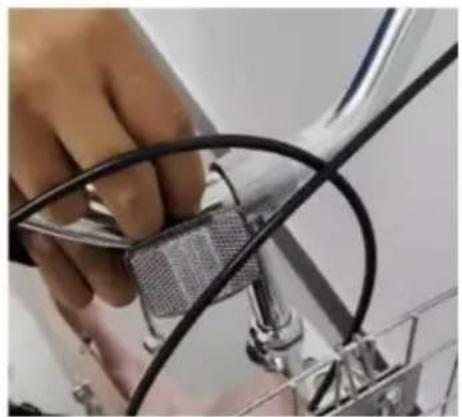
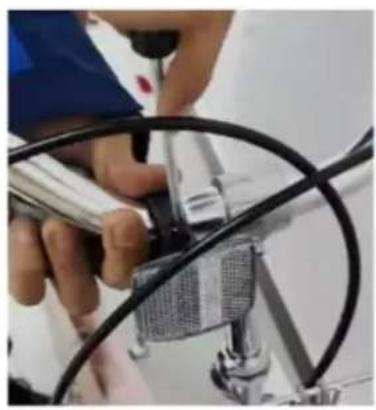
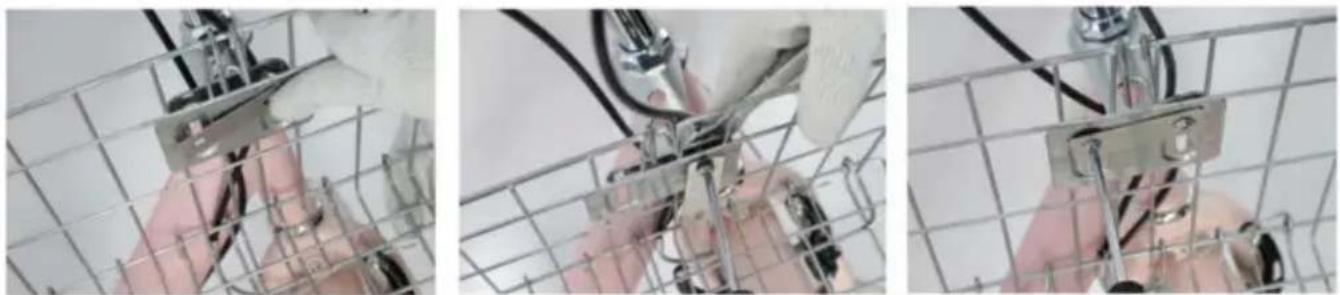
Step 7: Front Reflector Installation
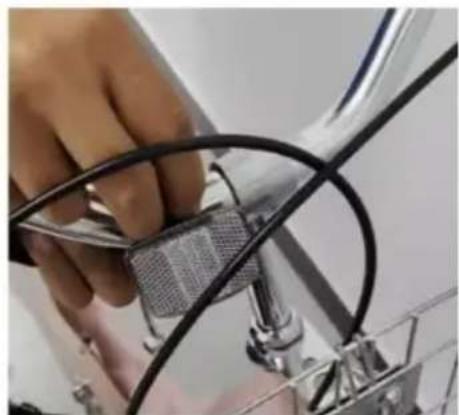
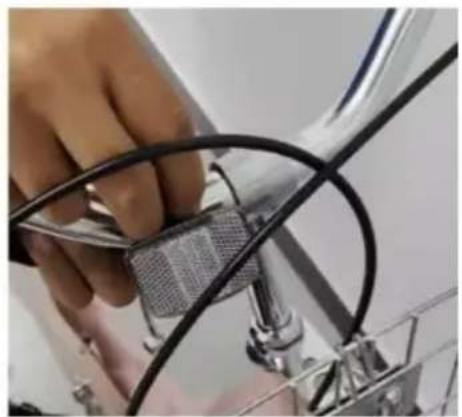
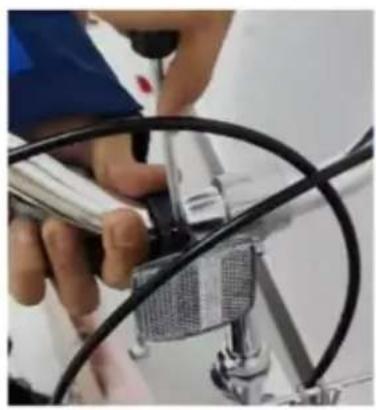
a. Unscrew the bolt using the provided screwdriver (20). b. Attach the reflector to the handlebars using its clamp.
c. Replace and tighten the Phillips bolt to secure the reflector into place.
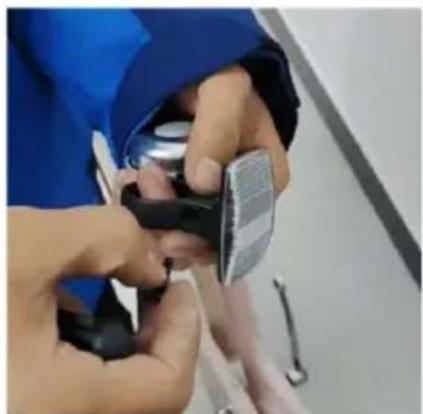
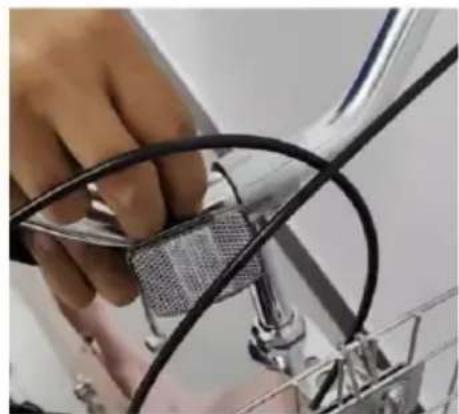
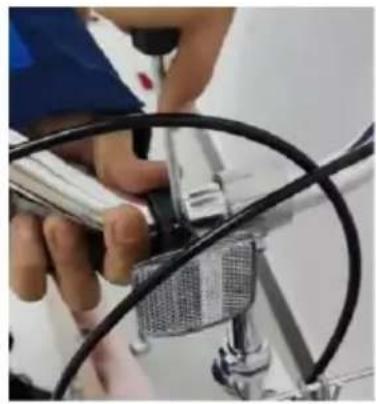
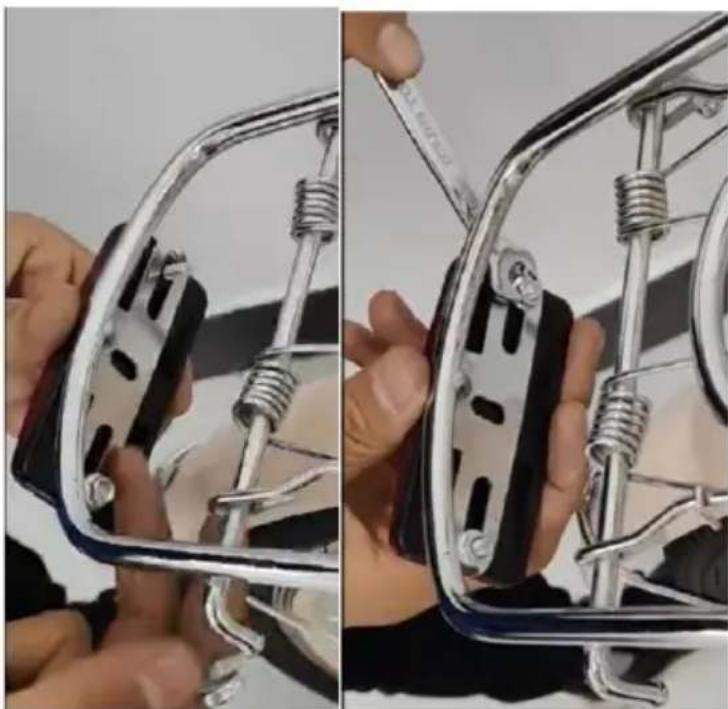
Step 8: Rear Reflector Installation
Use 13×15 mm Wrench (19) to tighten bolt.
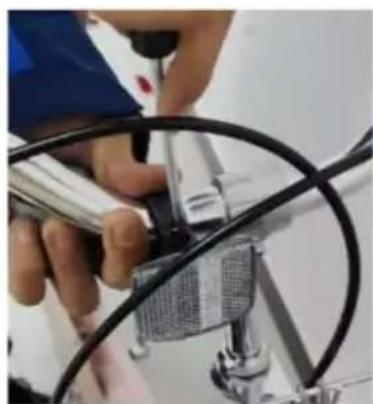
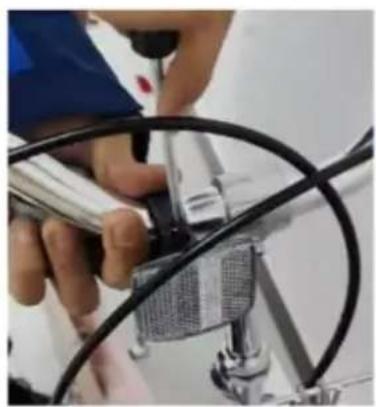
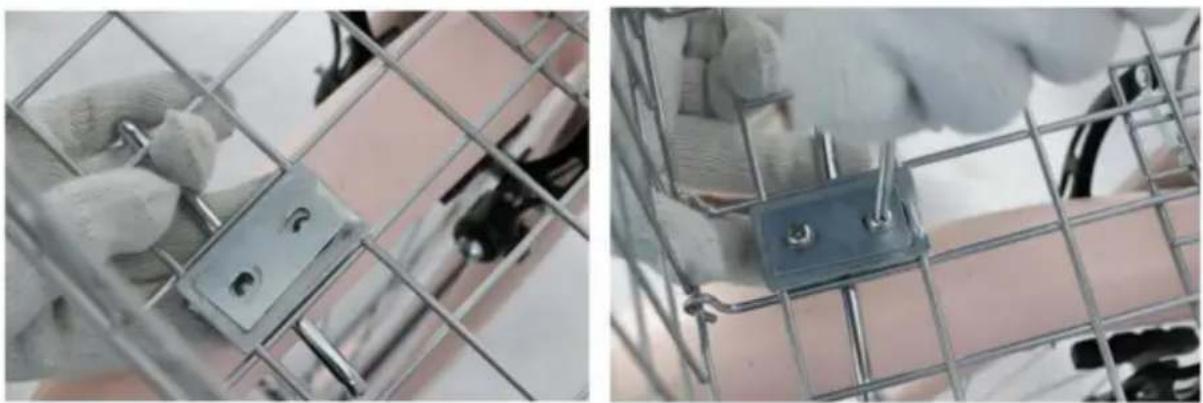
Step 9: Bell Installation
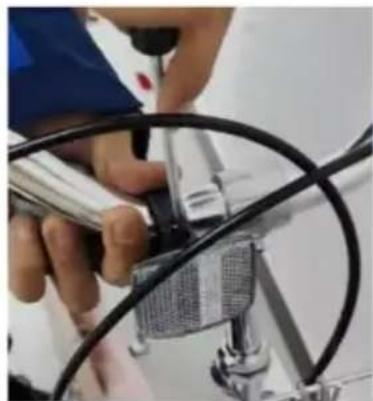
a. Unscrew the bolt using the provided screwdriver (20). b. Attach the bell (7) to a convenient position on the handlebars using its clamp. c. Replace and tighten the Philips bolt to secure the bell into place.
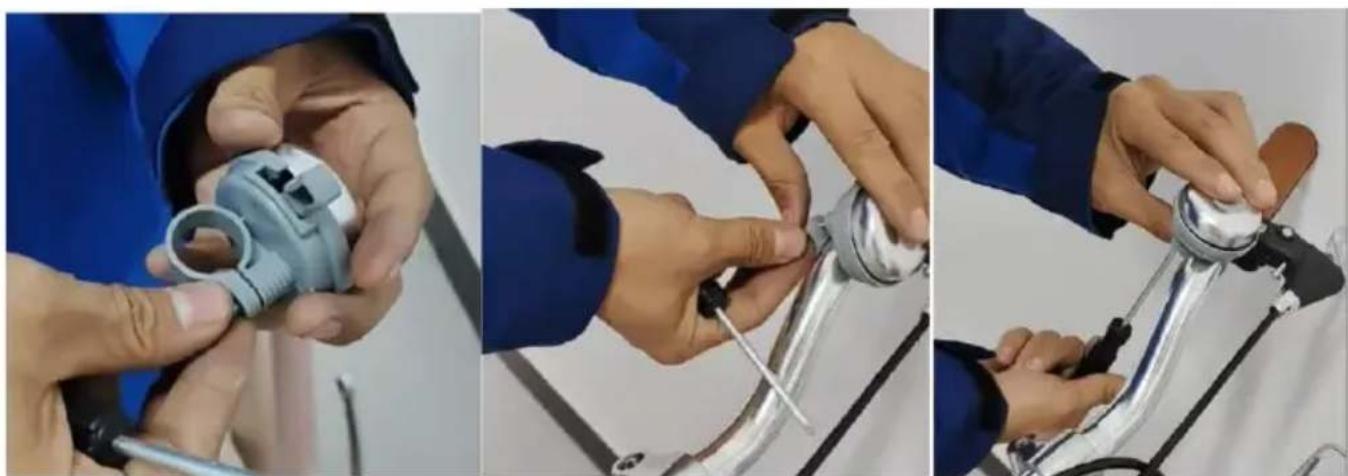
Step 10: Wheel Caps Installation
a. Remove the protective cover from the side of the rear wheel axle.
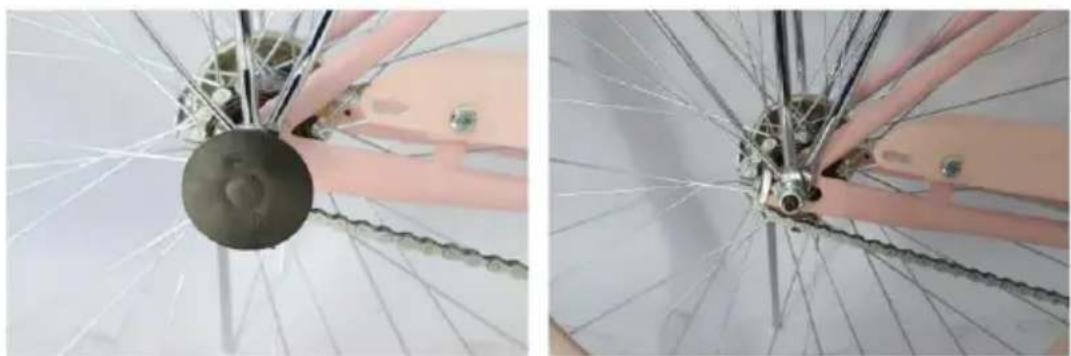
b. Push a wheel cap (15) onto the axle's nut. (Install a wheel cap on the front wheel hub at the left side in the same fashion. Repeat these steps for the wheel hubs at the right side.)
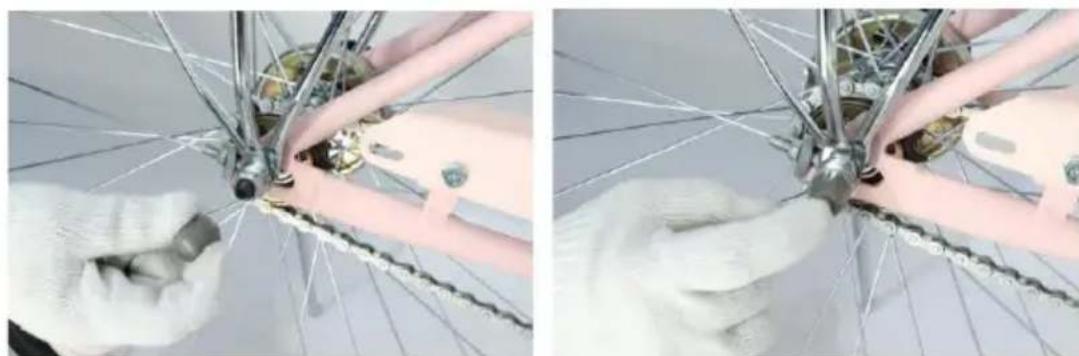
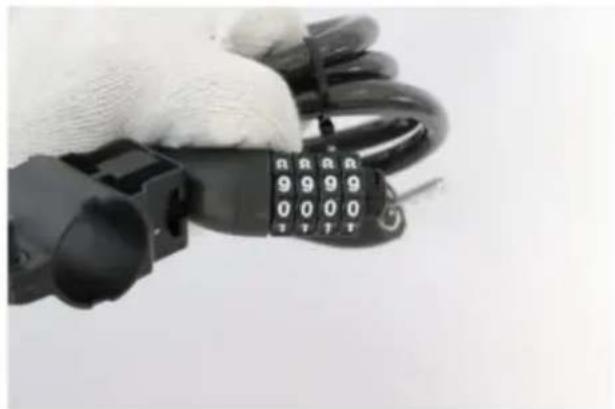
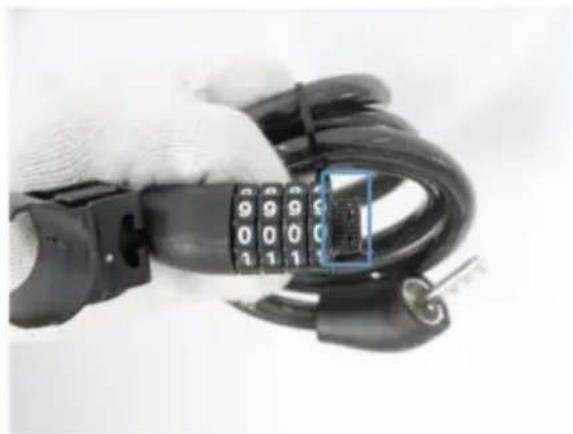
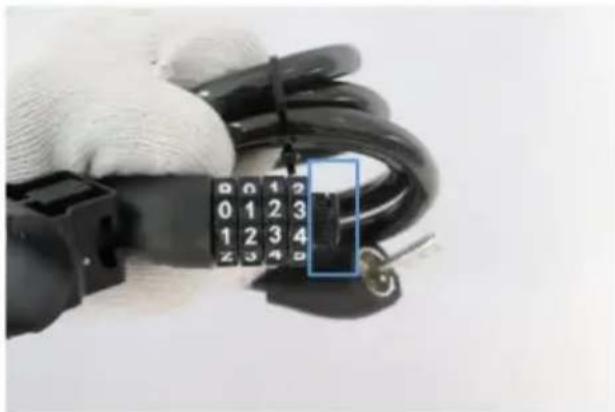
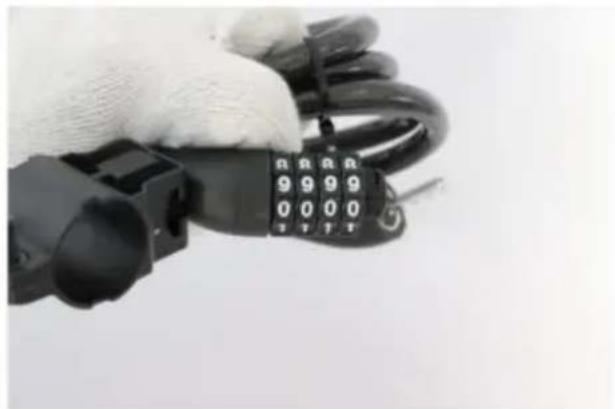
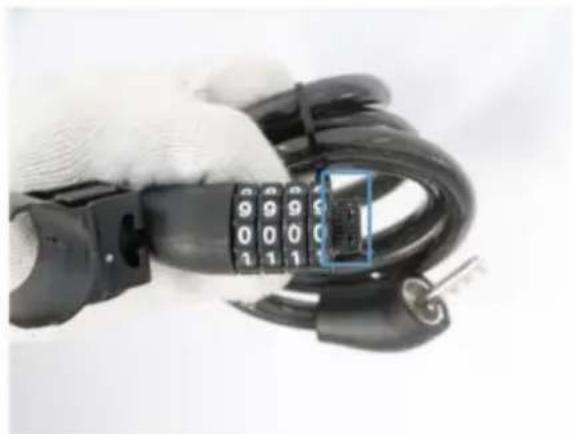
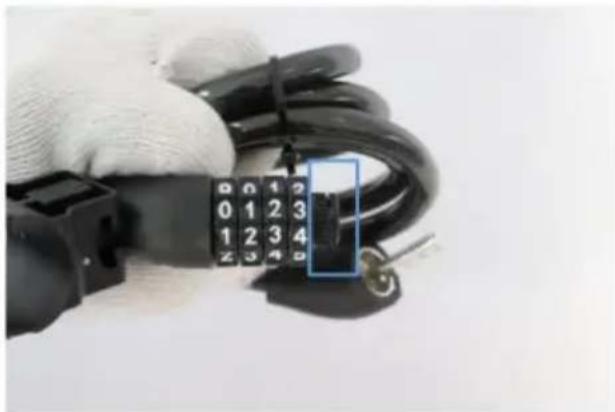
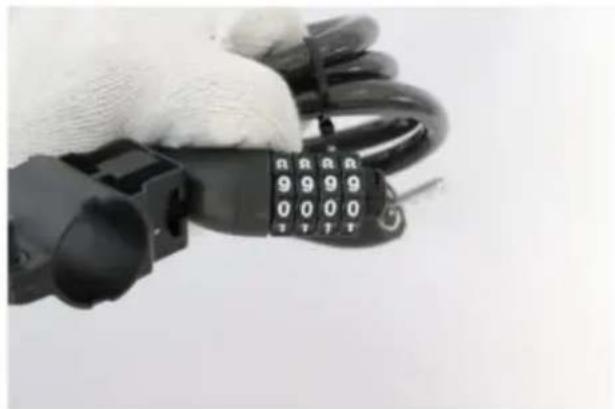
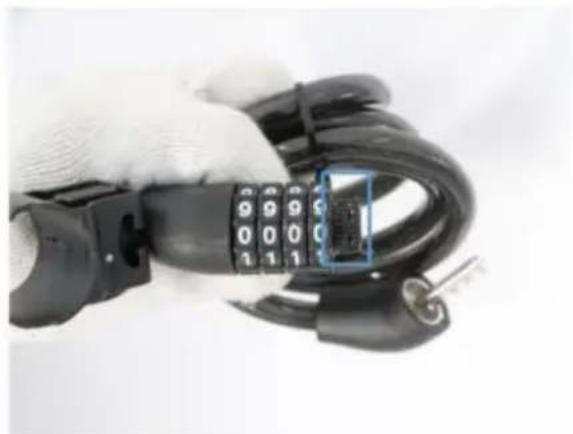
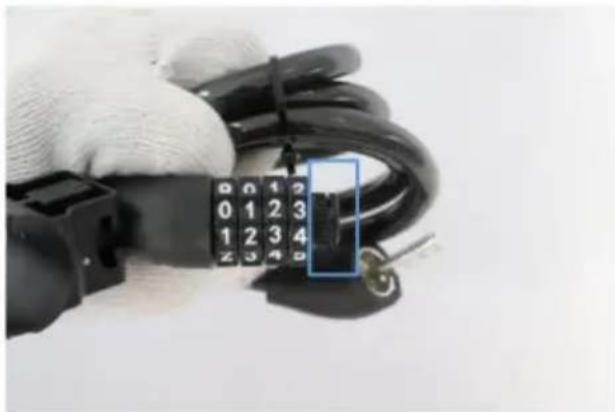
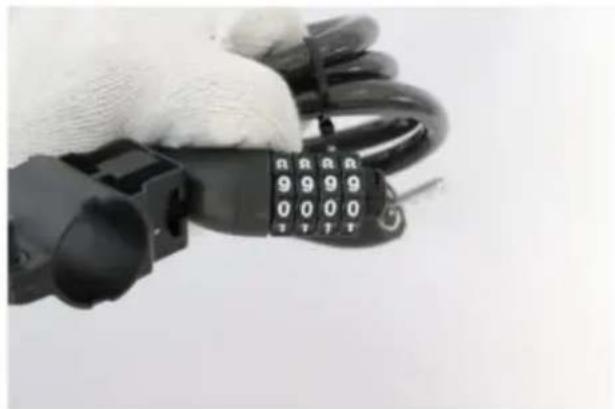
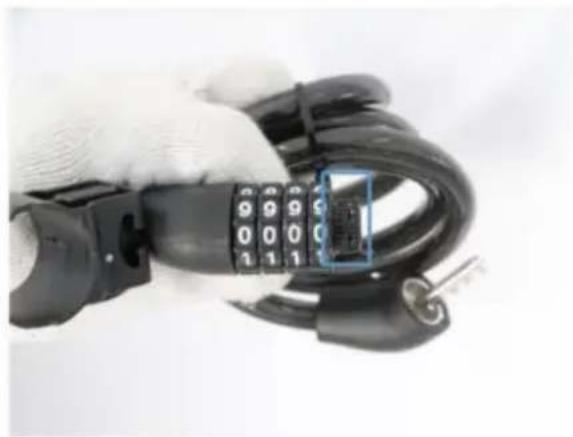
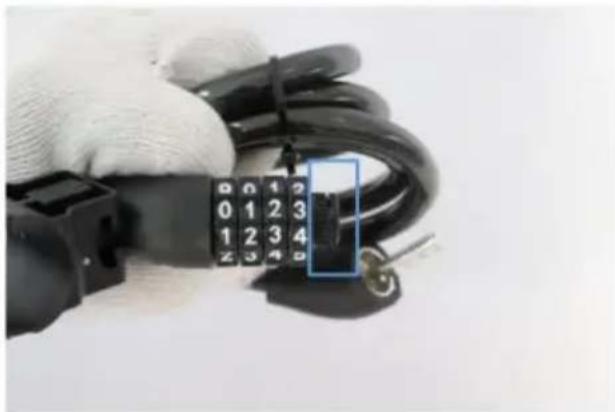
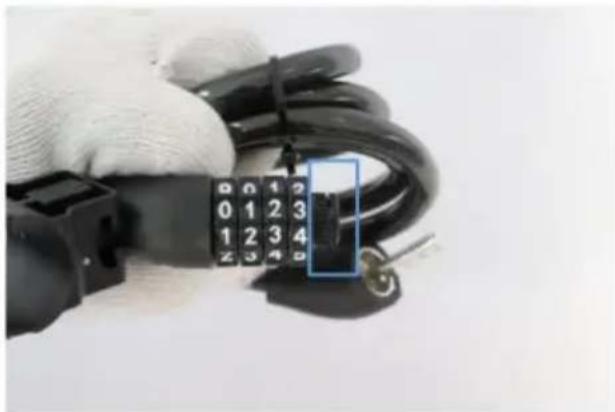
Step 11: Resetting the password of cable lock
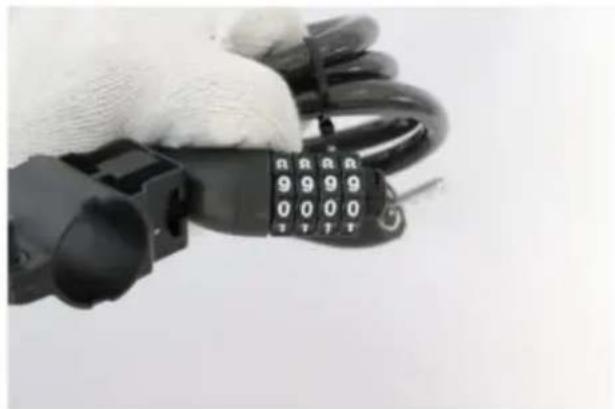
a. Dial the default password (0000) and pull the cable apart.
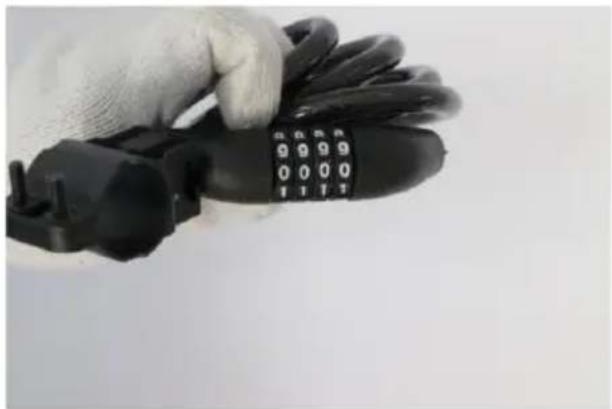
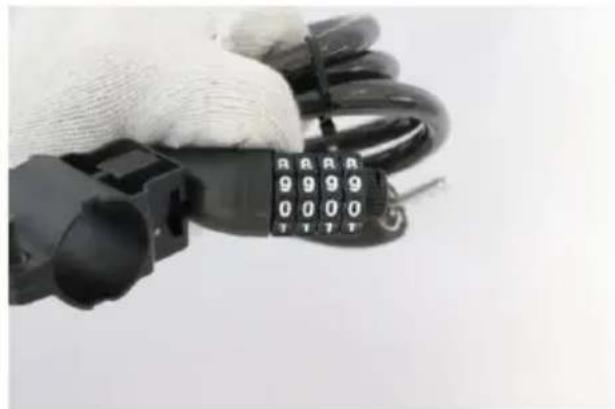
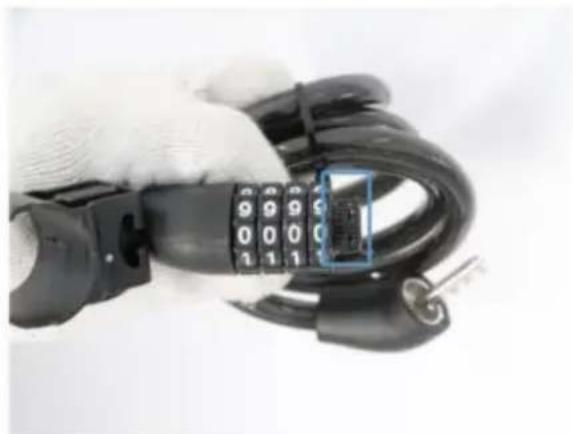
b. Turn the RESET wheel completely clockwise as shown.
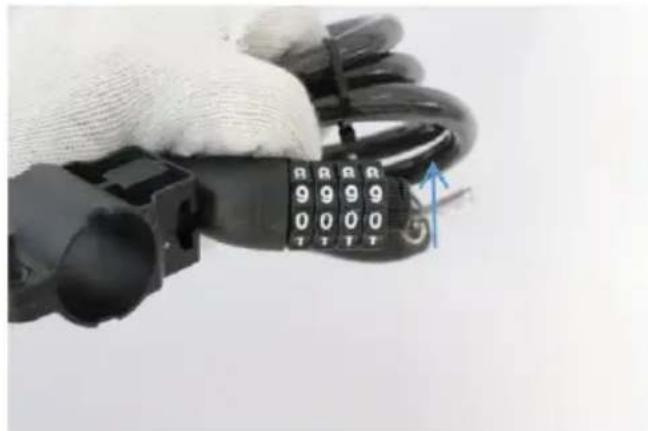
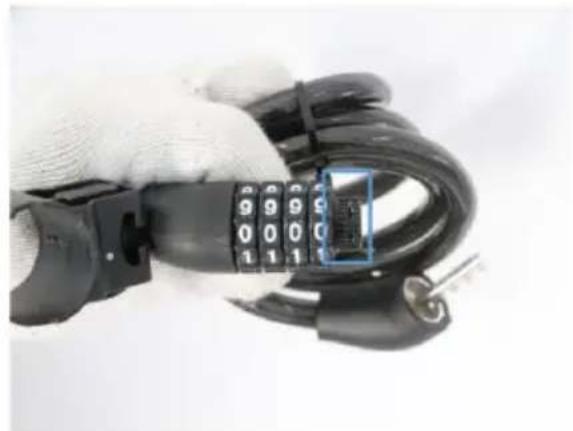
c. Set your new password using the dials.
Turn the RESET wheel completely counterclockwise to confirm your change.
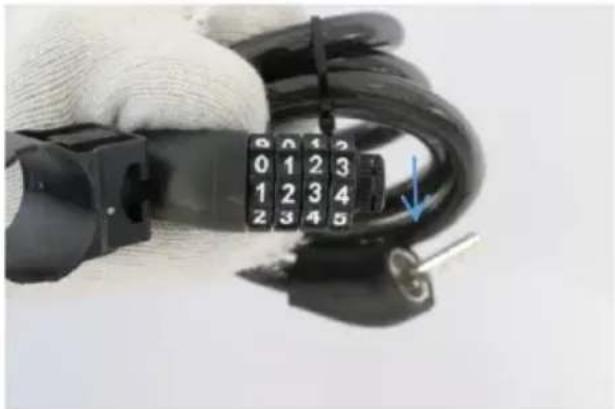
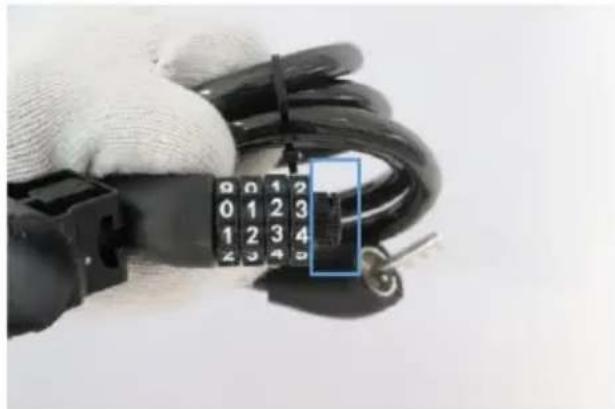
d. Rejoin the cable parts completely and disarrange the combination, testing that the cable cannot be pulled apart.
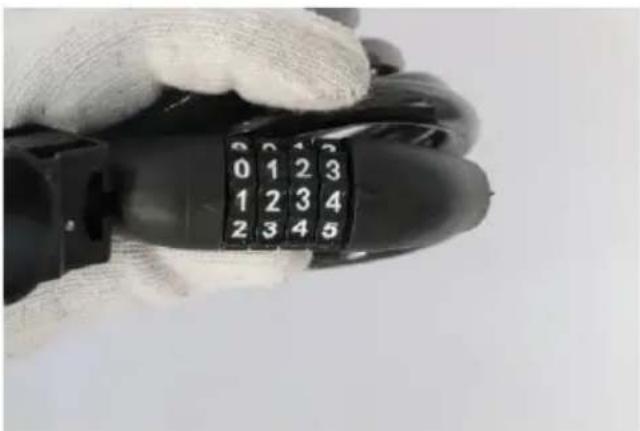
e. Extend the cable from the saddle post, wrapping it around an immovable object as well as the rear wheel and the seat tube.
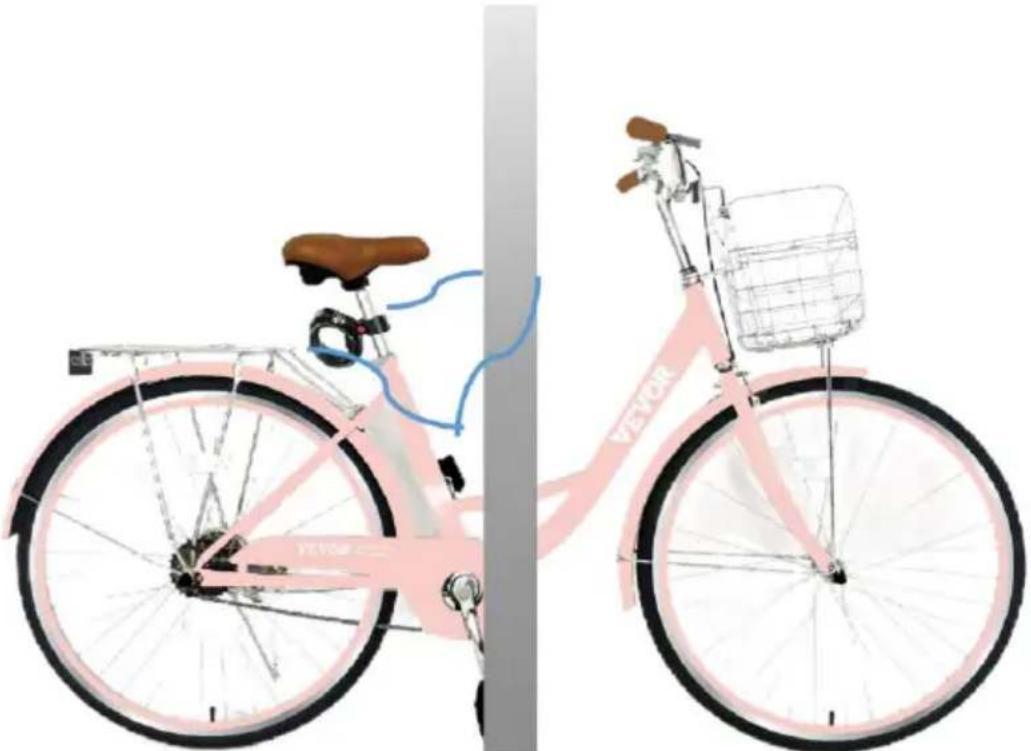
Note: The saddle is not permanently attached to the bicycle frame and should be secured together with the frame.
ADJUSTMENT
1. Brake cable tensions
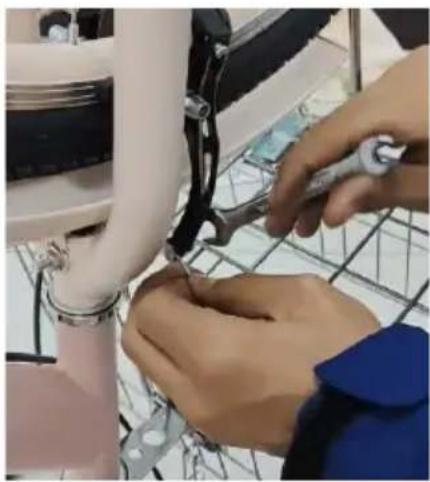 |  | 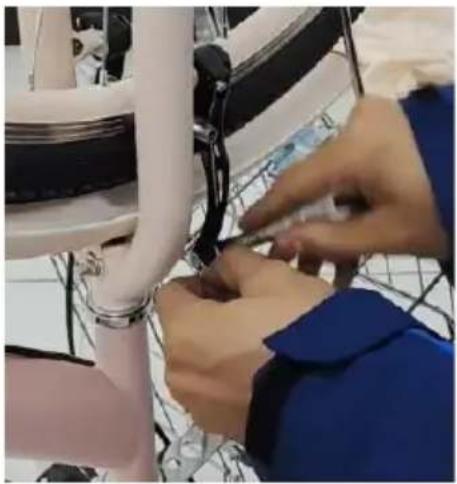 |
| Use 13-15mm wench (19) to unscrew the bolt on the V brake. | If the brake is loose, pull the brake wire outward, otherwise, if the brake is tight, pull the brake wire upward. | Don't forget to tighten the bolt using 13-15mm wench (19). |
2. Inflating a Tire Tube
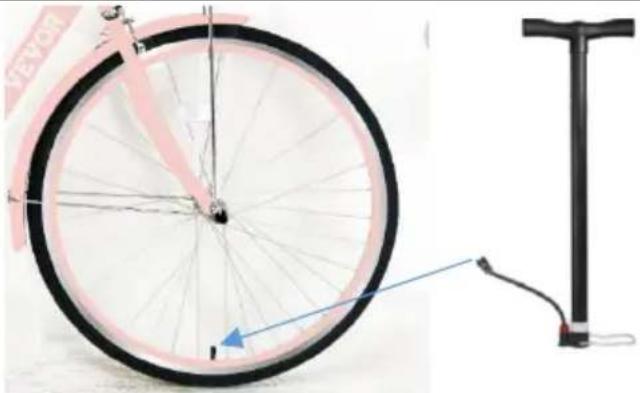 | 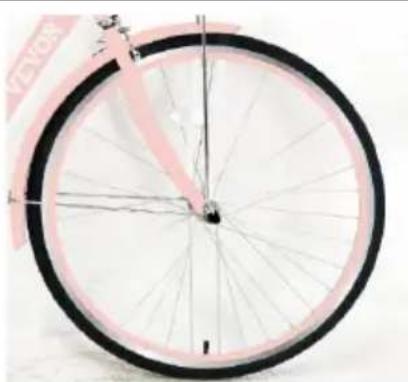 |
| Connect your hand pump to this Schradel valve port. | Inflate the tire within the pressure range marked on the outer tire.When finished, remove your pump and replace the valve cap. |
Note:
In winter and summer, it is recommended to inflate the tire to 40 psi.
Do not exceed 40 psi, or it will explode.
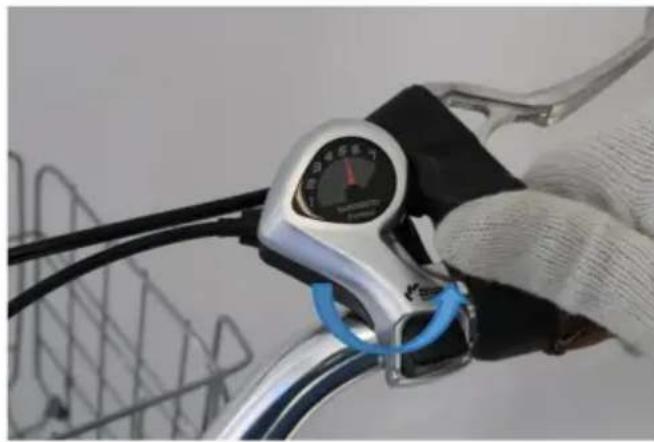
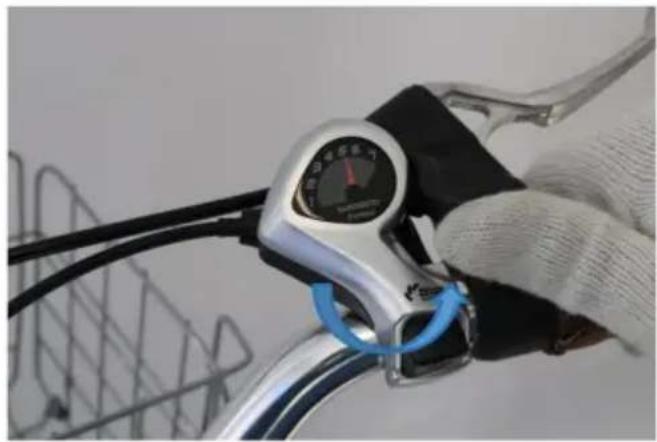
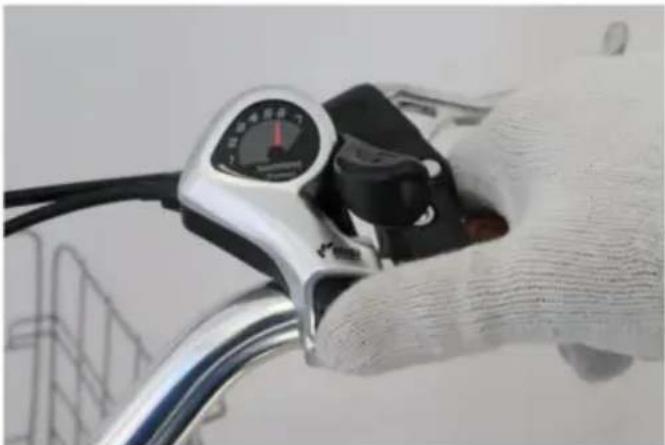
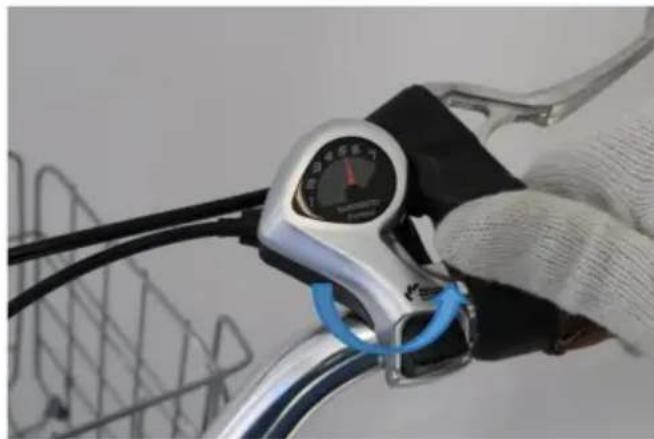
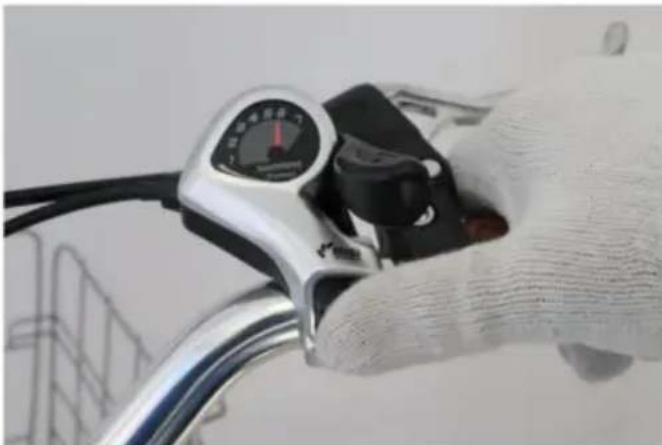
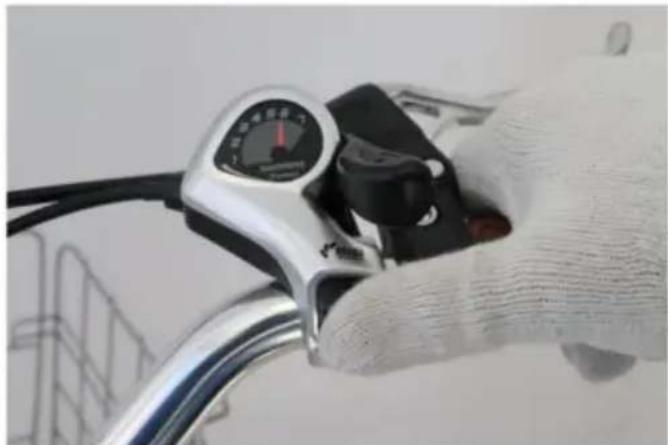
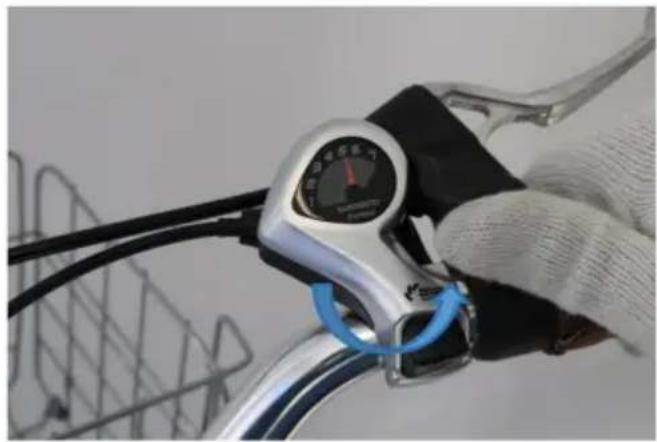
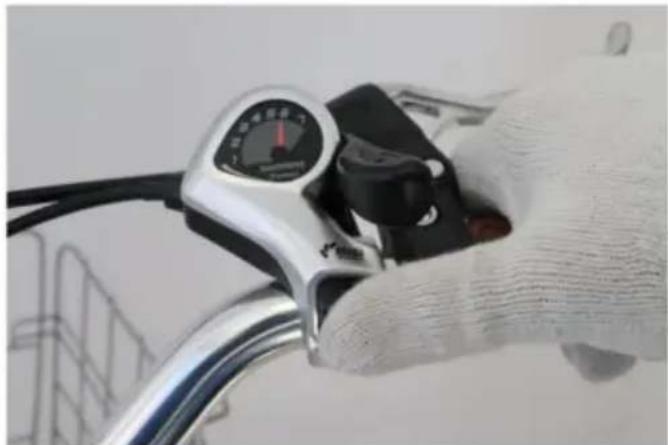
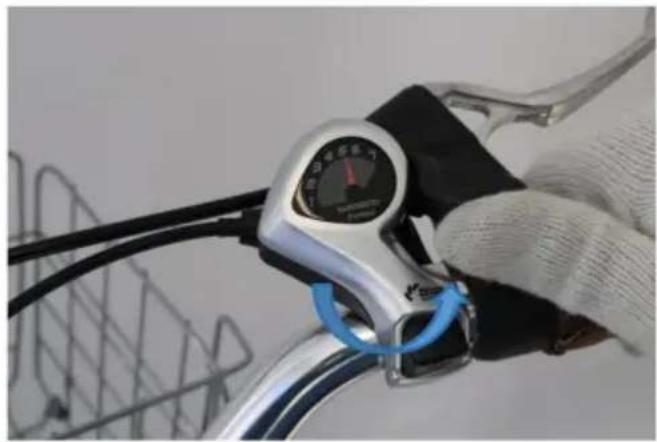
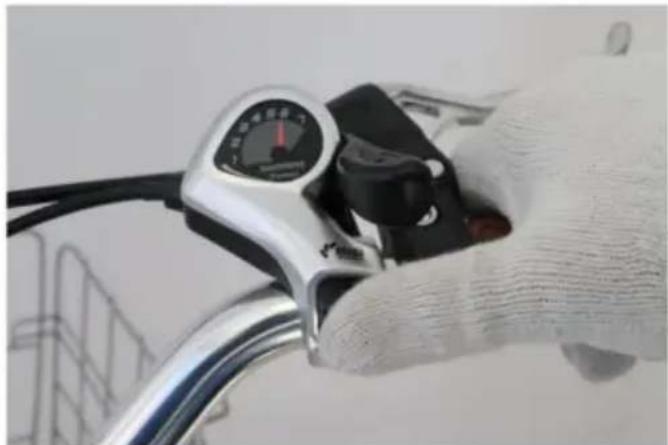
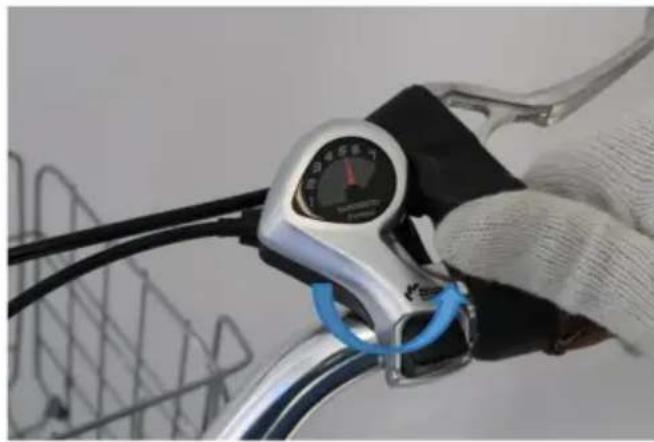
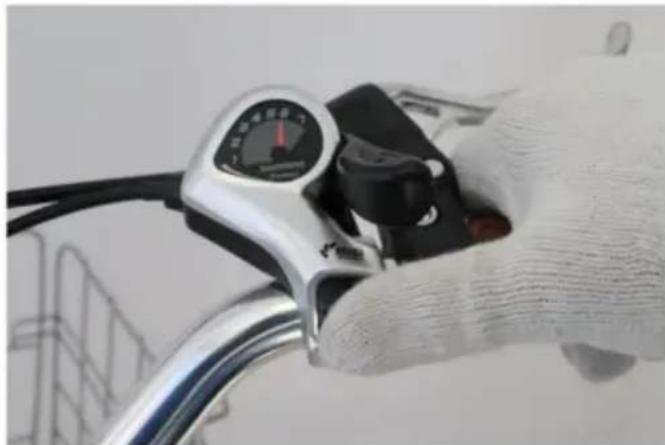
3. Gear system adjustment.
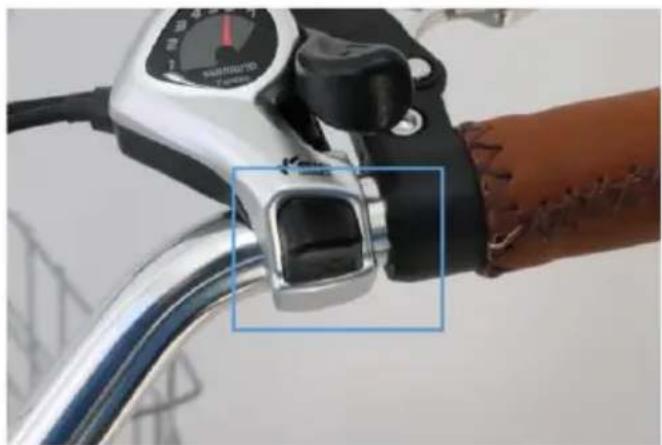
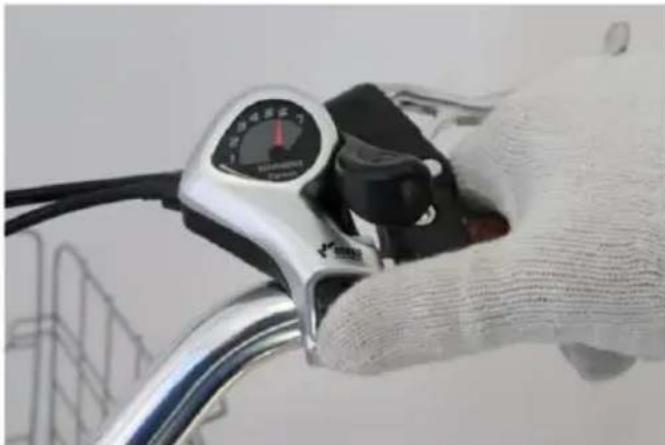
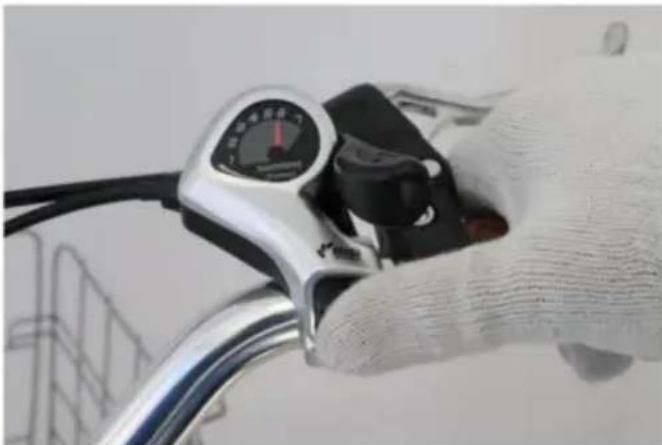
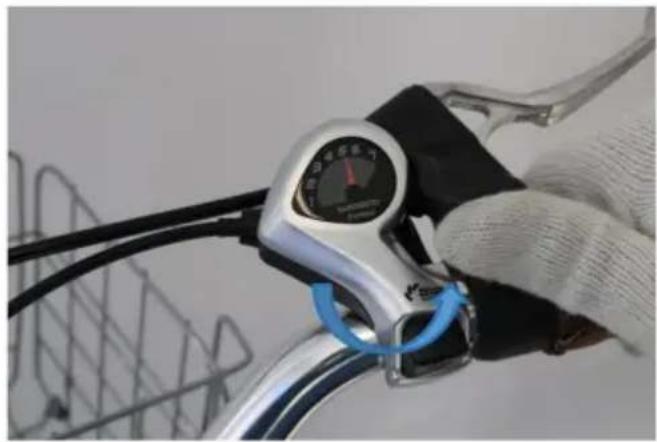
1-7 speed: 1 speed is the fastest speed. 7 speed is the slowest speed. When you want to speed up, push this rod up.

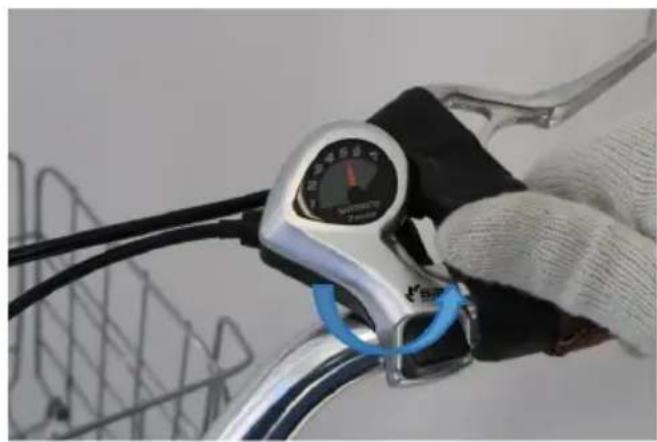
When you want to slow down, press the button.
MAINTENANCE
- Regularly check for looseness: Check the parts of the bicycle for any looseness, stiffness, wear, or damage after each use. Tighten, lubricate, repair, or replace any problematic parts before further use. Only replace components of this bicycle and its accessories with identical parts.
If your bicycle will not be used for an extended period, store everything in a cool dry place away from direct sunlight and inaccessible to children. Avoid storing
electronics in plastic bags, which might allow humidity to build up over time.
- Brake loosening adjustment: Turning the adjuster clockwise with a wrench can make the brakes tighter, and counterclockwise can make the brakes looser. When adjusting, it is recommended to adjust little by little, and try the performance of the brakes every time you adjust until you find the most suitable tightness.
- Chain lubrication: Always add lubrication after each cleaning, wiping, or solvent cleaning of the chain. (It is not recommended to use organic solvents to clean the chain) - Make sure your chain is dry before applying the lube. - Penetrate the lubricating oil into the chain bearing and allow to thicken or dry. This lubricates the parts of the chain that are prone to wear.
Manufacturer: Shanghaimuxinmuyeyouxiangongsi
Address: Shuangchenglu 803nong11hao1602A-1609shi, baoshanqu, shanghai 200000 CN.
Imported to AUS: SIHAO PTY LTD. 1 ROKEVA STREET, EASTWOOD NSW 2122, Australia
Imported to USA: Sanven Technology Ltd. Suite 250, 9166 Anaheim Place, Rancho Cucamonga, CA 91730
| UK | REP |
YH CONSULTING LIMITED.
C/O YH Consulting Limited, Office 147,
Centurion House, London Road,
Staines-upon-Thames, Surrey, TW18 4AX
| EC | REP |
E-CrossStu GmbH
Mainzer Landstr. 69,
60329 Frankfurt am Main.
VEVOR®
TOUGH TOOLS, HALF PRICE
Technical Support and E-Warranty Certificate
www.vevor.com/support
VEVOR®
TOUGH TOOLS, HALF PRICE
NEED HELP? CONTACT US!
PRODUCT CONFIGURATION
MAINTENANCE
C/O YH Consulting Limited Office 147, Centurion House, London Road,
Staines-upon-Thames, Surrey, TW18 4AX
| EC | REP |
E-CrossStu GmbH
Mainzer Landstr.69,
Step 4: Pedal Installation


MAINTENANCE
C/O YH Consulting Limited Office 147,
Centurion House, London Road,
Staines-upon-Thames, Surrey, TW18 4AX
| EC | REP |
E-CrossStu GmbH
Mainzer Landstr.69,
60329 Frankfurt am Main.
VEVOR®
TOUGH TOOLS, HALF PRICE
www.vevor.com/support
VEVOR®
TOUGH TOOLS, HALF PRICE

MAINTENANCE
Imported in AUS: SIHAO PTY LTD. 1 ROKEVA STREETEASTWOOD NSW 2122 Australia
Imported in the USA: Sanven Technology Ltd. Suite 250, 9166 Anaheim Place, Rancho Cucamonga, CA 91730
| UK | REP |
CONSULTING YH LIMITED.
C/O YH Consulting Limited Office 147,
Centurion House, London Road,
Staines-upon-Thames, Surrey, TW18 4AX
| EC | REP |
E-CrossStu GmbH
Mainzer Landstr.69,
c. Install the front basket onto the pre-assembled bracket using M5x16 Phillips bolts (14A), top plate (14B), and M5 nuts (14C).
MAINTENANCE
| EC | REP |
NEED HELP? CONTACT US!
Modification:

MAINTENANCE
Centurion House, London Road,
Staines-upon-Thames, Surrey, TW18 4AX
| EC | REP |
E-CrossStu GmbH
Mainzer Landstr.69,
60329 Frankfurt am Main.
VEVOR®
TOUGH TOOLS, HALF PRICE
NEED HELP? CONTACT US!
Step 2: Installation of front fender a.
Step 3: Front wheel installation
Step 4: Pedal installation
Step 7: Mounting front reflector a.
Step 9: Bell installation a.
Step 10: Installation of wheel covers
MAINTENANCE
C/O YH Consulting Limited Office 147,
Centurion House, London Road,
Staines-upon-Thames, Surrey, TW18 4AX
| EC | REP |
E-CrossStu GmbH
Mainzer Landstr.69,
60329 Frankfurt am Main.
VEVOR®
TOUGH TOOLS, HALF PRICE
www.vevor.com/support
VEVOR®
TOUGH TOOLS, HALF PRICE
Technical support and e-warranty certificate www.vevor.com/support
CRUISER BIKE
MODEL: SCB721-B/SCB122-B/SCB122-P/SCB722-B/SCB722-P
NEED HELP? CONTACT US!
Step 4: Pedal Installation
MAINTENANCE
C/O YH Consulting Limited Office 147, Centurion House, London Road, Staines-upon-Thames, Surrey, TW18 4AX
| EC | REP |
warranty certificate www.vevor.com/support
- CRUISER BIKE
- NEED HELP? CONTACT US
- WARNING
- GENERAL NOTICE
- TRAFFIC RULES
- CLOTHING
- SAFETY CHECKS
- SENSIBLE USE
- PARTS LIST
- INSTALLATION INSTRUCTIONS
- STEP 1: HANDLEBAR INSTALLATION
- STEP 2: FRONT FENDER INSTALLATION
- STEP 3: FRONT WHEEL INSTALLATION
- STEP 4: PEDAL INSTALLATION
- STEP 5: CABLE LOCK AND SADDLE INSTALLATION
- STEP 6: FRONT BASKET INSTALLATION
- STEP 7: FRONT REFLECTOR INSTALLATION
- STEP 8: REAR REFLECTOR INSTALLATION
- STEP 9: BELL INSTALLATION
- STEP 10: WHEEL CAPS INSTALLATION
- STEP 11: RESETTING THE PASSWORD OF CABLE LOCK
- ADJUSTMENT
- BRAKE CABLE TENSIONS
- INFLATING A TIRE TUBE
- GEAR SYSTEM ADJUSTMENT
- MAINTENANCE
- MANUFACTURER: SHANGHAIMUXINMUYEYOUXIANGONGSI
- VEVOR®
- TOUGH TOOLS, HALF PRICE
- STEP 2: INSTALLATION OF FRONT FENDER A
- STEP 7: MOUNTING FRONT REFLECTOR A
- STEP 9: BELL INSTALLATION A
- STEP 10: INSTALLATION OF WHEEL COVERS
Brand : Vevor
Model : SCB122
Category : Bicycles