
HQS-36AY - Fan Vevor - Free user manual and instructions
Find the device manual for free HQS-36AY Vevor in PDF.
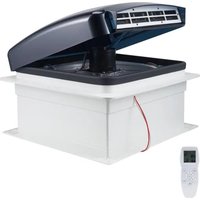


| Product type | Roof fan for motorhome |
| Brand | Vevor |
| Model | HQS-36AY |
| Supply voltage | 12 V DC |
| Rated power | 22 W |
| Number of speeds | 10 |
| Built-in rain sensor | Yes |
| Remote control | Yes, included |
| Required roof opening | 360 mm x 360 mm |
| Fuse | 5 A slow-blow |
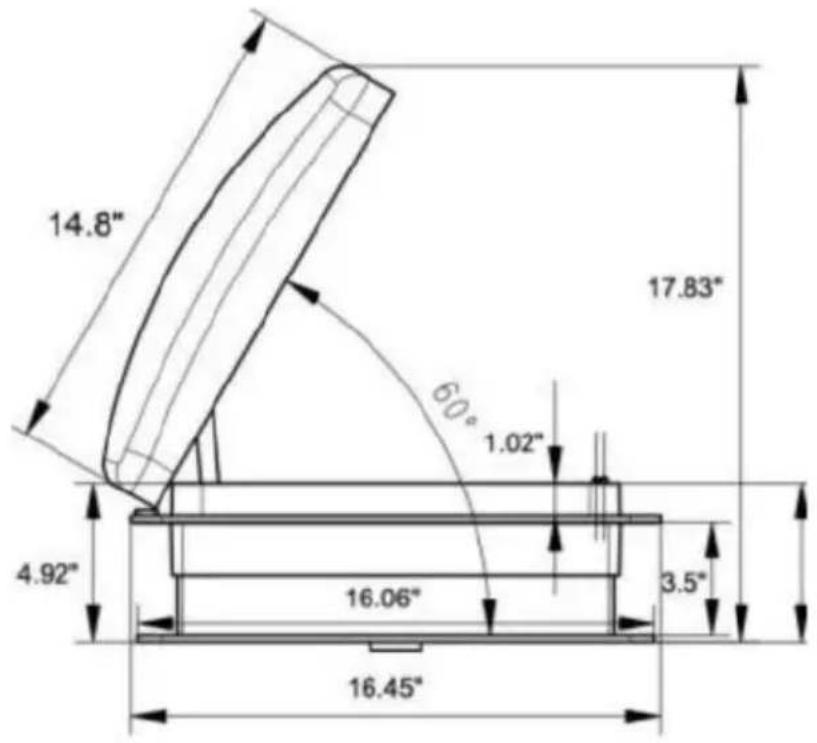
| Dimensions (L x W x H approx.) | 45.3 x 45.3 x 12.4 cm (per illustration) |
| Net weight | Approx. 2.5 kg (estimate) |
| Flange material | Plastic |
| Installation | Recessed in roof, screw fixing |
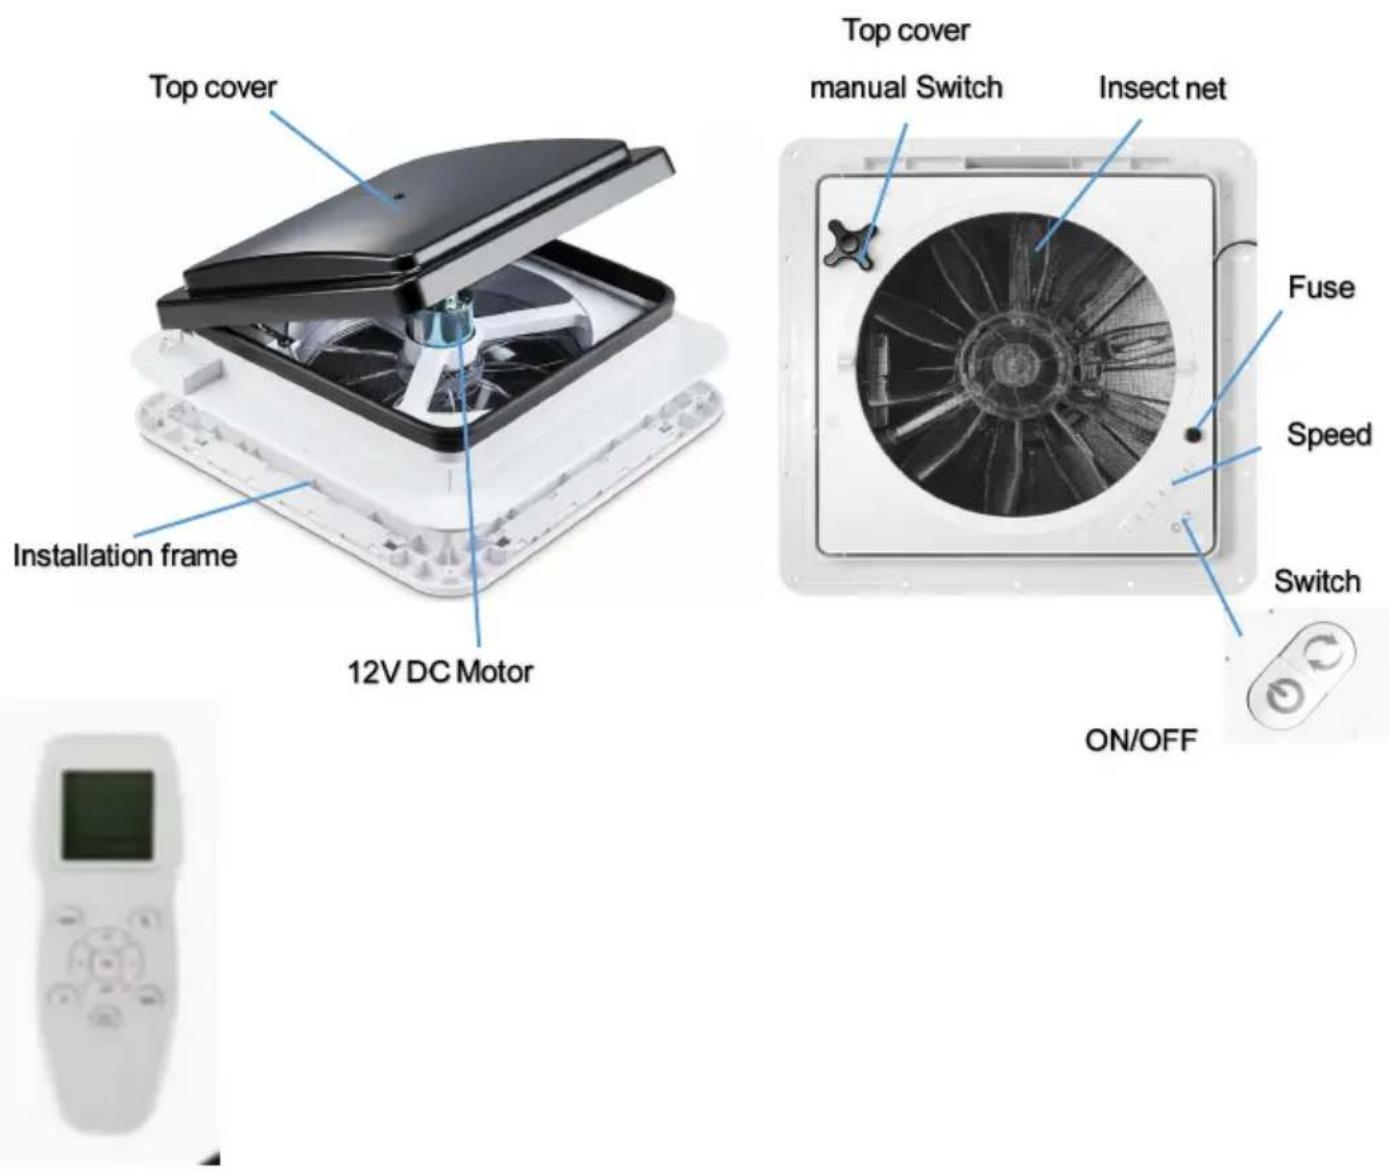
| Main functions | Ventilation, extraction, rain sensor, remote control |
| Temperature display | Celsius or Fahrenheit (selectable) |
| Care and cleaning | Clean with a damp cloth, avoid solvents |
| Safety | Disconnect power before servicing, do not use with 110/220 V |
| Spare parts and repairability | Remote control, fuse, motor (contact support) |
| General information | Complies with FCC Part 15B, European Directive 2014/30/EU |
Frequently Asked Questions - HQS-36AY Vevor
User questions about HQS-36AY Vevor
0 question about this device. Answer the ones you know or ask your own.
Ask a new question about this device
Download the instructions for your Fan in PDF format for free! Find your manual HQS-36AY - Vevor and take your electronic device back in hand. On this page are published all the documents necessary for the use of your device. HQS-36AY by Vevor.
USER MANUAL HQS-36AY Vevor
Technical Support and E-Warranty Certificate www.vevor.com/support
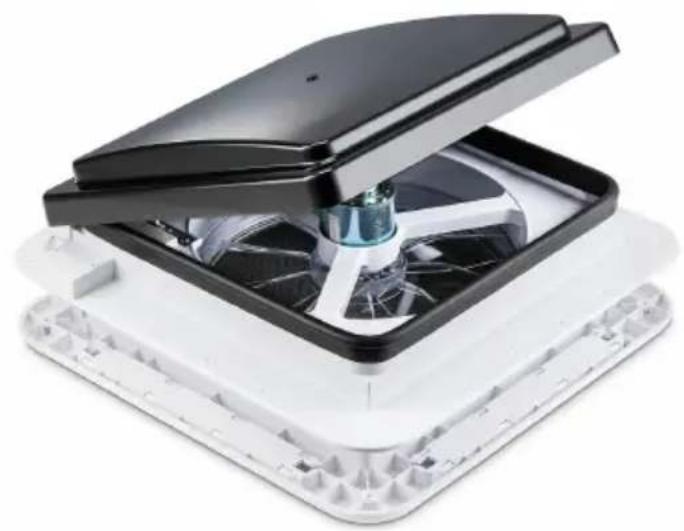
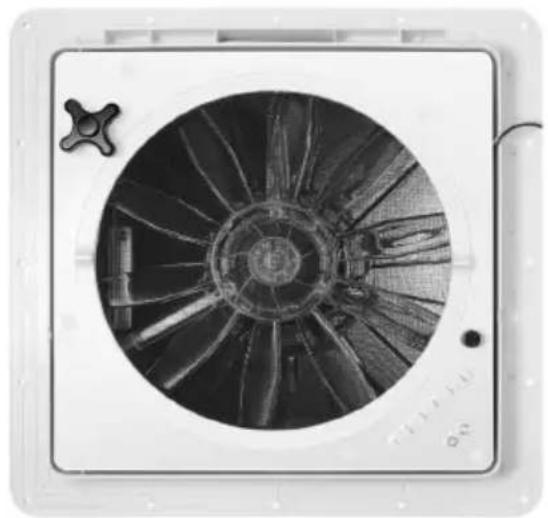
ROOF VENT
MODEL: HQS-36AY/HQS-36BY
We continue to be committed to providing you with tools at competitive prices. "Save Half", "Half Price", or any other similar expressions used by us only represent an estimate of savings you might benefit from buying certain tools with us compared to the major top brands and do not necessarily mean to cover all categories of tools offered by us. You are kindly reminded to verify carefully when placing an order with us if you are actually saving half in comparison with the top major brands.
MODEL: HQS-36AY
NEED HELP? CONTACT US!
Have product questions? Need technical support? Please feel free to contact us:
Technical Support and E-Warranty Certificate www.vevor.com/support
This is the original instruction. Please read all manual instructions carefully before operating. VEVOR reserves a clear interpretation of the user manual. The appearance of the product shall be subject to the product you received. Please forgive us that we won't inform you if there are any technology or software updates on our product.
IMPORTANT SAFEGUARDS

WARNING: Read and understand this entire manual before operating or servicing this product. Failure to follow these warnings and instructions can cause personal injury or damage to valuable property. Avoid children using the product. This product is not a toy. Do not let children play with it.
CORRECT DISPOSAL
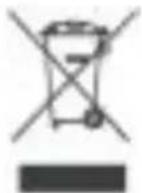
This product is subject to the provisions of European Directive 2014/30. The symbol showing a wheelie bin crossed through indicates that the product requires separate refuse collection in the European Union. This applies to the product and all accessories marked with this symbol. Products marked as such may not be discarded with normal domestic waste, but must be taken to a collection point for recycling electrical and electronic devices.
FCC INFORMATION
CAUTION: Changes or modifications not expressly approved by the party responsible for compliance could void the user's authority to operate the equipment!
This device complies with Part 15B of the FCC Rules. Operation is subject to the following two conditions:
1) This product may cause harmful interference. 2) This product must accept any interference received, including
interference that may cause undesired operation.
WARNING: Changes or modifications to this product not expressly approved by the party responsible for compliance could void the user's authority to operate the product.
Note: This product has been tested and found to comply with the limits for a Class B digital device pursuant to Part 15B of the FCC Rules. These limits are designed to provide reasonable protection against harmful interference in a residential installation.
This product generates, uses and can radiate radio frequency energy, and if not installed and used in accordance with the instructions, may cause harmful interference to radio communications. However, there is no guarantee that interference will not occur in a particular installation. If this product does cause harmful interference to radio or television reception, which can be determined by turning the product off and on, the user is encouraged to try to correct the interference by one or more of the following measures:
- Reorient or relocate the receiving antenna. Increase the distance between the product and receiver.
- Connect the product to an outlet on a circuit different from that to which the receiver is connected.
- Consult the dealer or an experienced radio/TV technician for assistance.
NOTICE BEFORE USE
Caution:
- Vent fits in standard 360mm x 360mm caravan roof openings.
- This vent uses a 5A slow melt fuse. Replacement fuse requires same ampere.
- Use 12 Volt power only! Connecting your fan to 110 or 220 Volt
damage the internal circuit board. Consult a professional electrician for wiring assistance if necessary.
- DO NOT LEAVE VENT LID OPEN AND UNATTENDED FOR EXTENDED PERIODS OF TIME. HIGH WINDS OR OTHER UNUSUAL CONDITIONS MAY RESULT IN LEAKAGE AND/OR SERIOUS DAMAGE. 5. Disconnect main vehicle power before connecting 12 volt DC power to the ventilator.
- When in start mode, the rain sensor is off (need to press the Rain S button to start this function). The RS LED is on to indicate that the rain function is working.
- If your remote is not working, first disconnect the RV roof fan from main vehicle power. Second, reconnect the power and reprogram it by pressing the POWER button on the fan and the RAIN SENSOR button on the remote at the same time for 4 seconds.
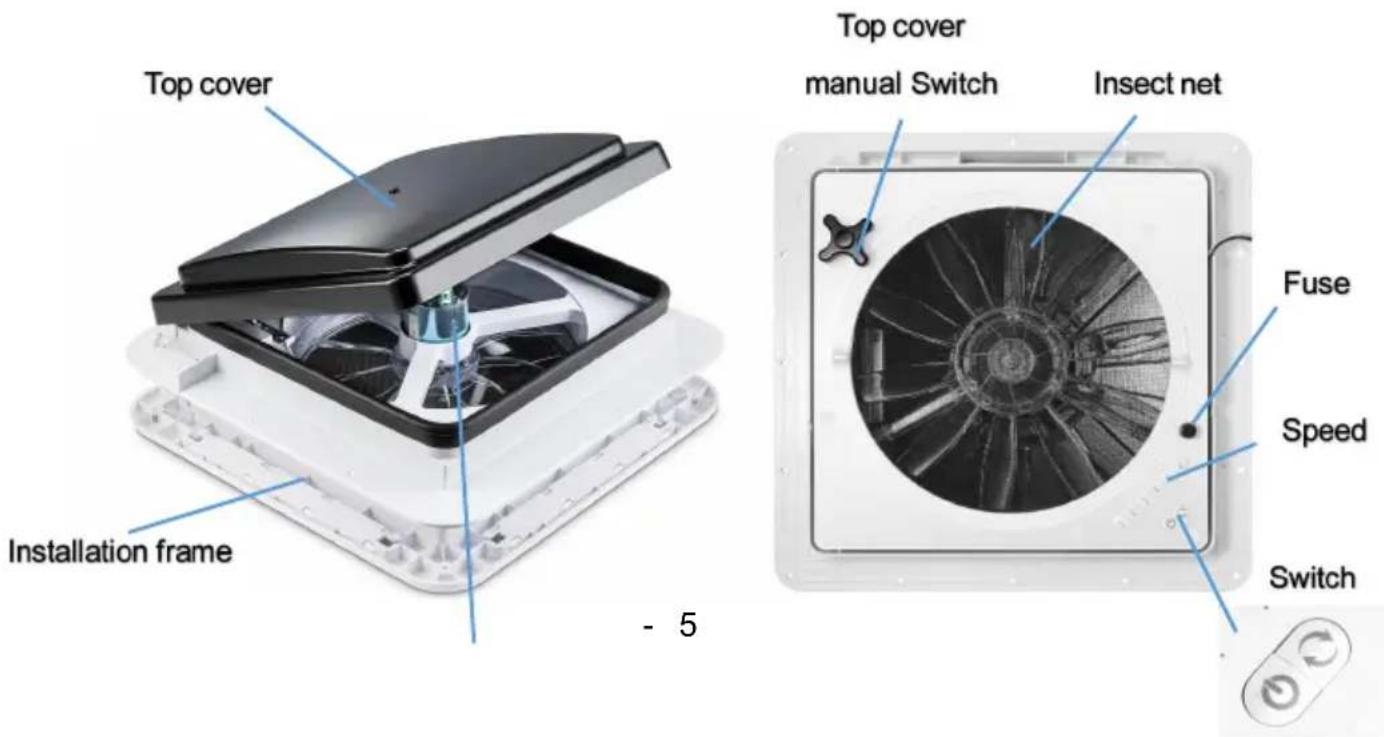
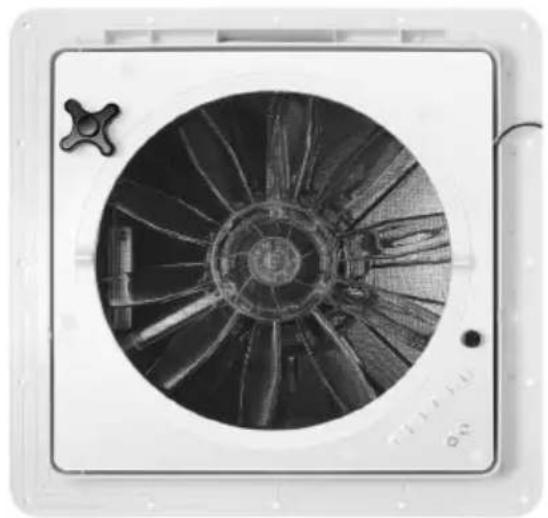
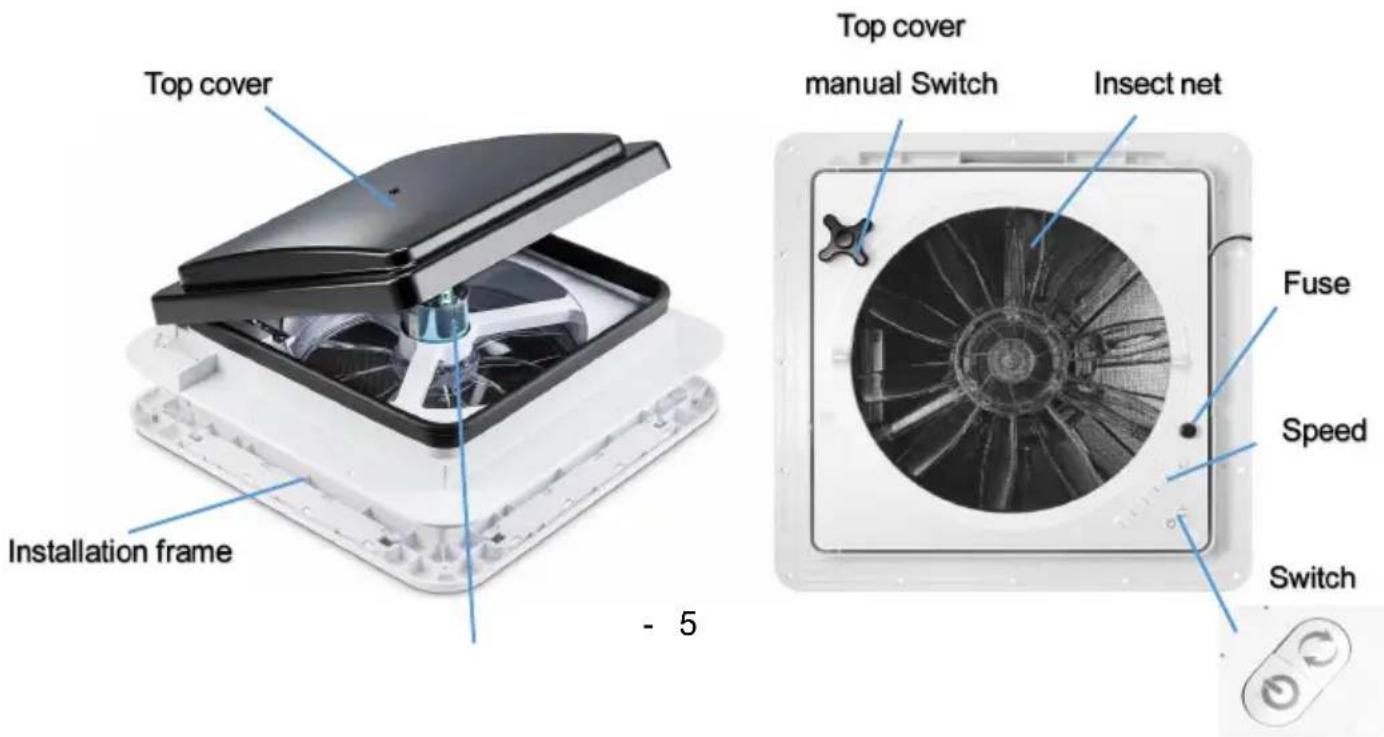
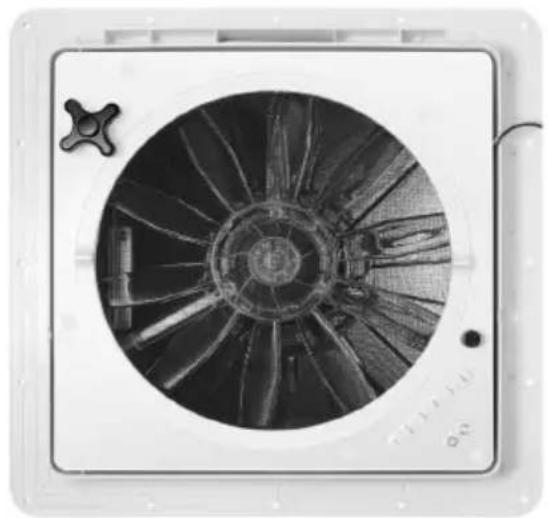
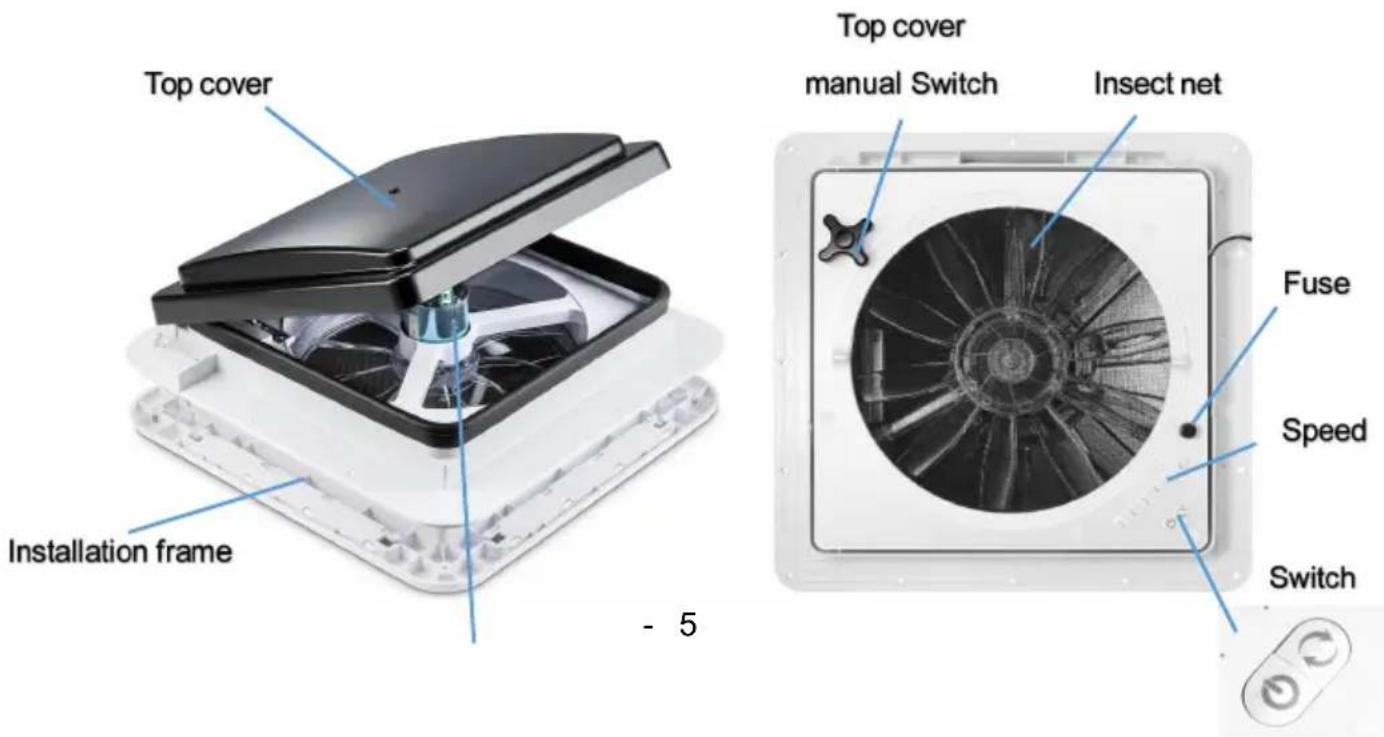
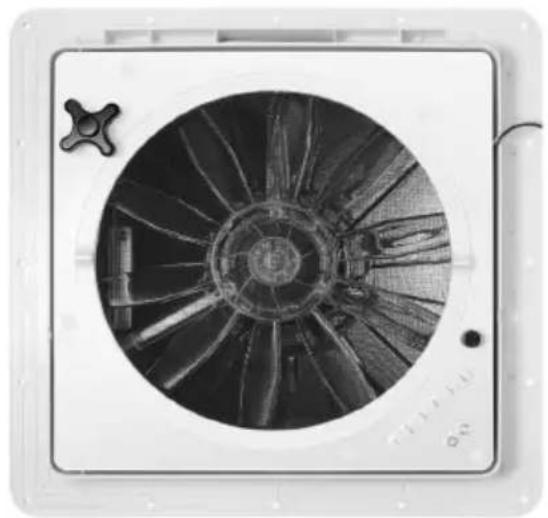
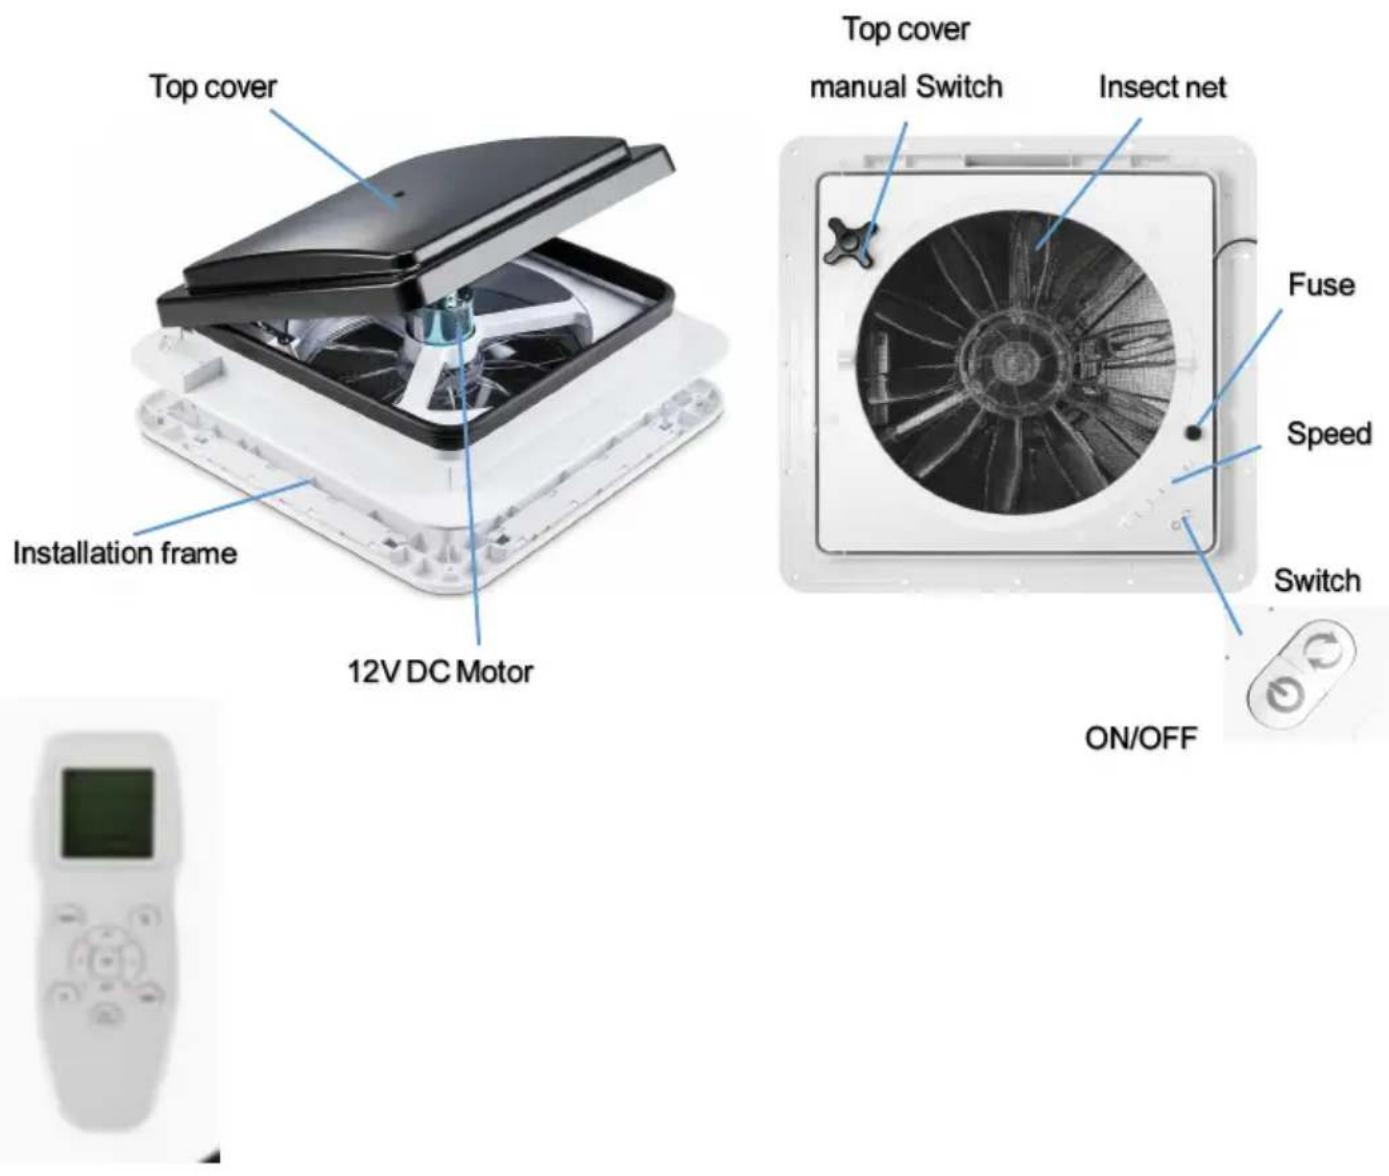
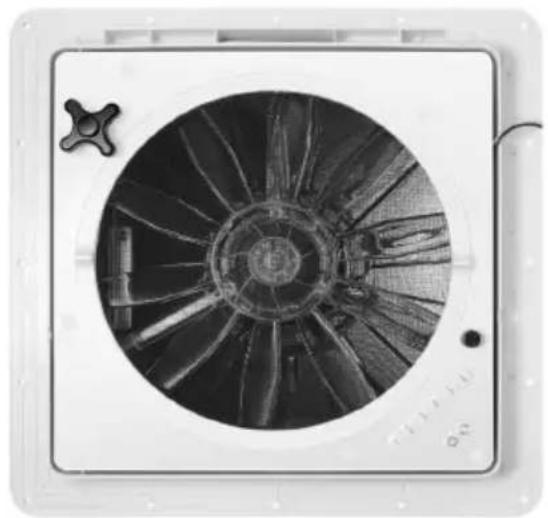
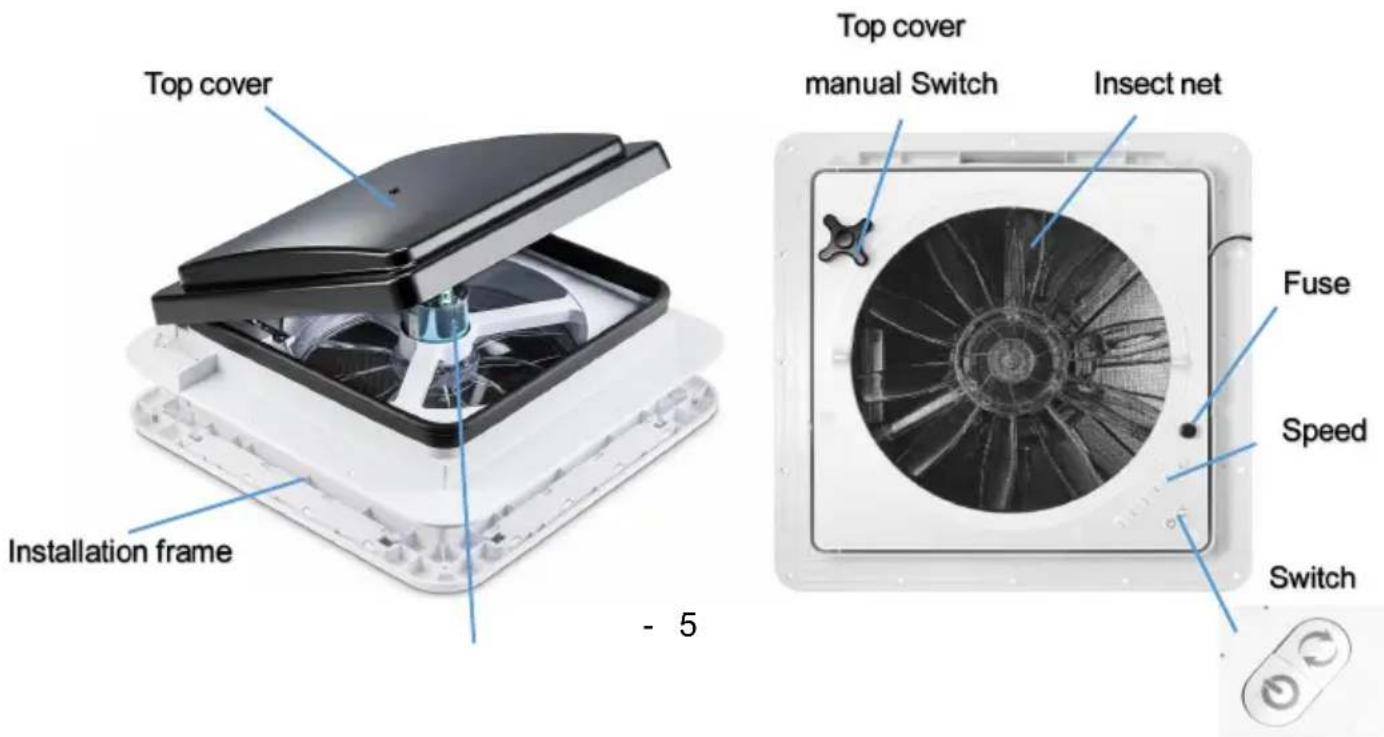
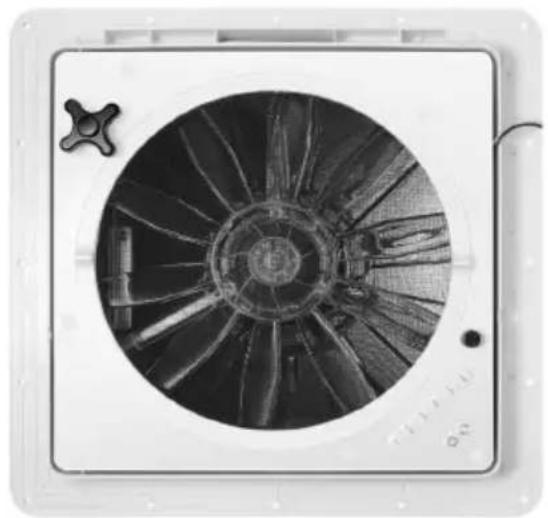
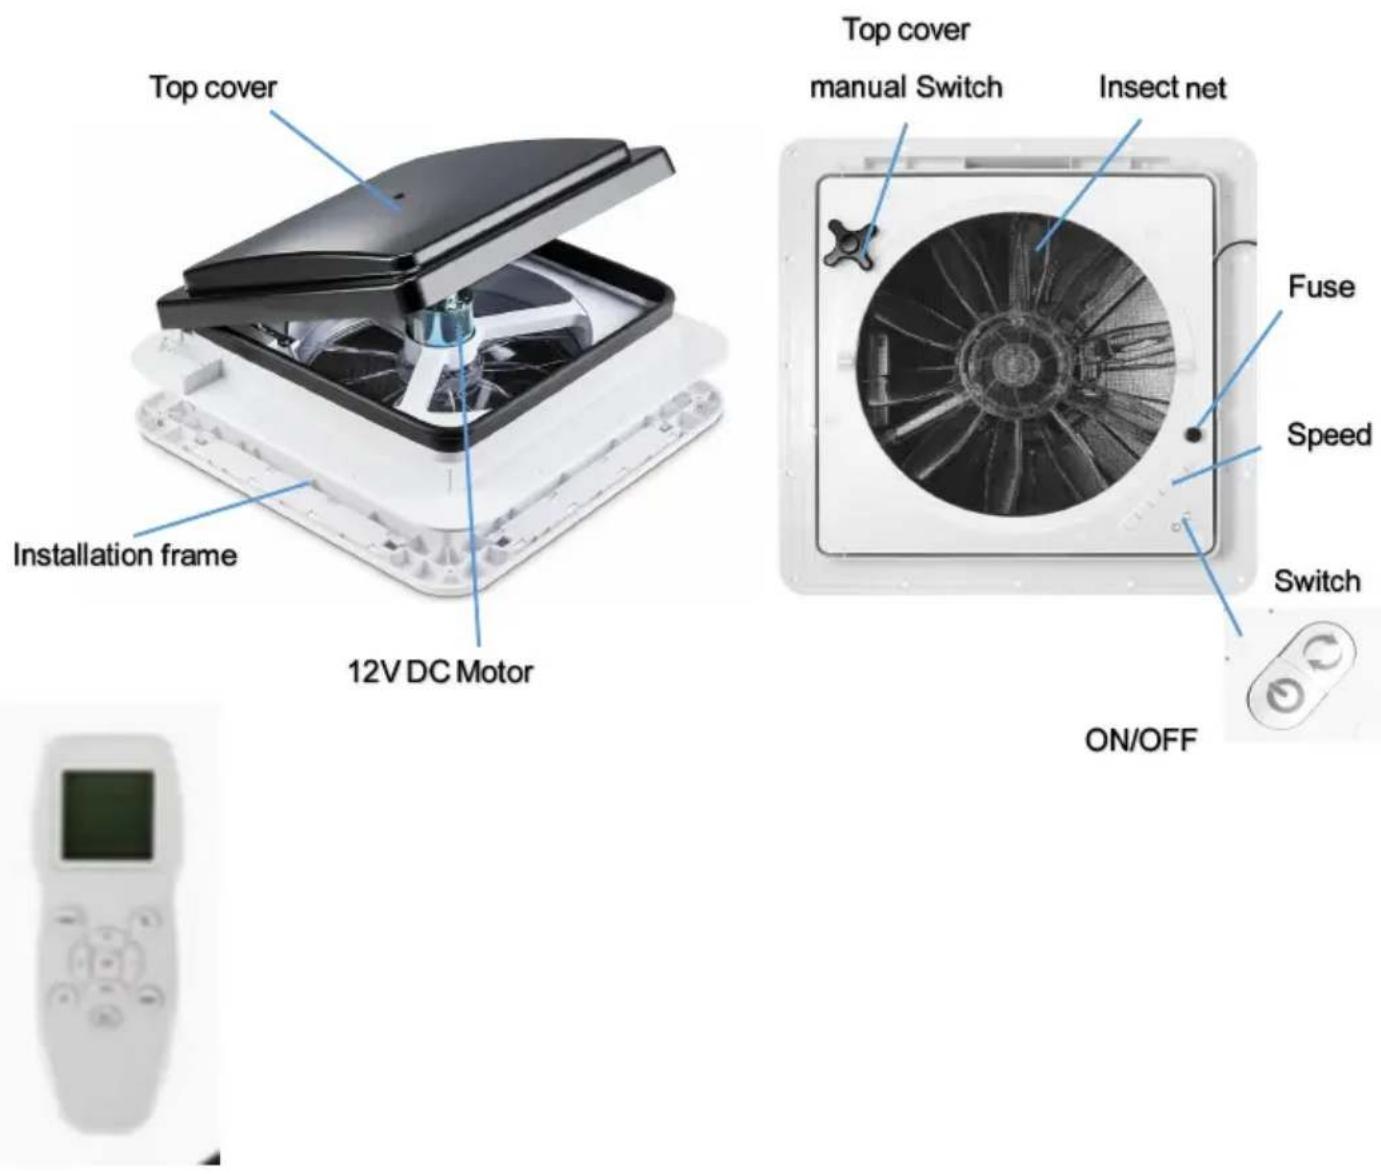
PRODUCT INTRODUCTION
PRODUCT PARAMETERS
| Model | HQS-36AY/HQS-36BY |
| Voltage | DC12V |
| Power | 22W |
| Speed Gear | 10 |
| Sensor detect | Rain |
PART LIST
| NO. | PICTURE | NAME | QTY |
| 1 | 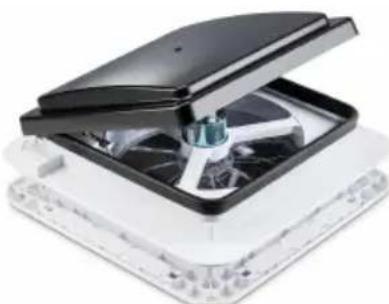 | Roof Vent Main | 1 |
| 2 |  | Operating Instruction | 1 |
| 3 | 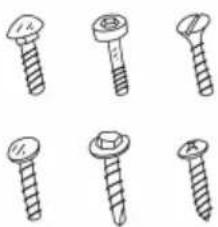 | Screw Bag | 1 |
| 4 | 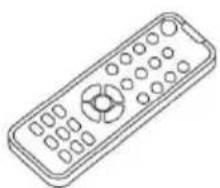 | Remote | 1 |
OPERATING
Press the POWER button to start the remote; the LED will illuminate. The LED will turn off after 10 seconds if no further operation is performed.
![graph TD A["POWER"] --> B["FAN"] C["IN"] --> B D["+"] E["OUT"] --> B F["DOWN"] --> B G["UP"] --> B H["Rain Sensor"] --> B I["•F/°C"] --> B](/content/2026/04/734552/images/30358ff10e3b643ee2fa2965b76d9a3ae52929d4808afe2b51ab17163932068a.jpg)
- Press the FAN POWER button to turn the fan power on/off.
- Press the "+" button; the fan blades turn clockwise and air is exhausted at 10' speed. Press it again for more speed options.
- Press the "-" button; the fan blades turn counterclockwise and air is drawn in at a speed. Press it again for more speed options.
- Press the Up button to open the lid.
- Press the Down button to close the lid.
- Press the FAN button to turn the fan motor OFF/ON at any selected speed.
- Press the RAIN SENSOR button to turn the rain sensor on/off. When in mode, the rain sensor is off (need to press the Rain Sensor button to start the function).
- Press F/C within two seconds to choose Celsius or Fahrenheit.
NOTE: The lid cannot be opened when the rain sensor detects water on it. Please turn off the Rain Sensor function if you want to open the lid.
INSTALLATION INSTRUCTIONS
Step 1
The ventilator requires a 360 mm x 360 mm roof opening. If you are replacing another type already installed, remove the old existing roof vent. Remove all old roof sealant for a minimum of 2" entirely around the roof opening. If you are installing a vent in a new location, mark the desired location for your vent (make sure to stay between roof joists). Then cut a 366 mm x 366 mm (or other size as necessary) opening through the roof and ceiling.
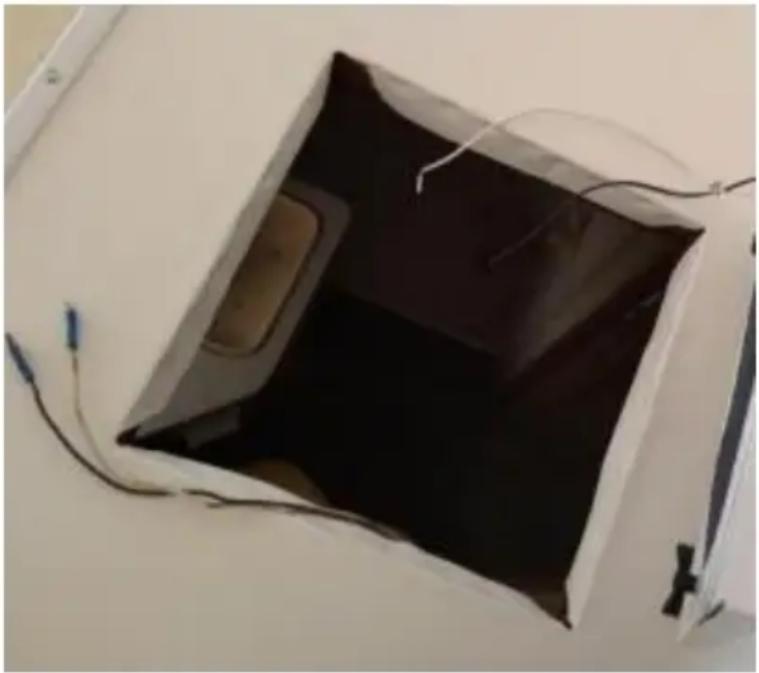
Place the ventilator into the roof opening and trace a pencil line around it to clean the seal area that will be required. Note that the ventilator must be cut in the roof opening with the hinge of the lid facing the front of the vehicle.
CAUTION: When installing your ventilator, only use caulking/sealant compatible with the flange (plastic product) and the roof surface. DO NOT use materials containing solvents such as or similar to xylene, toluene, methyl ethyl ketone, acetate, or acetone as they can damage the flange. Also, polysulfide (Thiokol) sealants must be avoided. If in doubt, please contact the manufacturer for further information.
STEP 2
Prior to installing the ventilator into the roof opening, apply a continuous strip of BUTYL tape or equivalent to the underside of the flange, making sure to cover the screw holes.
CAUTION: Disconnect main vehicle power before connecting 12 volt DC power to the ventilator.
STEP 3
Connect the vehicle's 12 volt power to the two ventilator power wires located on the driver side of the ventilator.
NOTE: The ventilator red wire must be connected to the vehicle 12 volt (+) positive supply.
STEP 4
Make sure the power wires slide to the interior and do not become entangled. Screw into the dimple to pierce the flange, making sure not to over-tighten screws to avoid cracking the flange.

STEP 5
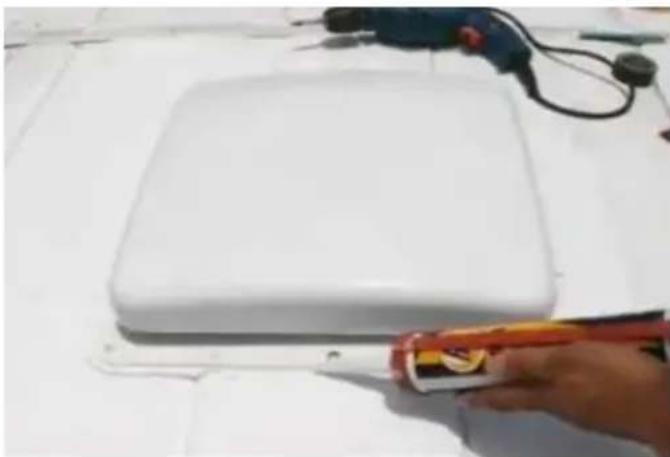
After the Ventilator has been installed, remove the excess BUTYL caulk that has squeezed out. Using a sealer such as Dicor self-leveling lap sealant or similar caulking, apply a daub over every exposed screw head.
STEP 6
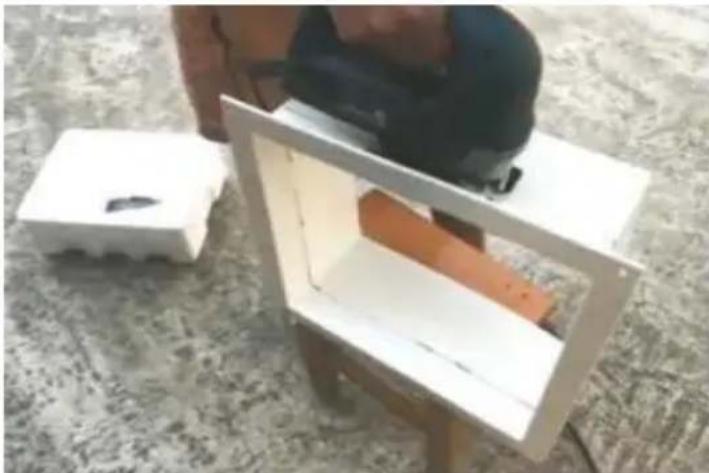
The interior Garnish Trim Ring must be trimmed to fit your particular caravan thickness. To accomplish this, measure the distance from the vehicle ceiling surface to each corner of the Ventilator Control Plate.
STEP 7
Place the vent fan garnish into position around the vent fan, covering the roof edges. Secure it by screwing into the ceiling around the interior vent fan trim.
Manufacturer: Shanghai Muxin Muye Youxian Gongsi
Address: Shuangchenglu 803nong11hao1602A-1609shi, Baoshanqu, Shanghai 200000 CN.
Imported to AUS: SIHAO PTY LTD. 1 ROKEVA STREET EASTWOOD NSW 2122 Australia
Imported to USA: Sanven Technology Ltd. Suite 250, 9166 Anaheim Place, Rancho Cucamonga, CA 91730
| UK | REP |
YH CONSULTING LIMITED.
C/O YH Consulting Limited Office 147,
Centurion House, London Road,
Staines-upon-Thames, Surrey, TW18 4AX
| EC | REP |
E-CrossStu GmbH
Mainzer Landstr.69,
60329 Frankfurt am Main.
VEVOR®
TOUGH TOOLS, HALF PRICE
Technical Support and E-Warranty Certificate
www.vevor.com/support
VEVOR®
TOUGH TOOLS, HALF PRICE
www.vevor.com/support
ROOF VENT
MODEL: HQS-36AY/HQS-36BY
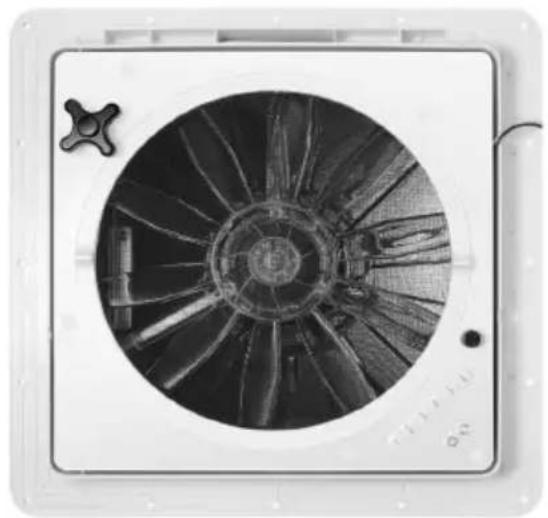
PRODUCT INTRODUCTION
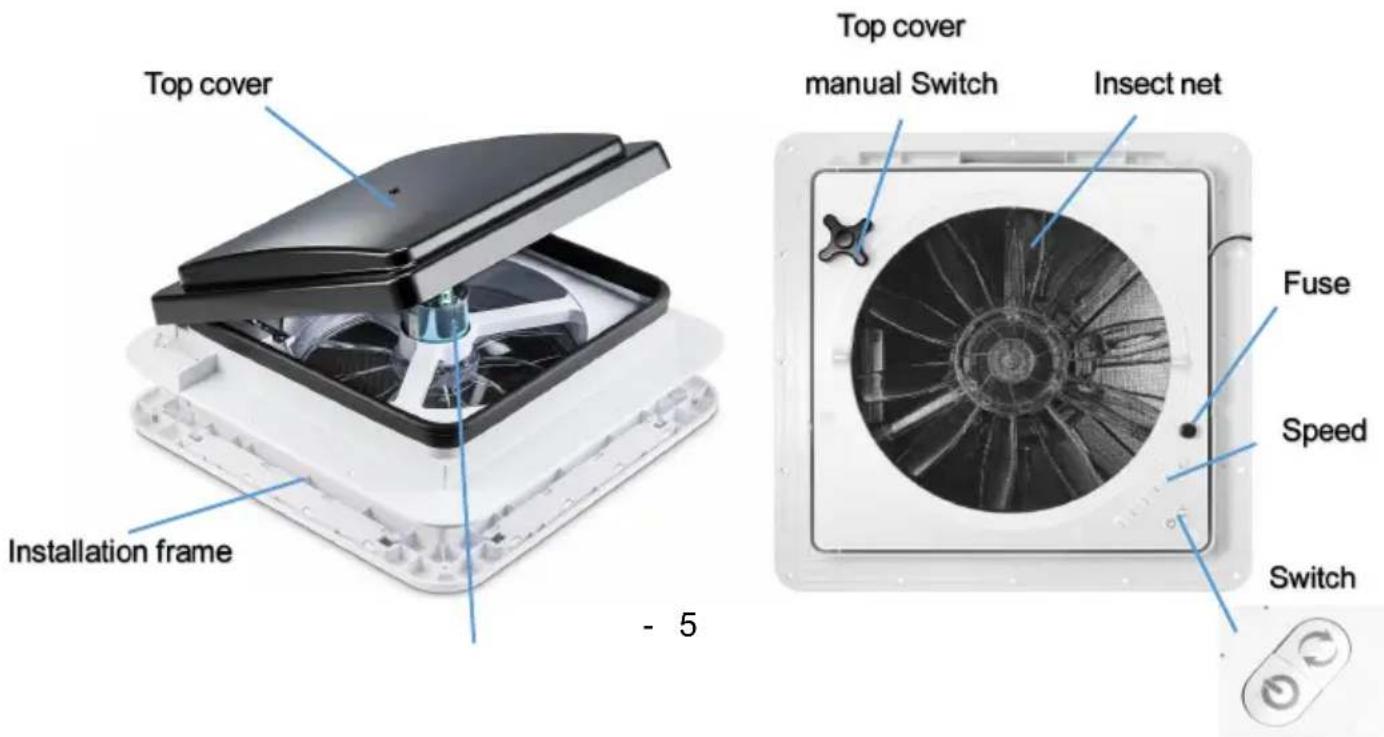

PRODUCT PARAMETER
STEP 5
STEP 6
STEP 7
Anaheim Place, Rancho Cucamonga, CA 91730
| UK | REP |
YH CONSULTING LIMITED.
C/O YH Consulting Limited Office 147,
Centurion House, London Road,
Staines-upon-Thames, Surrey, TW18 4AX
| EC | REP |
E-CrossStu GmbH
Mainzer Landstr.69,
60329 Frankfurt am Main.
VEVOR®
TOUGH TOOLS, HALF PRICE
www.vevor.com/support
VEVOR®
TOUGH TOOLS, HALF PRICE
MODEL: HQS-36AY/HQS-36BY
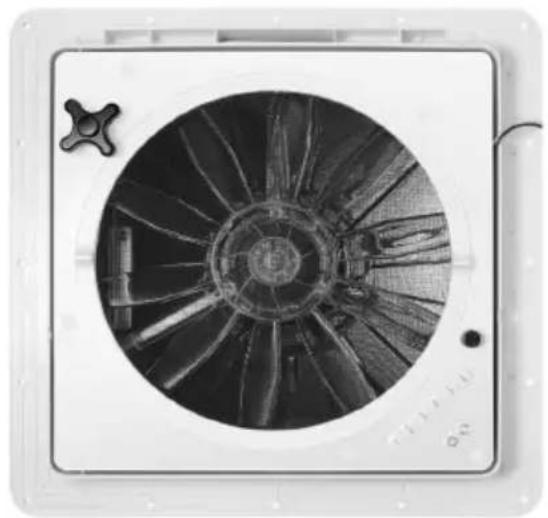
PRODUCT INTRODUCTION

PRODUCT PARAMETER
STEP 5
STEP 6
STEP 7
STREET EASTWOOD NSW 2122 Australia
Imported into the USA: Sanven Technology Ltd. Suite 250, 9166 Anar Place, Rancho Cucamonga, CA 91730
| UK | REP |
YH CONSULTING LIMITED.
C/O YH Consulting Limited Office 147,
Centurion House, London Road,
Staines-upon-Thames, Surrey, TW18 4AX
| EC | REP |
E-CrossStu GmbH
Mainzer Landstr.69,
60329 Frankfurt am Main.
VEVOR®
TOUGH TOOLS, HALF PRICE
www.vevor.com/support
VEVOR®
TOUGH TOOLS, HALF PRICE
MODEL: HQS-36AY/HQS-36BY
PRODUCT INTRODUCTION

PRODUCT PARAMETER
STEP 5
STEP 6
STEP 7
C/O YH Consulting Limited Office 147,
Centurion House, London Road,
Staines-upon-Thames, Surrey, TW18 4AX
| EC | REP |
E-CrossStu GmbH
Mainzer Landstr.69,
60329 Frankfurt am Main.
VEVOR®
TOUGH TOOLS, HALF PRICE
Technical Support and E-warranty certificate www.vevor.com/support
Roof ventilation
MODEL: HQS-36AY/HQS-36BY
< Photo for reference only >
NEED HELP? CONTACT US!
PRODUCT INTRODUCTION

PRODUCT PARAMETER
STEP 5
STEP 6
STEP 7
Anaheim Place, Rancho Cucamonga, CA 91730
| UK | REP |
YH CONSULTING LIMITED.
C/O YH Consulting Limited Office 147,
Centurion House, London Road,
Staines-upon-Thames, Surrey, TW18 4AX
| EC | REP |
E-CrossStu GmbH
Mainzer Landstr.69,
60329 Frankfurt am Main.
VEVOR®
TOUGH TOOLS, HALF PRICE
www.vevor.com/support
VEVOR®
TOUGH TOOLS, HALF PRICE
MODEL: HQS-36AY/HQS-36BY
PRODUCT INTRODUCTION
PRODUCT PARAMETER
| Modell | HQS-36AY/HQS-36BY |
| Spänning | DC12V |
| Driva | 22W |
STEP 5
STEG 6
STEG 7
C/O YH Consulting Limited Office 147,
Centurion House, London Road,
Staines-upon-Thames, Surrey, TW18 4AX
| EC | REP |
E-CrossStu GmbH
Mainzer Landstr.69,
60329 Frankfurt am Main.
VEVOR®
TOUGH TOOLS, HALF PRICE
MODEL: HQS-36AY/HQS-36BY
PRODUCT INTRODUCTION

PRODUCT PARAMETER
STEP 5
STEP 6
STEP 7
C/O YH Consulting Limited Office 147,
Centurion House, London Road,
Staines-upon-Thames, Surrey, TW18 4AX
| EC | REP |
E-CrossStu GmbH
Mainzer Landstr.69,
60329 Frankfurt am Main.
VEVOR®
TOUGH TOOLS, HALF PRICE
www.vevor.com/support
VEVOR®
TOUGH TOOLS, HALF PRICE
MODEL: HQS-36AY/HQS-36BY
PRODUCT INTRODUCTION
PRODUCT PARAMETER
| Modello | Modello HQS-36AY/HQS-36BY |
STEP 5
STEP 6
STEP 7
Imported into AUS: SIHAO PTY LTD. 1 ROKEVA STREET EASTWOOD NSW 2122 Australia
Imported into USA: Sanven Technology Ltd. Suite 250, 9166 Anaheim Place, Rancho Cucamonga, CA 91730
| UK | REP |
YH CONSULTING LIMITED.
C/O YH Consulting Limited Office 147,
Centurion House, London Road,
Staines-upon-Thames, Surrey, TW18 4AX
| EC | REP |
E-CrossStu GmbH
Mainzer Landstr.69,
60329 Frankfurt am Main.
VEVOR®
TOUGH TOOLS, HALF PRICE
www.vevor.com/support
- ROOF VENT
- MODEL: HQS-36AY/HQS-36BY
- MODEL: HQS-36AY
- NEED HELP? CONTACT US
- TECHNICAL SUPPORT AND E-WARRANTY CERTIFICATE WWW.VEVOR.COM/SUPPORT
- IMPORTANT SAFEGUARDS
- CORRECT DISPOSAL
- FCC INFORMATION
- NOTICE BEFORE USE
- CAUTION
- PRODUCT INTRODUCTION
- PART LIST
- OPERATING
- INSTALLATION INSTRUCTIONS
- STEP
- VEVOR®
- TOUGH TOOLS, HALF PRICE
- ROOF VENTILATION
- STEG
- PRODUCT PARAMETER
Brand : Vevor
Model : HQS-36AY
Category : Fan