
TC4268 - Trailer Vevor - Free user manual and instructions
Find the device manual for free TC4268 Vevor in PDF.
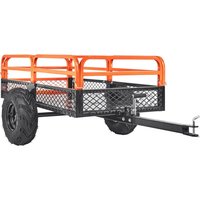


| Product Type | Folding utility trailer |
| Brand | Vevor |
| Model | TC4268 |
| Load Volume | 15 ft³ (0.42 m³) |
| Platform Dimensions (LxWxH) | 1370 x 710 x 395 mm (54 x 28 x 15.5 inches) |
| Maximum Load Capacity | 1500 lb (680 kg) |
| Empty Weight | Approximately 45 kg (estimated) |
| Frame Material | Painted steel |
| Platform Covering | Plastic mat |
| Wheels | 2 pneumatic wheels with steel rims |
| Hitch | Standard 50 mm ball (not included) |
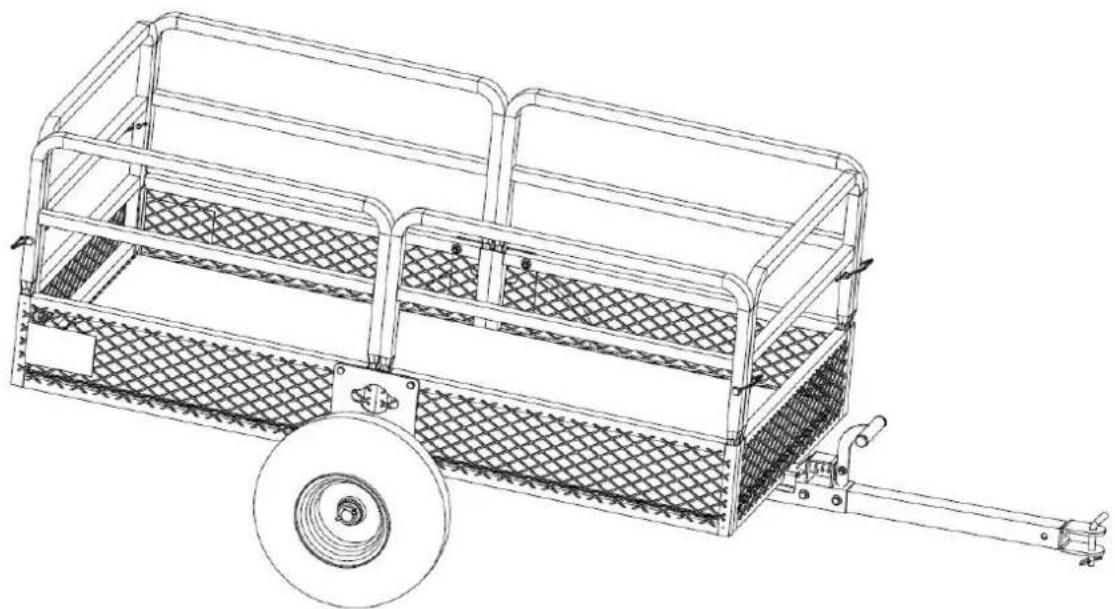
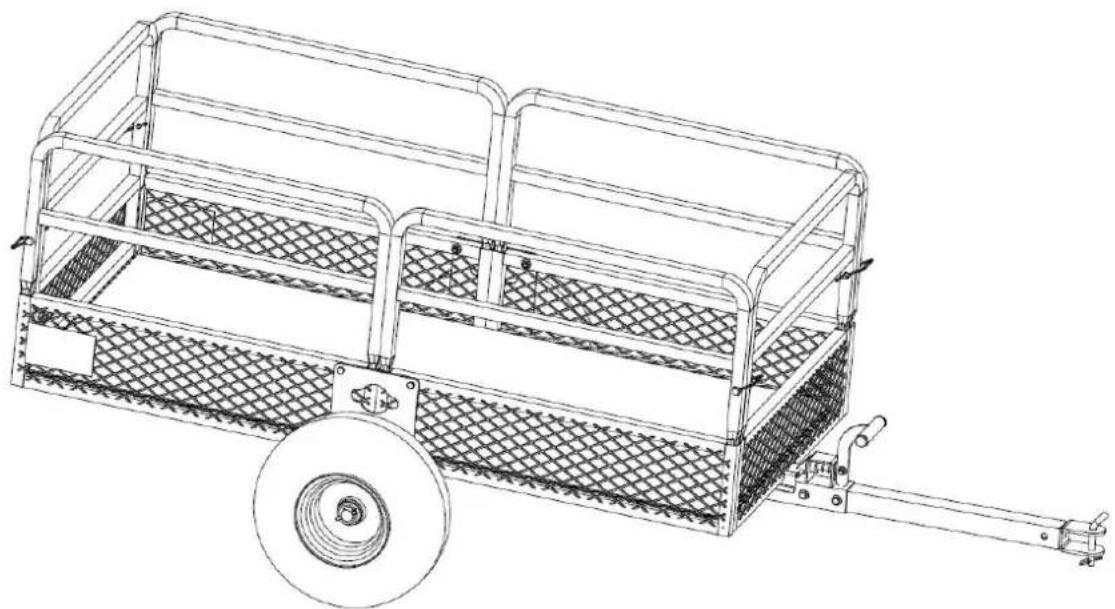
| Guardrails | 4 removable side, front and rear panels |
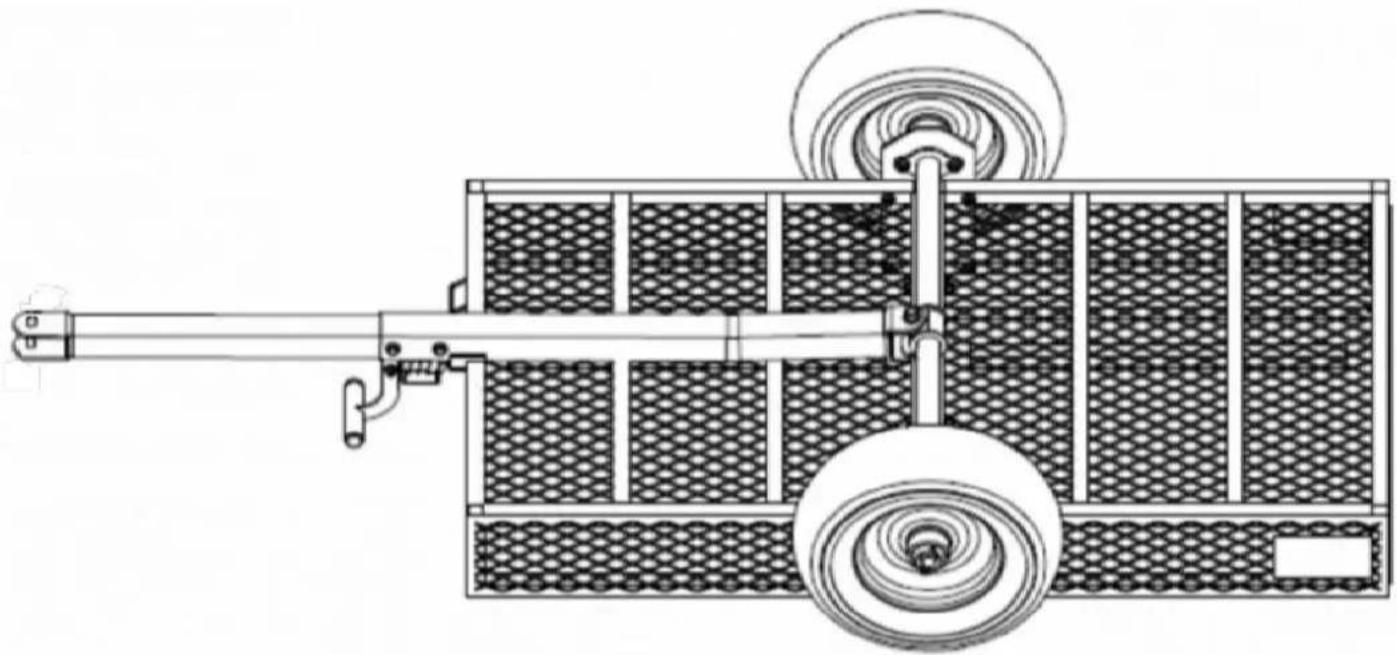
| Assembly | Requires assembly, 20 minutes by 2 people |
| Required Tools | Wrenches, screwdrivers (not provided) |
| Safety | Do not sit or stand, do not exceed load, inspect before use |
| Maintenance | Check bolts, grease axles, inflate tires |
| Spare Parts | Available upon request from Vevor |
| Warranty | 1 year (standard) |
Frequently Asked Questions - TC4268 Vevor
User questions about TC4268 Vevor
0 question about this device. Answer the ones you know or ask your own.
Ask a new question about this device
Download the instructions for your Trailer in PDF format for free! Find your manual TC4268 - Vevor and take your electronic device back in hand. On this page are published all the documents necessary for the use of your device. TC4268 by Vevor.
USER MANUAL TC4268 Vevor
Affordable. Reliable. Home Improvement.
GARDEN TRAILERS
MODEL: TC4268/TC4278/TC4288
MODEL: TC4268/TC4278/TC4288

https://youtu.be/aIQyVCV19sY
For the installation video, please scan the QR code to access.
This is the original instruction. Please read all manual instructions carefully before operating. VEVOR reserves a clear interpretation of our user manual. The appeal of the product shall be subject to the product you received. Please forgive us; we won't inform you again if there are any technology or software updates on our products.
WARNING:
Read this material before using this product. Failure to do so can result in serious injury.
Assembly precautions
- Assemble only according to these instructions. Improper assembly can create a hazard.
- Wear ANSI-approved safety goggles and heavy-duty work gloves during assembly.
- Keep the assembly area clean and well-lit.
- Keep bystanders out of the area during assembly.
- Do not assemble if tired or when under the influence of alcohol, drugs, or medication.
- The product capabilities apply to properly and completely assembled products only.
- Assemble on a flat, level, hard and smooth surface capable of safely supporting the Garden Trailer.
- For additional information regarding the parts listed in the following pages, please refer to the Assembly Diagram of this manual. Unwrap and separate all parts in a clean way.
- It is estimated that the installation of this product can be completed in 20 minutes per person.
- Since a large number of screws are required for assembling this product, we have provided spare screws. Therefore, there is no need to worry if you have any remaining screws after completing the product assembly.
Use precautions
- DO NOT SIT OR STAND ON THIS ITEM.
- This product is not a toy. Do not allow children to play with or near this item.
- Do not exceed specified weight capacities.
- Use only on a flat, level, hard, and smooth surface that can safely support a fully loaded Garden Trailer.
- Use as intended only.
- Inspect before every use; do not use if parts are loose or damaged.
SAVE THIS MANUAL
PARTS LIST
| NO. | Explanatory Chart | NO. | Explanatory Chart |
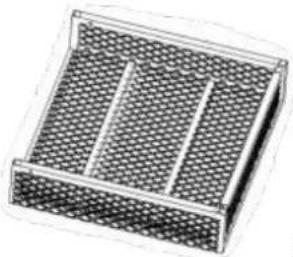
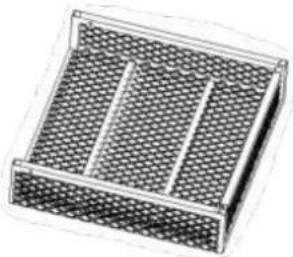
| 1 |  Frame A Frame A | 2 | 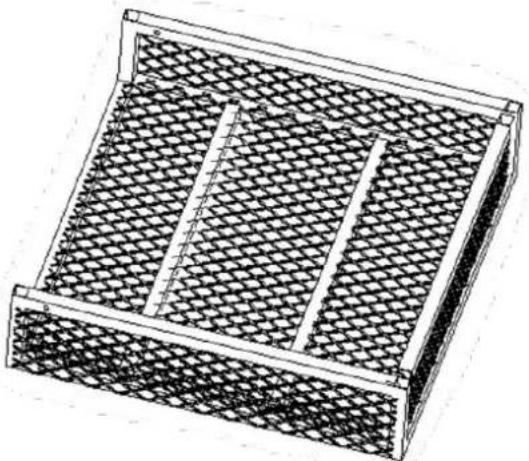 Frame B Frame B |
| 3 | 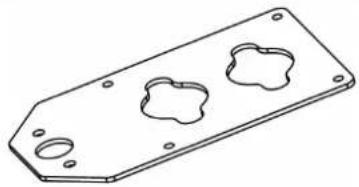 Fixed plate X2 Fixed plate X2 | 4 |  Axle Axle |
| 5 | 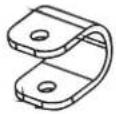 U - shaped part U - shaped part | 6 | 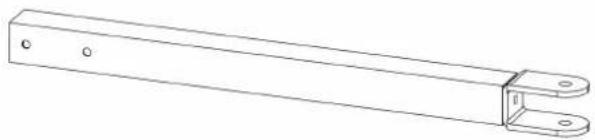 Connecting rod A Connecting rod A |
| 7 | 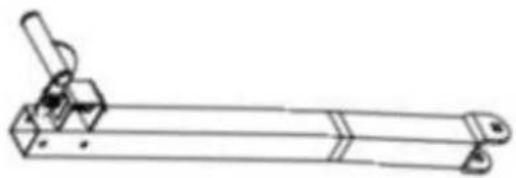 Connecting rod B Connecting rod B | 8 | 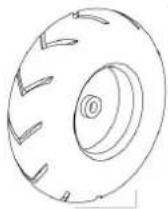 Wheel X2 Wheel X2 |
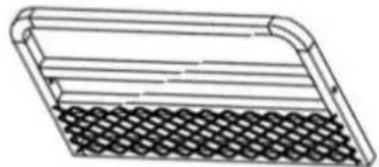
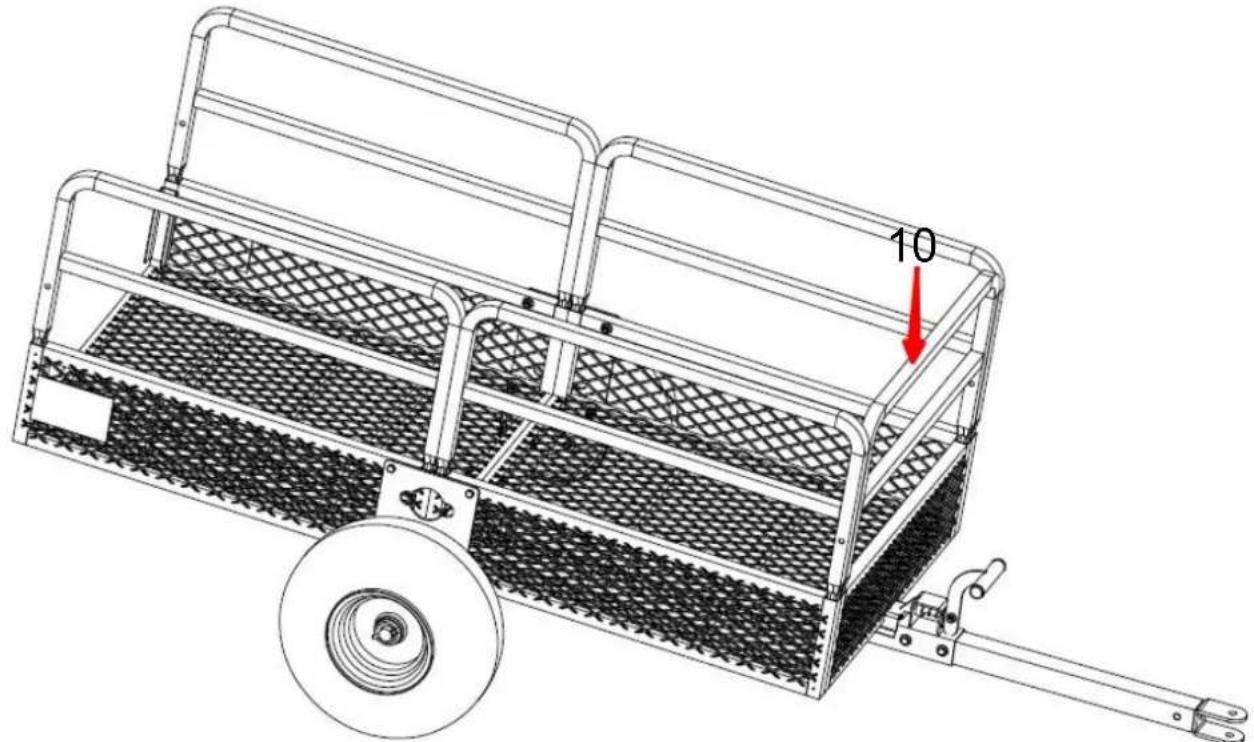
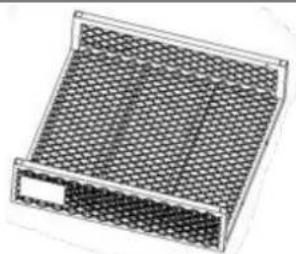
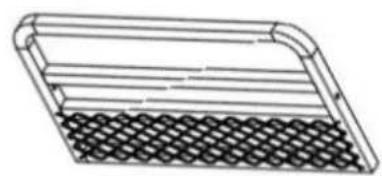
| 9 | 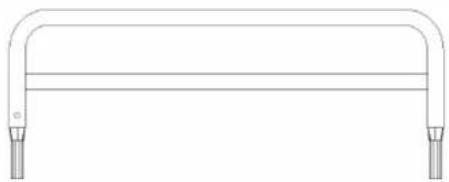 Left and right guardrails X4 Left and right guardrails X4 | 10 | 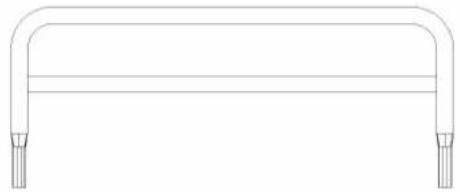 Front guardrail Front guardrail |
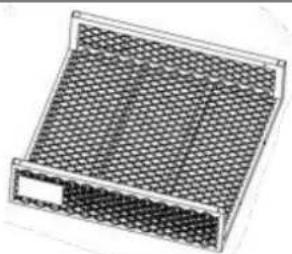
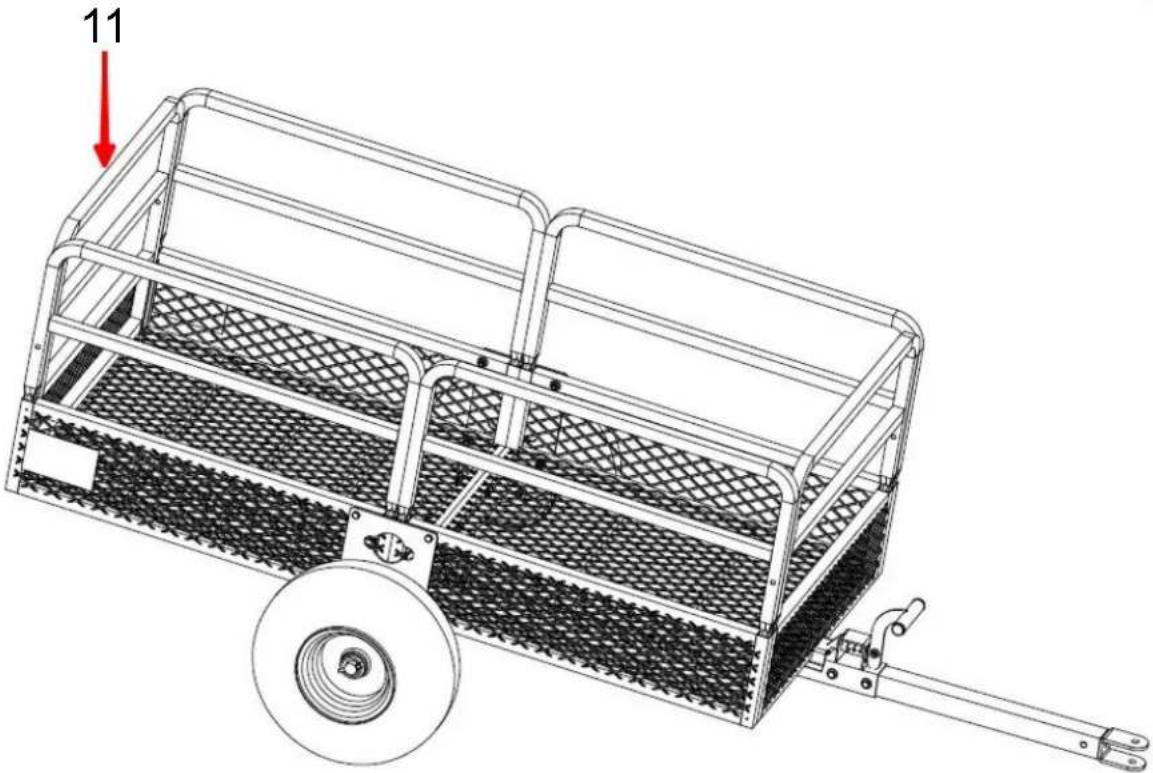
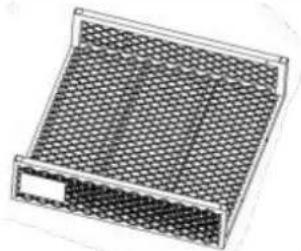
| 11 | 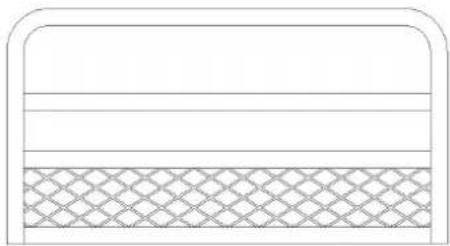 Rear guardrail Rear guardrail | 12 |  Plastic mat Plastic mat |
| NO. | Explanatory Chart | Quantity |
| A | 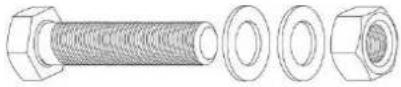 Screw M8*70mm Screw M8*70mm | 5 |
| B | 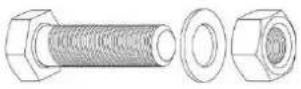 Screw M8*45mm Screw M8*45mm | 8 |
| C | 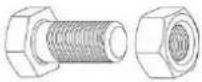 Screw M10*25mm Screw M10*25mm | 4 |
| D |  Washer φ 50*3mm Washer φ 50*3mm | 4 |
| E |  Screw M12*90mm Screw M12*90mm | 1 |
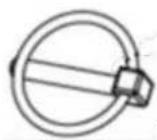
| F | 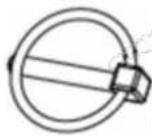 O - type cotter pin O - type cotter pin | 2 |
| G |  pin pin | 1 |
| H | 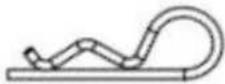 R - type cotter pin R - type cotter pin | 1 |
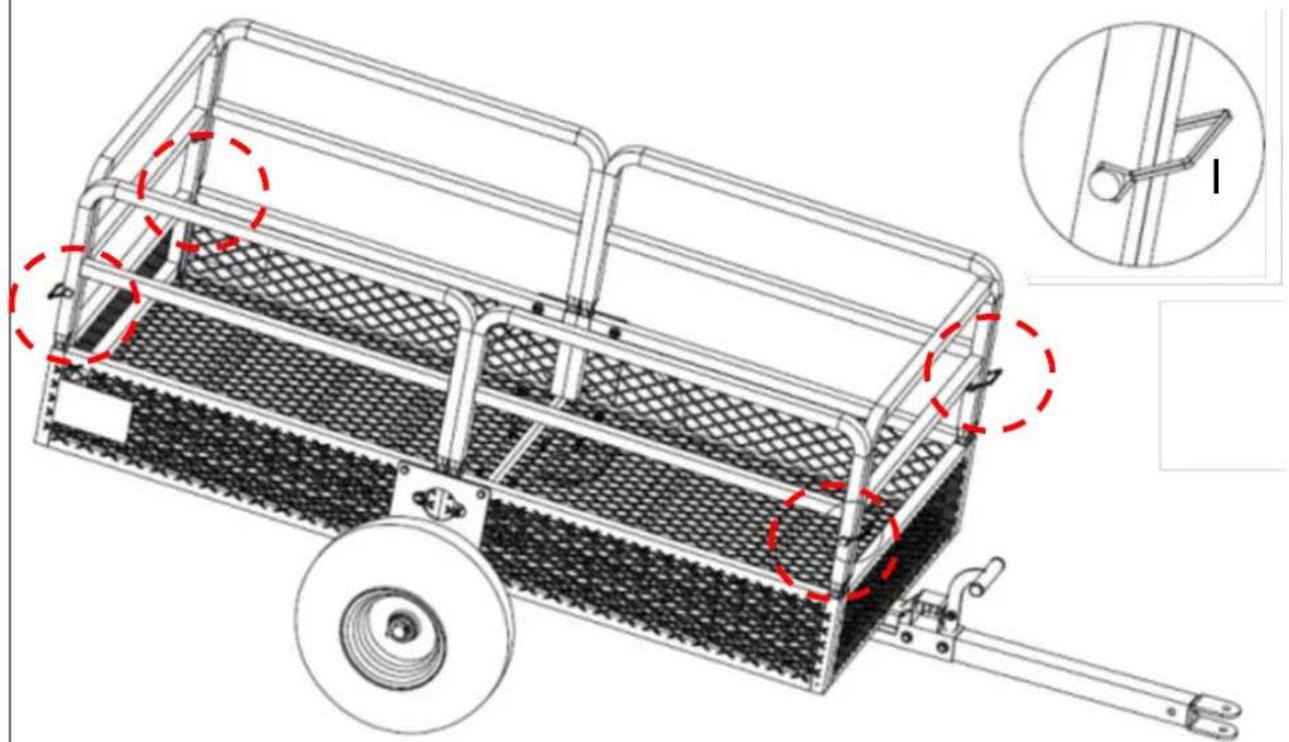
| I | 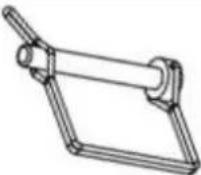 D - type cotter pin D - type cotter pin | 4 |
 x2 x2 | ||
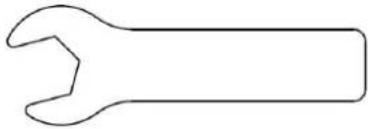 x1 x1 | ||

ASSEMBLY STEP
STEP 1
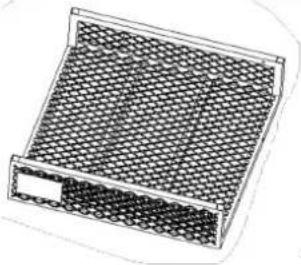
1 x 1
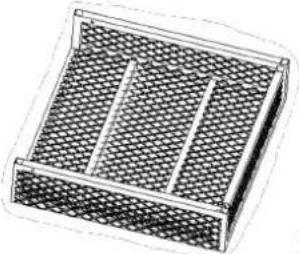
2x1
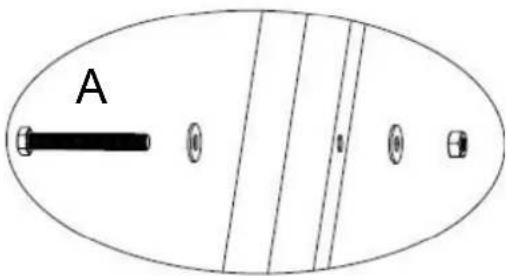
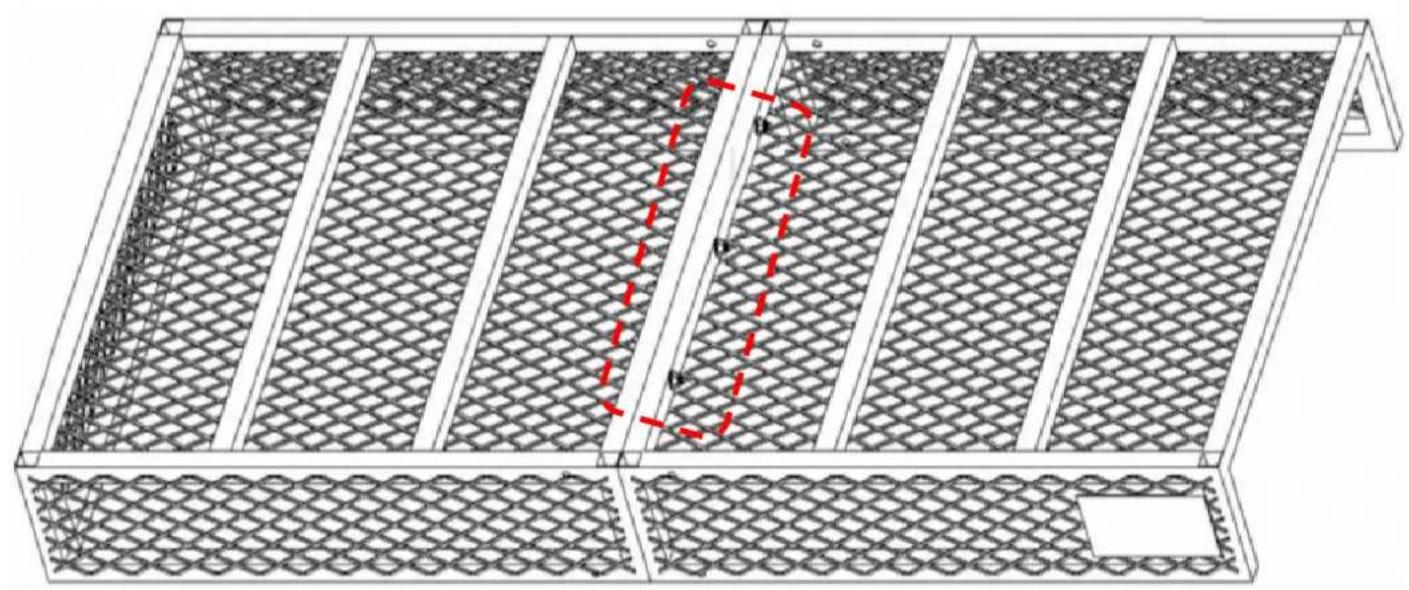
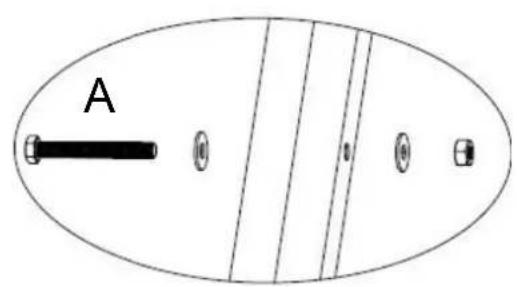
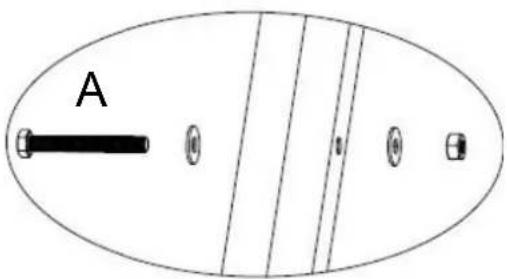
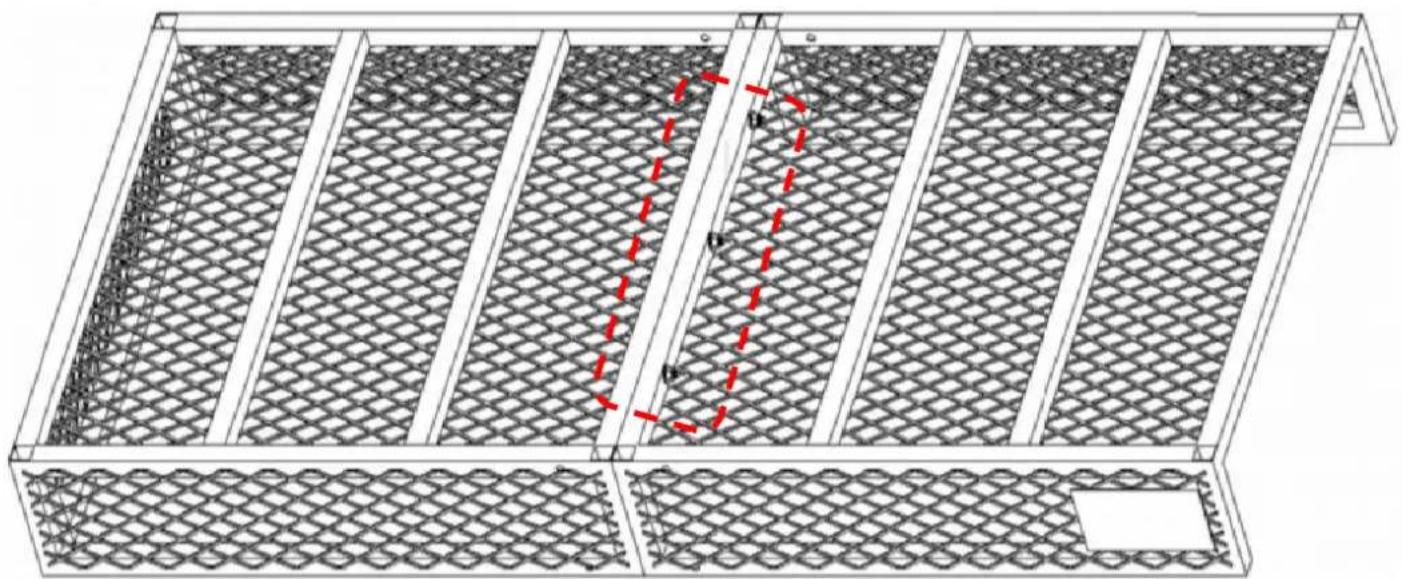
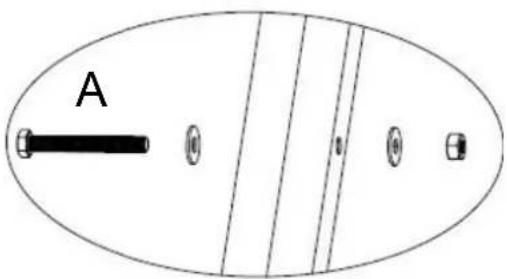
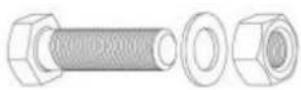
A x3 Screw M8*70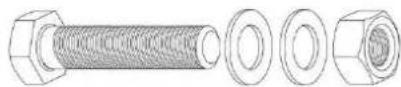
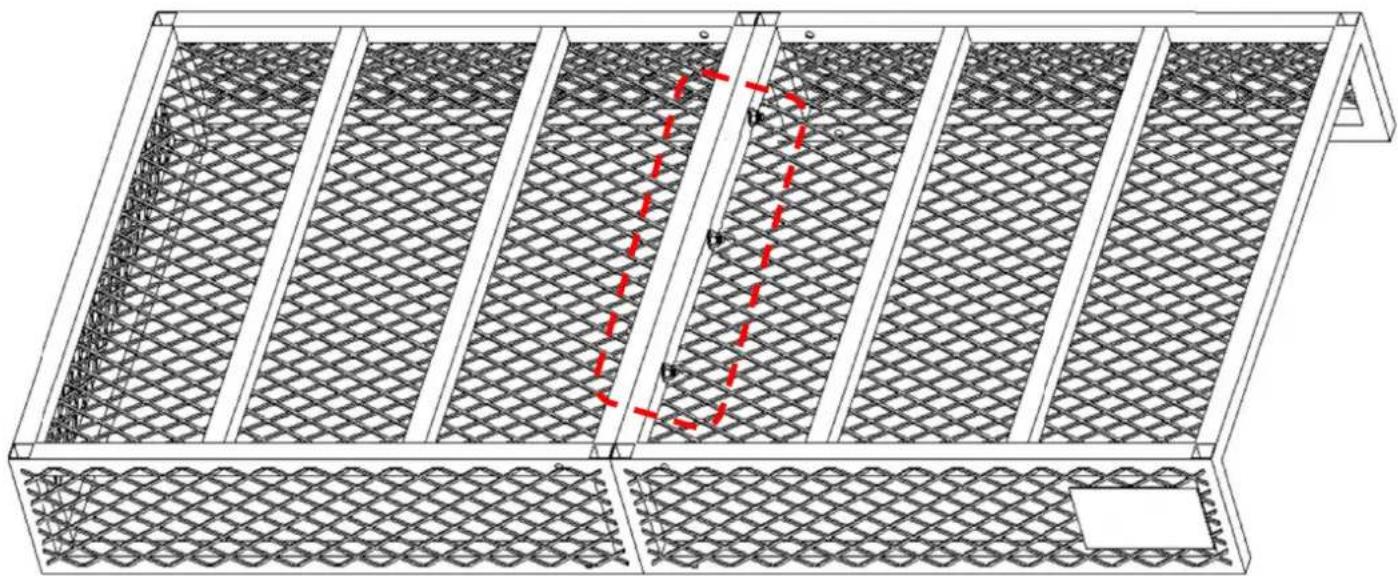
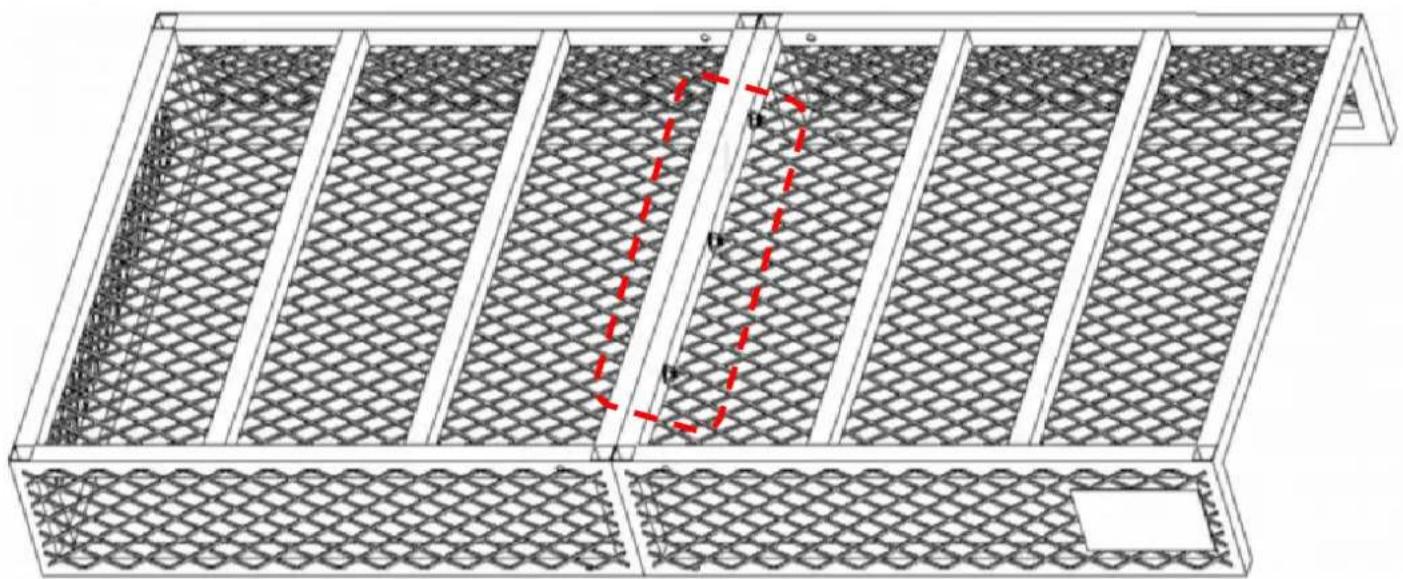
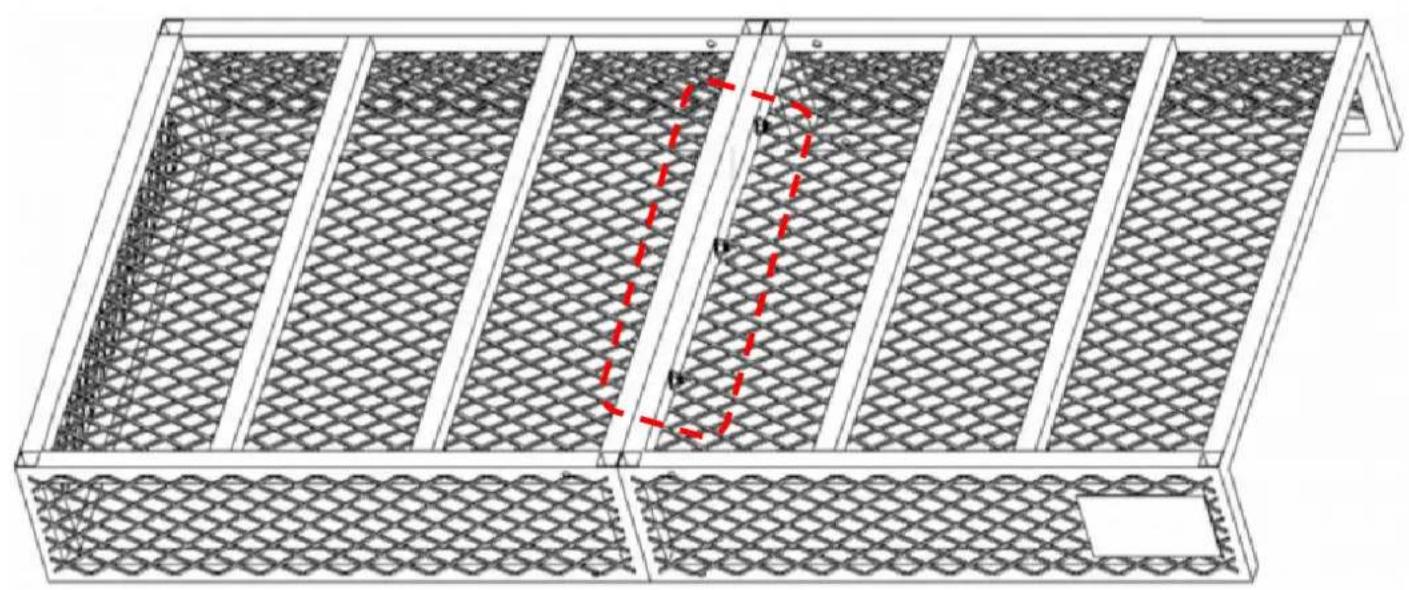
- Align Frame A (No.1) and Frame B (No.2) in the correct positions (with the cart bed facing...)
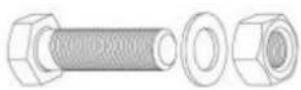
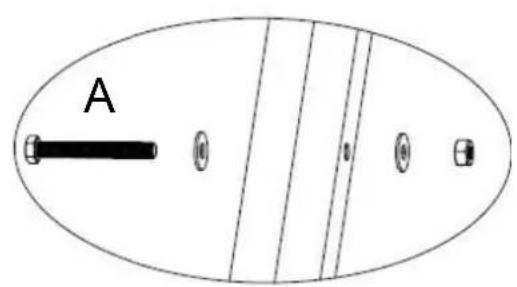
- When fixing the frame with screws, please note that the washers must be used as specified in the detail drawing.
- Finally, tighten them to secure the connection.
STEP 2
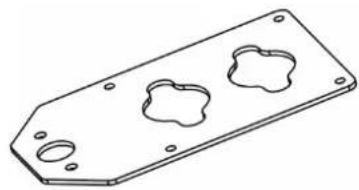
3 x 1

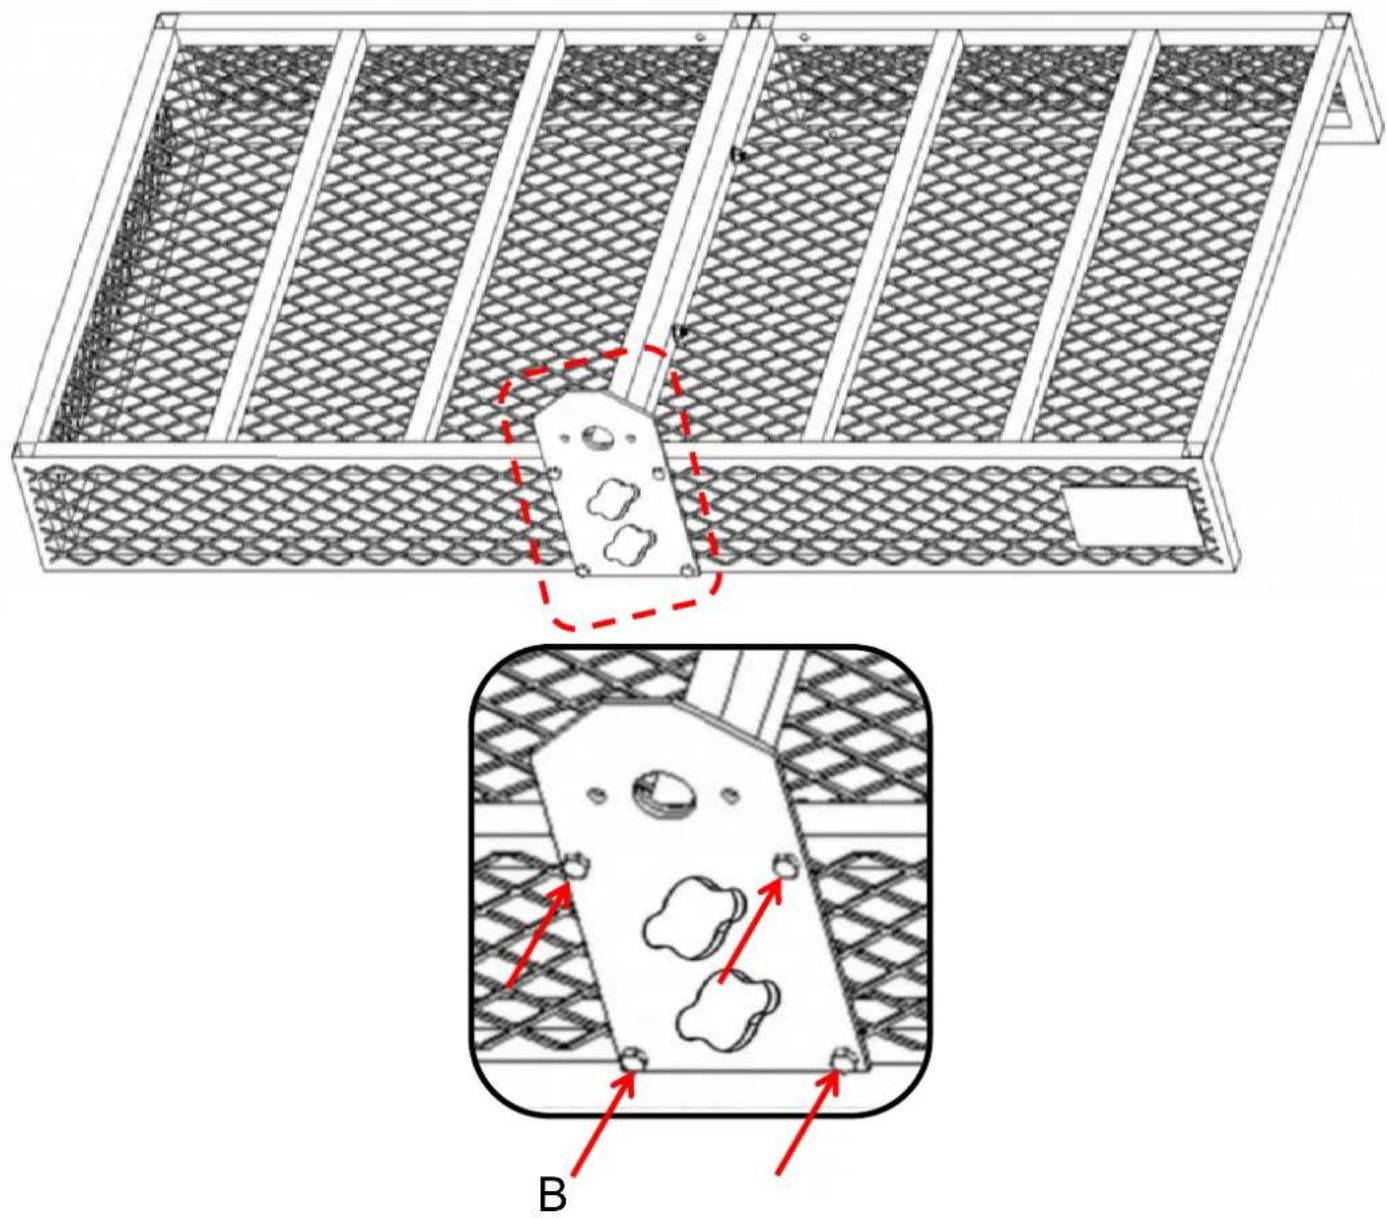
B x4 Screw M8*45
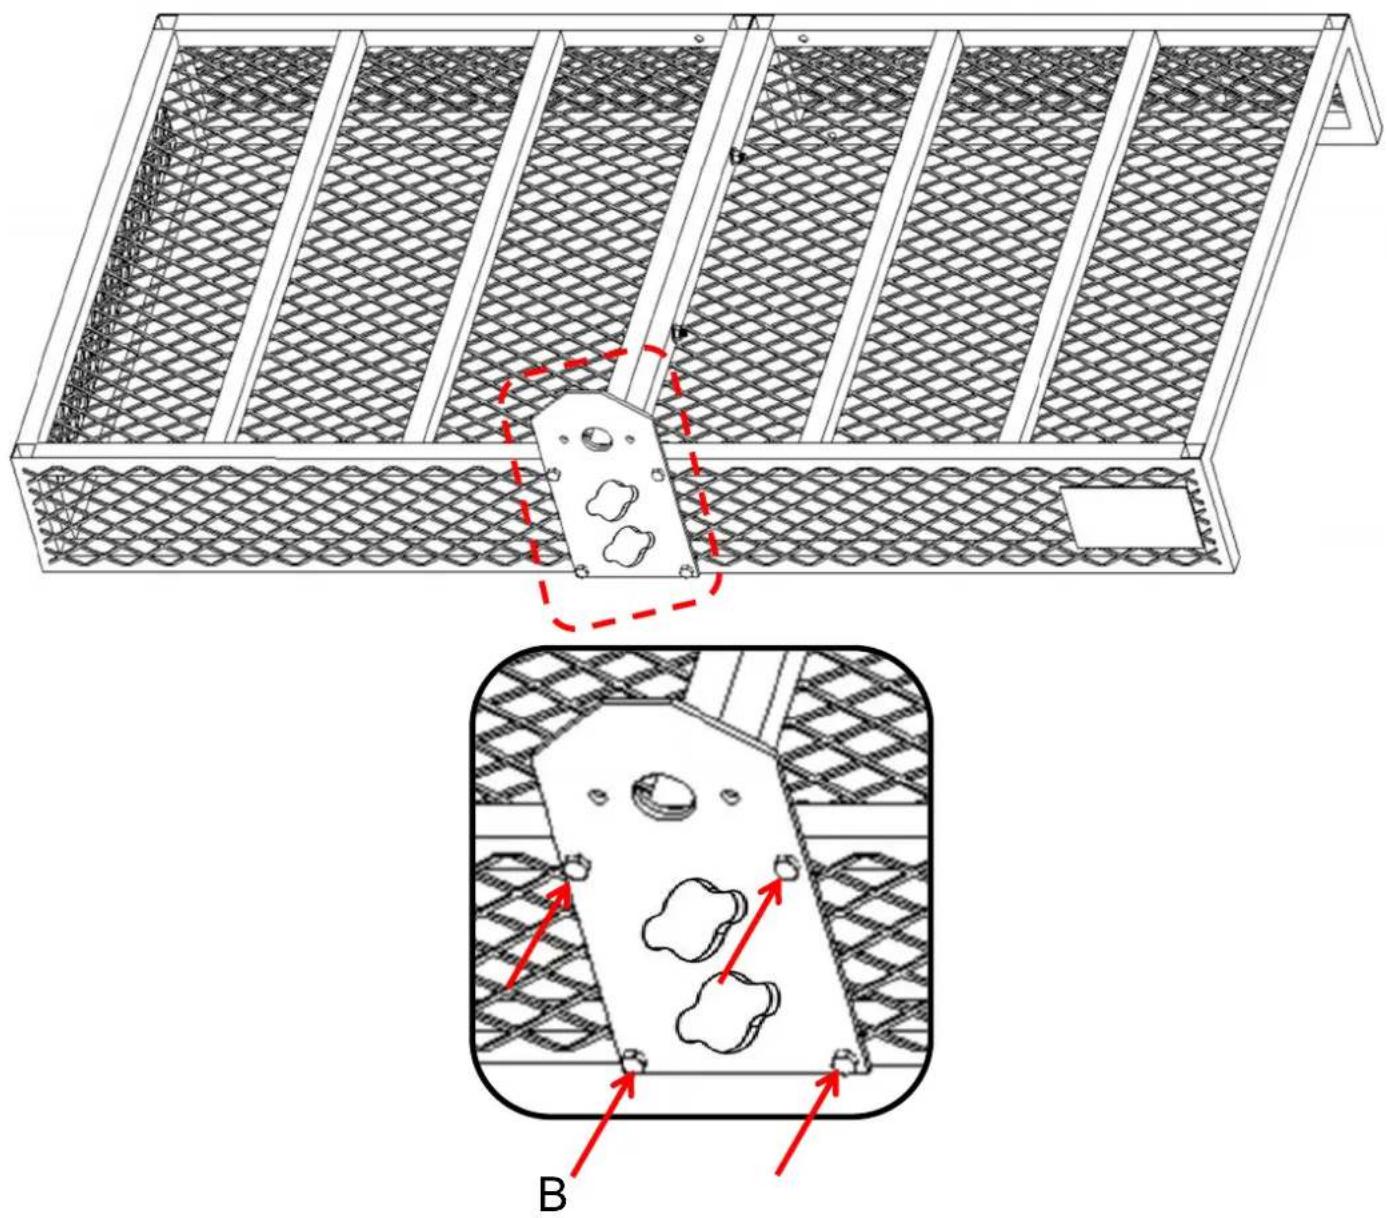
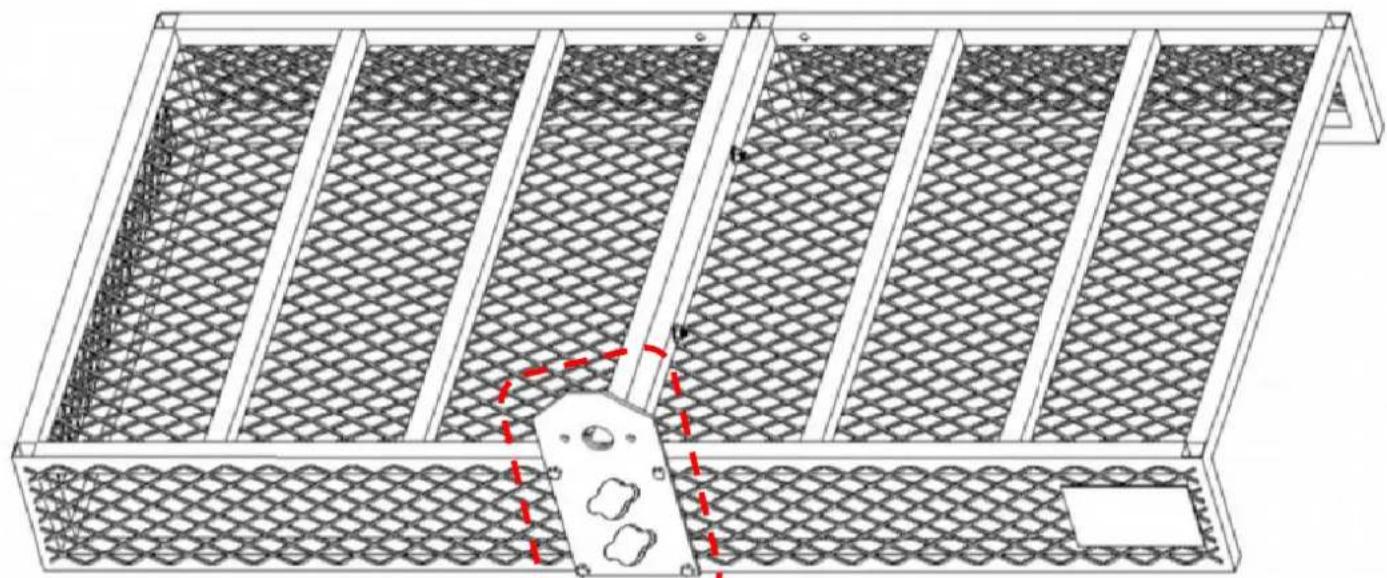
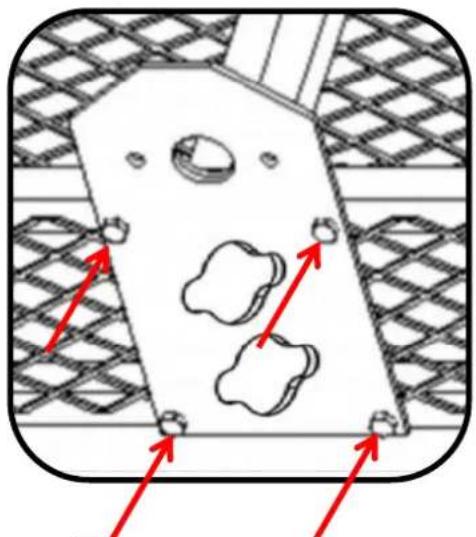
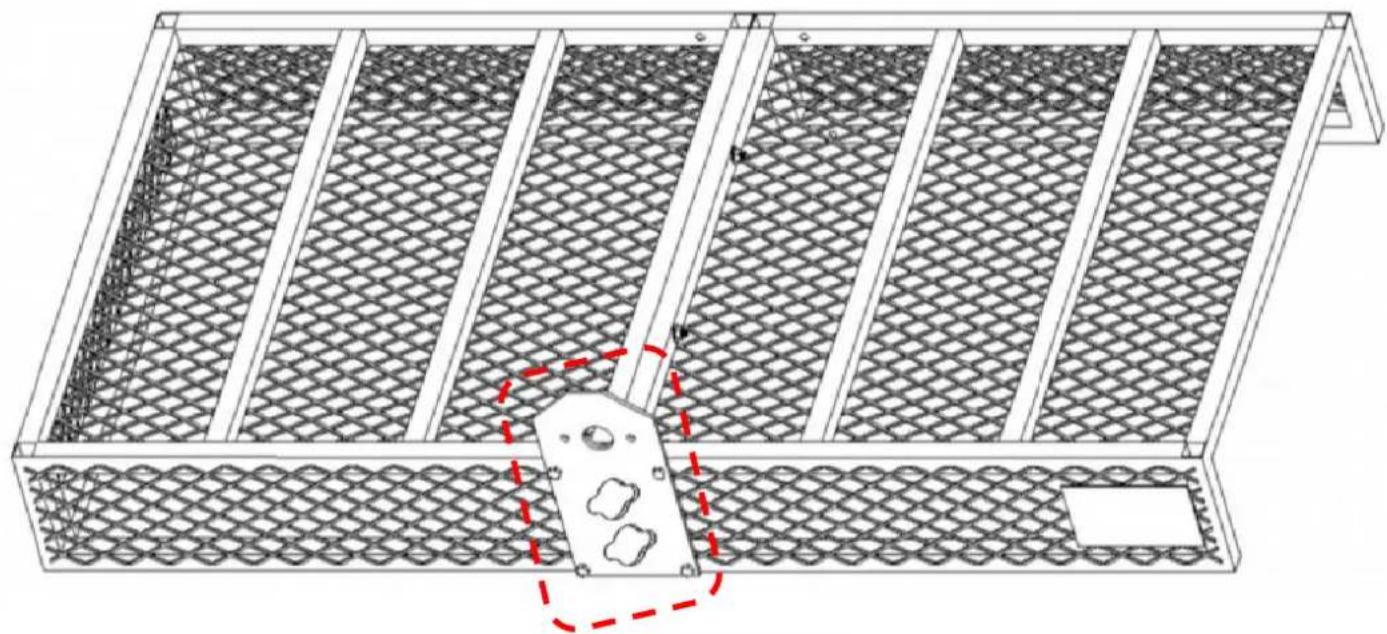
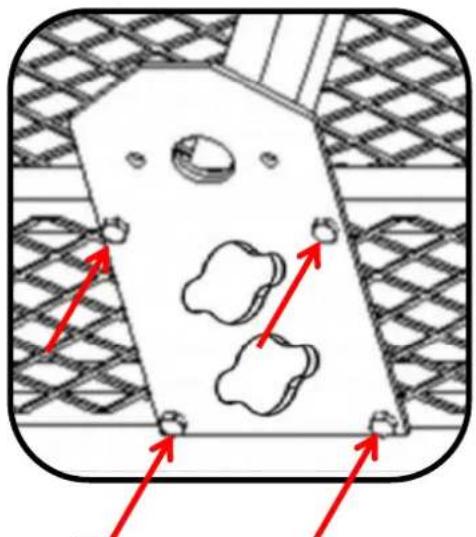
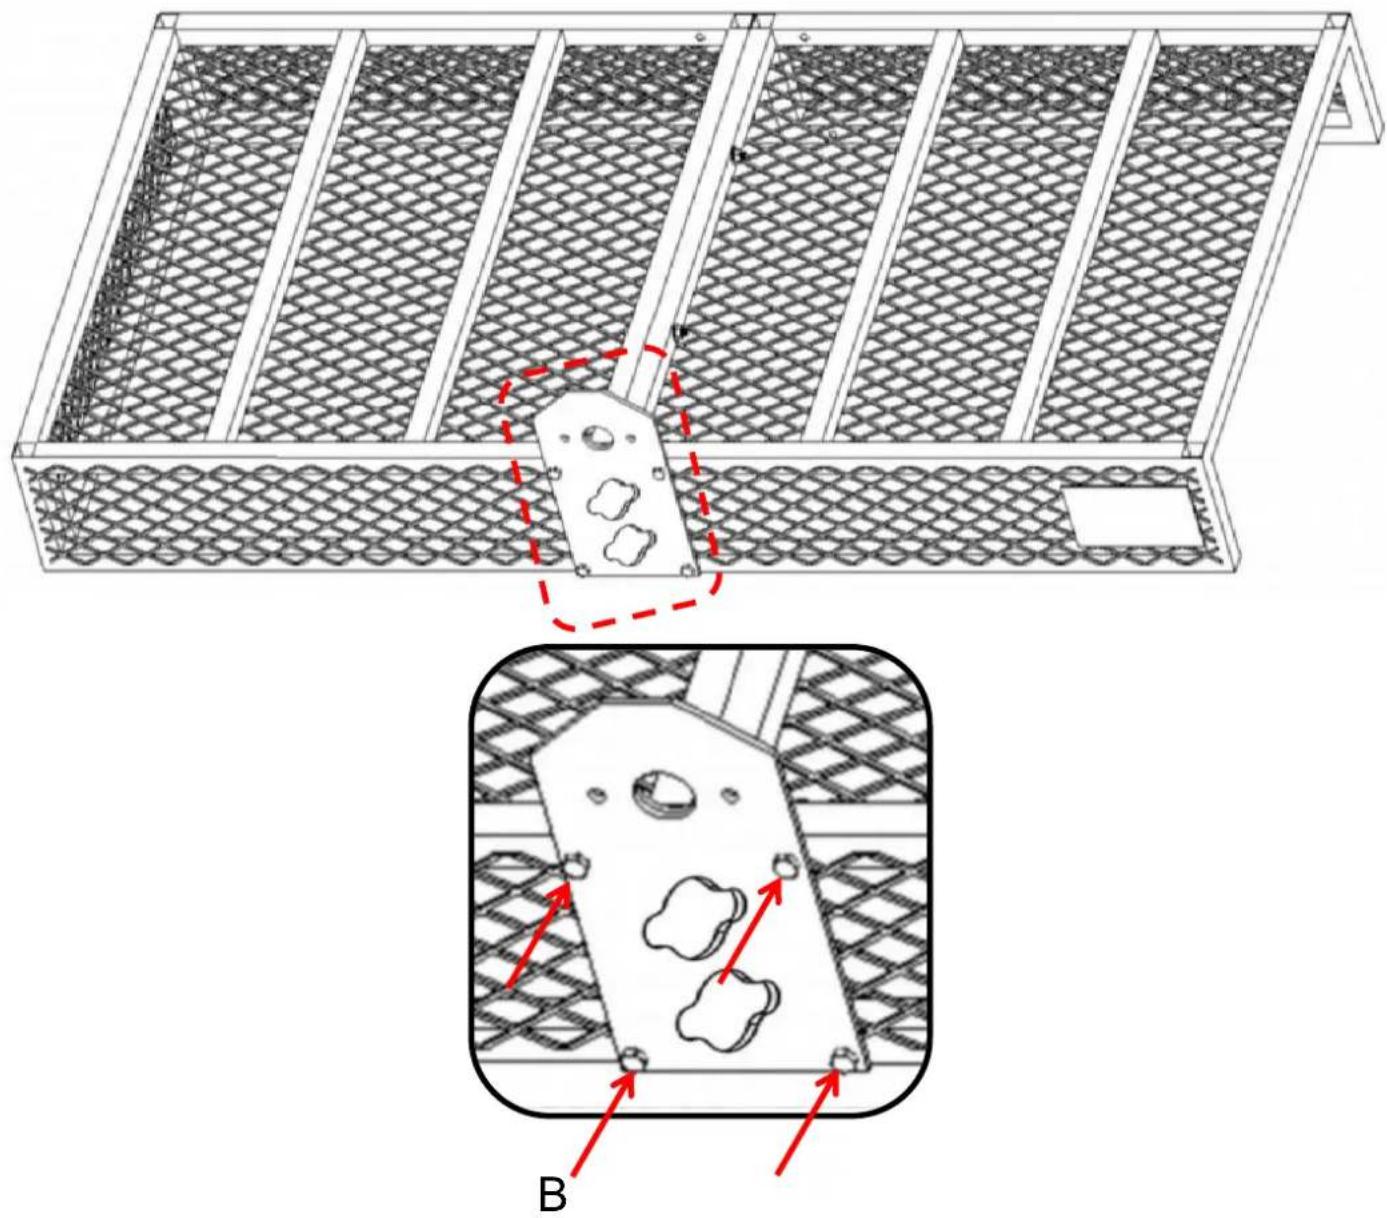
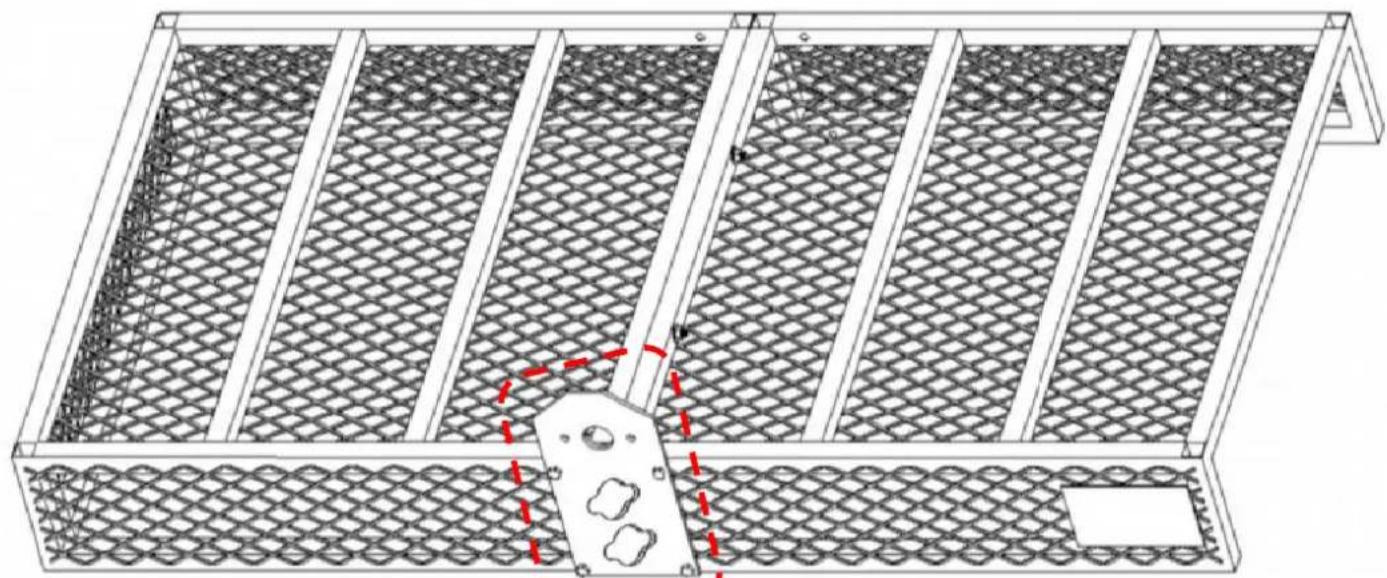
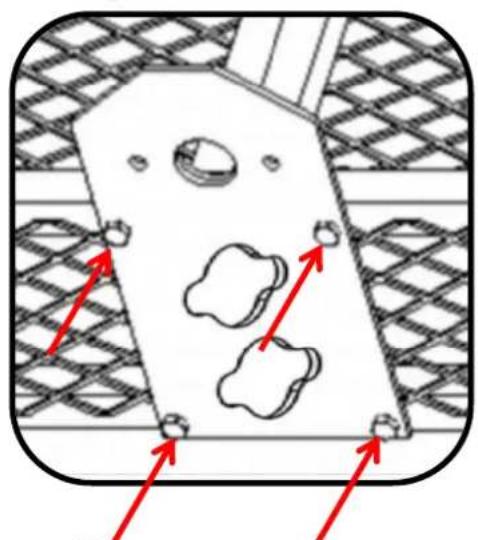
- Install the Fixed plate (No.3) on the Frame.
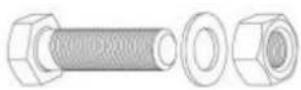
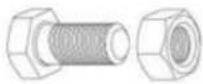
- At the fixing holes, insert Screw (No.B) first. Then place washer and nut in sequence.
- Finally, tighten them to secure the connection.
STEP 3

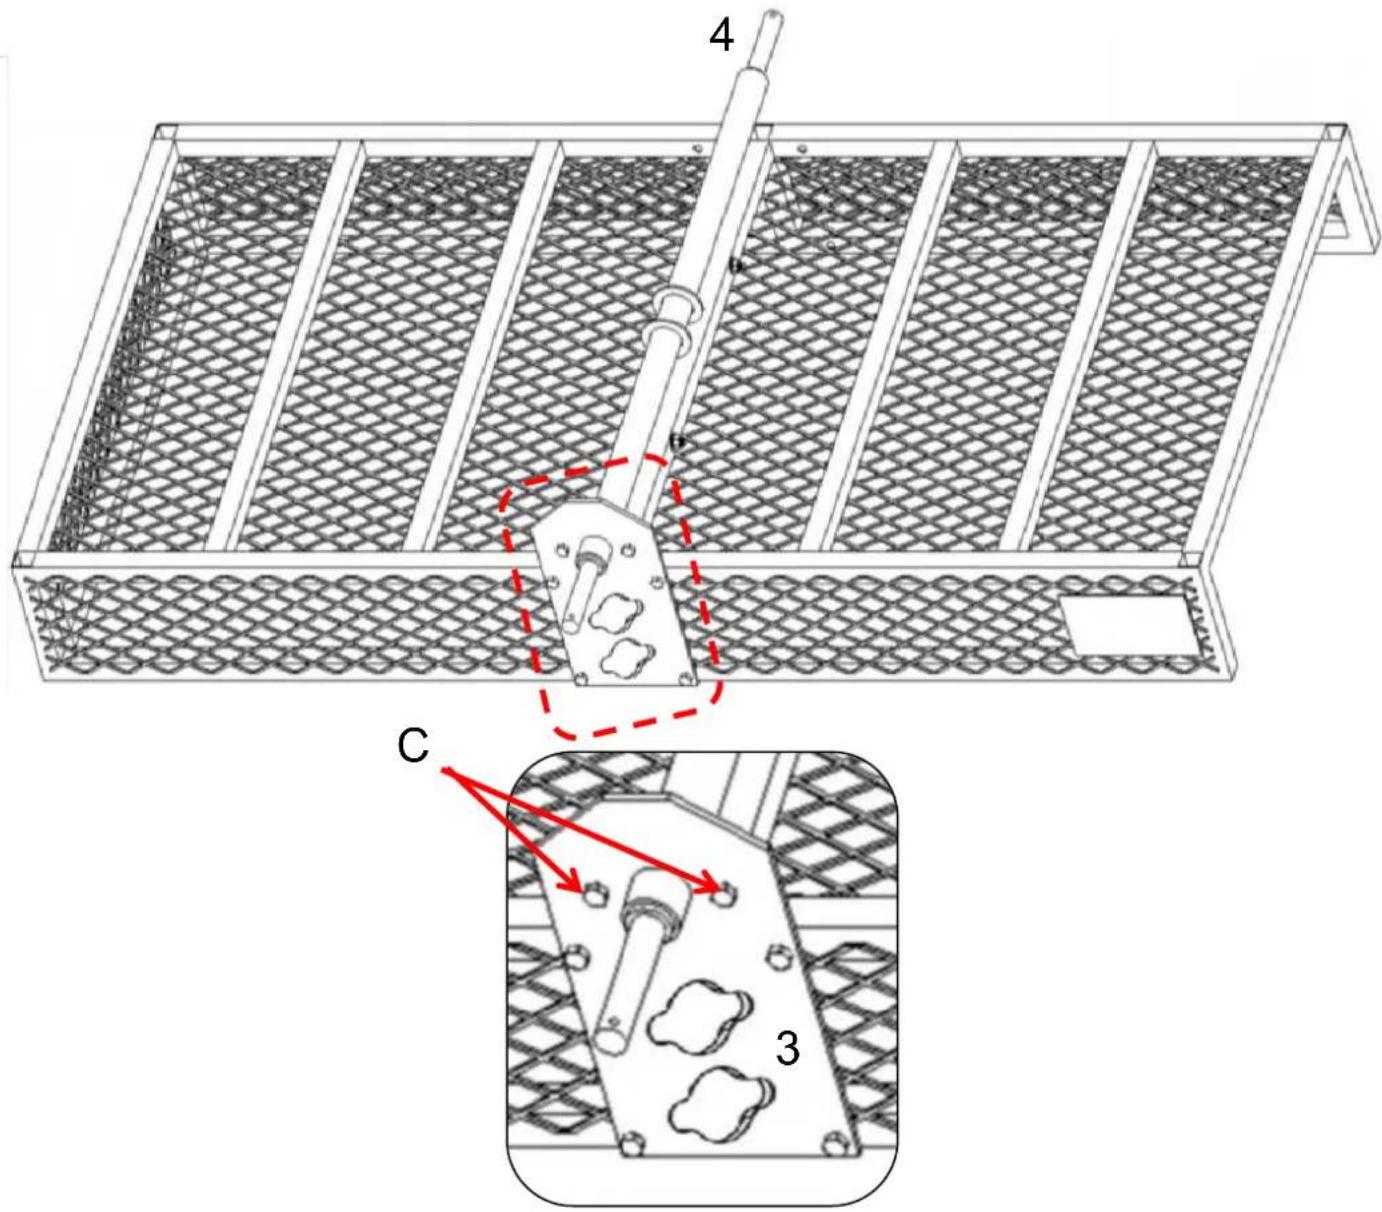
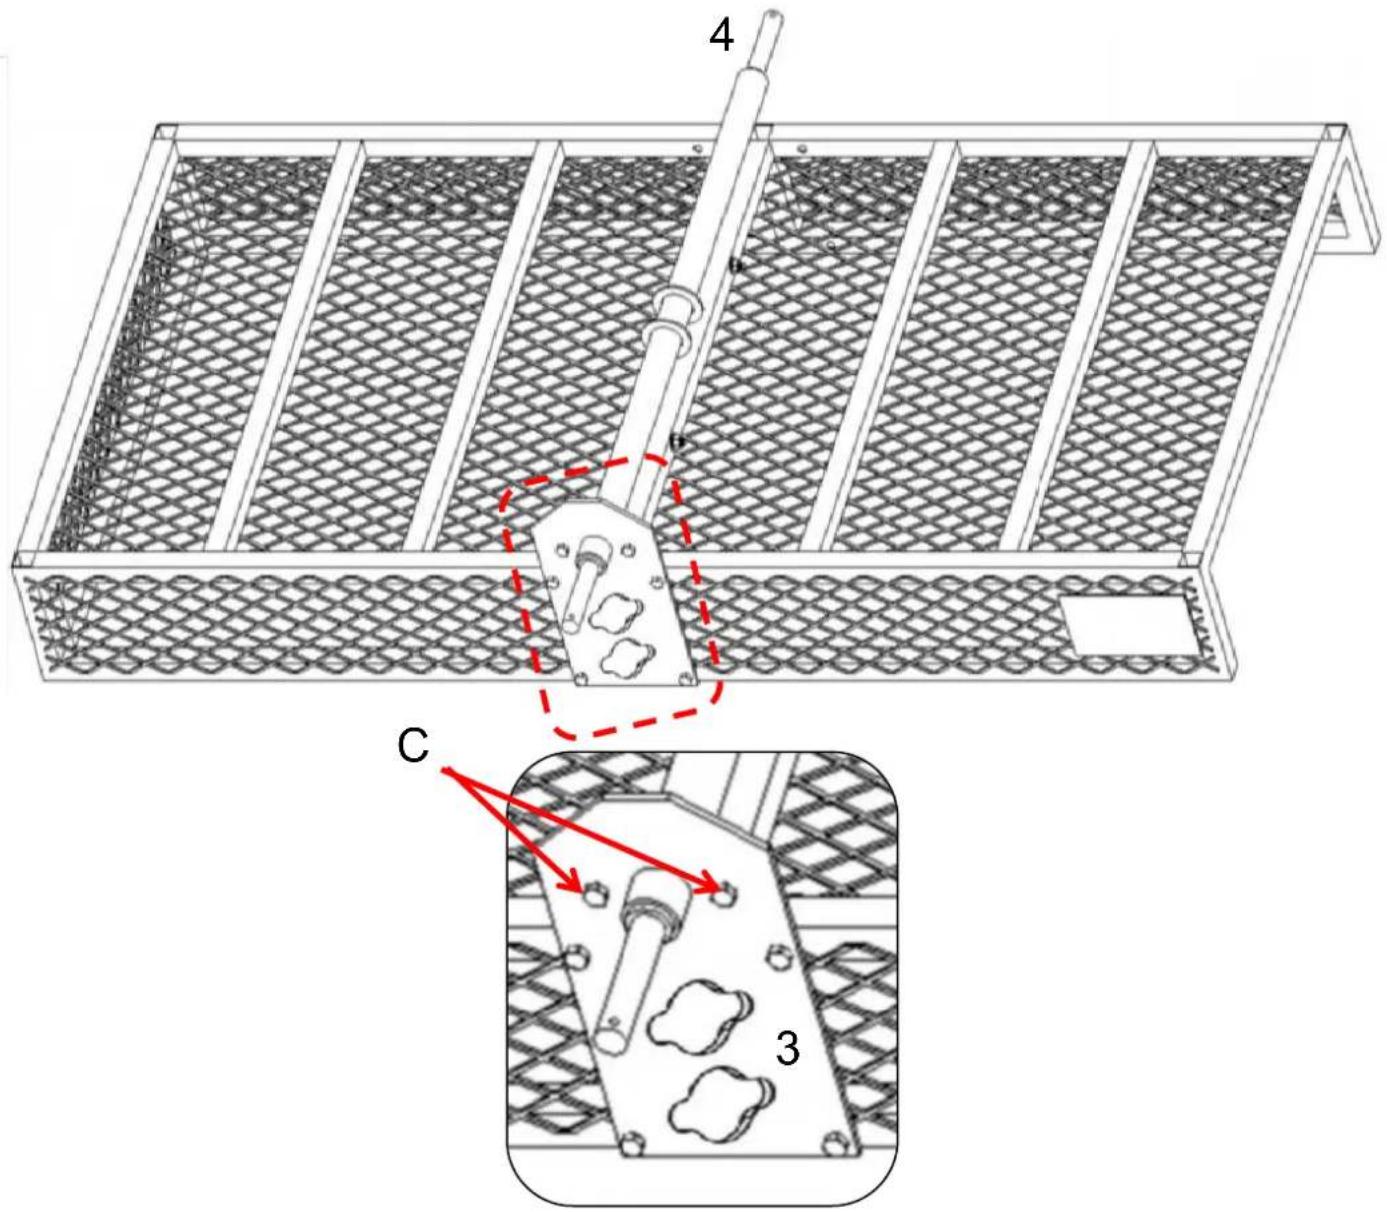
C x2 Screw M10*25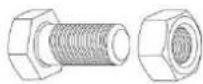
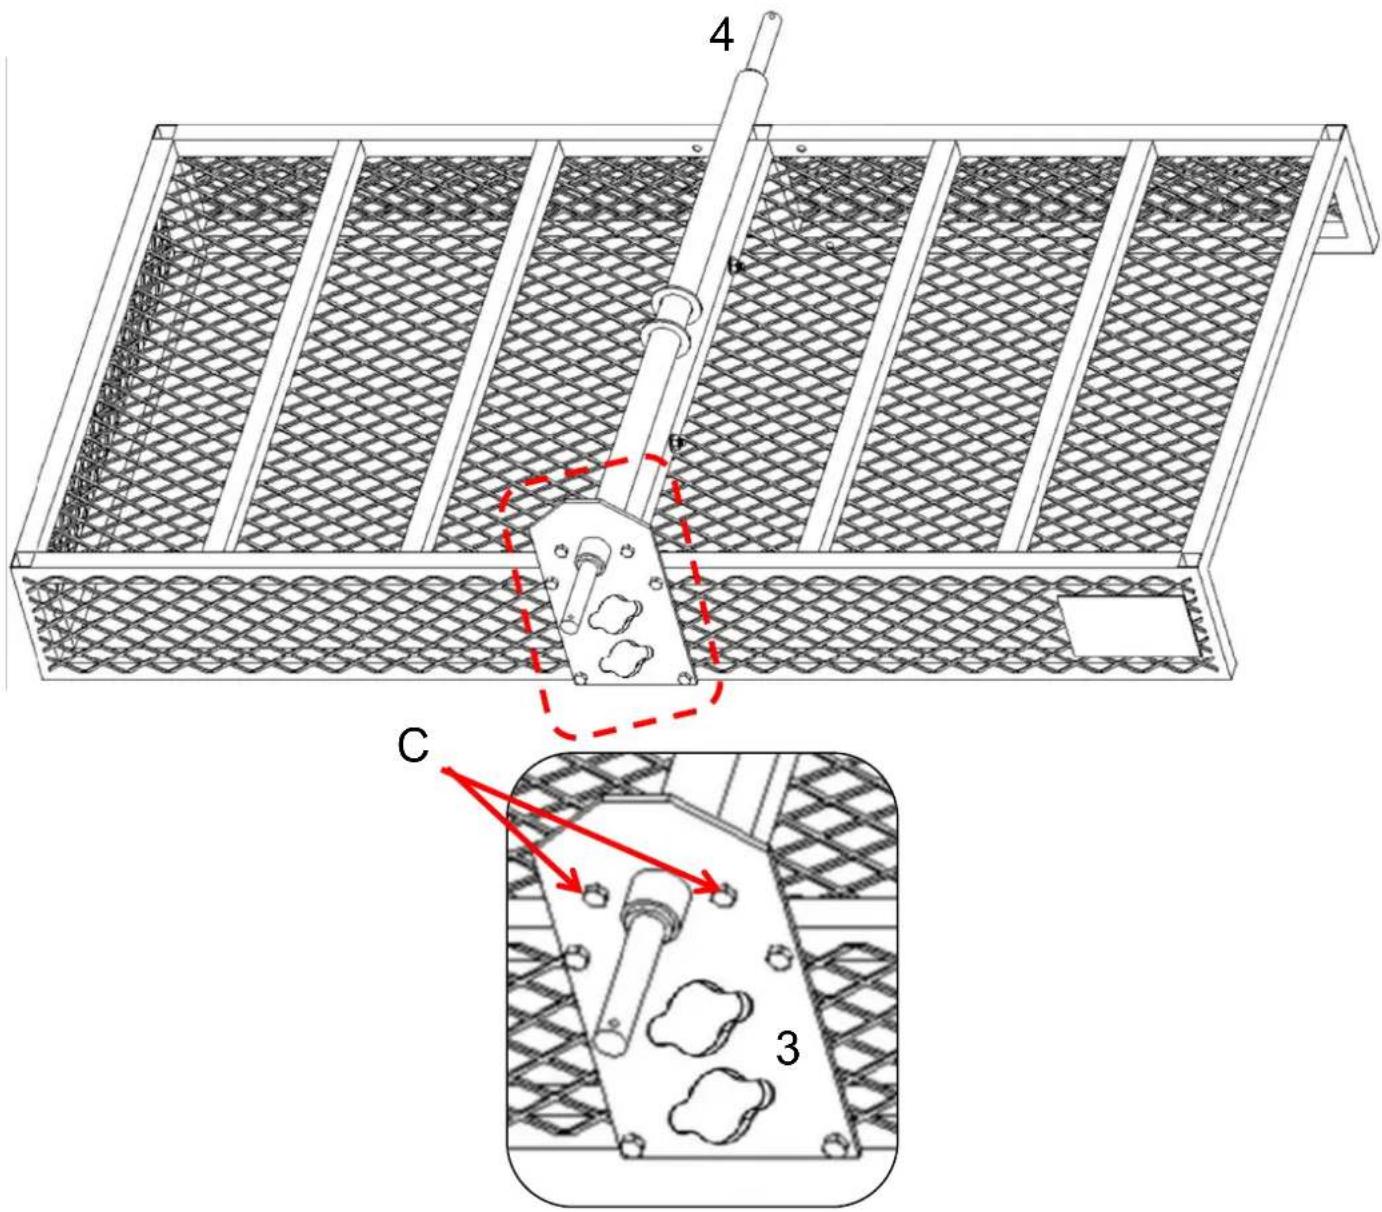
- Insert the Axle (No.4) into the holes of the Fixed plate (No.3).
- Insert Screw (No.C) into the connection holes between the Axle and the Fixed plate. On the other side, place washer and nut in sequence.
- Finally, tighten them to secure the connection.
| STEP 4 | ||
 3 x1 3 x1 | 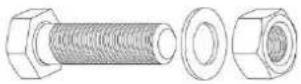 B x4Screw M8*45 B x4Screw M8*45 | 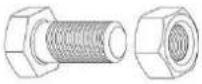 C x2 Screw M10*25 C x2 Screw M10*25 |
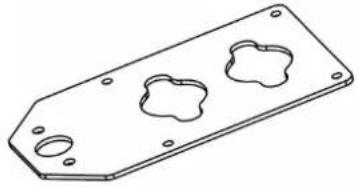
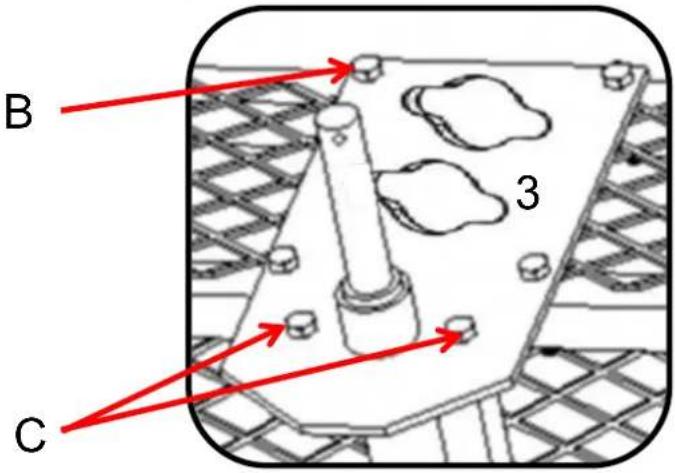 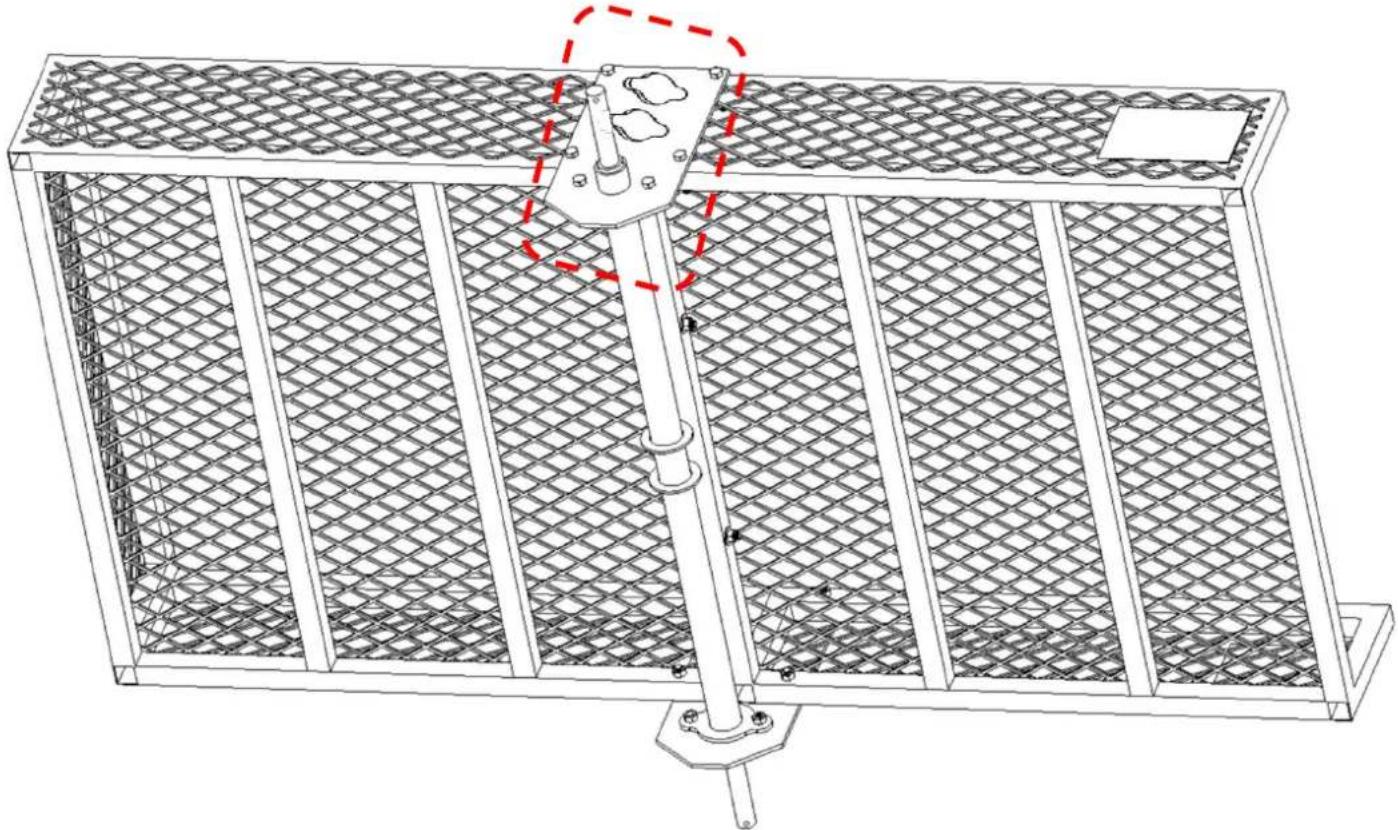 1. Insert the Axle(No.4) into the holes of the Fixed plate(No.3).2. Insert Screw(No.B) and Screw(No.C) into the connection holes between the Axle and tplate. Then, on the other side, place washer and nut in sequence.3. Finally, tighten them to secure the connection. 1. Insert the Axle(No.4) into the holes of the Fixed plate(No.3).2. Insert Screw(No.B) and Screw(No.C) into the connection holes between the Axle and tplate. Then, on the other side, place washer and nut in sequence.3. Finally, tighten them to secure the connection. | ||
- Insert the Axle (No.4) into the holes of the Fixed plate (No.3).
- Insert Screw (No.B) and Screw (No.C) into the connection holes between the Axle and the plate. Then, on the other side, place washer and nut in sequence.
- Finally, tighten them to secure the connection.
| STEP 5 | ||
 Ex1 Ex1 | 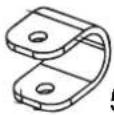 5 x1 5 x1 | 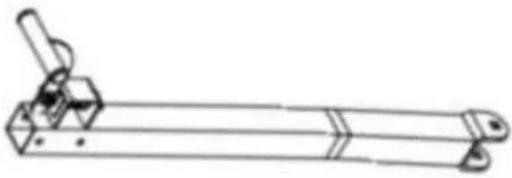 7 x1 7 x1 |
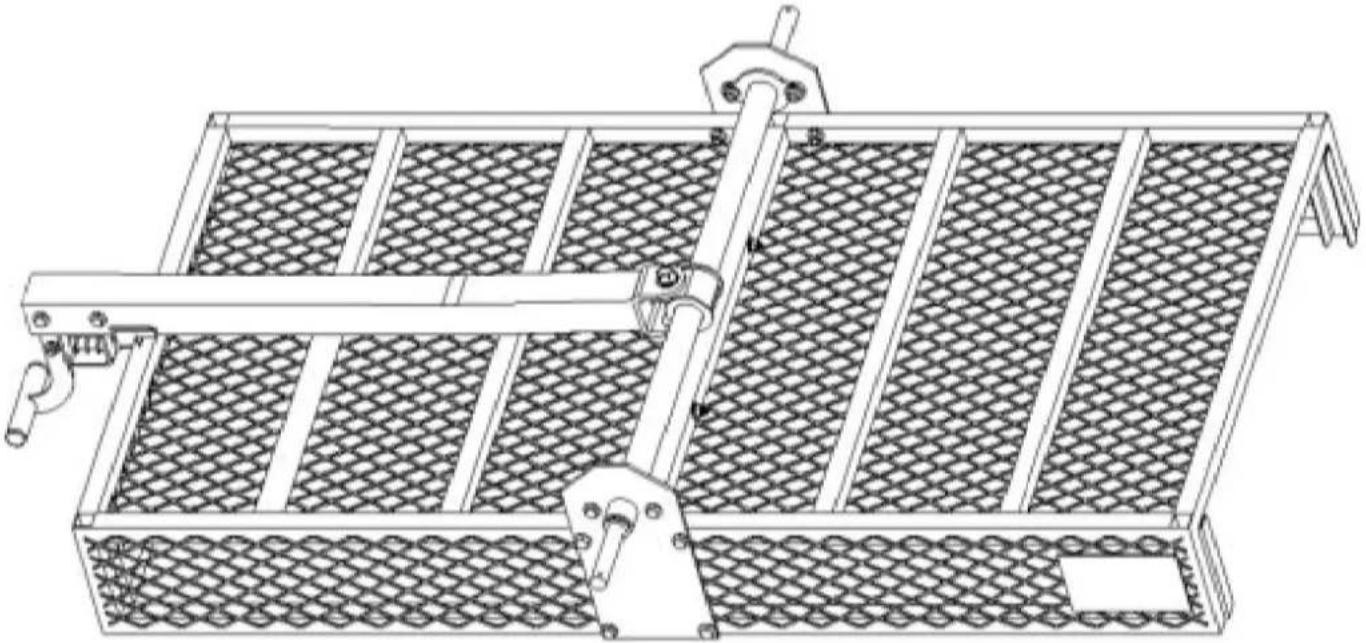 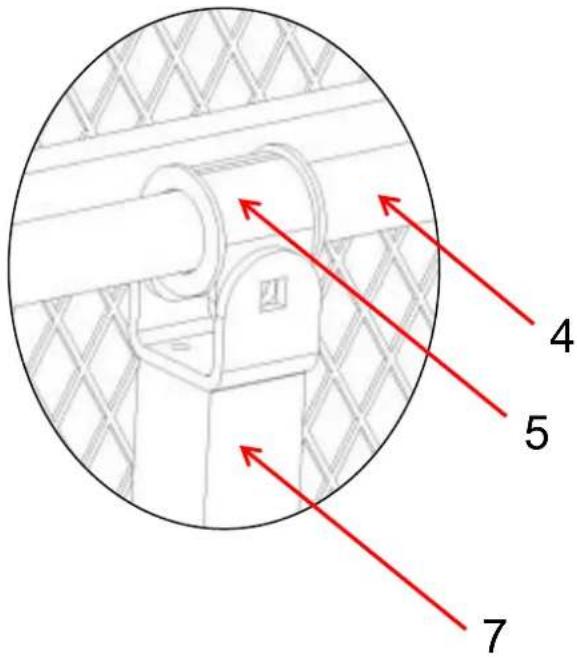 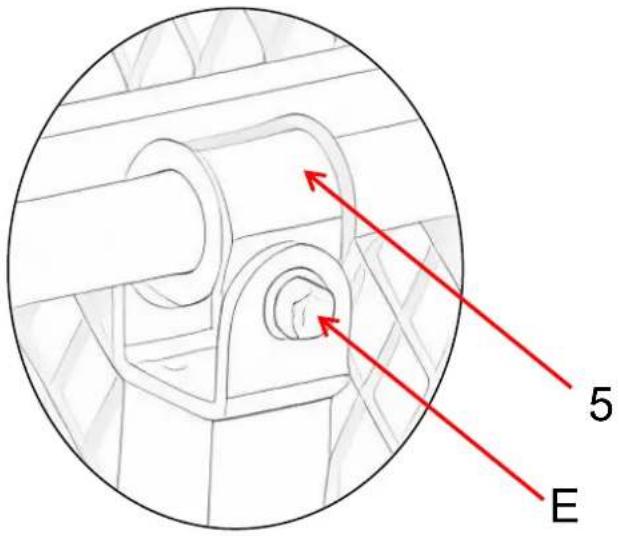 | ||
| 1. Place the U-shaped part(No.5) in the middle position of the axle(No.4).2. Align the U-shaped part(No.5) and Connecting rod B(No.7) with the installation holes.3. Insert Screw (No.E) through the holes of the two connecting rods, and then screw or | ||
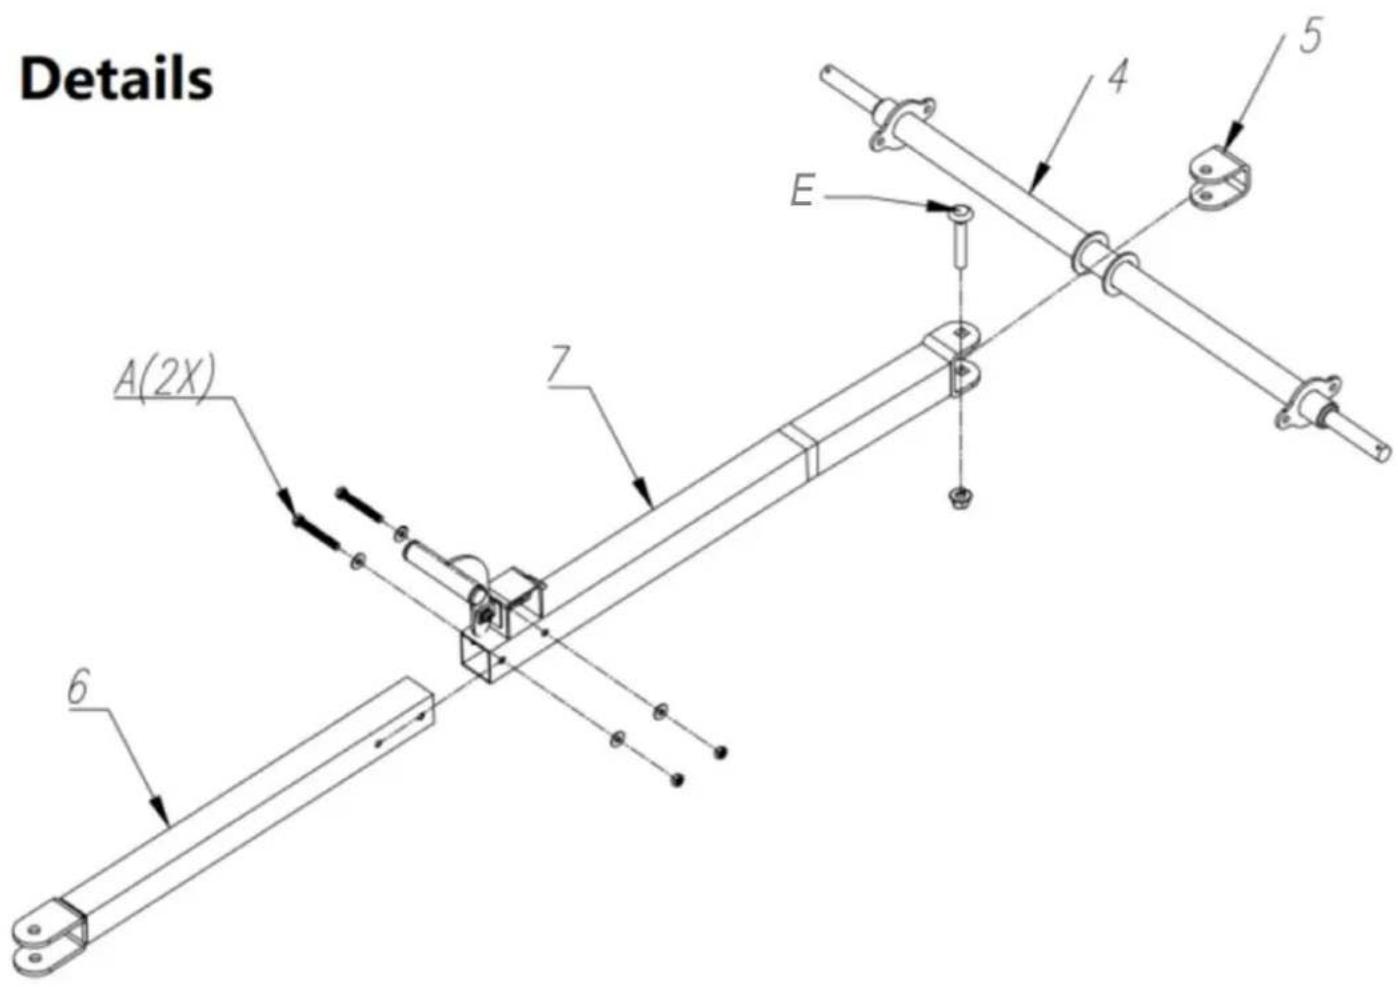
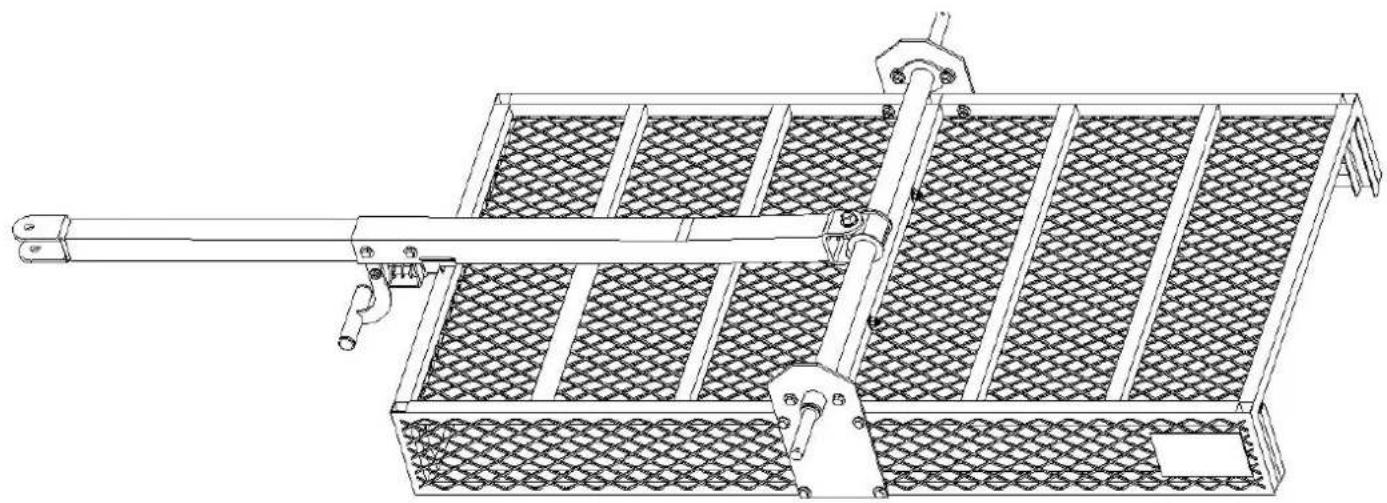
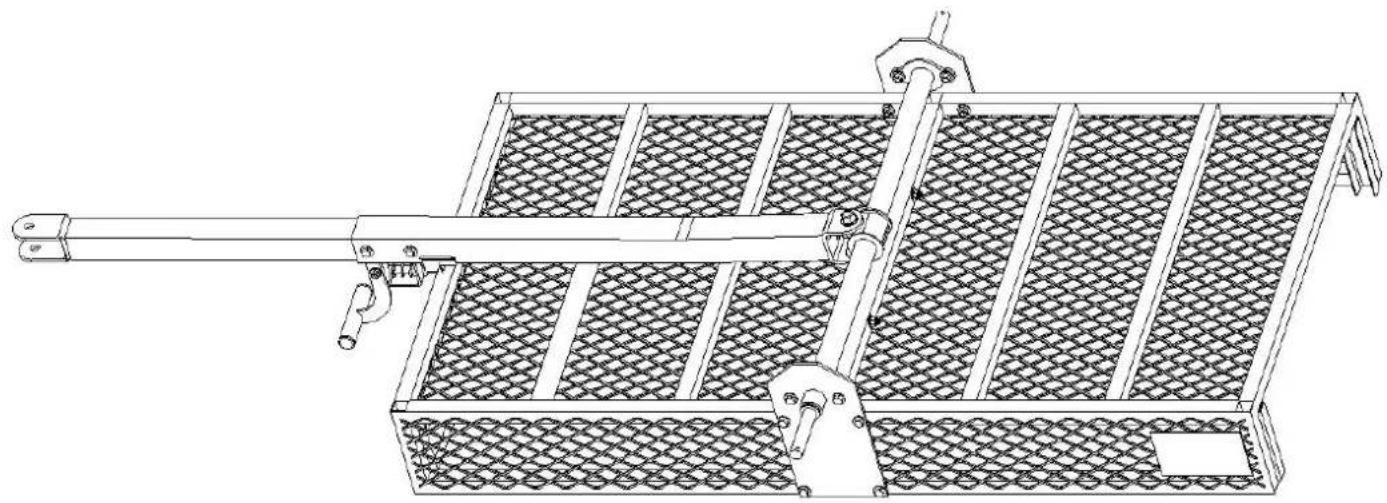
- Place the U-shaped part (No.5) in the middle position of the axle (No.4).
- Align the U-shaped part (No.5) and Connecting rod B (No.7) with the installation holes.
- Insert Screw (No.E) through the holes of the two connecting rods, and then screw on the nut.
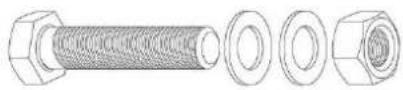
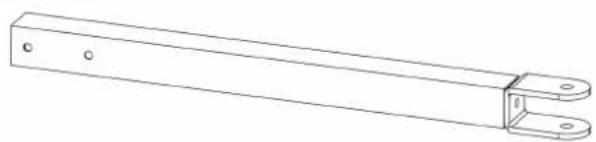
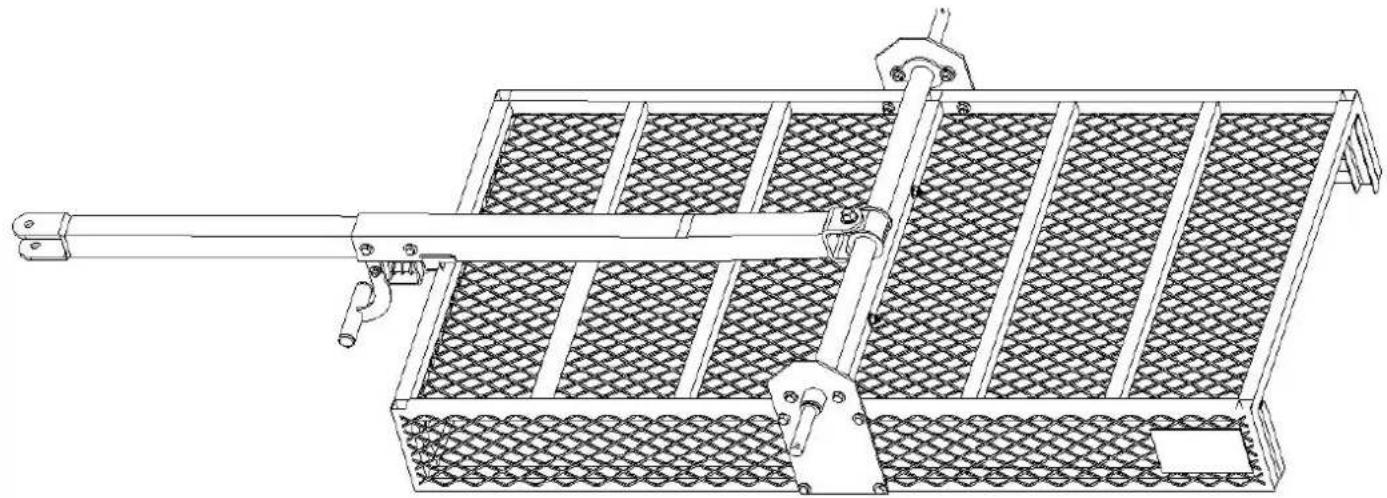
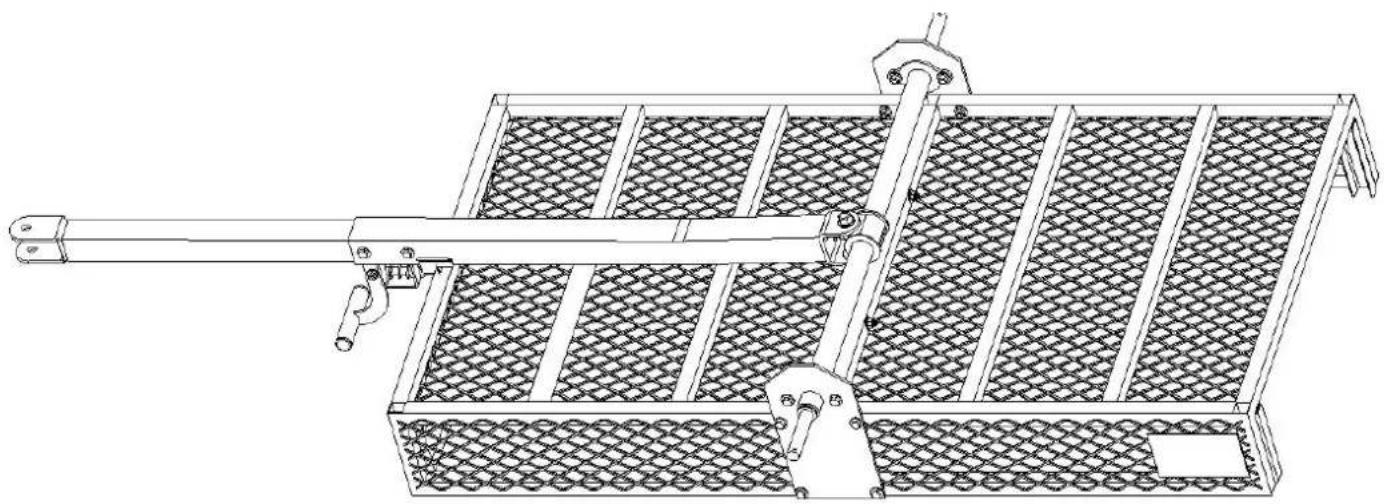
- Insert Connecting rod A (No.6) and Connecting rod B (No.7) into each other.
- Insert Screw (No.A) and place the washer into the connection holes, then place the washer sequence on the other side.
- Finally, tighten them to secure the connection.
NOTE: This page shows the exploded view of parts from Step 3, which is convenient for you to check if the installation is correct.
| STEP 7 | ||
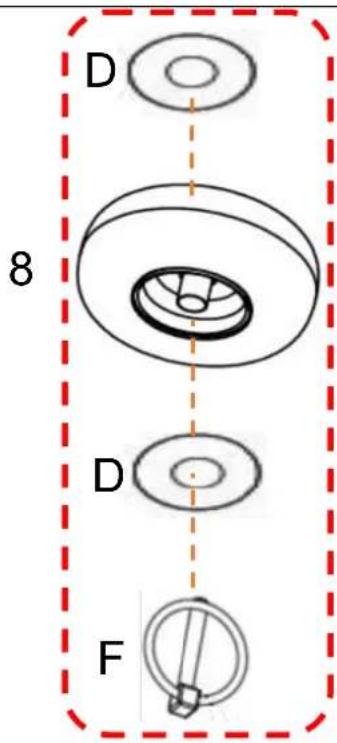
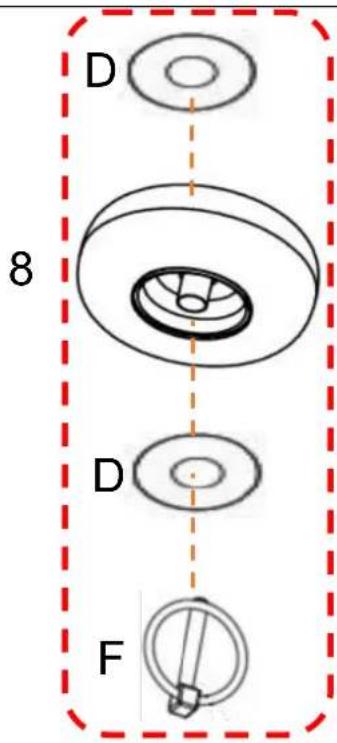
 F x2 F x2 |  D x4 D x4 | 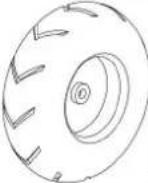 8 x2 8 x2 |
 8 8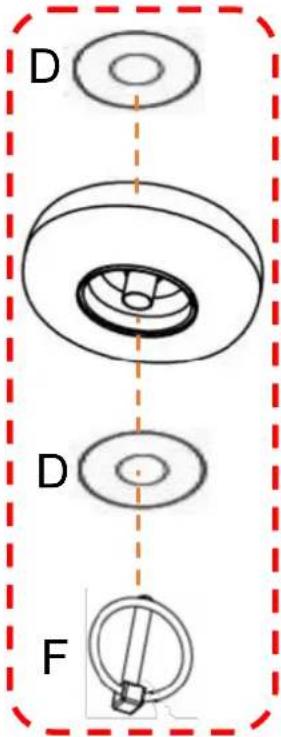 | ||
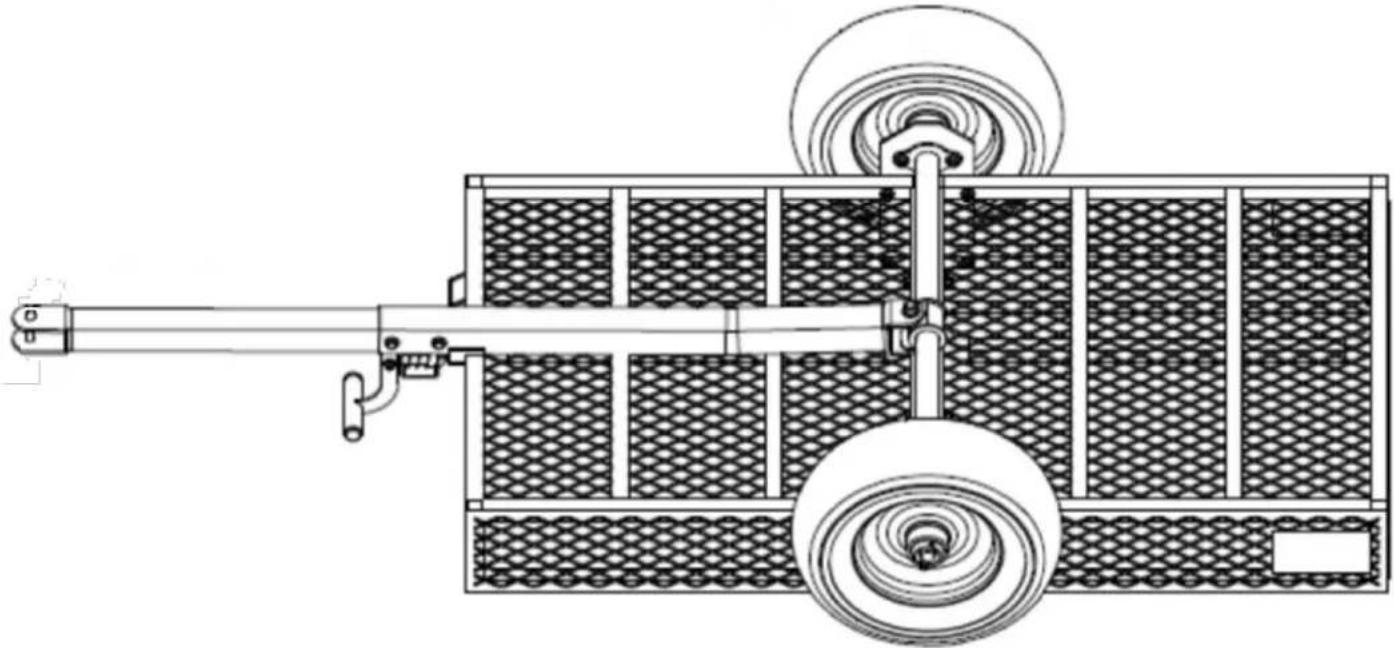
| 1. First, put Washer(No.D) on the mounting shaft of the Wheel, and then install the Wh designated position.2. Put Washer(No.D) on first, and then insert the O-type cotter pin(No.F) into the corresp on the mounting shaft.3. Note: The inflation port should face outwards. | ||
| STEP 8 | ||
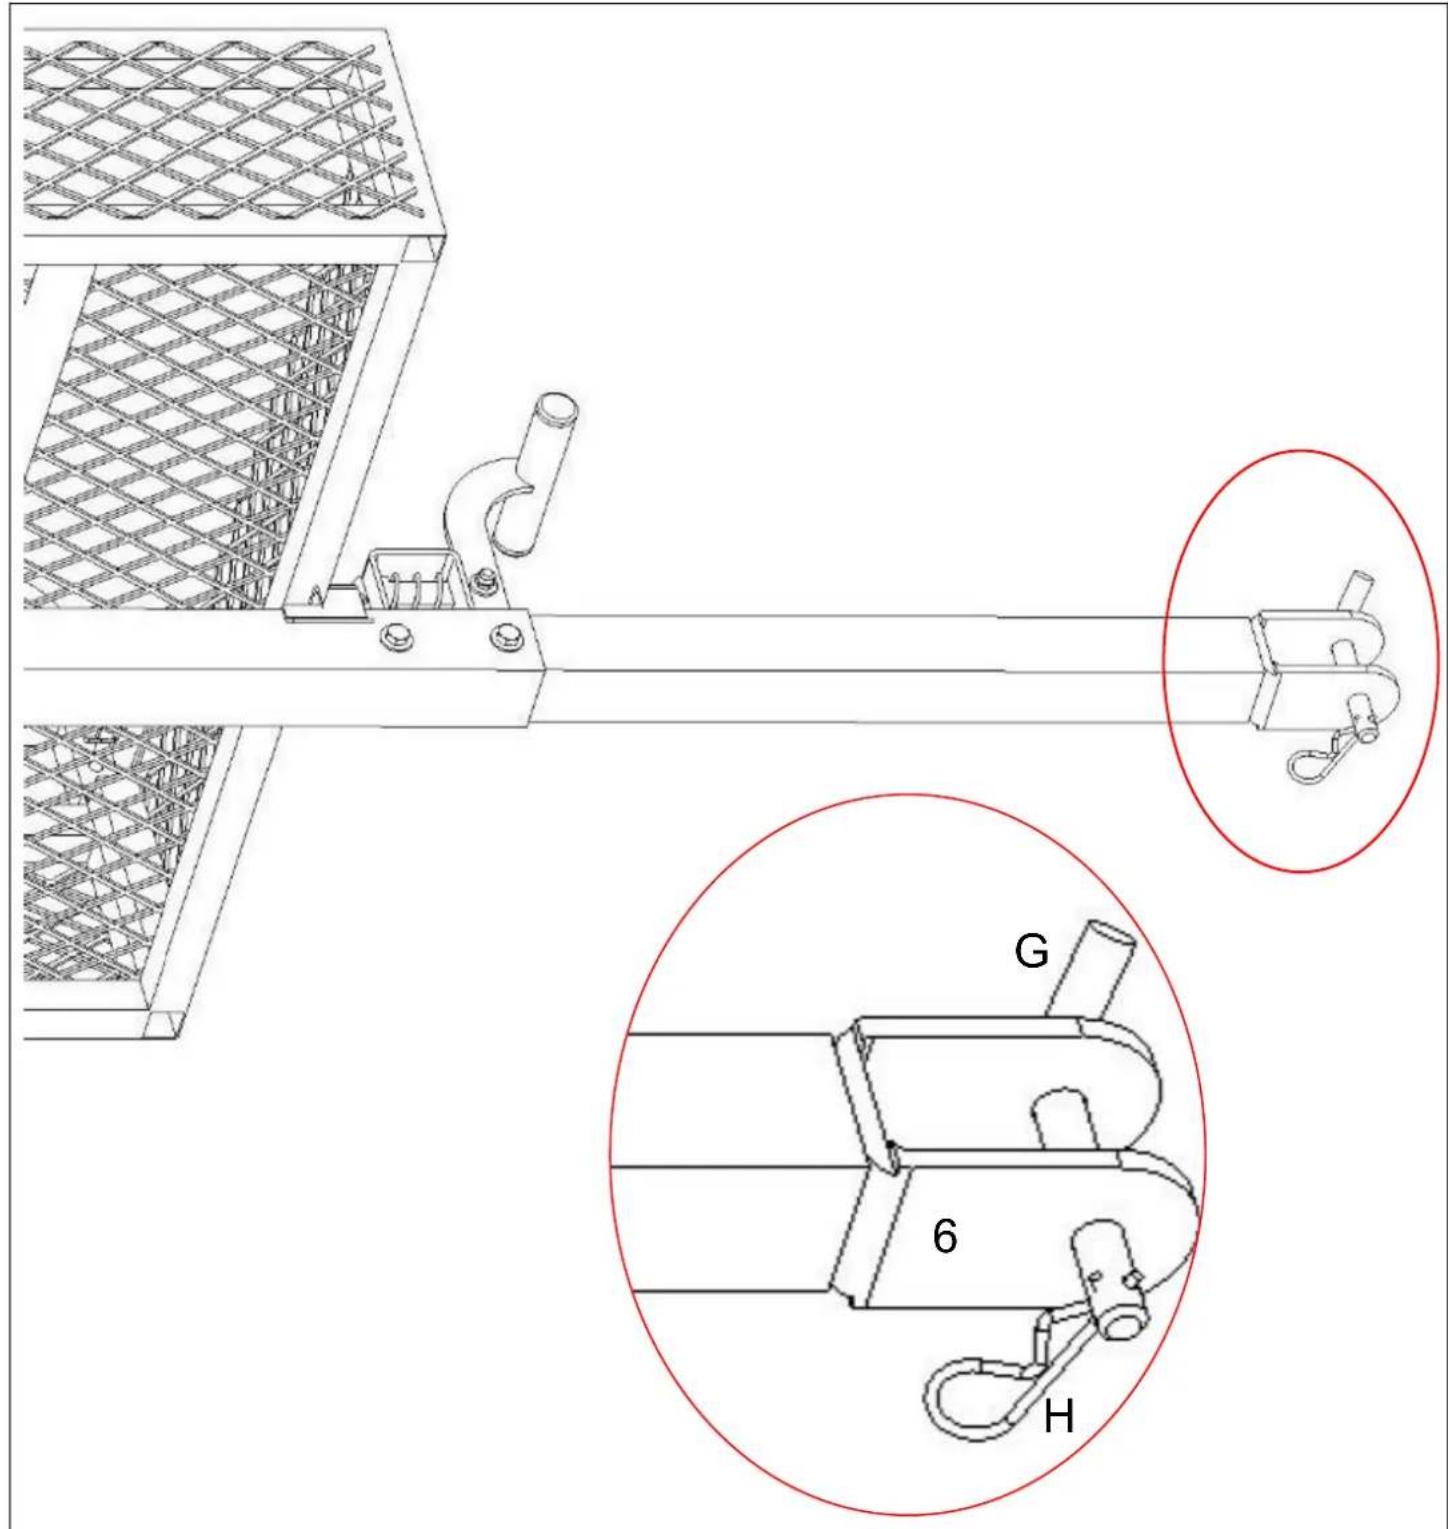
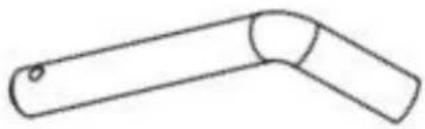 G x1 G x1 | 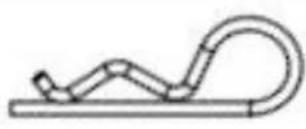 H x1 H x1 | |
 |  | |
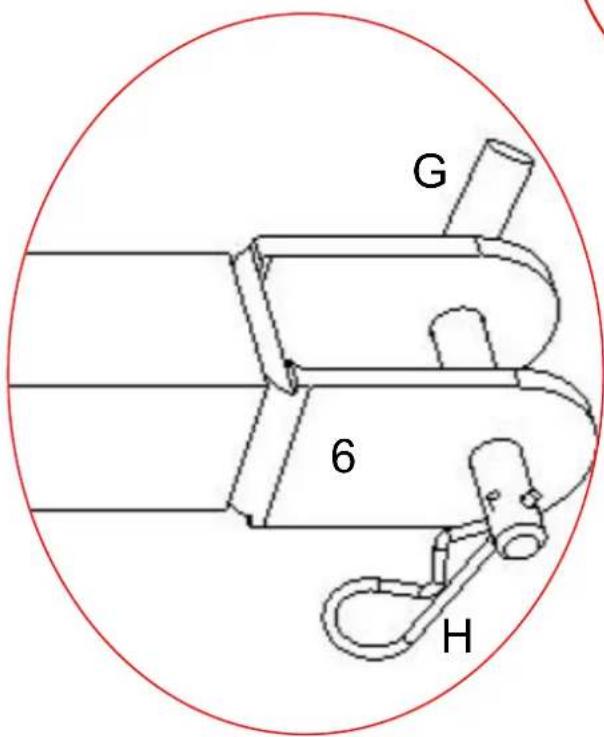 | ||
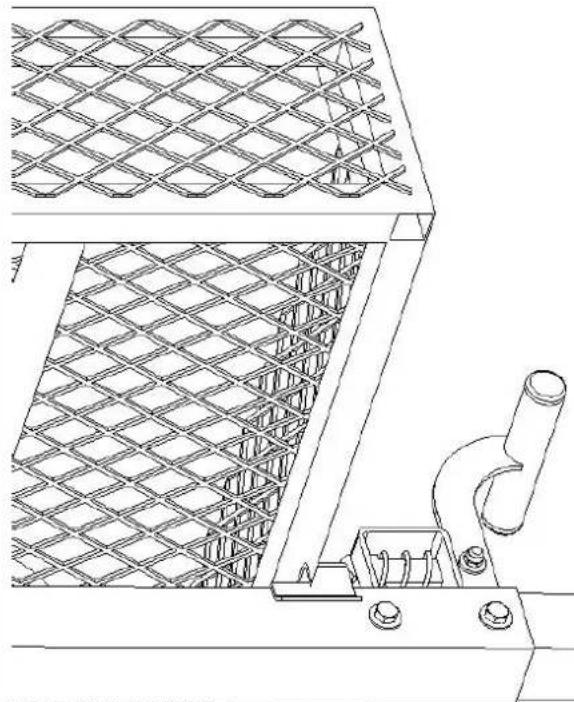
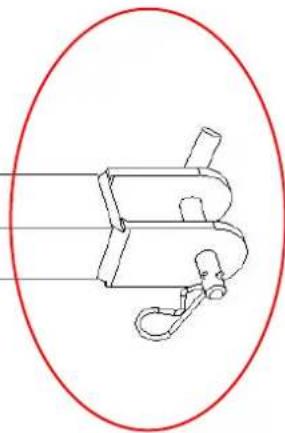
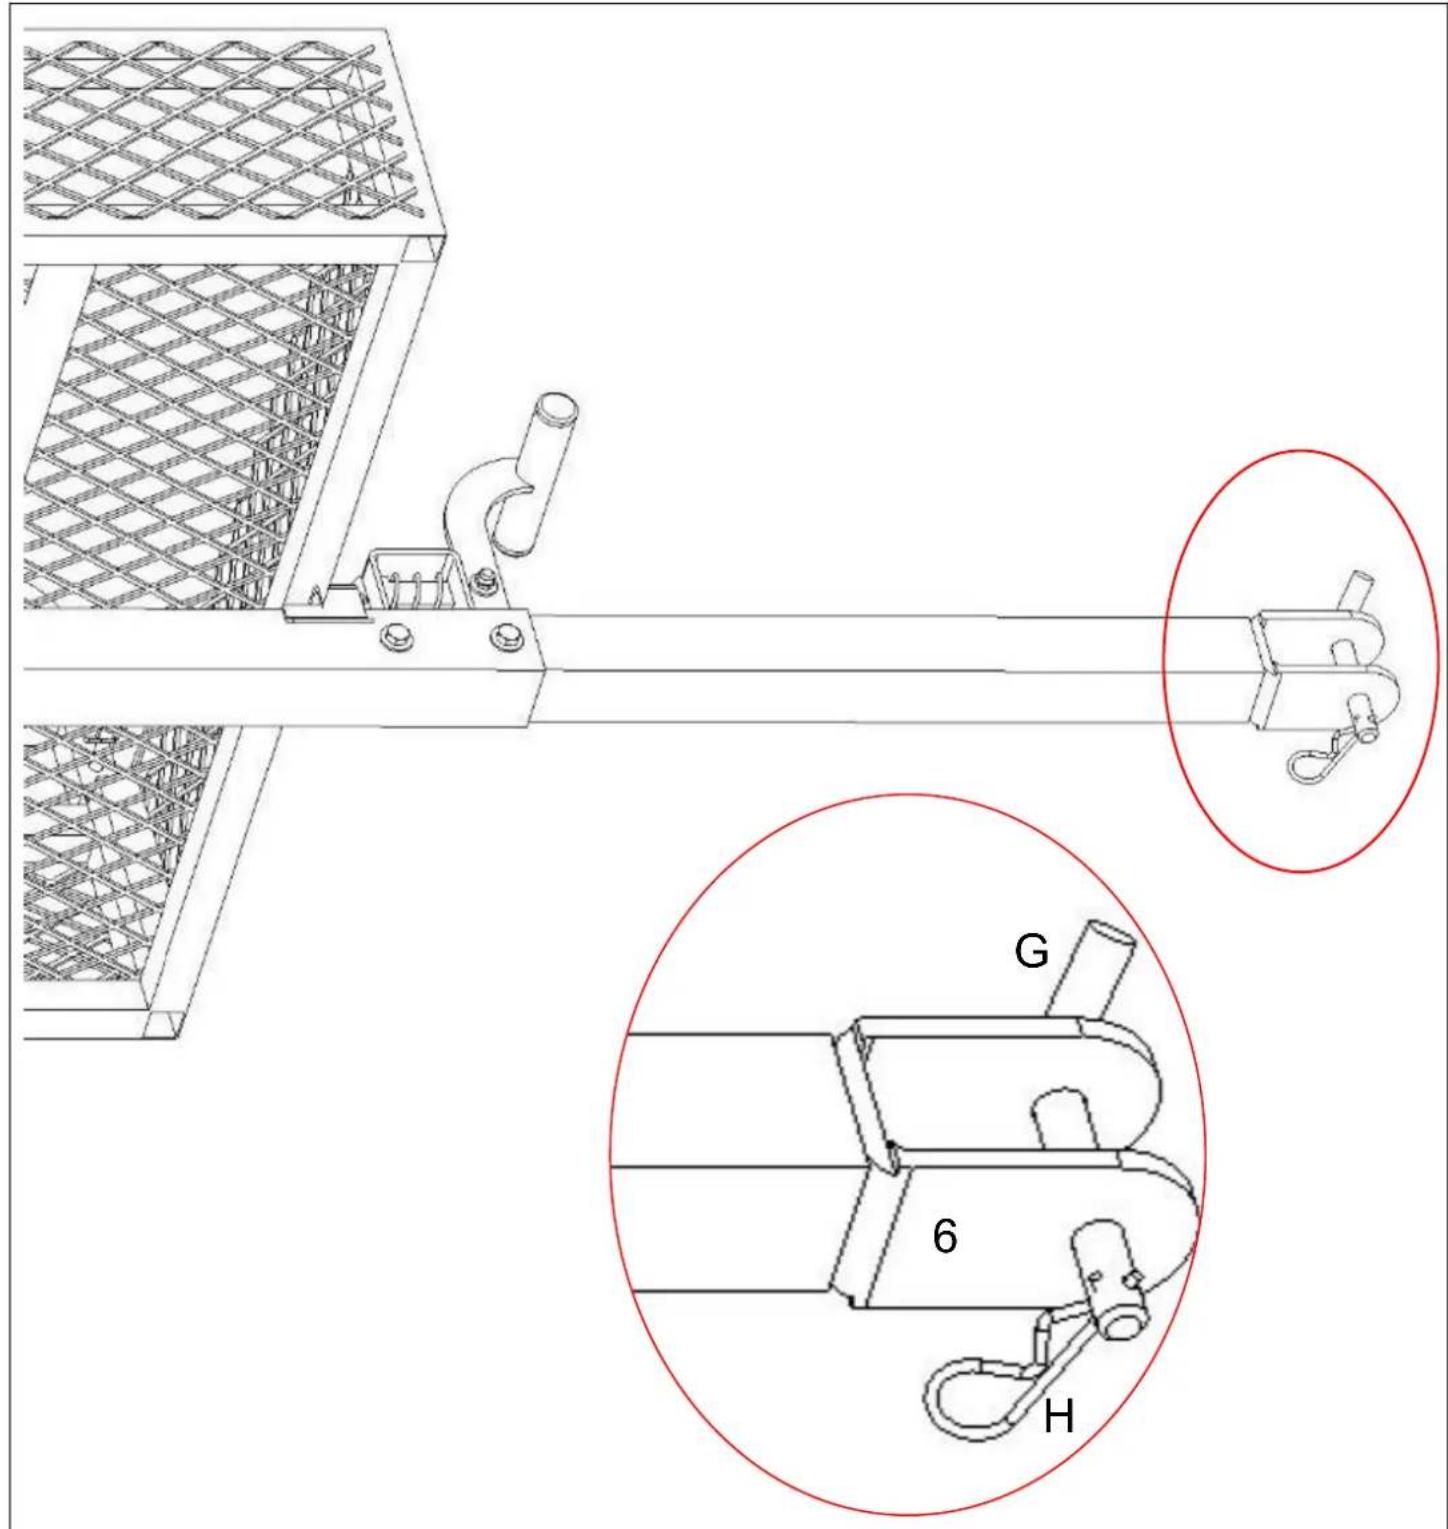
- Insert the pin (No.G) into Connecting rod A (No.6).
- Insert the R-type cotter pin (No.H) into the hole of the pin (No.G).
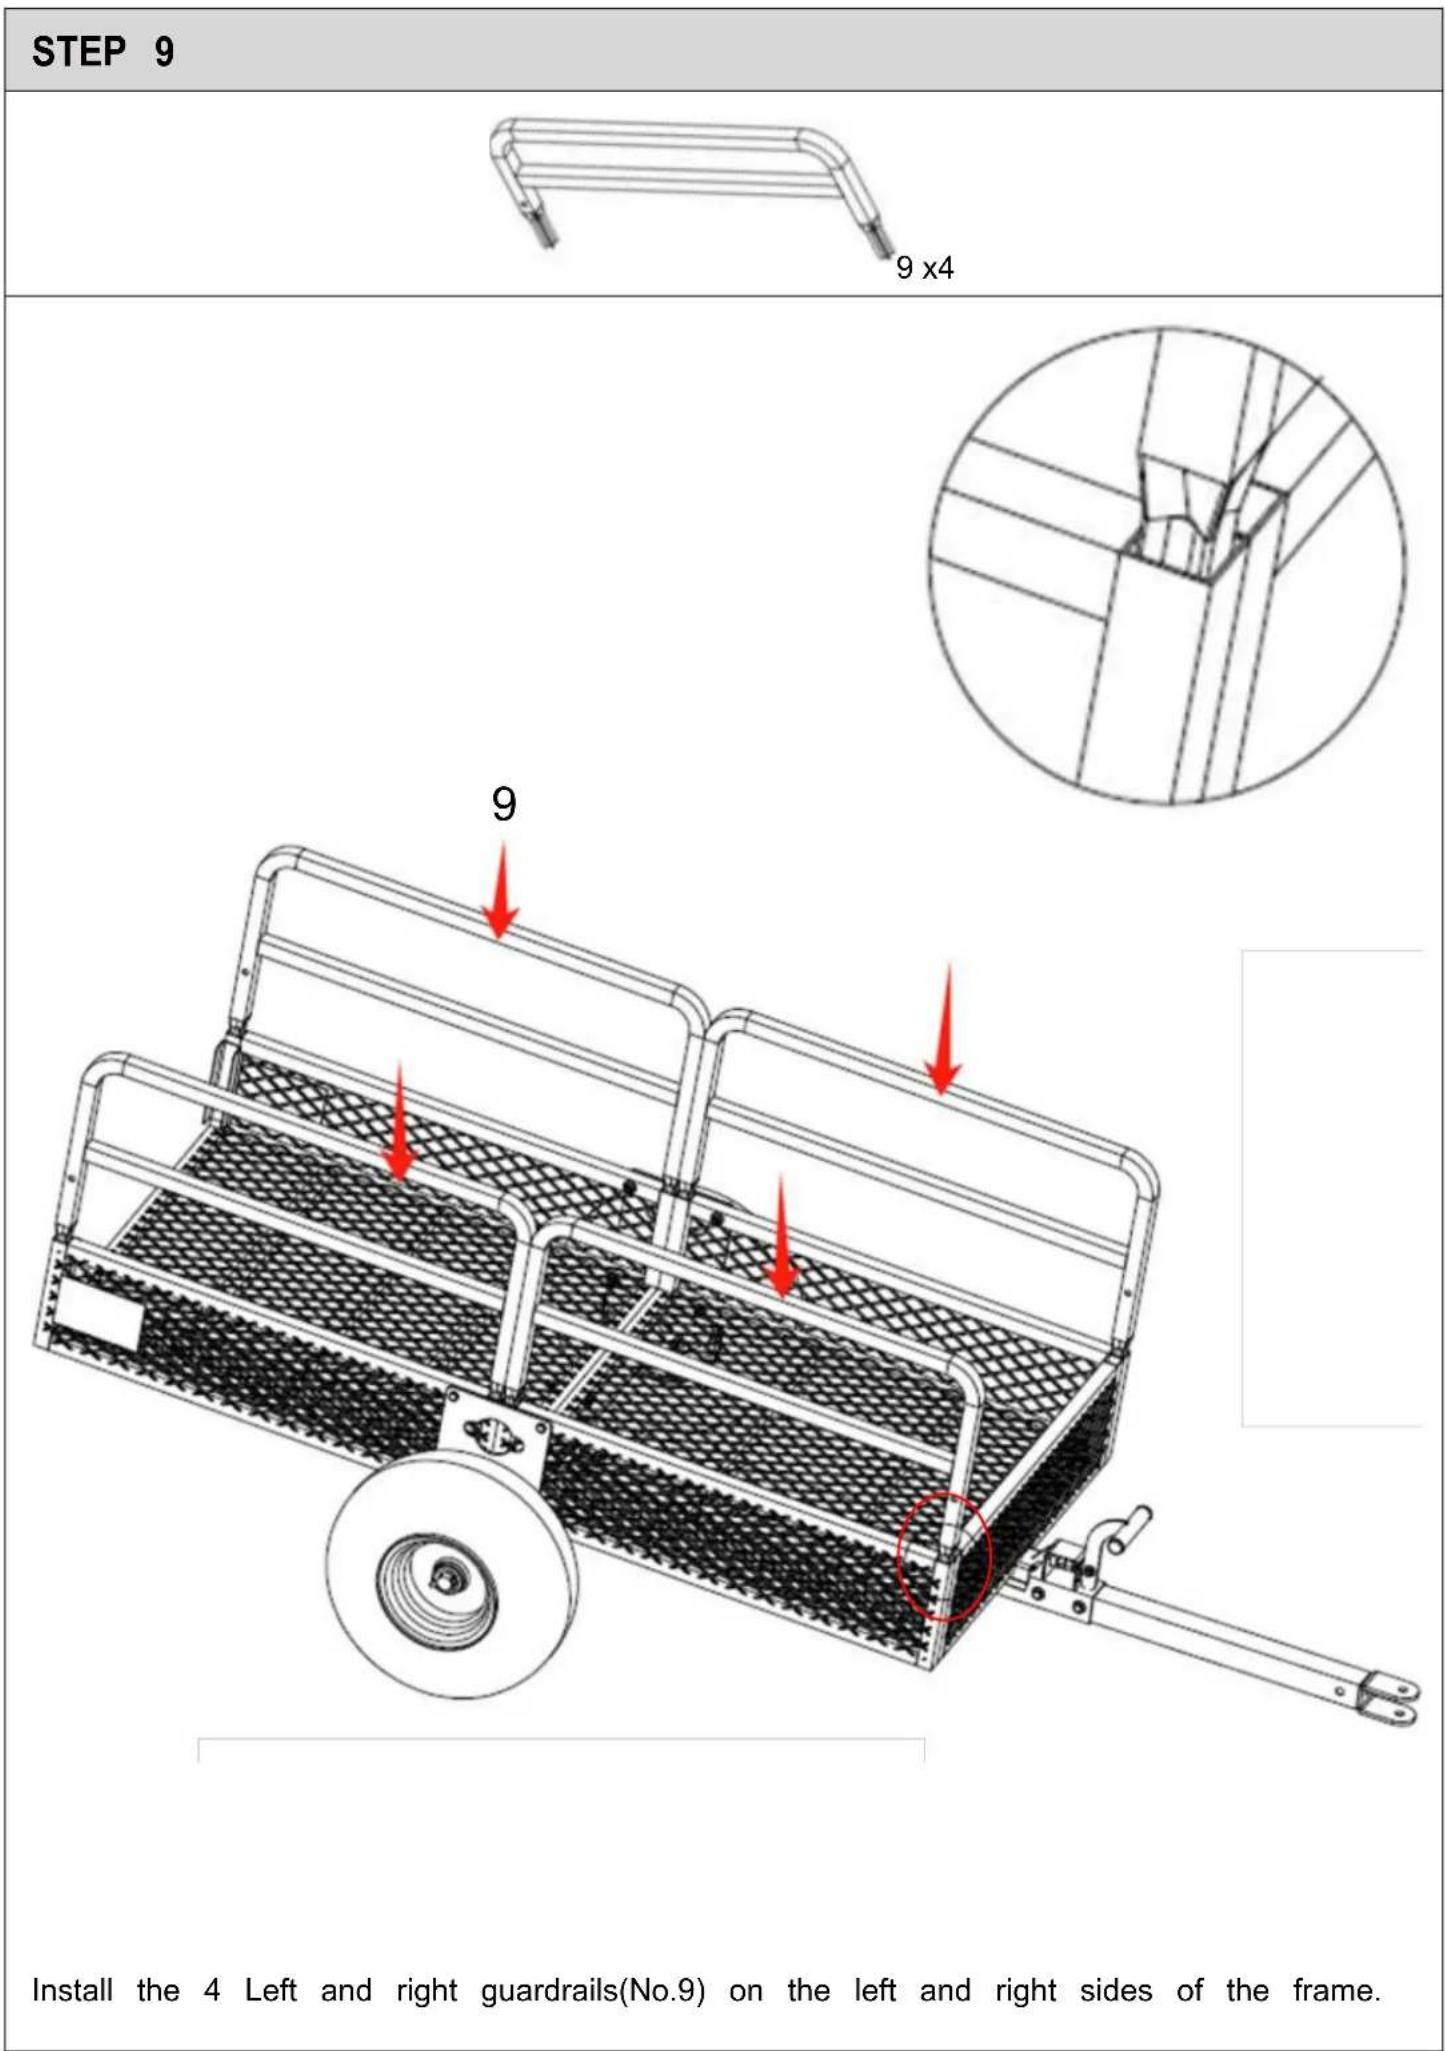
STEP 10
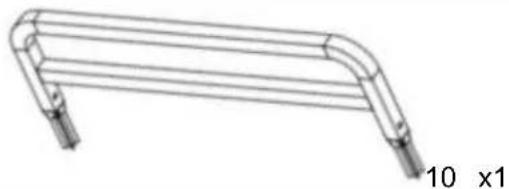
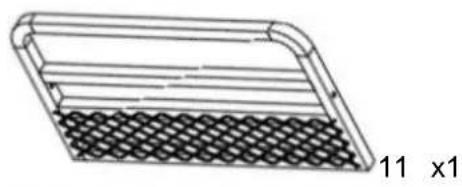
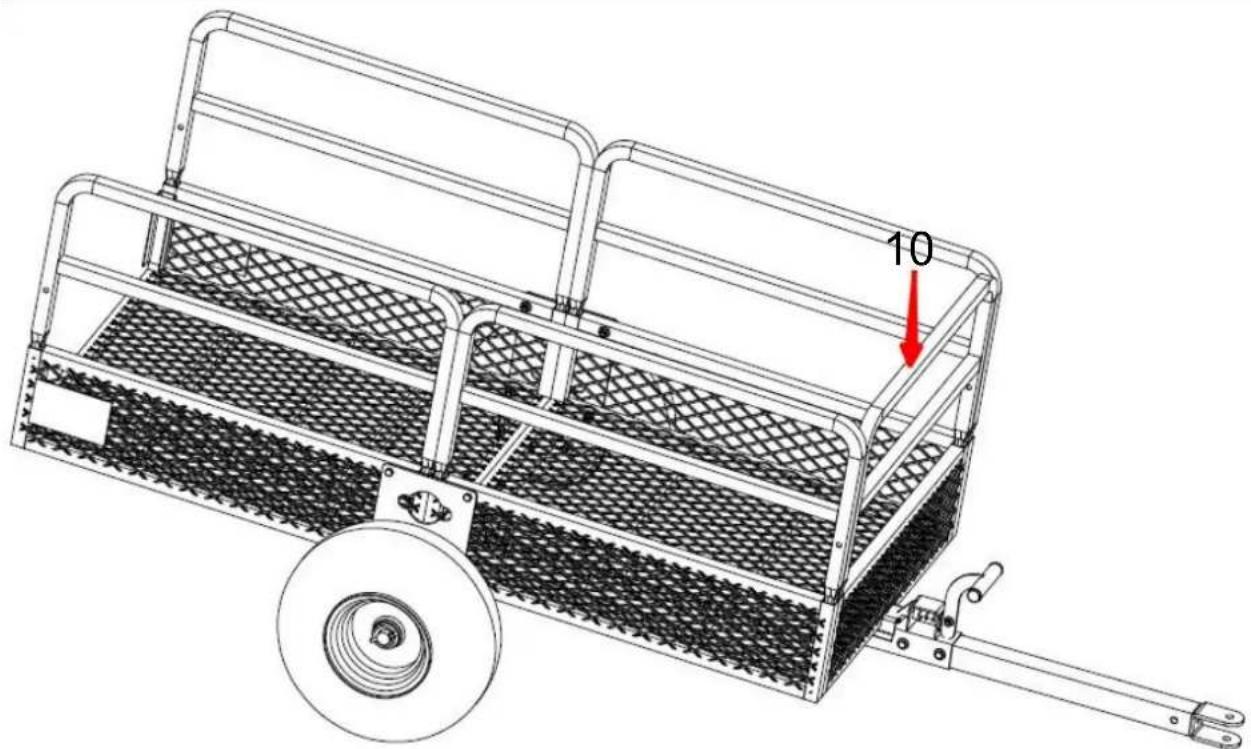
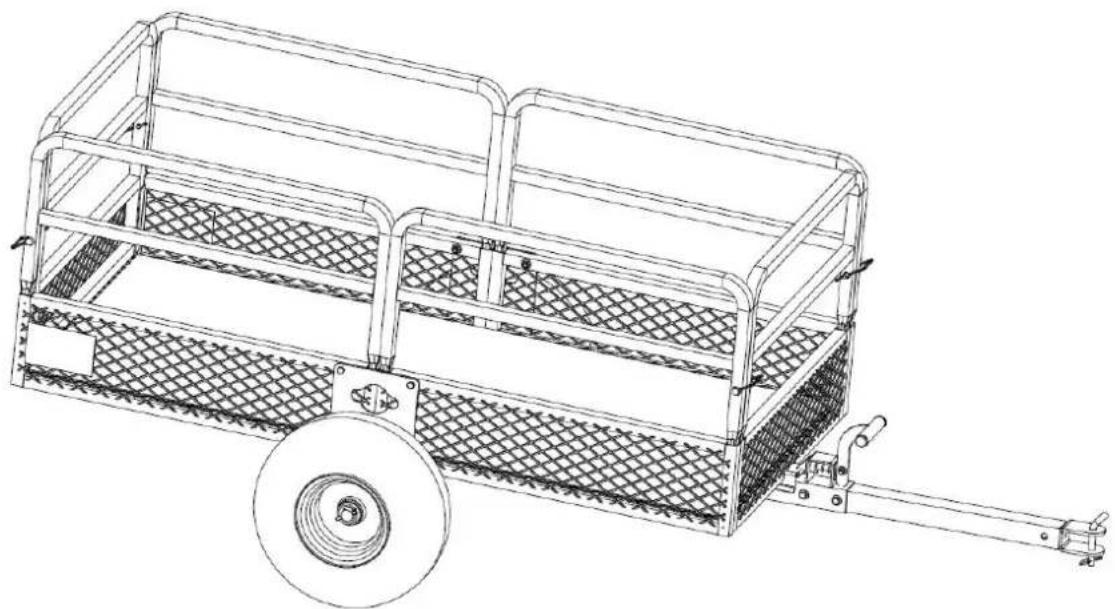
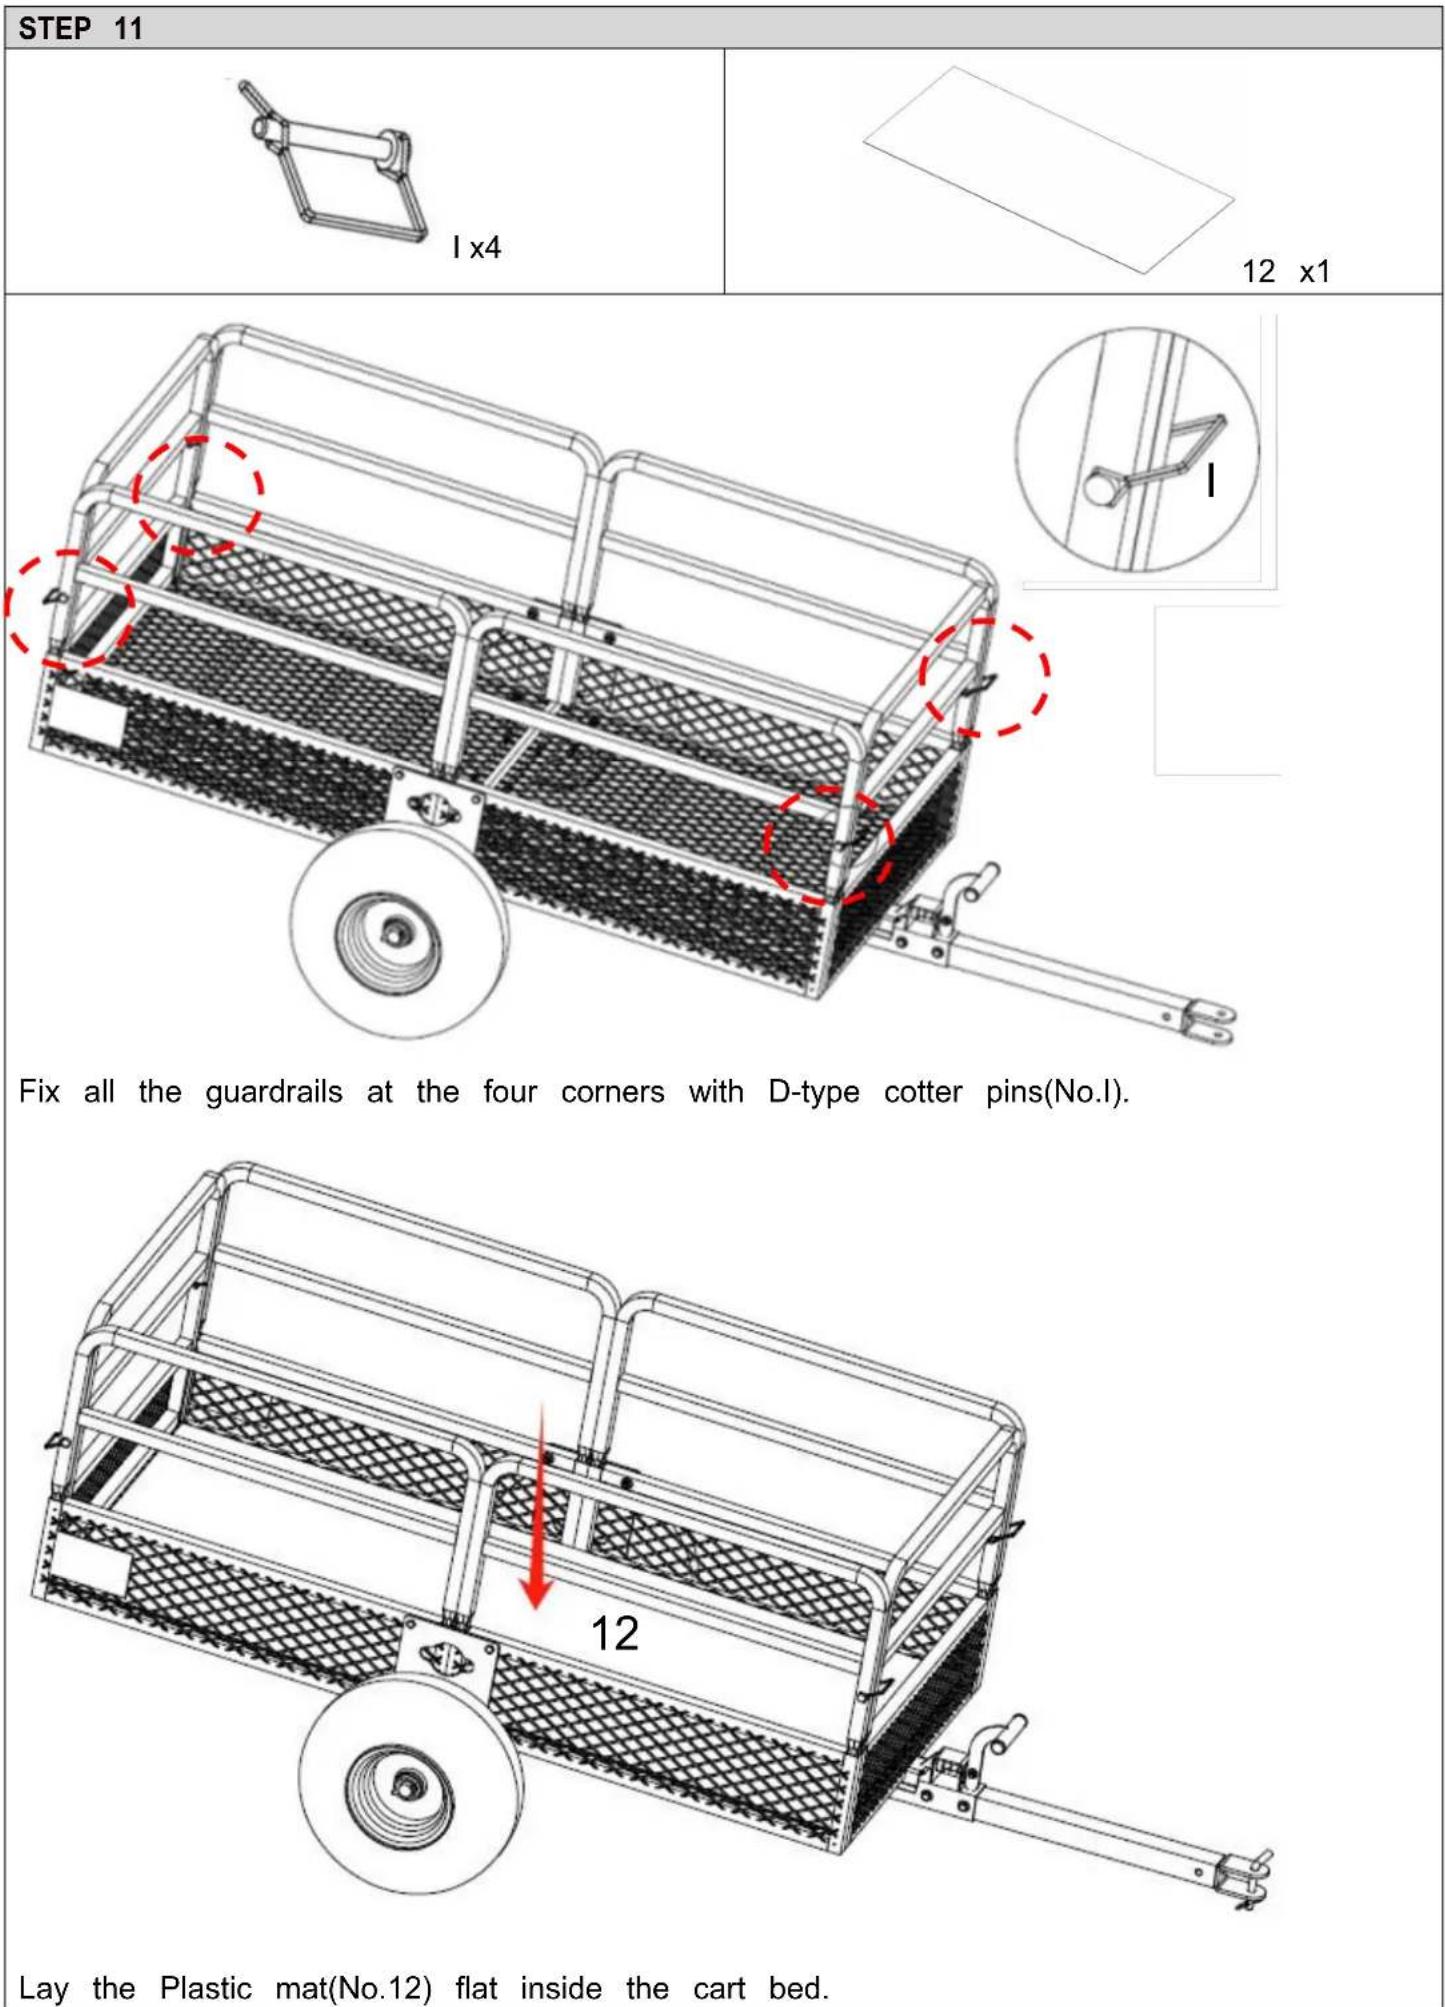
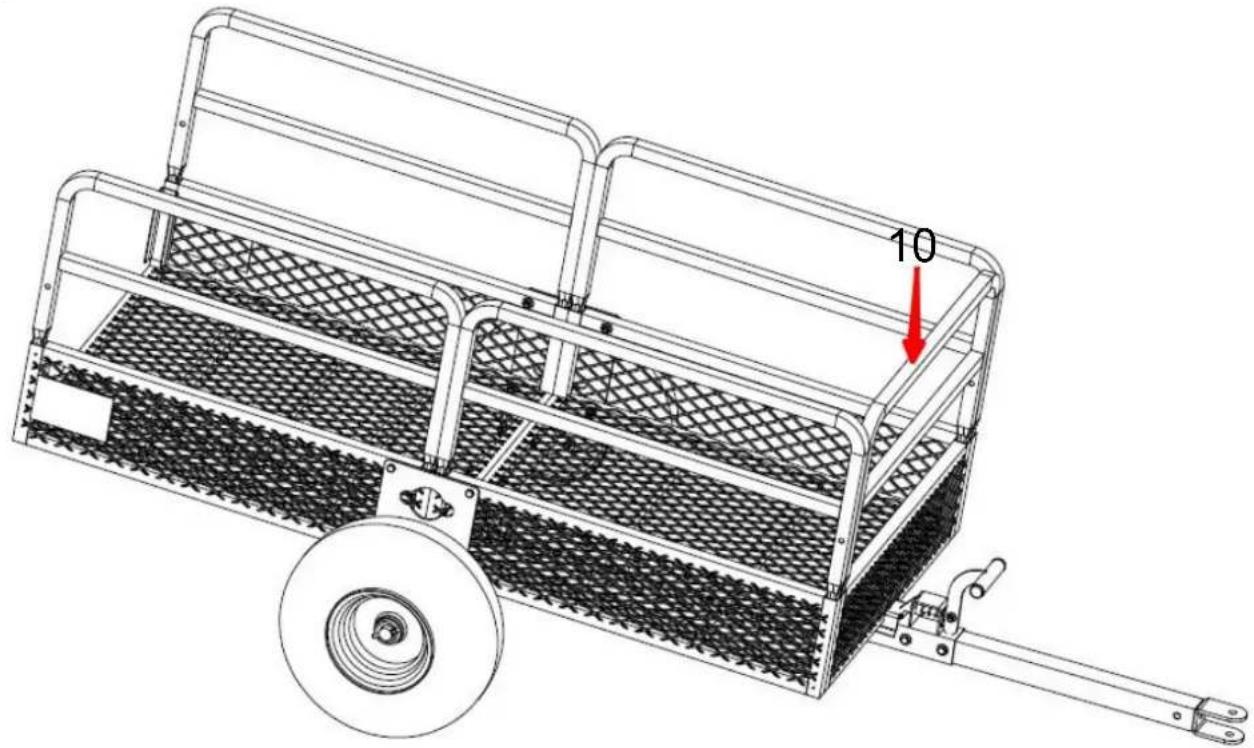
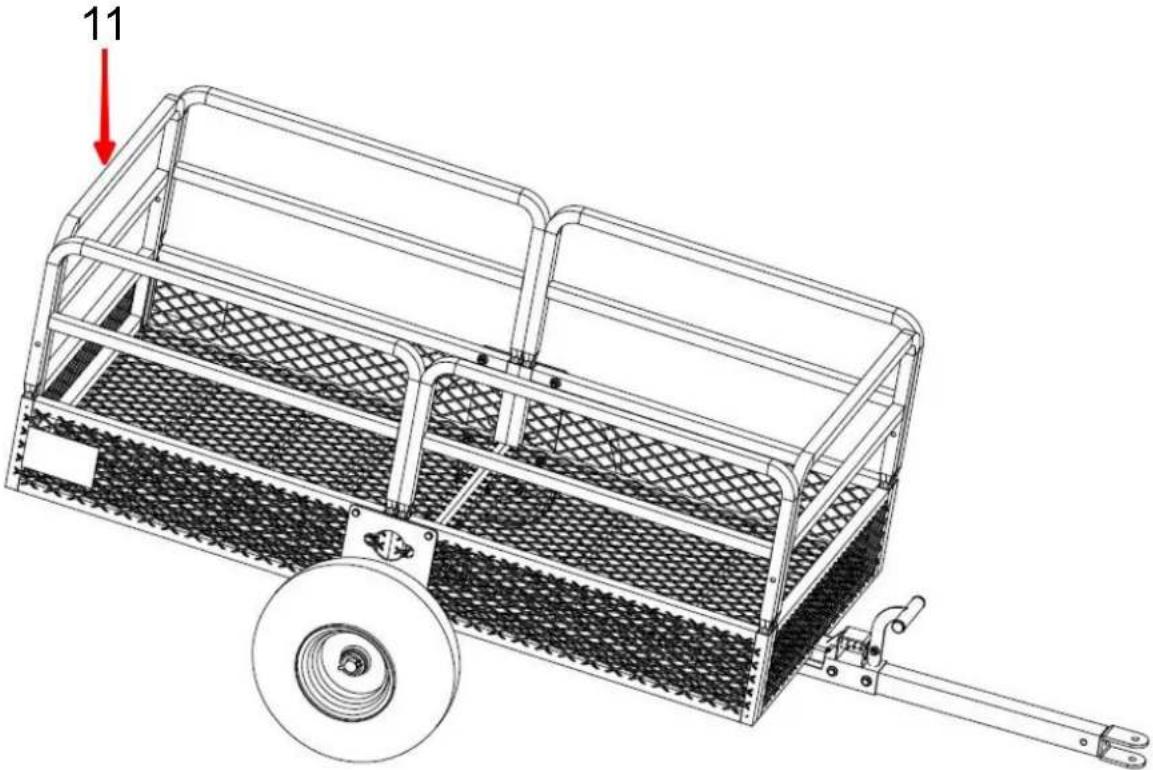
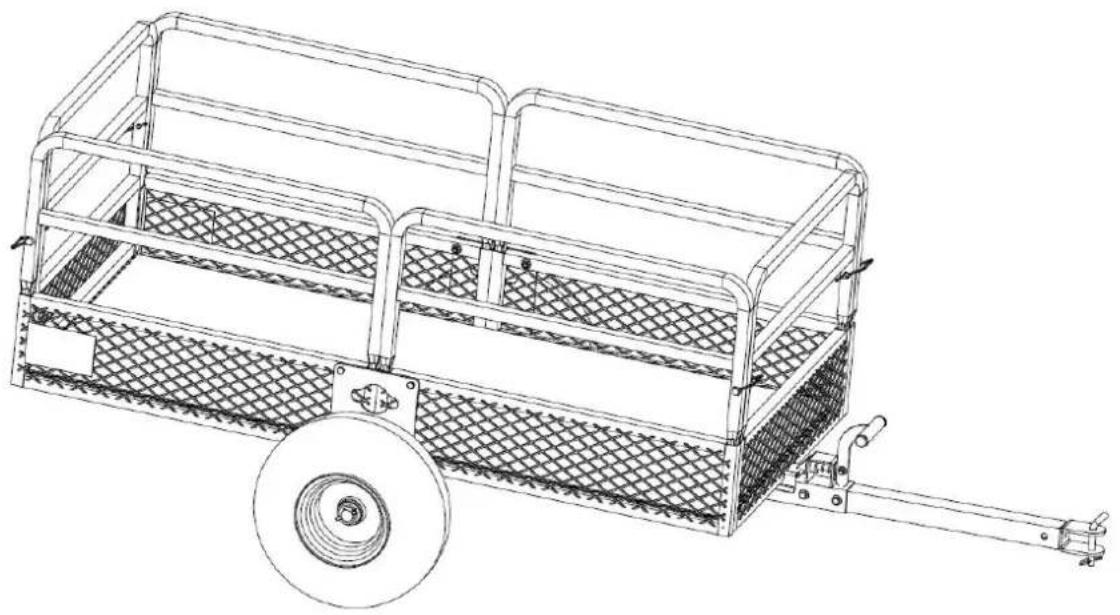
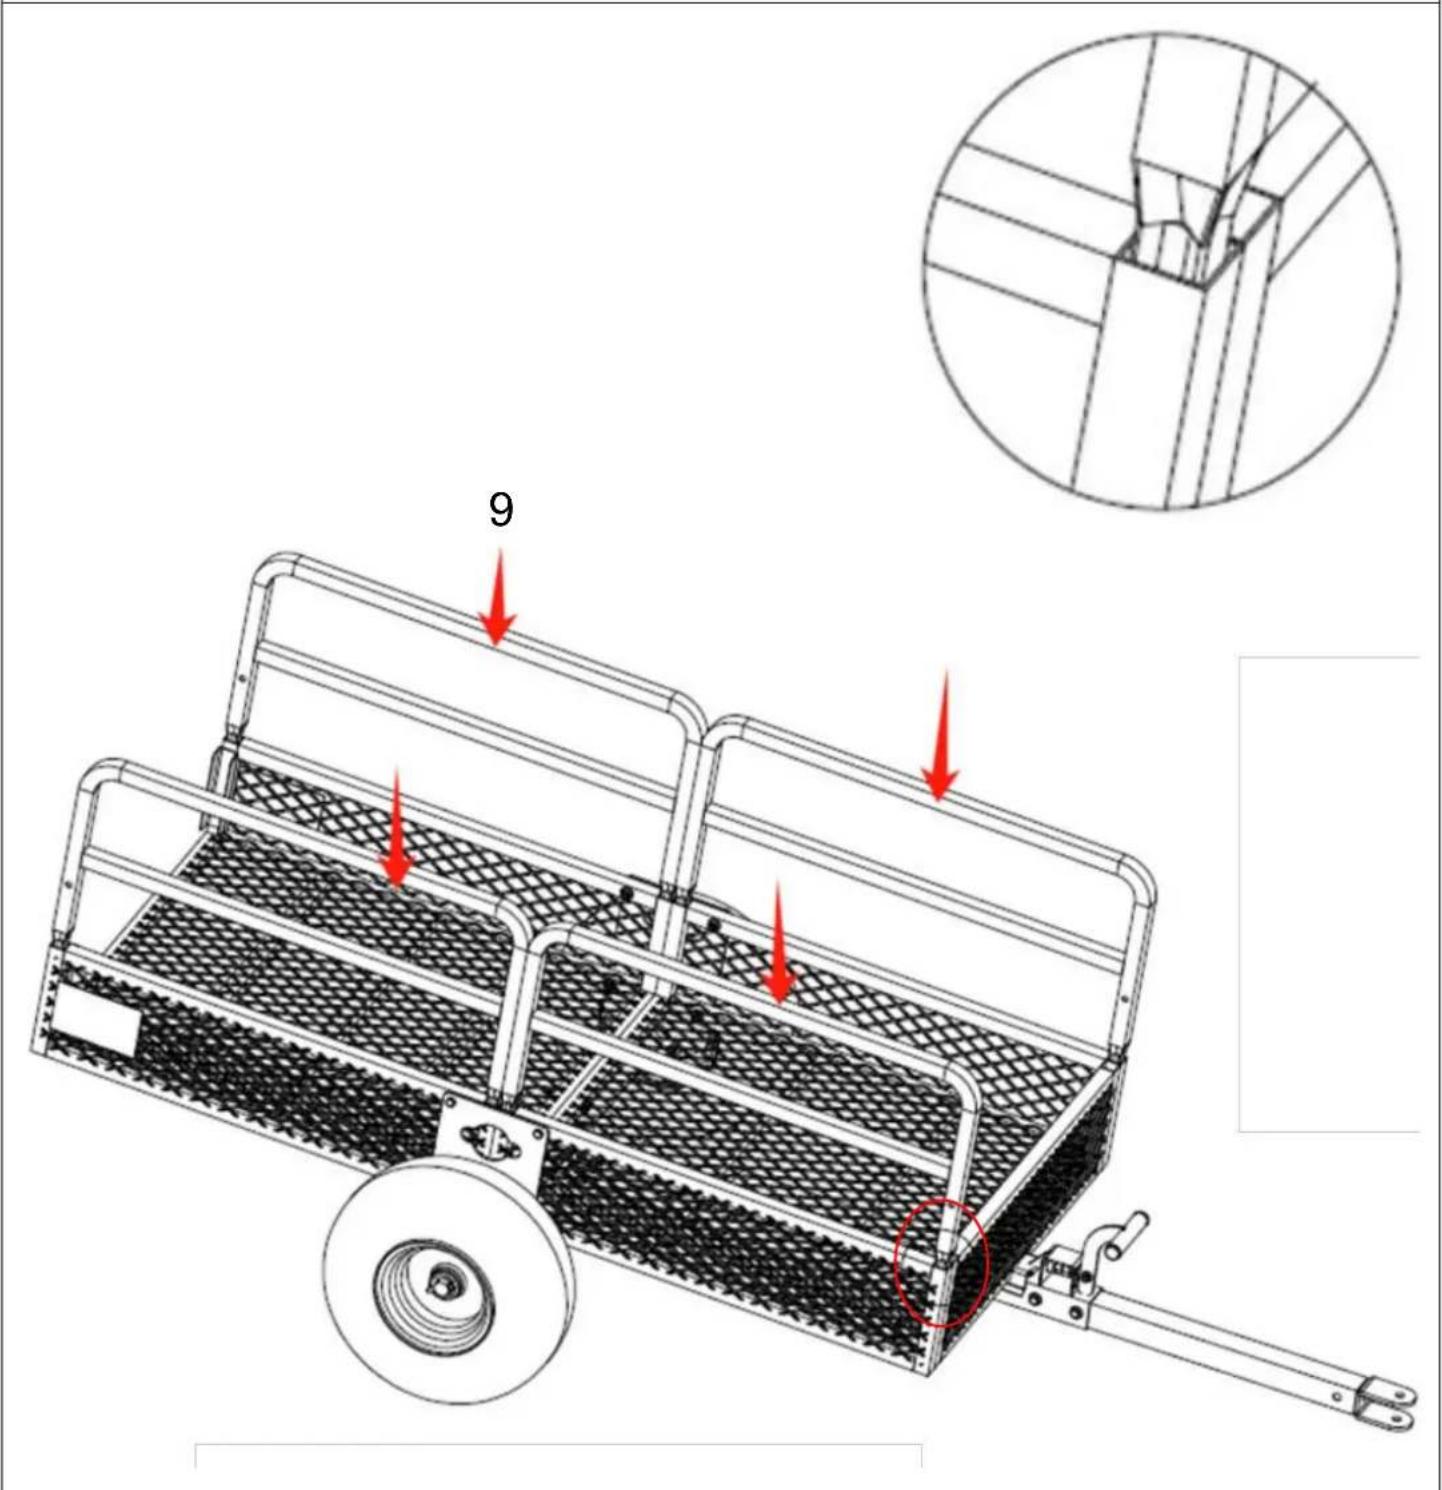
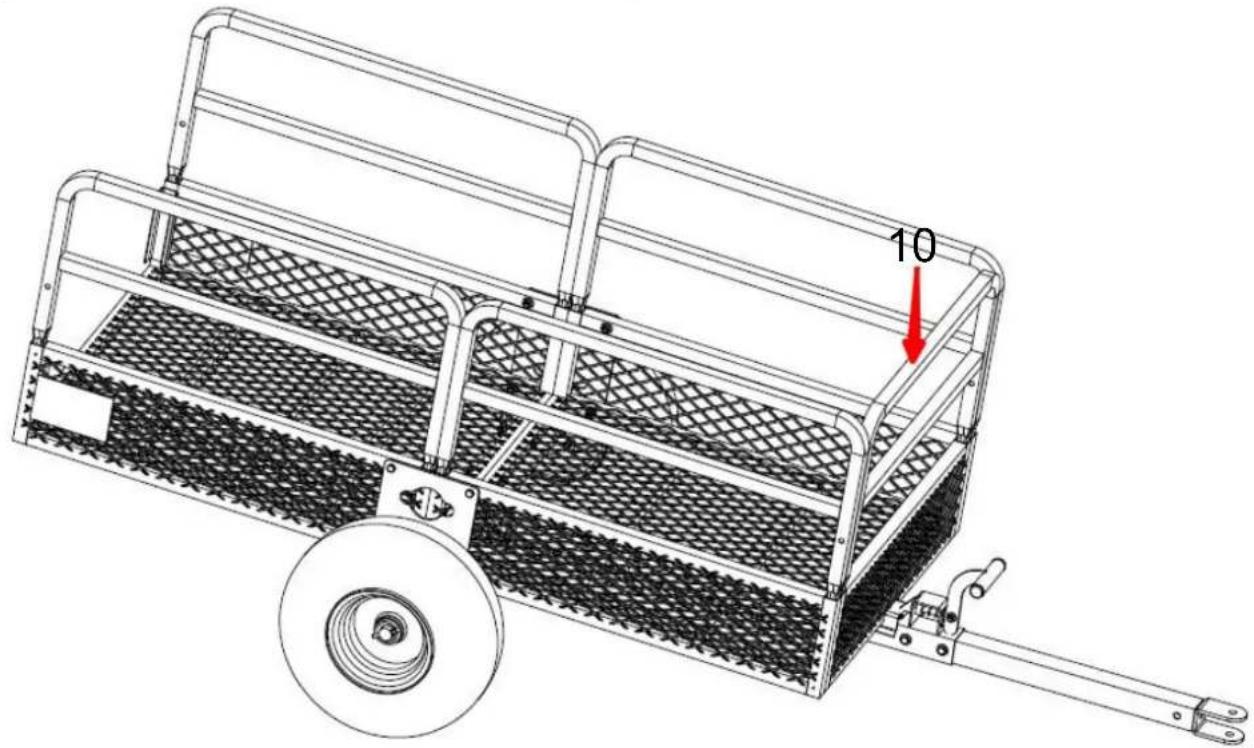
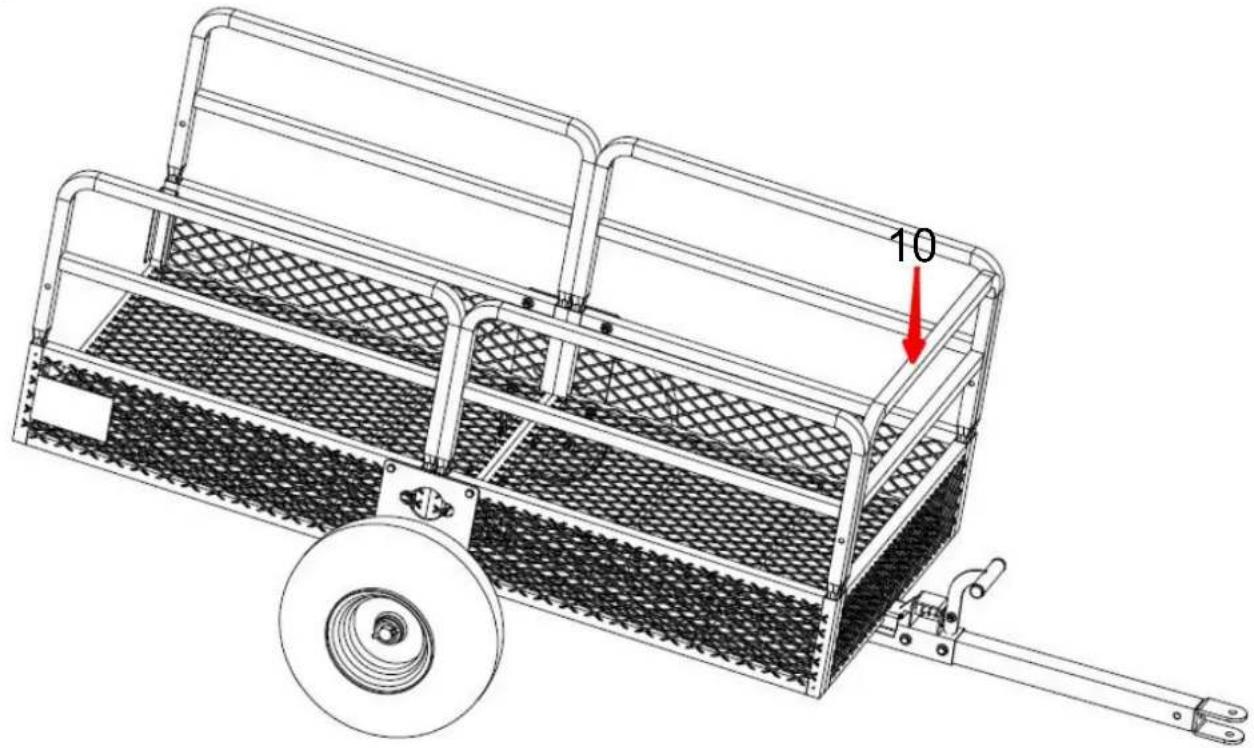
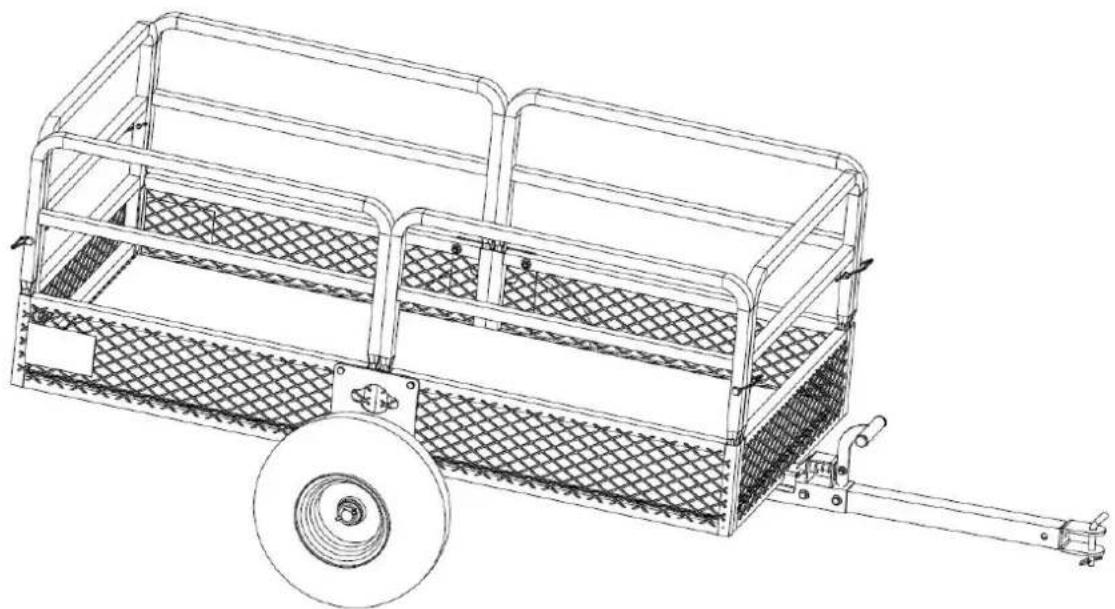
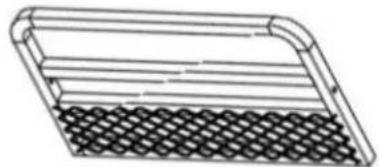
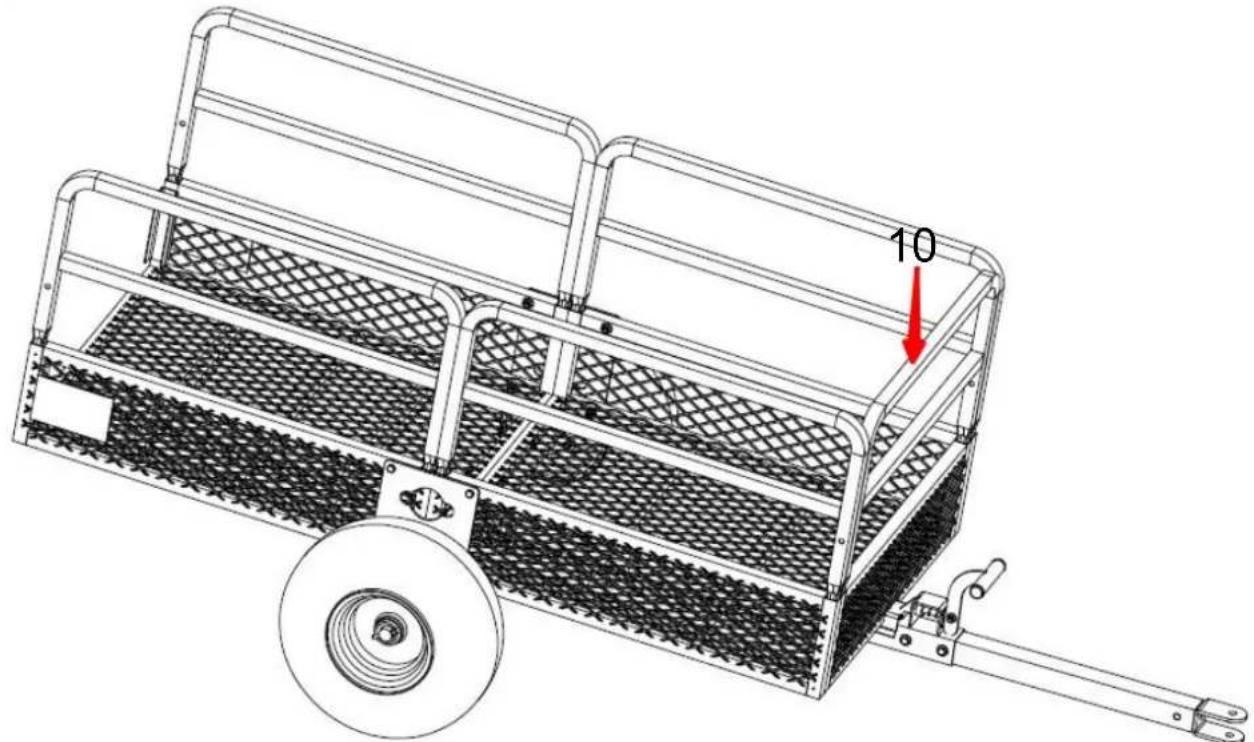
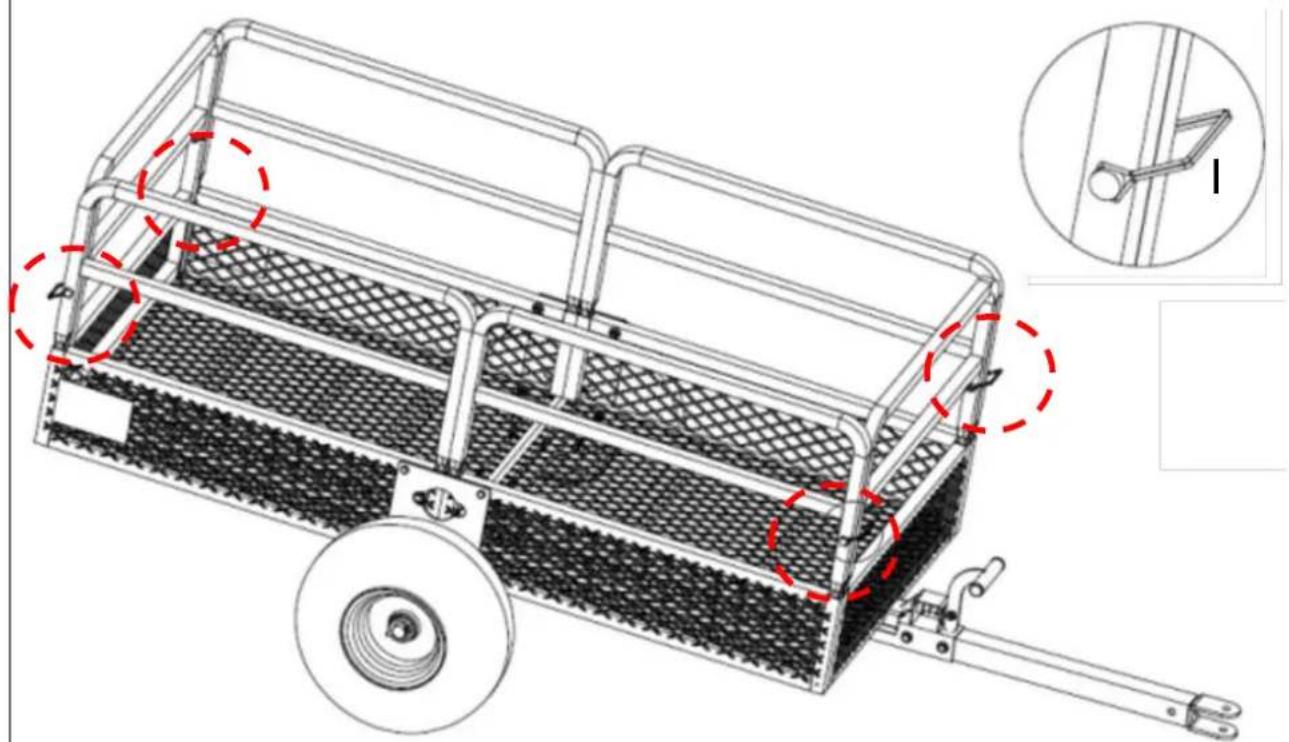
- Install the Front guardrail (No.10) on the left and right sides of the frame.
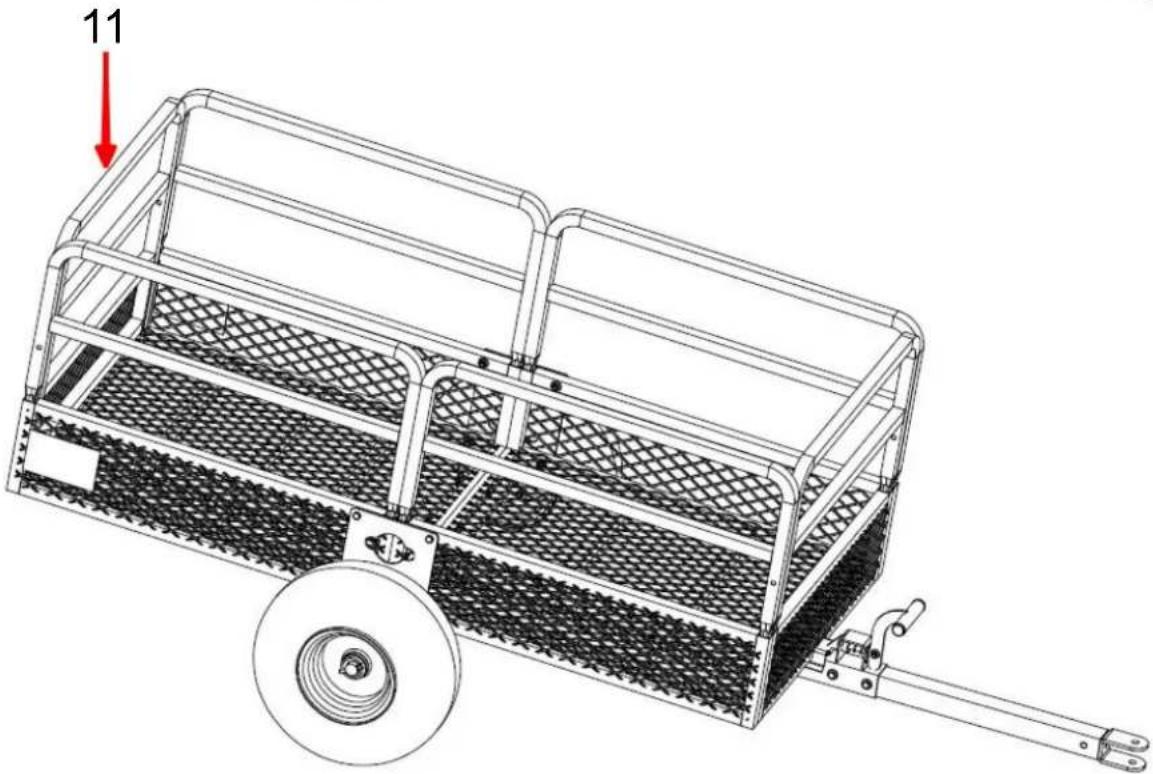
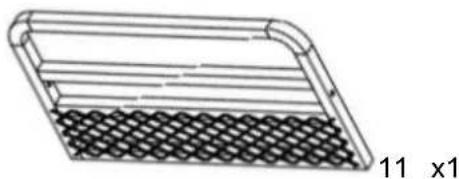
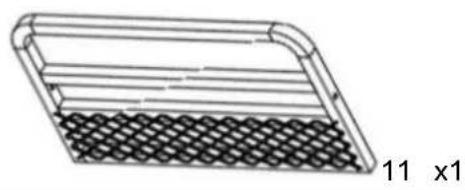
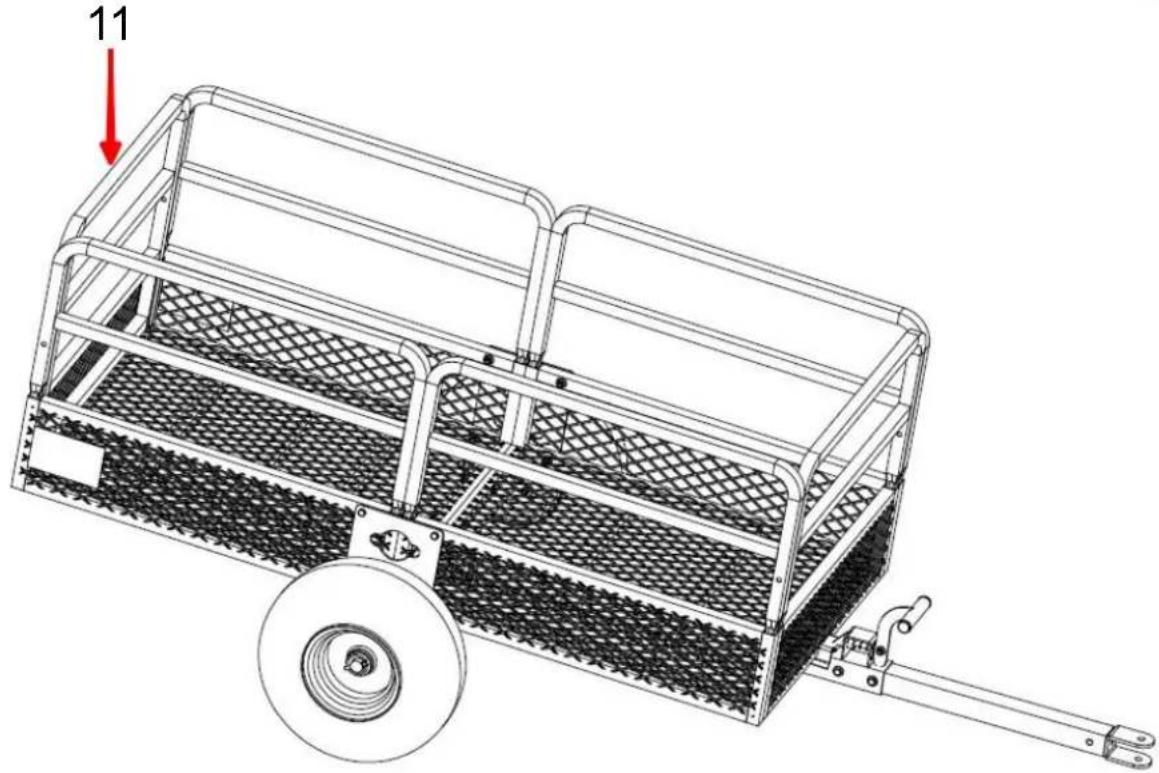
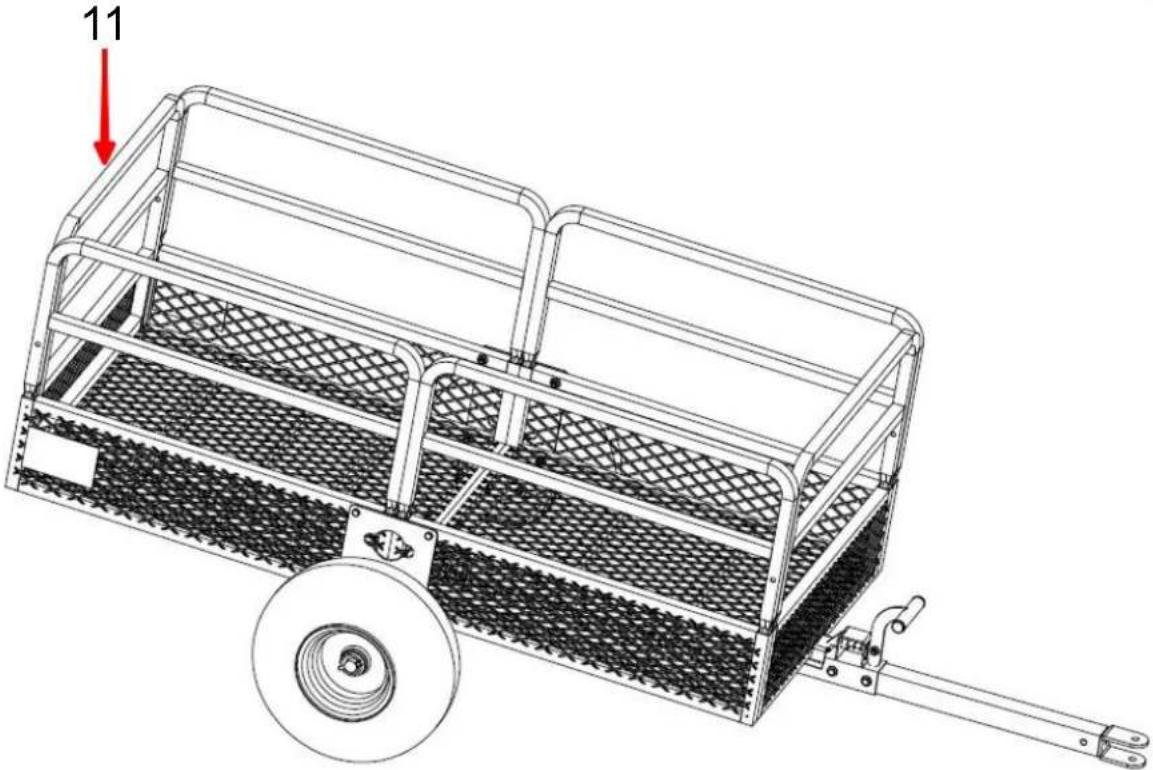
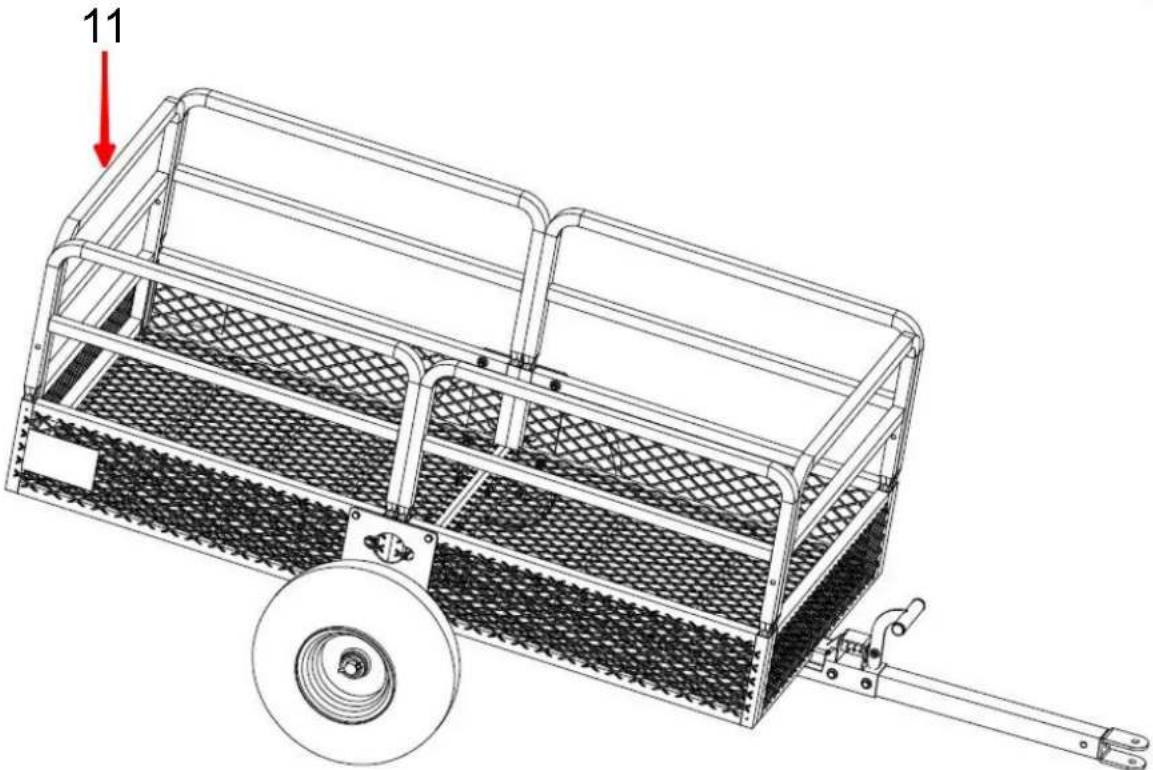
- Install the Rear guardrail (No.11) on the left and right sides of the frame.
PRODUCT PARAMETER
| Model | TC4268 |
| Volume | 15 cu.ft |
| Carriage size | 1370*710*395mm / 54*28*15.5inchs |
| Maximum loading capacity | 1500 LBS |
| Model | TC4278 |
| Volume | 22 cu.ft |
| Carriage size | 1490*735*575mm / 58.6*28.9*22.6inchs |
| Maximum loading capacity | 1600 LBS |
| Model | TC4288 |
| Volume | 28 cu.ft |
| Carriage size | 1524*810*635mm / 60*32*25inchs |
| Maximum loading capacity | 1765 LBS |
Manufacturer: Shanghai Muxin Muye Youxiangongsi
Address: Shuangchenglu 803nong11hao1602A-1609shi, Baoshanqu, Shanghai 200000 CN.
Imported to AUS: SIHAO PTY LTD. 1 ROKEVA STREET EASTWOOD NSW 2122 Australia
Imported to USA: Sanven Technology Ltd. Suite 250, 9166 Anaheim Place, Rancho Cucamonga, CA 91730
| UK | REP |
YH CONSULTING LIMITED. C/O YH Consulting
Limited Office 147, Centurion House, London
Road, Staines-upon-Thames, Surrey, TW18 4A>
| EC | REP |
E-CrossStu GmbH
Mainzer Landstr.69,
60329 Frankfurt am Main.

VEVOR
Affordable. Reliable. Home Improvement.
GARDEN TRAILERS
MODELS: TC4268/TC4278/TC4288
MODEL: TC4268/TC4278/TC4288

https://youtu.be/aIQyVCV19sY
ASSEMBLY STEP
STEP 1
1 x 1
2x1
Screw x3 M8*70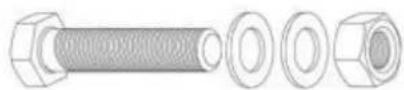

3 x 1
Screw B x4 M8*45
B
6×1
STEP-1
STEP-2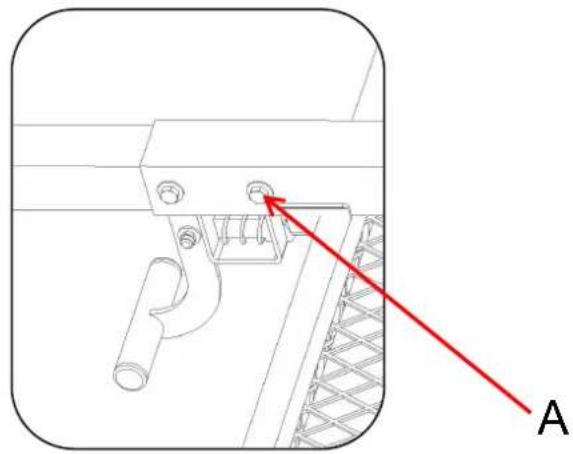
NOTE: This page shows the exploded view of parts from Step 3, which is convenient for you to check if the installation is correct.
YH CONSULTING LIMITED. C/O YH Consulting
Limited Office 147, Centurion House, London
Road, Staines-upon-Thames, Surrey, TW18 4A>
| EC | REP |
E-CrossStu GmbH
Mainzer Landstr.69,
60329 Frankfurt am Main.

VEVOR
Affordable. Reliable. Home Improvement.
GARDEN TRAILER
MODEL: TC4268/TC4278/TC4288
MODEL: TC4268/TC4278/TC4288

https://youtu.be/aIQyVCV19sY
ASSEMBLY STEP
STEP 1
1 x 1
2x1
A x3 Screw M8*70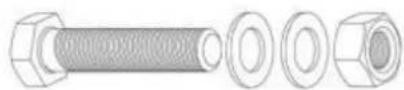
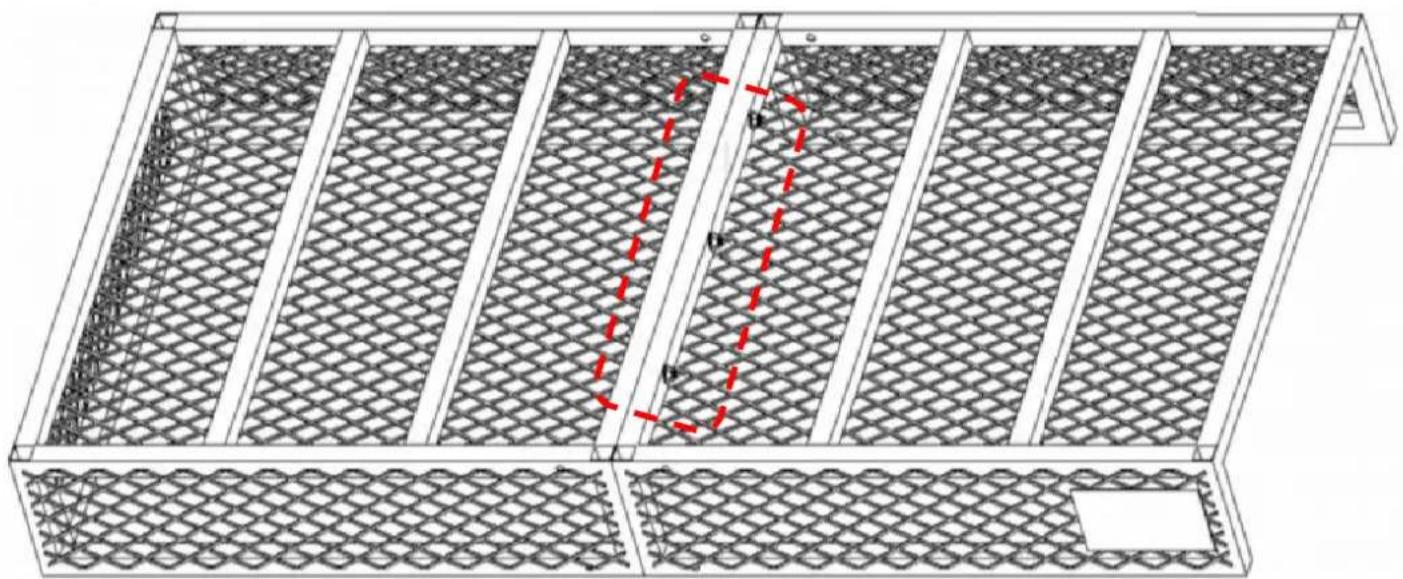

3 x 1
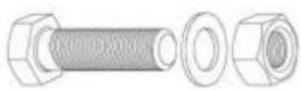
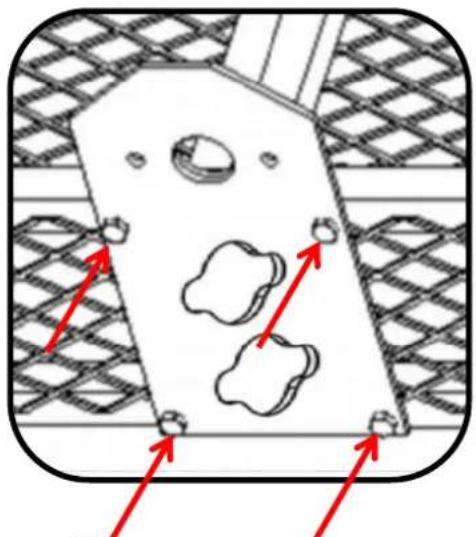
B
NOTE: This page shows the exploded view of parts from Step 3, which is convenient for you to check if the installation is correct.
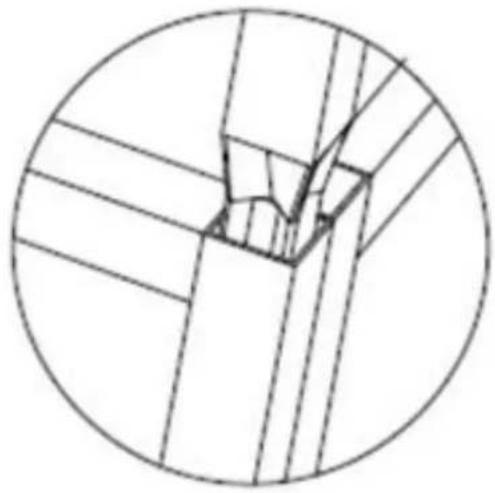
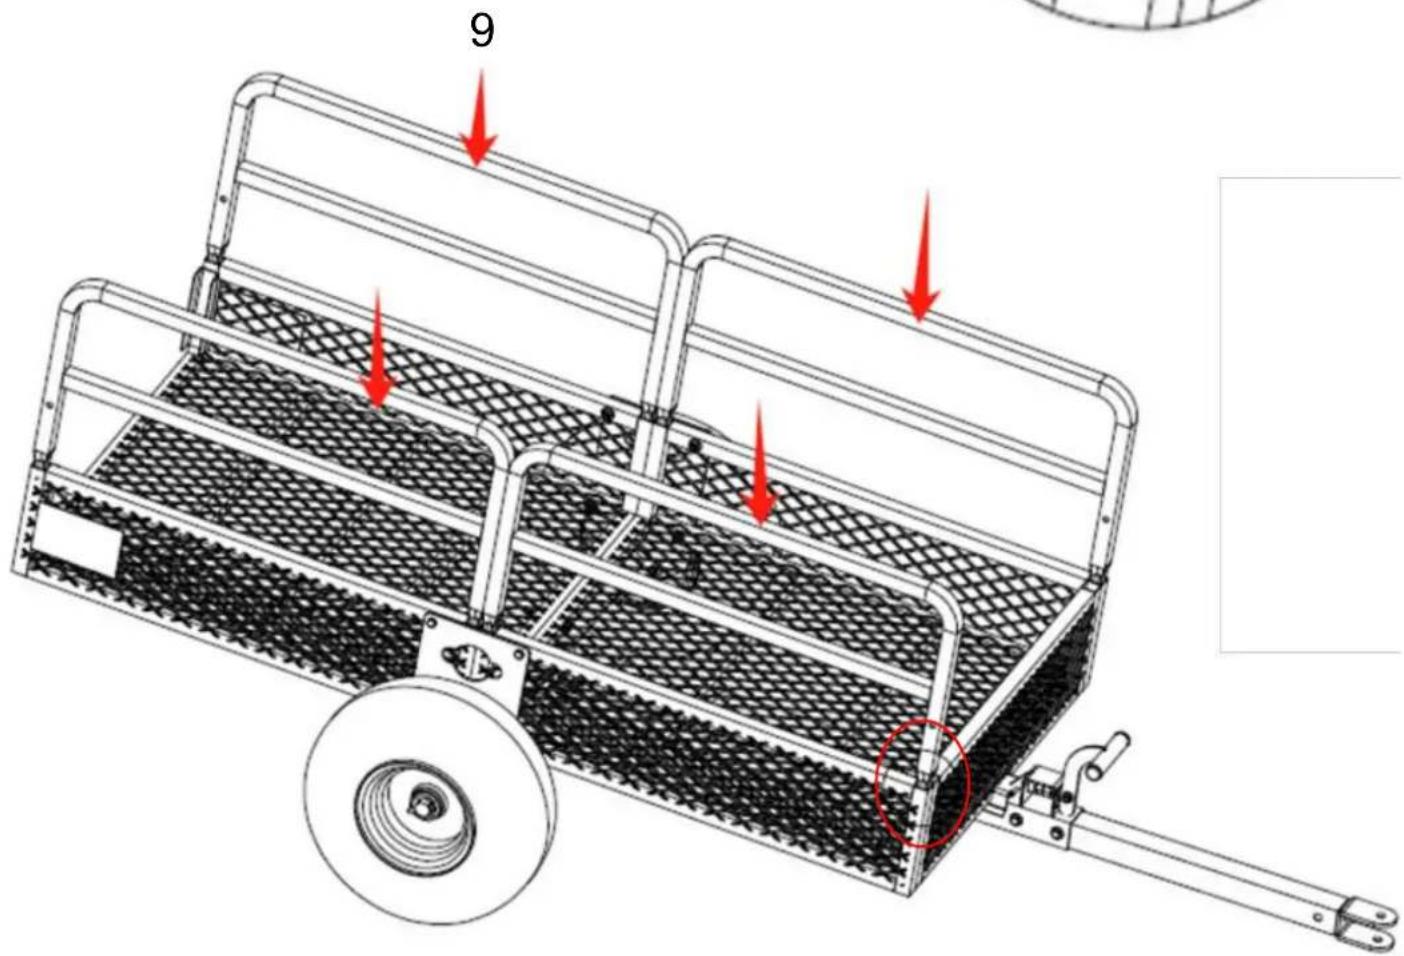
Place, Rancho Cucamonga, CA 91730
| UK | REP |
YH CONSULTING LIMITED. C/O YH Consulting
Limited Office 147, Centurion House, London
Road, Staines-upon-Thames, Surrey, TW18 4A>
| EC | REP |
E-CrossStu GmbH
Mainzer Landstr.69,
60329 Frankfurt am Main.

VEVOR
Affordable. Reliable. Home Improvement.
GARDEN TRAILERS
MODEL: TC4268/TC4278/TC4288
MODEL: TC4268/TC4278/TC4288
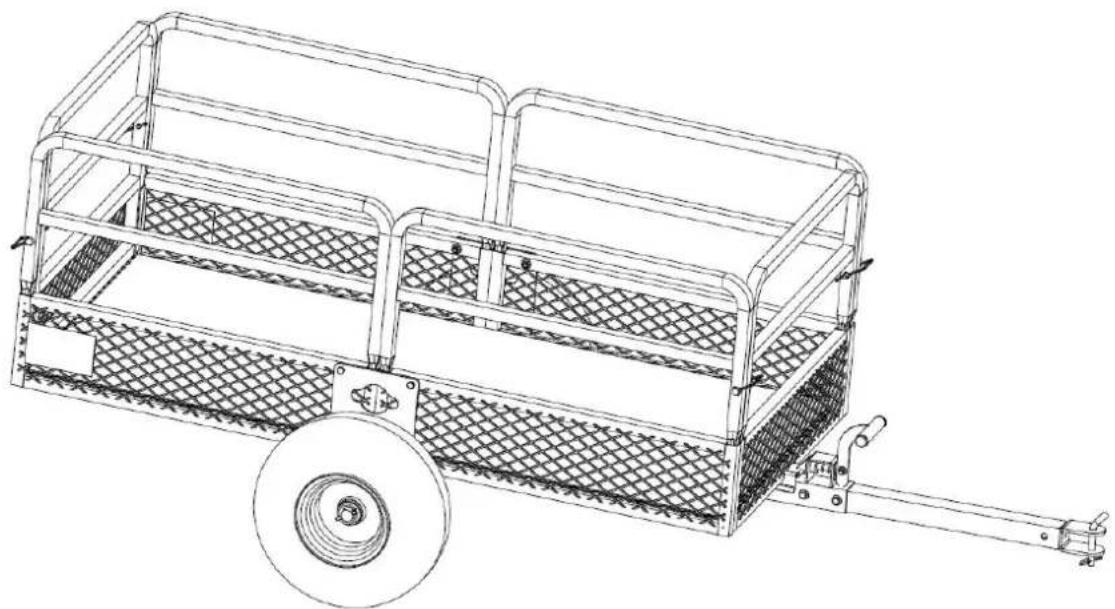

https://youtu.be/aIQyVCV19sY
ASSEMBLY STEP
STEP 1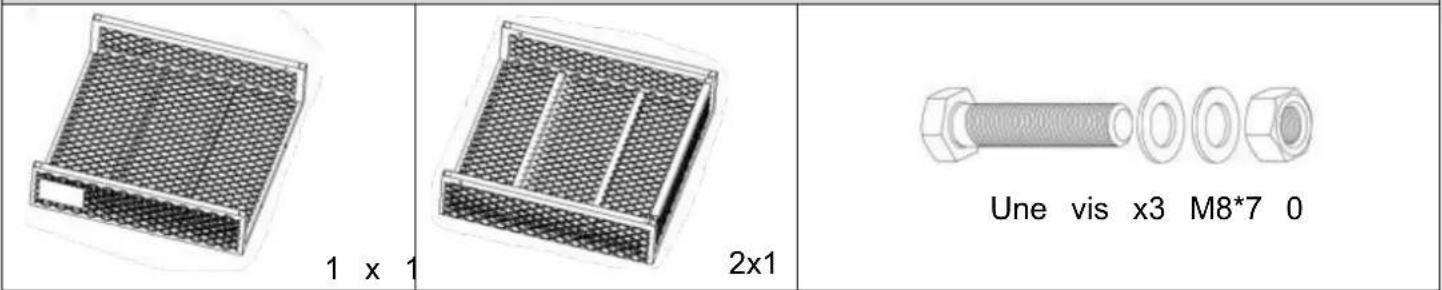
3 × 1
Screw B x4 M8*45
B
6 x 1
STEP-1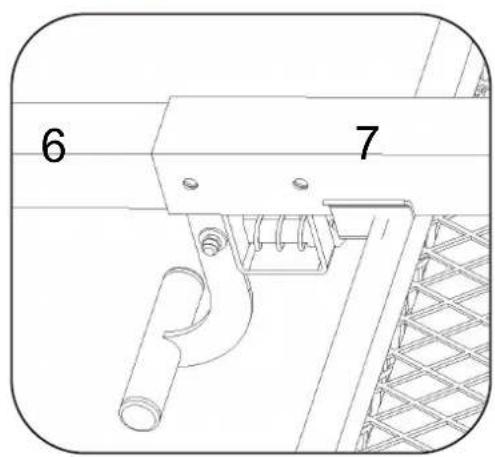
STEP-2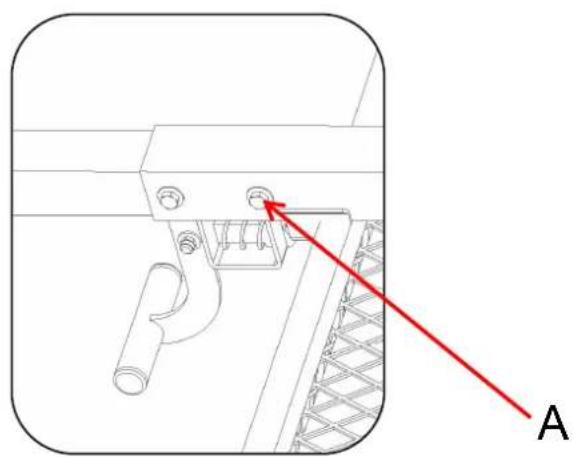
NOTE: This page shows the exploded view of parts from Step 3, which is convenient for you to check if the installation is correct.
| ÉTAPE 7 | |||
 F x2 F x2 |  D x4 D x4 | 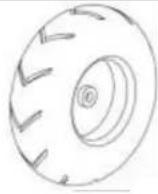 8 x 2 8 x 2 | |
 | |||
G x1
H x1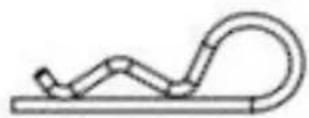
10 x 1
11 x 1
12 x 1
YH CONSULTING LIMITED. C/O YH Consulting
Limited Office 147, Centurion House, London
Road, Staines-upon-Thames, Surrey, TW18 4AX
| EC | REP |
E-CrossStu GmbH
Mainzer Landstr.69,
60329 Frankfurt am Main.

VEVOR
Affordable. Reliable. Home Improvement.
TUINTRAILERS
MODEL: TC4268/TC4278/TC4288

https://youtu.be/aIQyVCV19sY
ASSEMBLY STEP
STEP 1
1x1
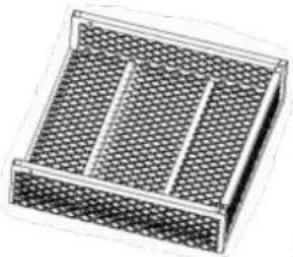
2x1
3x1

B x4 Screw M8*45
4x1
C x2 Screw M10*25
NOTE: This page shows the exploded view of parts from Step 3, which is convenient for you to check if the installation is correct.
Limited Office 147, Centurion House, London
Road, Staines-upon-Thames, Surrey, TW18 4AX
| EC | REP |
E-CrossStu GmbH
Mainzer Landstr.69,
60329 Frankfurt am Main.

VEVOR
Affordable. Reliable. Home Improvement.
GARDEN CART
MODEL: TC4268/TC4278/TC4288
MODEL: TC4268/TC4278/TC4288

https://youtu.be/aIQyVCV19sY
ASSEMBLY STEP
STEP 1
1 x 1
2x1
A x3 Screw M8*70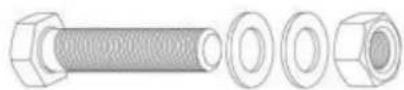
3 x 1
B x4 Screw M8*45
4x1
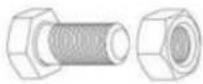
C x2 Screw M10*25
3 x 1
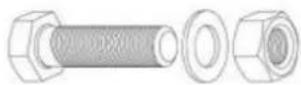
B x4 Screw M8*45
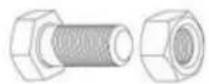
C x2 Screw M10*25
B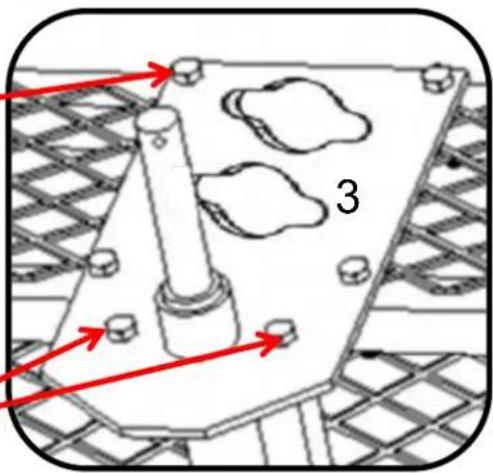
C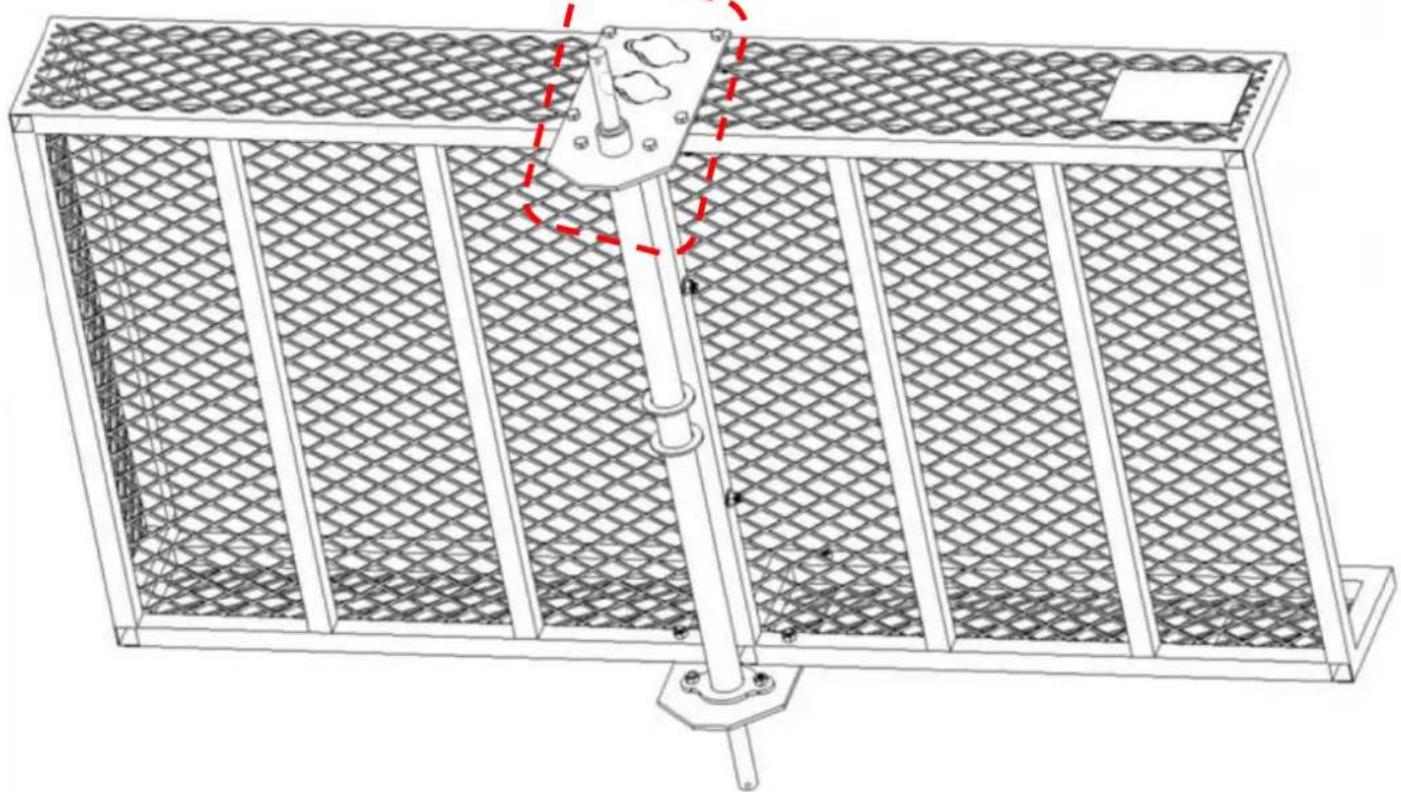
6x1

STEP-1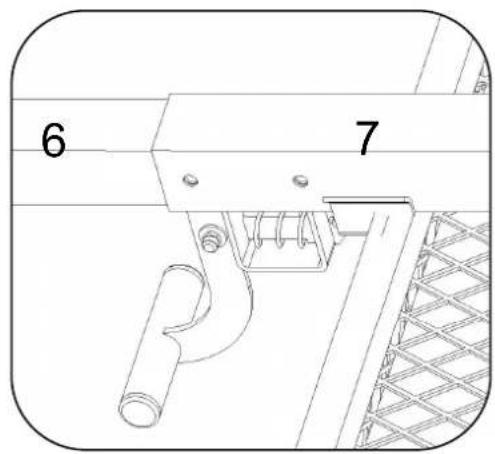
STEP-2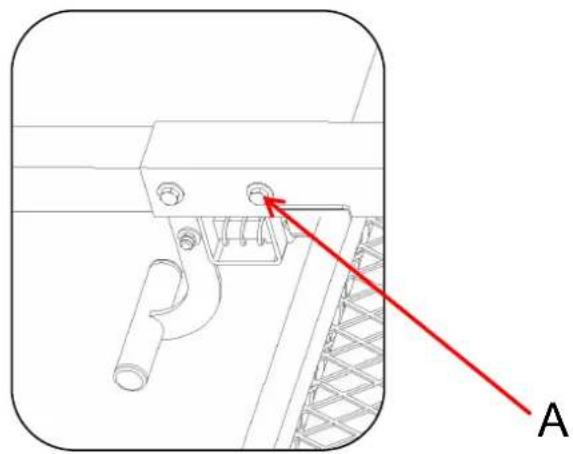
NOTE: This page shows the exploded view of parts from Step 3, which is convenient for you to check if the installation is correct.
10 x 1
11 x 1
YH CONSULTING LIMITED. C/O YH Consultin
Limited Office 147, Centurion House, London
Road, Staines-upon-Thames, Surrey, TW18 4A>
| EC | REP |
E-CrossStu GmbH
Mainzer Landstr.69,
60329 Frankfurt am Main.

VEVOR
Affordable. Reliable. Home Improvement.
GARDEN TRAILERS
MODEL: TC4268/TC4278/TC4288
MODEL: TC4268/TC4278/TC4288

https://youtu.be/aIQyVCV19sY
ASSEMBLY STEP
STEP 1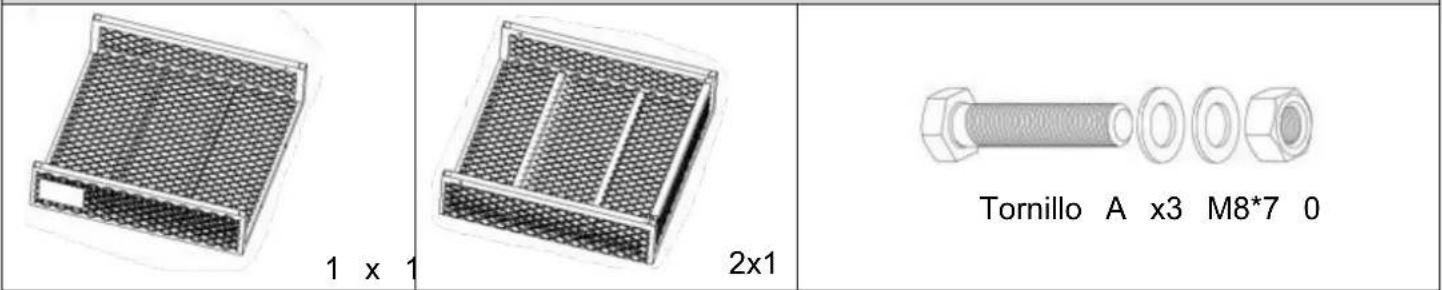
3x1
Screw B x4 M8*45
B
6x1
STEP-1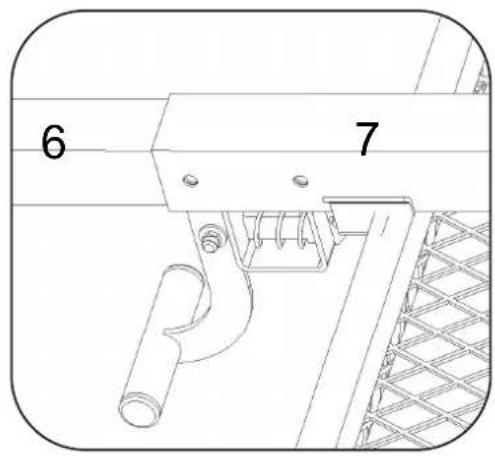
STEP-2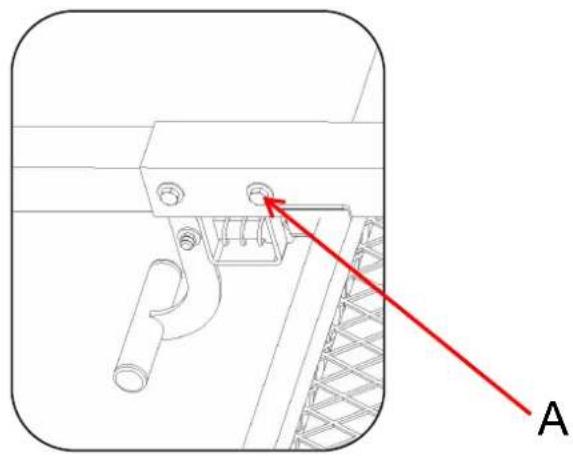
NOTE: This page shows the exploded view of parts from Step 3 onwards, which is convenient for you to check if the installation is correct.
| PASO 7 | ||
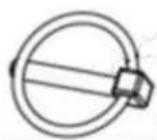 F x2 F x2 |  D x4 D x4 | 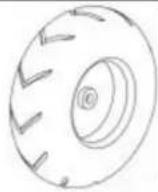 8 x 2 8 x 2 |
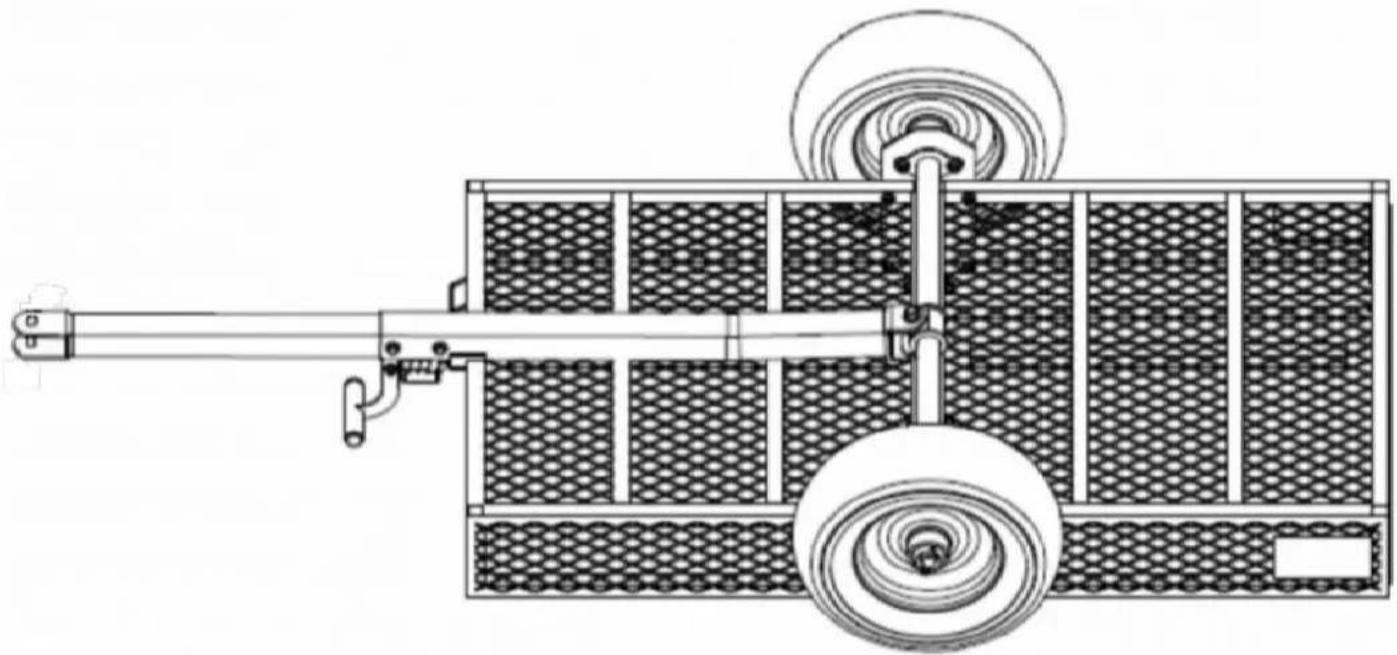 | ||
G x1
Alto x1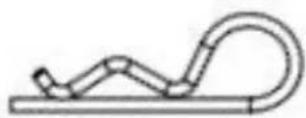

10 x 1
11 x 1
12 x 1
| EC | REP |
E-CrossStu GmbH
Mainzer Landstr. 69,
60329 Frankfurt am Main.

Brand : Vevor
Model : TC4268
Category : Trailer