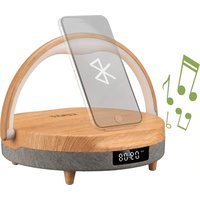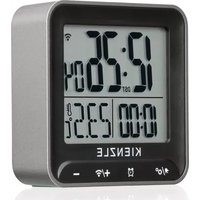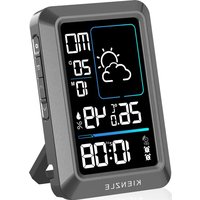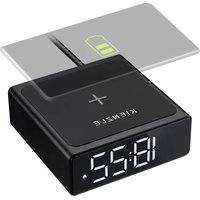
14988 - Alarm clock radio Kienzle - Free user manual and instructions
Find the device manual for free 14988 Kienzle in PDF.


User questions about 14988 Kienzle
0 question about this device. Answer the ones you know or ask your own.
Ask a new question about this device
Download the instructions for your Alarm clock radio in PDF format for free! Find your manual 14988 - Kienzle and take your electronic device back in hand. On this page are published all the documents necessary for the use of your device. 14988 by Kienzle.
USER MANUAL 14988 Kienzle
- About this manual 18
- General safety instructions 18
- Contents 19
- Parts overview 21
- Features 21
- Startup 22
7.Time setting 22 - 12/24h time format switch 22
- Alarm setting 23
- Turn the alarm on/off 23
- Snooze function 23
- Stop alarm 24
- Turn off the snooze function 24
- Adjust brightness 24
- Quick wireless charging function 25
- Cleaning instructions 25
- EC declaration of conformity 25
18.Disposal 26 - Warranty 27
1. ABOUT THIS MANUAL

This user manual should be considered part of the device.
Read the safety instructions and the user manual carefully
before using the device.
Keep this user manual for future reference. If the device is sold or passed on, the user manual must be given to the new owner/user of the product. The device is intended for indoor use only!
2. GENERAL SAFETY INSTRUCTIONS
- This device contains electronic components that operate via a power source (power adapter). Do not let children use the device unsupervised. Use is only permitted as described in the manual, otherwise there is a risk of ELECTRIC SHOCK!
- Children should only use the device under supervision. Keep packaging materials (plastic bags, rubber bands, etc.) away from children! There is a RISK OF SUFFOCATION!
- Do not short-circuit the device and batteries or throw them into fire! Excessive heat and improper handling can cause short circuits, fires, and even explosions!
- Do not disassemble the device! If a defect occurs, please contact your specialist dealer. They will contact the service center and, if necessary, send the device in for repair.
-
Do not expose the device to high temperatures and protect it from contact with water and high humidity to prevent leakage or explosion of the built-in battery!
-
Never kink, pinch, or pull the power and connection cables, extensions, and adapters. Protect cables from sharp edges and heat.
- Before using the device, check it, the cables, and connections for damage. Never use a damaged device or a device with damaged power cables. Damaged parts must be replaced immediately by an authorized service center.
- Make sure to check the correct operating voltage in your end device's operating manual before charging. No warranty is provided for damage caused by incorrect voltage selection.
- Please use the factory-supplied Type-C USB cable.
- Place your phone in the center of the clock to ensure stable charging.
- Metal cases and accessories like magnets, cards, and grips interfere with the charging process.
- A Quick Charge 2.0 / 3.0 power adapter is required for fast charging mode.
- Do not use your phone while the device is charging.
3. CONTENTS
Alarm clock, USB-C cable, user manual
4. PARTS OVERVIEW
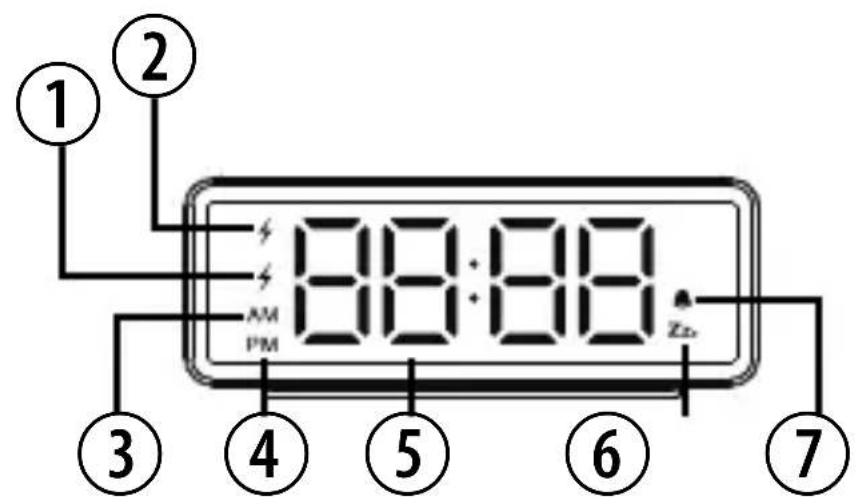
Green control light (Green light = fully charged)
Red control light (Red light = charging)
AM
PM
Time display
Snoopze symbol
Alarm symbol
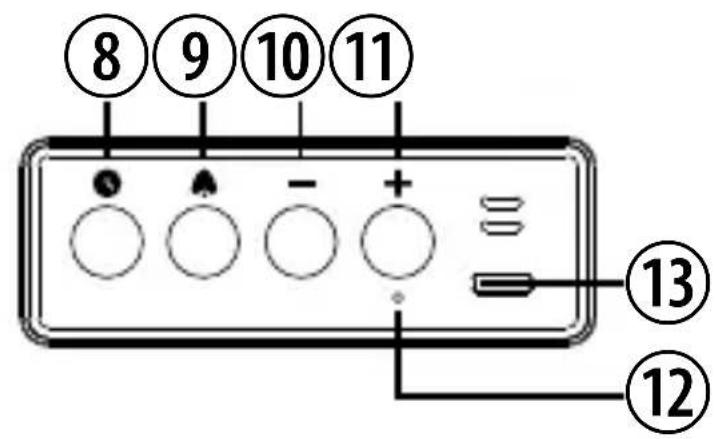
Time setting / 12/24h format
Alarm setting / Alarm on/off
10 -
1 +
Reset to factory settings
USB Type-C port
Charging area (To start wireless charging, place the center of the phone on the + symbol in the wireless charging area)
Snoopze / Light button
5. FEATURES
- Wireless charging function (5/7.5/10W)
- Time display (12/24-hour format) with 4-level brightness adjustment
- Dual alarm function and snooze function (9 minutes)
6. STARTUP
Plug one end of the cable into the Type-C port of the clock and connect the other end to the power adapter (not included). Then plug the power adapter into the socket. The clock will now start automatically.
7. TIME SETTING
Hold the [ ] button in time mode until the "hour" blinks, press [+] or [-] to set the hour, then press [ ] to save; the "minute" blinks, press [+] or [-] to set the minute, then press [ ] to save. The time is now set.
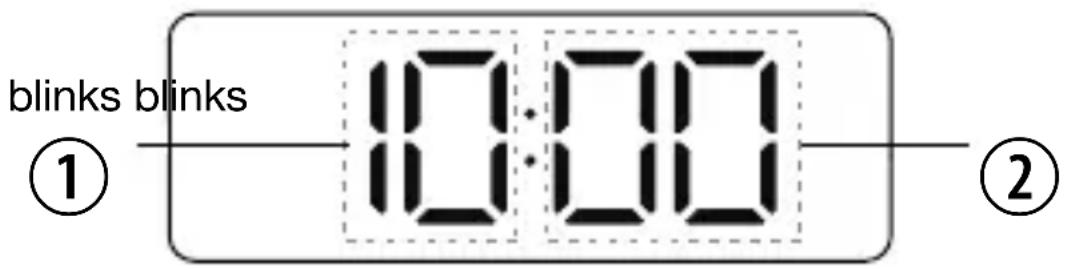
Note:
- Hold the [+] or [-] button to set quickly.
- If you do nothing for 10 seconds, the setting will automatically confirm and return to time display mode.
8. 12/24H TIME FORMAT SWITCH
Press the [ button in time mode to switch between 12/24-20
hour mode. If 12-hour mode is selected, "AM/PM" will be displayed on the screen.
9. ALARM SETTING
Hold the [ ] button in time mode until "Hour" blinks, then press the [+] or [-] button to set the hour, and press [ ] to save. The alarm is now set, and the symbol " will be displayed on the screen. The symbol indicates that the alarm is on.
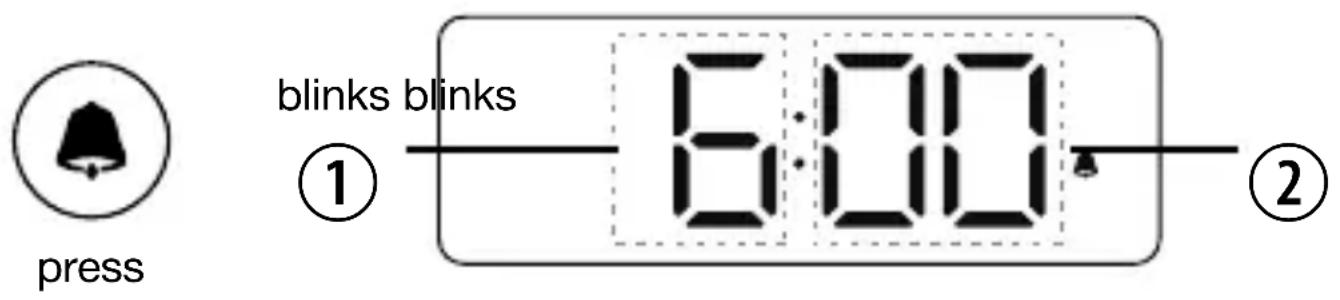
Alarm tone duration: 5 minutes
10. TURN THE ALARM ON/OFF
Press the [ ] button in time mode to turn the alarm on or off.
ON: The symbol [ ] will be displayed on the screen.
OFF: The symbol [ ] will disappear from the screen.
11. SNOOZE FUNCTION
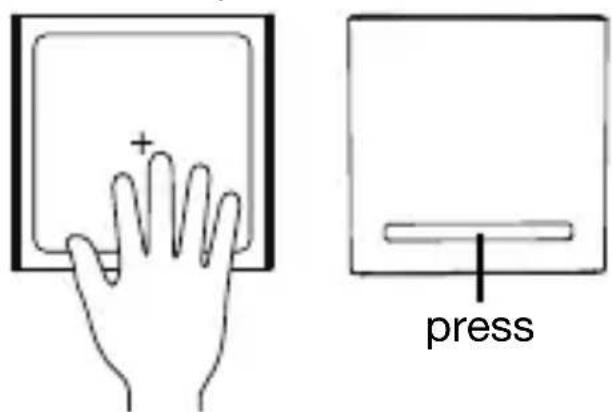
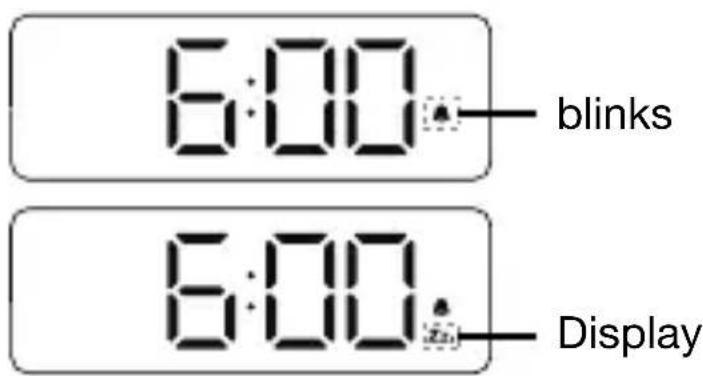
When the alarm sounds, the symbol “ 空 ” will blink. Press the [Snoopze/Light] button to activate the snooze function and tem-
porarily stop the alarm. The “ Z” symbol will be displayed on the screen. The alarm will sound again after 9 minutes.
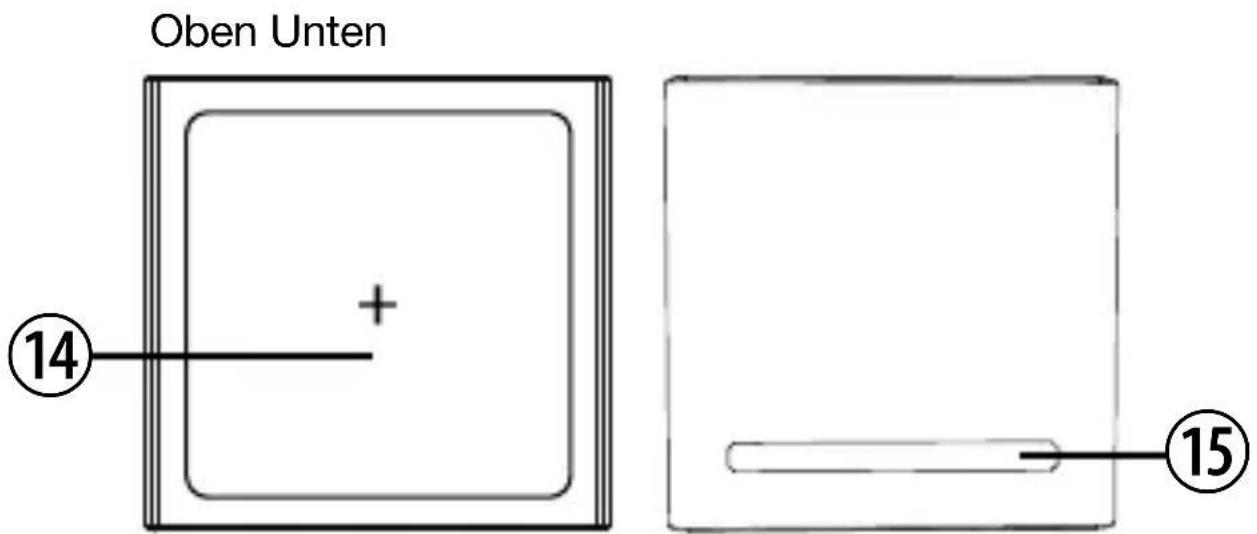
Top or bottom:
12. STOP ALARM
When the alarm sounds, press any button except the [Snoopze/ Light] button to stop the alarm. The alarm will sound again the next day.
13. TURN OFF THE SNOOZE FUNCTION
When the snooze function is activated, press any button except the [Snoopze/Light] button or hold down the [Snoopze/Light] button to turn off the snooze function; the symbol “ ^ will disappear from the screen.
14. ADJUST BRIGHTNESS
Press the top [Snoopze/Light] area in time mode to adjust the
LED display brightness in 4 levels (including off). You can also press the [Snoopze/Light] button on the bottom of the device to adjust the LED display brightness.
15. QUICK WIRELESS CHARGING FUNCTION
After connecting the Quick Charge power adapter (QC2.0 or QC3.0), simply place your compatible smartphone in the center of the wireless alarm clock, and it will start charging immediately. When the phone is charging, the red control light “ ” will light up.
16. CLEANING INSTRUCTIONS
Disconnect the device from the power source (remove the cable) before cleaning!
Clean the device externally only with a dry cloth. Do not use cleaning fluids to avoid damaging the electronics.
17. EC DECLARATION OF CONFORMITY
A “Declaration of Conformity” in accordance with the applicable directives and corresponding standards has been issued by Bresser GmbH. The full text of the EC declaration of conformity is available at the following internet address: www.bresser.de/download/14988/CE/14988_CE.pdf
18. DISPOSAL

Dispose of packaging materials separately. Please observe current legal regulations when disposing of the device.
Information on proper disposal can be obtained from
municipal waste disposal services or the environmental agency.
Do not dispose of electrical devices in household waste!
According to the European Directive 2012/19/EU on waste electrical and electronic equipment and its implementation
in national law, used electrical devices must be collected separately and disposed of in an environmentally friendly manner. Empty used batteries must be returned by the consumer to battery collection points. For more information on the disposal of devices or batteries manufactured after January 6, 2006, contact your local waste disposal service or environmental agency.
Completely discharge the battery before disposal.
19. WARRANTY
The regular warranty period is 2 years and begins on the day of purchase. To benefit from an extended, voluntary warranty period as indicated on the gift box, registration on our website is required.
The full warranty conditions as well as information on warranty extension and services can be viewed at www.bresser.de/warranty_terms.