ITL-510 - Remote control Intertechno - Free user manual and instructions
Find the device manual for free ITL-510 Intertechno in PDF.


User questions about ITL-510 Intertechno
0 question about this device. Answer the ones you know or ask your own.
Ask a new question about this device
Download the instructions for your Remote control in PDF format for free! Find your manual ITL-510 - Intertechno and take your electronic device back in hand. On this page are published all the documents necessary for the use of your device. ITL-510 by Intertechno.
USER MANUAL ITL-510 Intertechno
GB Operating instructions
GR Οδηγίες χρήσης
H Kezelési utasítás
HR Uputa za rukovanje
I Istruzioni d'uso
ISL Notkunarleiðbeiningar
N Bruksanvisning
text_image
L LEARN SET S2
natural_image
3D rendering of a white electronic device with green connectors and labeled ports, shown with an inset close-up of its component (no text or symbols visible)3a
230 Volt

natural_image
White electronic device with four ports and green connectors (no visible text or symbols)
text_image
N L L ↑ DCM ↓ L N DOWN UP M AC3b
24 Volt
natural_image
White electronic device with green connectors and two side ports (no visible text or symbols)
text_image
L N DOWN UP - M DC + 24V- 24V+ N L L ↑ COM ↓3c
potentialfrei
natural_image
White electronic device with green terminal connectors and two side ports (no visible text or symbols)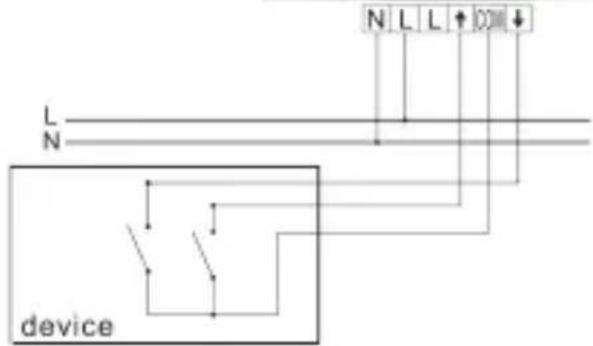
text_image
L N N L L ↑ D device4
natural_image
Illustration of a hand using a tool to test a small electronic device with indicator lights (no text or symbols present)
natural_image
Illustration of a hand holding a smartphone with a partially visible screen (no text or symbols)
text_image
Scene 1 Scene 2ITD10
Bedienungsanleitung
Operating instructions
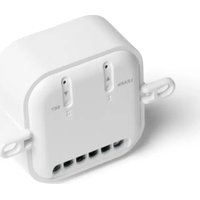
ITL-510 (Fig. 1) is suitable for switching all tubular motors and therefore for controlling blinds, shutters, sun blinds, awnings etc.
• 32-code memory, first-in first-out memory.
- Integrated motor calibration setting.
- Scene status memory: create your own atmosphere.
All teaching transmitters and all transmitters for scene switching made by intertechno can be used.

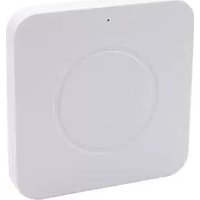
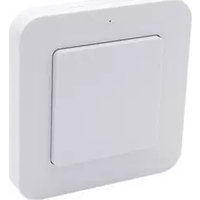
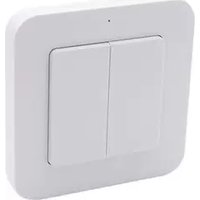
Numerous handheld and wall-mounted transmitters and shutter transmitter ITS-510 are available.
The wireless dimming wall-mounted transmitter ITDW-854 can also use the rotary knob to open or close the shutter.

Mounting (only to be carried out by a qualified electrician):
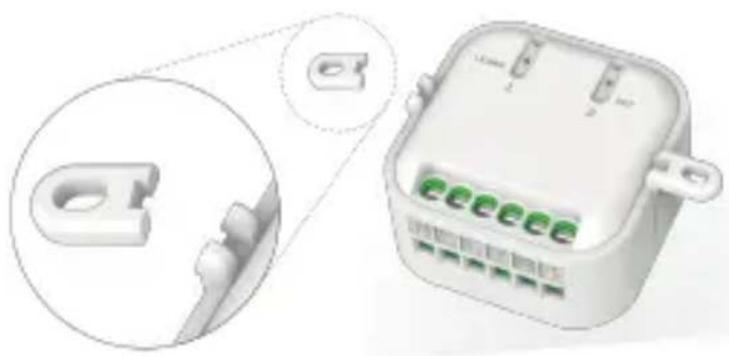
To be able to install the wireless shutter switch in a box, the installation lug can be easily snapped off to save space. (Fig. 2)

1.) Turn off the fuse.
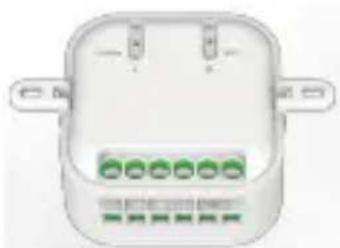
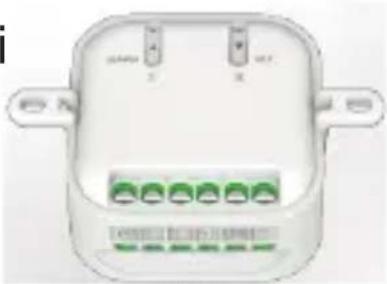
2.) The connections must be made in accordance with Fig. 3a/3b/3c.
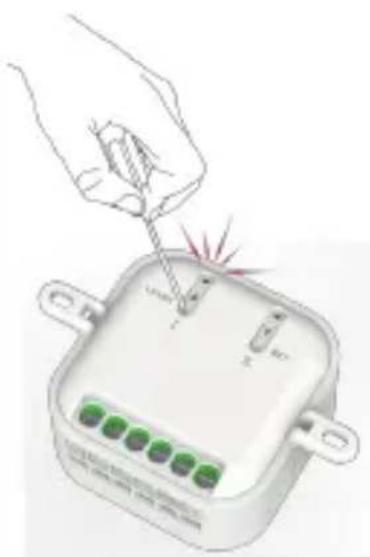
Encoding (Fig. 4) Teaching in of transmitters and receivers
3.) Turn on the fuse again. The LED will shine for 10 seconds, this means it is ready for operation.
4.) Briefly press the learn button (L) on the module with a pointy object (e.g. paper clip, ballpoint pen). The LED will flash.
5.) Immediately press the ▲ button on the ITS-510 transmitter. With all other transmitters, the ON signal is sent. See also the respective operating instructions for this. The LED flashes quickly as confirmation.

GB
Operating instructions
The encoding is now complete.
If no signal is transmitted within 12 seconds, the learning process is automatically aborted.
A total of 32 different codes or teaching transmitters (no letter and number encoding) can be taught in.
The first code will be deleted each time if more than 32 codes are entered.
The encoding remains saved even after a power cut.
Using several wireless receivers opens up many switching options such as individual and group switching.
In addition, the ITL-510 has a storage feature for scene switching.
Erasing individual codes
Proceed as in points 4.) and 5.), but instead of the "Up" button▲, press the "Down" button▼ or transmit the OFF signal.
Erasing all codes
Press the learn button (L) for around 6 seconds until the LED begins to flash quickly.
Briefly release the button and then press the learn button (L) again.
The LED flashes quickly as confirmation of the erasing process.
No transmitters are required for this process.
Opening and closing
With ITS-510
1.) Pressing the arrow buttons ▲/▼once starts the shutter.
Pressing the same arrow button again stops the operation.
2.) It is also possible to keep the arrow button pressed and to stop the shutter in the desired position by releasing the button.


GB
Operating instructions
For all other handheld or wall-mounted transmitters, the ON and OFF signal controls the direction and pressing again stops the operation.
Motor calibration
Used to set the fixed open and closed points.
With this, a smartphone, via an intertechno smarthome control centre or a scene transmitter, can be used to set a partially open position (30% closed, for example).
Calibration with ITS-510 (Fig. 5)
1.) Press the SET button for 3 seconds. Both LEDs flash.
2.) Pressing the "▼" button closes the shutter.
As soon as it is closed, press the "▼" button again.
3.) Now the "▲" button needs to be pressed.
As soon as the open position is reached, press the "▲" button again.
4.) To complete the process, press the SET button for 3 seconds again.
Both LEDs flash to confirm and the calibration is complete.
With all other transmitters, the calibration is done with the ON and OFF signal for opening and closing.
If no signal is sent after 30 seconds, the wireless receiver leaves calibration mode.
Scene switching
Multiple wireless receivers can be changed to the desired switching state with the touch of a single button.
This can be done with additional wireless receivers that are suitable for scene switching.
For example: shutter CLOSED/ceiling light DIMMED/fan ON/floor lamp OFF!
Scene switching is possible with several ITL-510 switches too:
for example, 1x closed, 1x open and 1x 30% closed.


GB
Operating instructions
Scene switching with ITS-510 (Fig. 6)
Pressing the arrow buttons moves the shutter into the desired position. Pressing the scene 1 or 2 button for 3 seconds saves the scene and the LED flashes to confirm this.
Additional transmitters only need to be taught in and they automatically apply the scenes.
Refer to the respective transmitter's operating instructions (for example ITF -100, ITKL-30, ITWT-800) for details on scene switching.
To view the declaration of conformity, please visit www.intertechno.at/CE


GR
Οδηγίες χρήσης
text_image
SCAN ME intertechno Selection APP