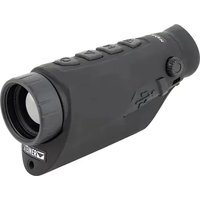
Nighthunter H35 Lite Gen II - Binoculars Steiner - Free user manual and instructions
Find the device manual for free Nighthunter H35 Lite Gen II Steiner in PDF.


User questions about Nighthunter H35 Lite Gen II Steiner
0 question about this device. Answer the ones you know or ask your own.
Ask a new question about this device
Download the instructions for your Binoculars in PDF format for free! Find your manual Nighthunter H35 Lite Gen II - Steiner and take your electronic device back in hand. On this page are published all the documents necessary for the use of your device. Nighthunter H35 Lite Gen II by Steiner.
USER MANUAL Nighthunter H35 Lite Gen II Steiner
natural_image
Black and white photo of a double-slit optical device with no visible text or symbols on the body or lens.Bedienungsanleitung
EINFÜHRUNG
natural_image
Line drawings of five different electrical socket or plug components (no text or symbols)natural_image
Line drawing of a multi-pin electrical connector (no text or symbols)natural_image
Black and white photo of a double-slit optical device with no visible text or symbols on the body or lens.Operating instructions
INTRODUCTION
Congratulations on your purchase of the Steiner Nighthunter Lite. Read this manual thoroughly before use and save it in case you want to look anything up later.
SCOPE OF DELIVERY
Included as standard:

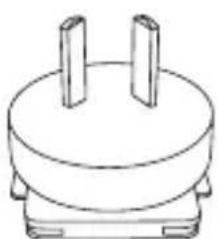
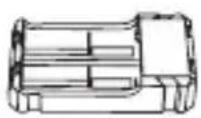
Plug for CN, US, UK, AU, EU
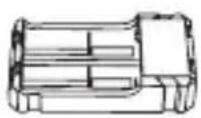
Charger
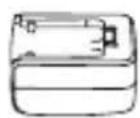
5V2A-Adaptor

natural_image
Line drawing of a multi-pin electrical connector (no text or symbols)Dual video cable
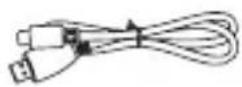
Micro USB cable
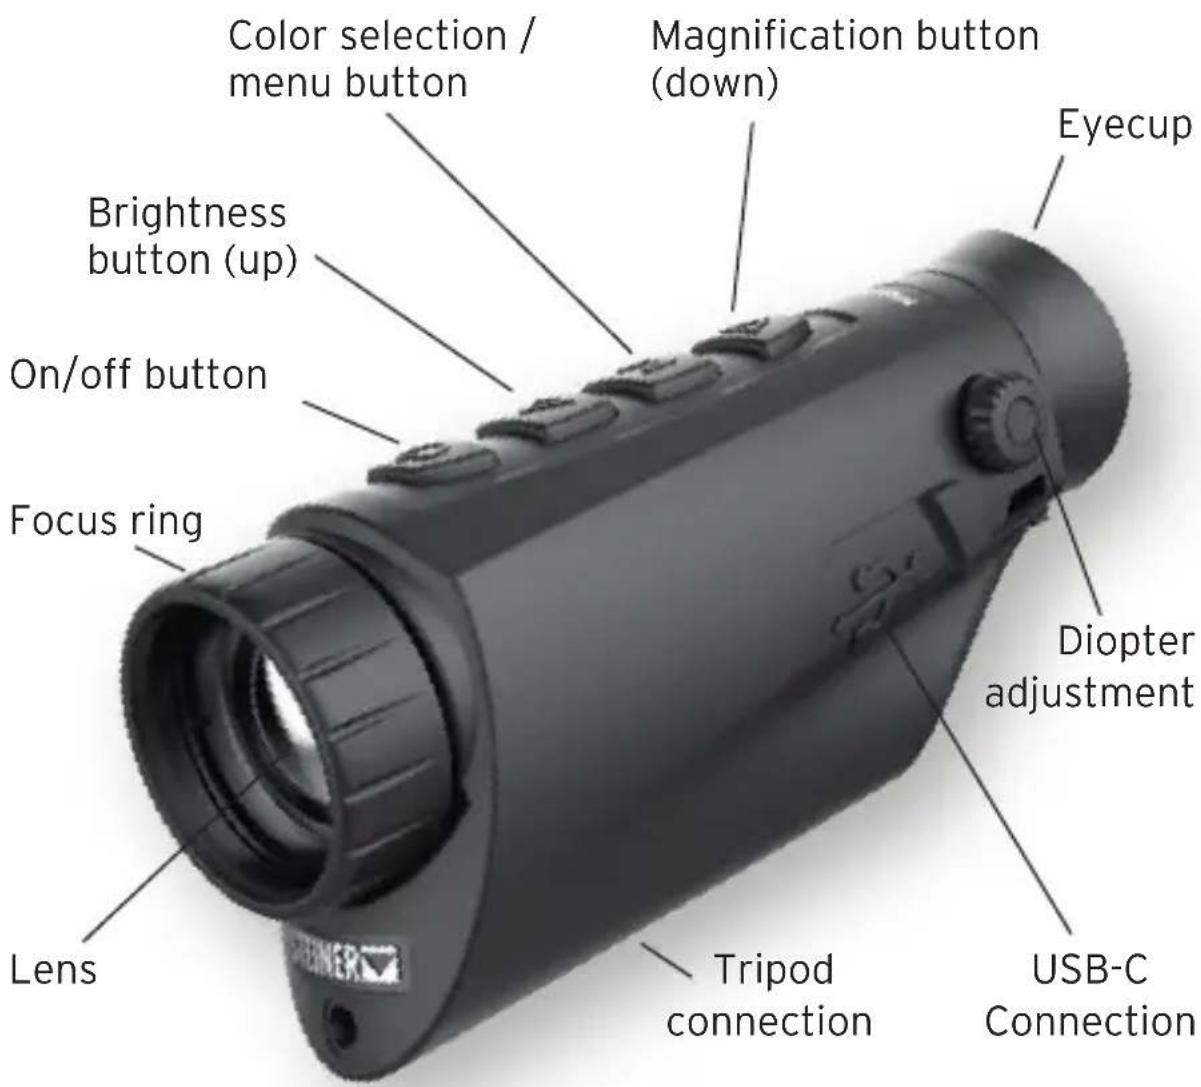
PRESENTATION OF THE PRODUCT COMPONENTS
text_image
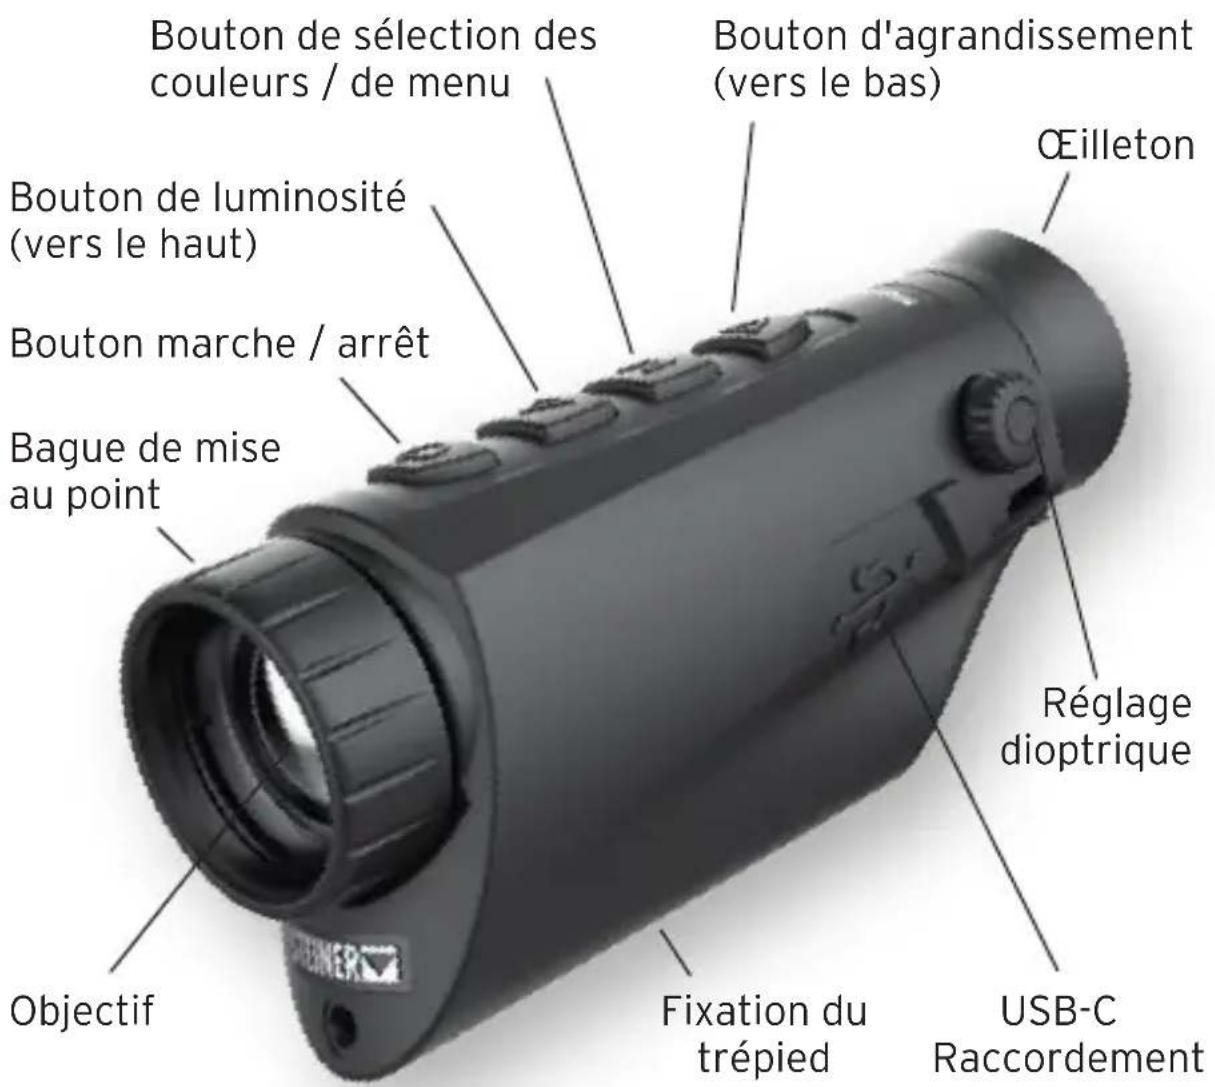
Color selection / menu button Magnification button (down) Brightness button (up) On/off button Focus ring Lens Tripod connection USB-C Connection Eyecup Diopter adjustmentFUNCTION OF THE CONTROLS
(before the menu)
text_image
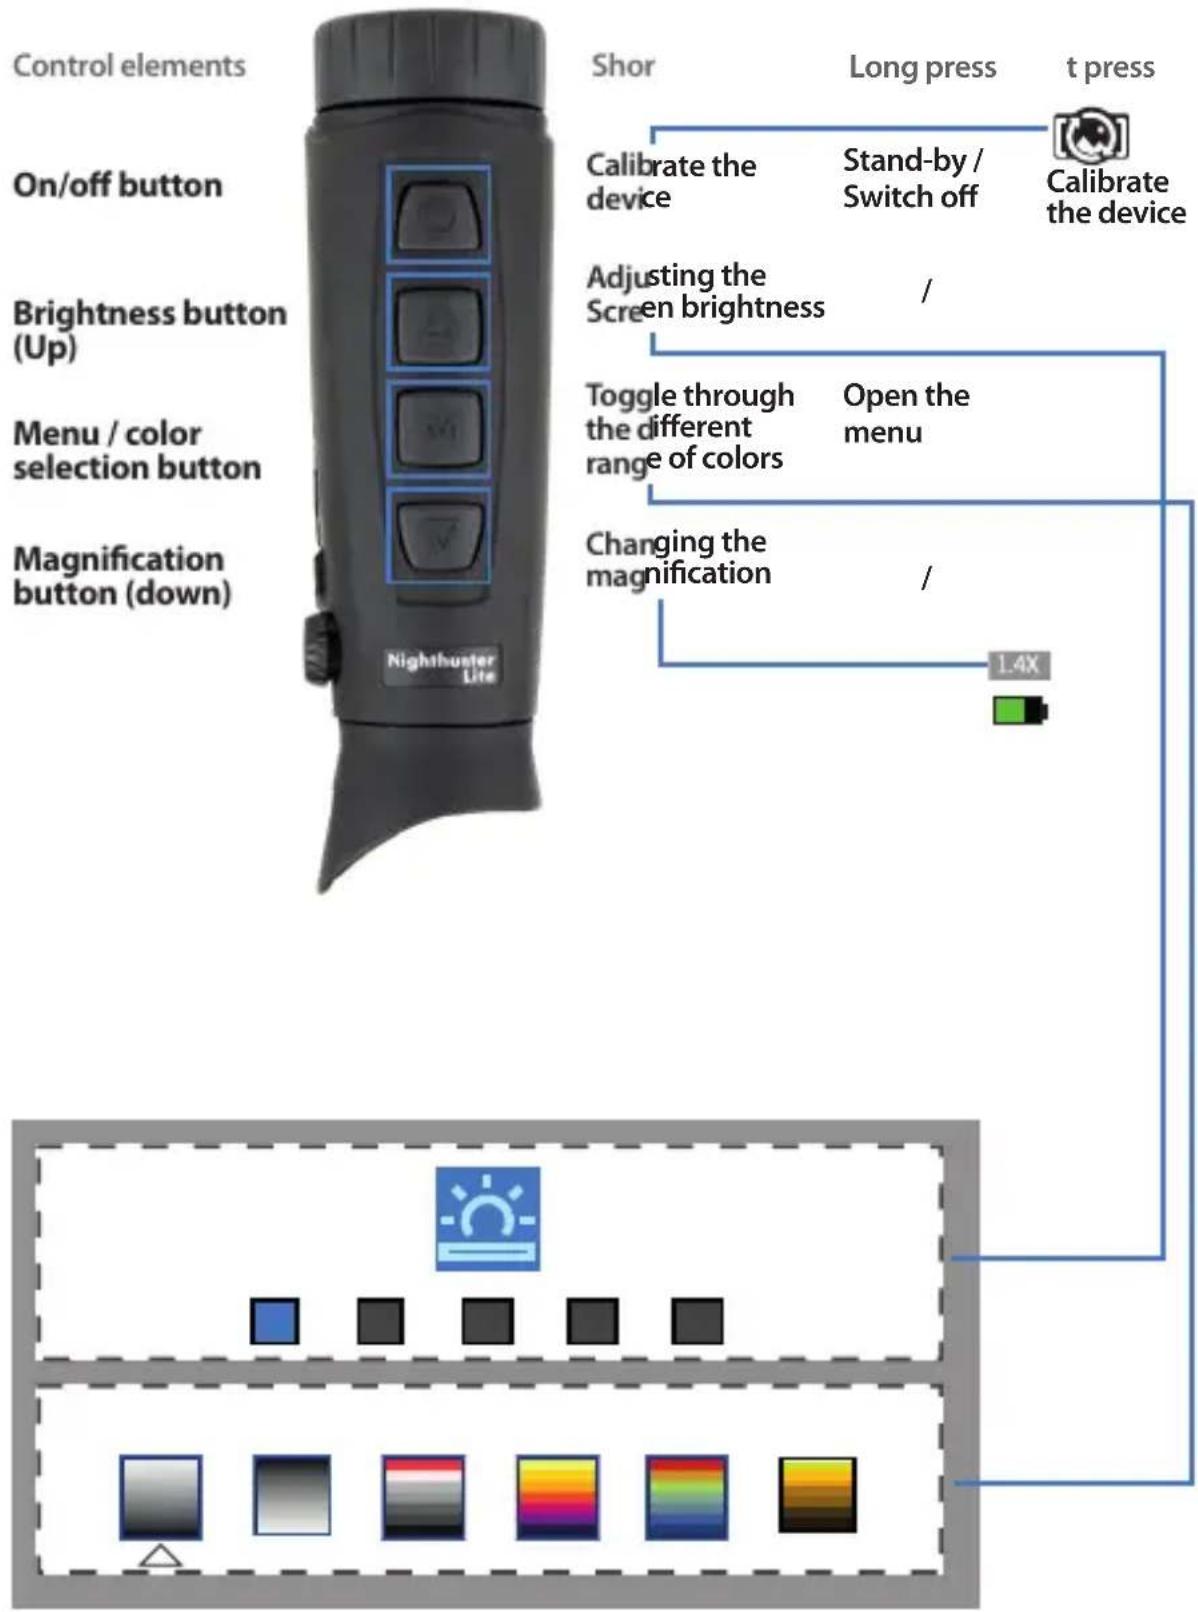
Control elements On/off button Brightness button (Up) Menu / color selection button Magnification button (down) Nightbuster Lite Shor Calibrate the device Adjusting the Screen brightness Toggle through the different range of colors Changing the magnification Long press Stand-by / Switch off Calibrate the device Open the menu 1.4X t pressFUNCTION OF THE CONTROLS
(within the menu)
text_image
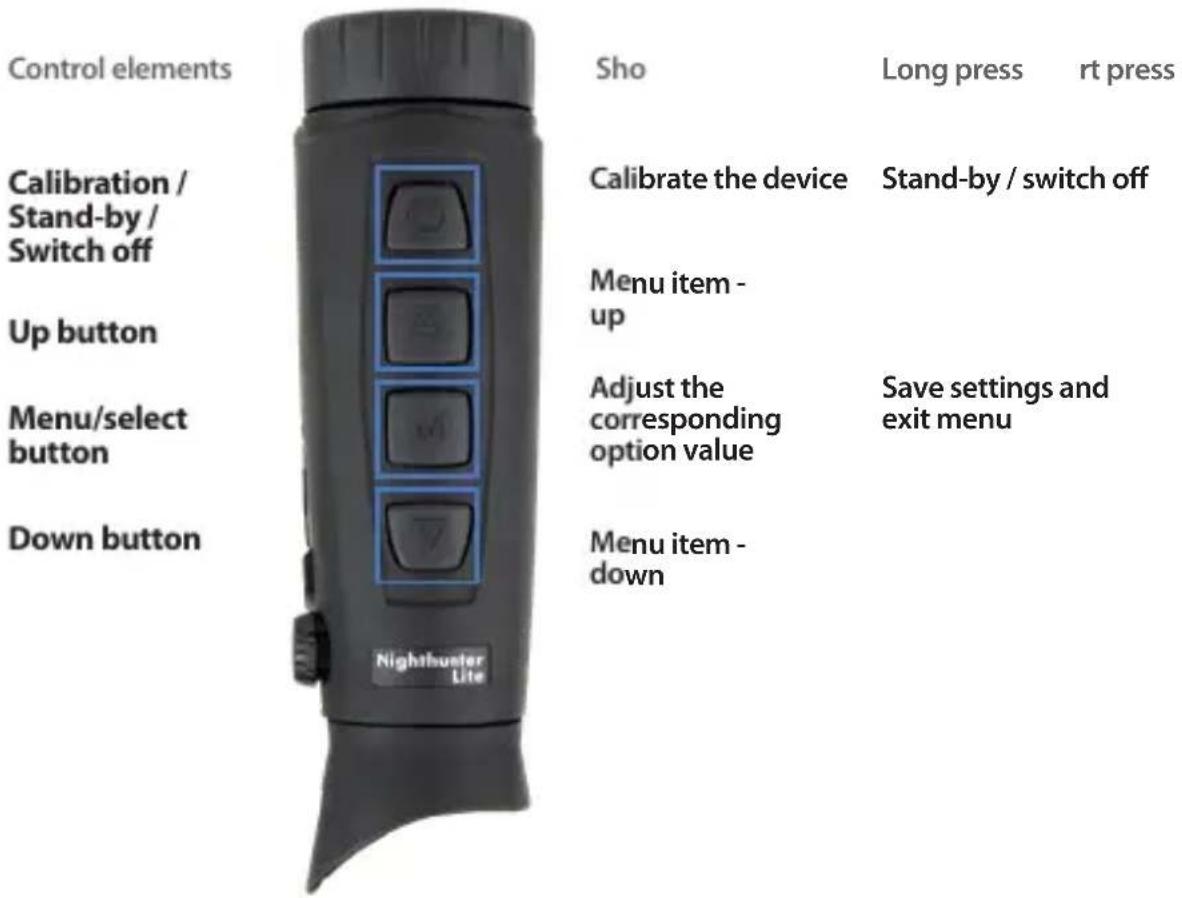
Control elements Calibration / Stand-by / Switch off Up button Menu/select button Down button Sho Calibrate the device Menu item - up Adjust the corresponding option value Menu item - down Long press rt press Stand-by / switch off Save settings and exit menuMAIN MENU OVERVIEW

Hotspot tracking

Sharpness

Ambient mode

Picture in picture

Brightness

Contrast

Calibration mode

"Stand-by" settings

Power off settings

Language settings
1. On/off switch
- Switch on
Press and hold the on/off switch until the Steiner logo appears on the display. Now you have successfully turned on the device.
- Switch off
Manual power off: Press and hold the On/Off button. A status circle appears in the eyepiece; after this is complete, the device switches off. You can now release the on/off button.
Automatic shut-off: The user can set an automatic shut-off time from the menu. If set, the device will automatically turn off if no action is taken within the selected time period.
- Enable "stand-by" mode
Press and hold the menu button M. The power off progress circle is shown on the display. If you release the button M before the status circuit is complete, the complete shutdown is interrupted and the "stand-by" mode is activated.
- Disable "standby mode"
By briefly pressing the menu button M or another control element, the appliance is taken out of "stand-by" mode and is immediately ready for use.
• Calibrate the device (NUC)
During normal operation, the device occasionally and automatically performs a correction of irregularities (NUC). During this process, the shutter briefly lowers in front of the sensor, freezing the image and resetting any noise in the image. If excessive noise is detected in the image between the system's automatic NUC functions, perform a manual NUC. Please ensure that the lens is covered during this process (e.g. with the lens protection cap included in the scope of delivery). A quick press of the menu button M performs the manual NUC. The image is temporarily frozen and reset.
2. Brightness button (up)
- Setting the screen brightness
The device is switched on and the real-time image is displayed. Press briefly to adjust the brightness of the screen in 5 stages.
- Movement of menu and options
The device is switched on and if the menu is in the called up state, pressing the up arrow button briefly or for a long time will move the menu or options up.
3. Menu / color selection button
- Switch color palette
In the real-time image, briefly pressing the menu button switches through the color palette in a defined sequence. The following color palettes are available:
EN
- White hot: The objects with a higher temperature are displayed in white or light gray.
- Black hot: The objects with a higher temperature are displayed in black or dark gray.
- Red hot: Objects with a higher temperature are displayed in red.
- Iron red: Objects with a higher temperature are displayed in orange or red.
- Fire: Objects with a higher temperature are displayed in yellow to red.
- Amber: The objects with a higher temperature are displayed in amber colors.
- Menu button
If the device is turned on and the menu is not displayed, press the menu button M until you see the menu on the display.
- Confirm and return/exit:
When you are in a menu, you can confirm the current selection by briefly pressing the menu button M. When you are in a menu, you can exit the menu by long-pressing the menu button M.
4. Magnification button (down)
- Reduction
The device is switched on and the real-time image is displayed. Press briefly to switch through the image magnification in sequential steps of 1X/2X/4X.
- Movement of menu and options
The device is switched on and when the menu is in called up state, pressing the down button briefly or for a long time will move the menu or options down.
MAIN MENU
- Press and hold the M button to call up the main menu.
- Press the up/down button to switch between the following settings:
- Hotspot tracking
When hotspot tracking is switched on, the active square tracks the point with the highest temperature in the scene.
- Ambient Mode
You can choose from three specially designed scene modes:

flowchart
graph LR
    A["△"] --> B["□"]
    B --> C["△"] --> D["□"]
    D --> E["△"] --> F["→"]
• Picture in picture (PiP)
With the PiP window open, select the placement:

text_image
Sequence of directional arrow icons pointing right, with some crossed out, likely indicating navigation or transition steps.The PiP window image is a 2x magnification of the main image.
- Brightness
The scene brightness can be adjusted in increments of 20% from 20% to 100%.
- Sharpness
Here the image optimization can be switched on or off. The image optimization shows the contrast of the temperature differences on the display even more clearly.
- Contrast
The contrast can be adjusted in 20% increments from 20% to 100%.
- Calibration mode
Automatic - The device corrects the image quality automatically.

Scene - The user corrects the image quality manually as required.

For manual correction, the lens cover must be attached before the calibration.

- "Stand-by" settings
The automatic stand-by timer can be set to

minutes. If no action is taken within the preset time, sleep mode is activated. In standby mode (idle mode), the display is switched off, but the thermal imaging camera remains switched on (and consumes battery power) to ensure a quick restart.
• Automatic shut-off
The automatic shut-off timer can be set to

minutes. If no action is taken within the set time, the device automatically switches off completely.
• Language settings
Selectable languages are German and English.
STORAGE AND MAINTENANCE
If the thermal imaging camera is not used for a longer period of time, please store it in a dry, well-ventilated environment and charge the device for at least four hours every two months during storage.
The infrared lens of the thermal imaging camera is coated with an anti-reflective film. Only clean the lens if dirt or stains are present. Frequent rubbing can damage the lens coating.
Do not clean the non-optical surfaces of the thermal imaging camera with chemical solvents or cleaning agents. Wipe the outer surfaces with a soft, dry microfiber cloth.
WARRANTY
Steiner provides a two-year guarantee for Steiner thermal products. In the event of a warranty claim Steiner will repair or replace your product. Do not disassemble the thermal imaging camera as this will invalidate the warranty. Contact your nearest Steiner dealer if you need help.
TECHNICAL DATA
| Steiner Nighthunter Lite | ||
| Detector Resolution 400 x 300 @ 12 | μm | |
| Lens | Focal length 35mm F1.0 | |
| Field of view at 100m 7.5° | x 5.6° | |
| System magnification 1 - 4x (digital) | ||
| NETD < 40mK | ||
| Display | Display OLED | |
| Resolution 640 x 400 pixels | ||
| Frame rate 50Hz | ||
| Runtime > 7 hours | ||
| Case | Metrics 150 x 45 x 75 mm | |
| Weight 350 g | ||
| Eyecup Ergonomic | ||
| Warranty 2 years | ||
| Power supply | Battery | 18650 (Please use batteries with a length of 67 mm - 71 mm)(Not included in the scope of delivery) |
WARNINGS
- Do not expose the thermal imaging camera directly to high-intensity light sources, such as the sun, carbon dioxide lasers, or electric welding machines.
- The thermal imaging camera is a combination of precision optical instruments and electrostatically sensitive electronics; mishandling the thermal imaging camera and its accessories may affect performance and durability and void the warranty.
- If the thermal imaging camera is not used for a long period of time, charge the batteries/accumulators at least 4 hours every two months during storage and store the thermal imaging camera in a dry and well-ventilated environment.
- Do not charge the batteries in an environment above 40^ C.
Our company assumes no liability for errors and/or accidents caused by the fault of the user or a third party when using this product, nor for property and personal damage caused by incorrect evaluations of images. The purpose of this guide is to give users even more knowledge about our products so they can enjoy them even more. We make every effort to ensure that the content of this guide is accurate, but we cannot guarantee the completeness of the content. As we are constantly updating and improving our products, we reserve the right to change these instructions at any time without notice.
FCC WARNING
This device can generate or use high-frequency energy. Changes or modifications to this device may cause harmful interference, unless the changes are expressly stated in the user manual. The user may lose the right to operate this device if he makes unauthorized changes or modifications.
This device meets the requirements of Part 15 of the FCC Rules. Operation is subject to the following two conditions: (1) This device must not cause harmful interference (2) This device must accept any interference received, including interference that may cause undesired operation.
The device has been rated to meet general RF exposure requirements. The device can be used without restrictions under portable exposure conditions. NOTE: This device has been tested and meets the limits for Class B digital devices under Part 15 of the FCC Rules. These limits are designed to provide adequate protection against harmful interference when installed in residential areas. This device generates, uses, and can radiate radio frequency energy. If not installed and used in accordance with the instructions, it may cause harmful radio communications interference. However, there is no guarantee that there will be no faults with a particular installation. If this equipment interferes with radio or television reception, which can be determined by turning the equipment on and off, the user should attempt to correct the interference by taking one or more of the following measures:
- Reorient or relocate the receiving antenna.
- Increase the distance between the device and the receiver.
- Plug the device into a power outlet that is not connected to the receiver circuit.
- Ask the dealer or an experienced radio/TV technician for help.
- The nominal data can be found on the bottom of the device.
DISPOSAL OF ELECTRICAL AND ELECTRONIC DEVICES
(Applies to the EU and other European countries with separate collection systems)
User information on the disposal of electrical and electronic devices (private households)
This symbol on our products and/or accompanying documents means that used electrical and electronic products must not be mixed with unsorted municipal waste (ordinary household waste). For proper treatment, recovery and recycling, take these products to the appropriate collection points, where they will be received free of charge.
Before returning them to a collection point for old devices, please remove old batteries and accumulators and dispose of them separately from the old device at the appropriate collection points.
In some countries, it may also be possible to drop off these products at your local retailer when you buy a corresponding new product.
Proper disposal of this product is to protect the environment and prevent potential harmful effects on people and the environment that may result from improper handling of waste.
For more detailed information on the nearest collection point, contact your municipal administration. In accordance with state legislation, fines may be charged for improper disposal of this type of waste.
For business customers in the European Union
Please contact your dealer or supplier if you would like to dispose of electrical and electronic devices. Your dealer or supplier will provide you with further information.
Information on disposal in other countries outside the European Union
This symbol is only valid in the European Union. Please contact your local government or retailer if you would like to dispose of this product and ask for a disposal option.

STEINER NIGHTHUNTER LITE
natural_image
Black and white photo of a double-slit optical device (no visible text or symbols)natural_image
Line drawings of five different electrical socket or plug components (no text or symbols)Spina per CN, US, UK, AU, EU
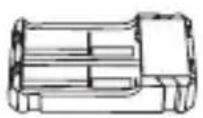
Carica-
batterie
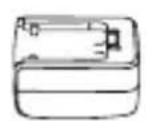
Adattatore 5V2A

natural_image
Line drawing of a multi-pin electrical connector (no text or symbols)Doppio cavo video
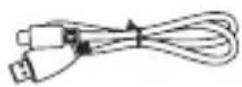
Cavo micro USB
natural_image
Black and white photo of a double-slit optical device with no visible text or symbols on the body or lens.Mode d'emploi
INTRODUCTION
natural_image
Line drawings of five different electrical socket or plug components (no text or symbols)Prise CN, US, UK, AU, EU
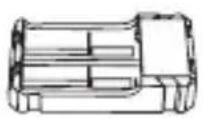
Chargeur
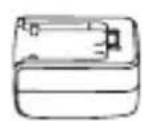
Adaptateur 5V2A

natural_image
Line drawing of a multi-pin electrical connector (no text or symbols)Câble vidéo double
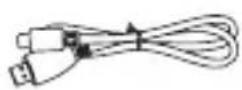
Câble micro USB
PRÉSENTATION DES COMPOSANTS DU PRODUIT
text_image
O A W V 7 Nighthuster LiteApp
Appui long
ui court
Calibrer l'appareil
Veille / Arrêt
natural_image
Black and white photo of a double-slit optical device (no visible text or symbols)natural_image
Simple line drawing of a mechanical component with no text or symbols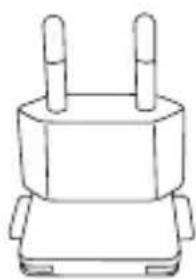
natural_image
Line drawing of a mechanical component with two protruding ports (no text or symbols)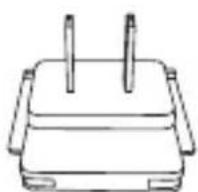
natural_image
Simple line drawing of a circular socket with two vertical pins (no text or symbols)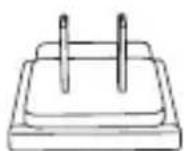
Enchufe para CN, US, UK, AU, EU
Cargador
5V2A-Adaptador

natural_image
Line drawing of a multi-pin electrical connector (no text or symbols)text_image
Sequence of directional and symbolic icons including triangle, square, and arrow symbols with arrows indicating progressiontext_image
Sequence of directional arrow icons pointing to document and folder symbols, indicating navigation or update stepsnatural_image
Blue envelope icon with a white downward-pointing triangle (no text or symbols)Nothing Escapes You
WWW.STEINER.DE
STEINER-OPTIK GMBH
Beretta Holding company