
WSSAWM1 - Soundbar SANUS - Free user manual and instructions
Find the device manual for free WSSAWM1 SANUS in PDF.

User questions about WSSAWM1 SANUS
0 question about this device. Answer the ones you know or ask your own.
Ask a new question about this device
Download the instructions for your Soundbar in PDF format for free! Find your manual WSSAWM1 - SANUS and take your electronic device back in hand. On this page are published all the documents necessary for the use of your device. WSSAWM1 by SANUS.
USER MANUAL WSSAWM1 SANUS
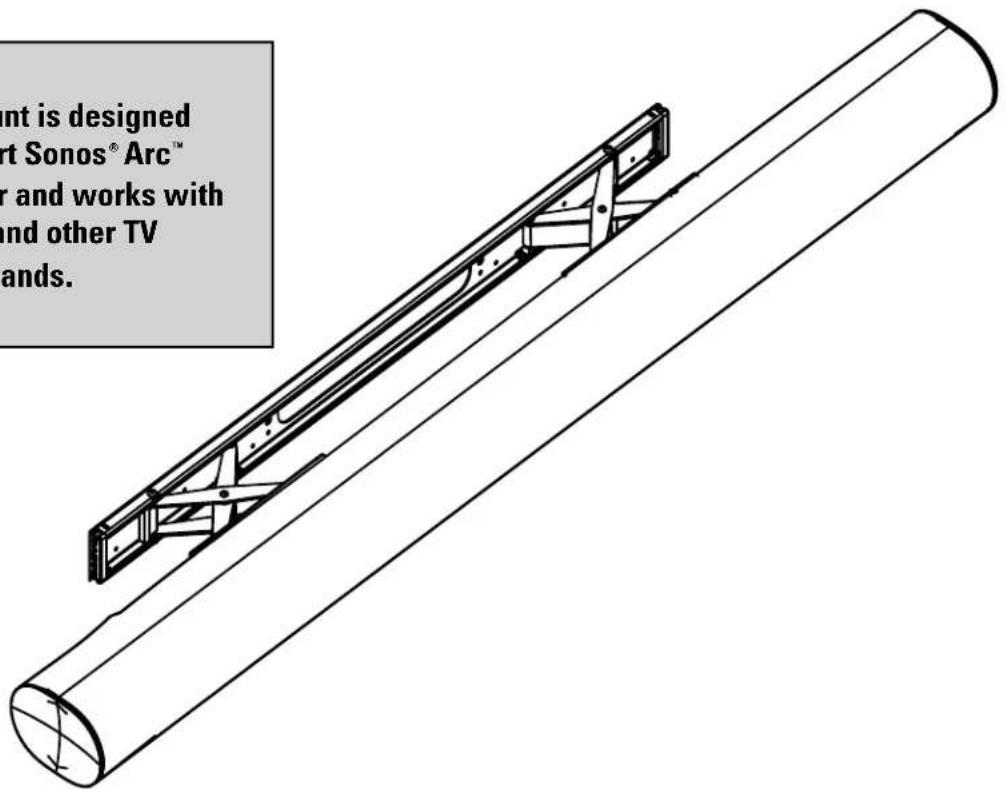
This mount is designed to support Sonos® Arc™ soundbar and works with SANUS and other TV mount brands.
text_image
nt is designed art Sonos® Arc™ r and works with and other TV ands.WE'RE HERE TO HELP
If you have any questions along the way, our US-based install experts are standing by to help.

Call us at:
US: 800-359-5520
UK: 0800 056 2853
EMEA: +31 (0) 495 580 852

Or, chat at:
US: SANUS.com/chatSP
YOU'D LOVE THIS KIT!
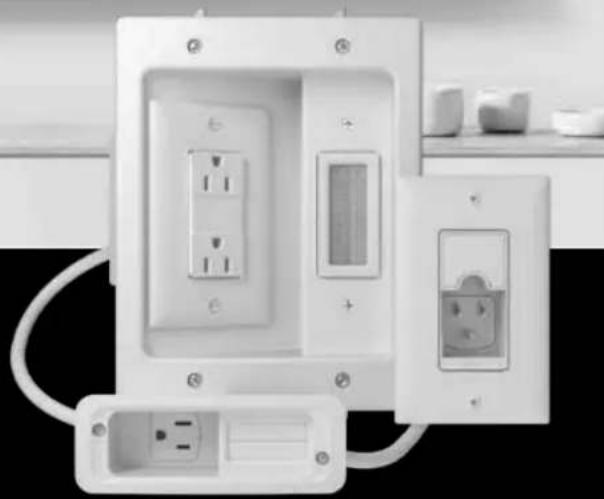
Complete your installation by hiding your cables with the In-Wall Power Kit for Soundbar + Mounted TV
- Works perfectly with the Sonos® Arc™ Wall Mount
- Hides all cabling behind the wall
- Can power multiple devices
- Safe and easy to install with no electrician needed

natural_image
Black-and-white landscape photo of a mountain valley with rolling hills, scattered trees, and no visible text or symbols.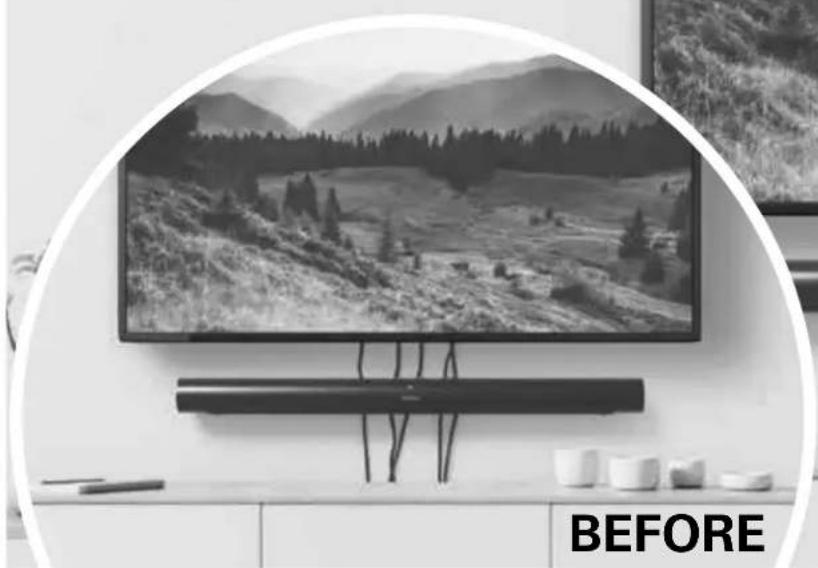
natural_image
Black-and-white photo of a modern TV set mounted on a wall, featuring a mountain landscape and a 'BEFORE' text overlay (no other signage or readable text)IN-WALL POWER KIT
FOR SOUNDBAR + MOUNTED TV
Model WSIWPSB1-W1
natural_image
Exterior view of a white electrical outlet with multiple socket and socket plugs (no text or symbols visible)Check out SANUS.com, SONOS.com, or Amazon.com!
Available in the U.S. only
IMPORTANT SAFETY INSTRUCTIONS. READ ENTIRE MANUAL PRIOR TO USE. SAVE THESE INSTRUCTIONS
Before getting started, let's make sure this product is perfect for you!
CAUTION: To avoid potential personal injuries and property damage:
- This soundbar mount is only designed for use with the Sonos® Arc™ speaker.
- Please read through these instructions completely to be sure you're comfortable with this easy install process.
- Do not use this product for any purpose not explicitly specified by manufacturer.
● Manufacturer is not responsible for damage or injury caused by incorrect assembly or use. - If you do not understand these instructions or have doubts about the safety of the installation, assembly or use of this product, contact Customer Service.
Weight Limit
DO NOT EXCEED

Wall
Construction
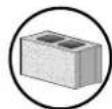
Dry wall Wood stud

Concrete block/ Solid concrete
Tools Needed
y
广力云
(五) 恒
Pencil
/
m = 311
Electric Drill
Drywall
Install

Drill Bit
13/32 in.
(10 mm)
Wood Stud Install
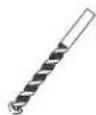
Drill Bit
1/8 in.
(3 mm)
Wood
Concrete Install
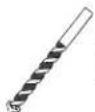
Drill Bit
13/32 in.
(10 mm)
Concrete

Hammer
DIMENSIONS IN. [MM]
TV INTERFACE
![SANUS WSSAWM1 - DIMENSIONS IN. [MM] - 1](/content/2026/04/694387/images/650021544a17cbcf7bef6adfa9be609d238c1007e625bab3db86974348497c5c.jpg)
text_image
23.98in [600mm]3-D
![SANUS WSSAWM1 - DIMENSIONS IN. [MM] - 2](/content/2026/04/694387/images/9cc05038ffc778d6720b404781264a12aa64f7d47dd99d25894df438aa77ab97.jpg)
natural_image
Technical line drawing of a cylindrical mechanical component with internal structural brackets (no text or symbols)WALL PLATE
![SANUS WSSAWM1 - DIMENSIONS IN. [MM] - 3](/content/2026/04/694387/images/cb48e3f9812b9b98395e1496a39c7618123ec1147d1de5e47a1cbc46145dcf30.jpg)
text_image
28.45in [722.6mm] 26.16in [664.4mm] 11.02in [280mm] 2.00in [50.8mm] 1.38in [35mm] 9.65in [45mm]TOP VIEW - TV MOUNTED
WALL IS ON TOP
![SANUS WSSAWM1 - DIMENSIONS IN. [MM] - 4](/content/2026/04/694387/images/5123ae488b66a8f07c1f68dd9c4c4c858b19873716b0b83aeaf87c17e05797f0.jpg)
text_image
5.05in [128.4mm] 25.21in [640.4mm]SIMULATED 55°
FLAT SCREEN TV
3-D
![SANUS WSSAWM1 - DIMENSIONS IN. [MM] - 5](/content/2026/04/694387/images/2d872ab8bca1ffb382ccb6c44e19d797b0509b6d20bcfc645d23c6a8acdefab5.jpg)
natural_image
Technical line drawing of a mechanical assembly with brackets and mounting holes (no text or symbols)FULLY ASSEMBLED MOUNT
![SANUS WSSAWM1 - DIMENSIONS IN. [MM] - 6](/content/2026/04/694387/images/585a8d840e0af776a357dd81302fc60f42469489633dc8bbea014fe656cee970.jpg)
natural_image
Technical line drawing of a circular component mounted on a base with a vertical scale bar (no text or symbols)WALL IS ON RIGHT
TOP VIEW
WALL IS ON TOP
![SANUS WSSAWM1 - DIMENSIONS IN. [MM] - 7](/content/2026/04/694387/images/08c131479758520df5d8cf177224afccd465fbb18ebe53db7d227c9f188e3832.jpg)
natural_image
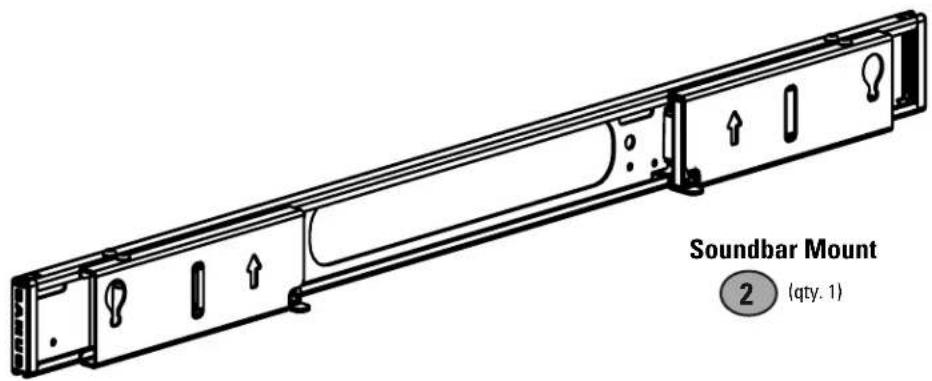
Pure technical line drawing of a structural support frame with no text or symbolsSUPPLIED PARTS AND HARDWARE

WARNING: This product contains small items that could be a choking hazard if swallowed.
Before starting assembly, verify all parts are included and undamaged. If any parts are missing or damaged, DO NOT return the damaged item to your dealer; Contact Sanus (See back page). Never use damaged parts!

NOTE: Not all hardware included in this kit will be used.

natural_image
Simple diagram of a rectangular object with four small rectangular cutouts on its top (no text or symbols)Wall Template

(qty. 1)
text_image
Soundbar Mount 2 (qty. 1)
(qty. 1)
text_image
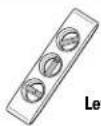
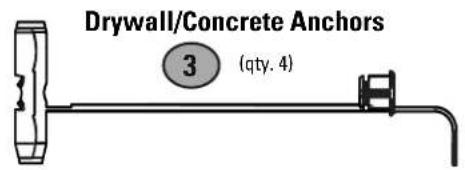
Drywall/Concrete Anchors 3 (qty. 4)Screw
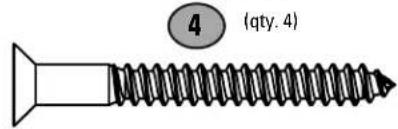
text_image
(qty. 4)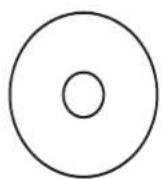
M4/M5 Washer

(qty. 4)
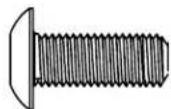
M5 x 14 mm Screw

(qty. 2)

5/64 Hex Key
(qty. 1)
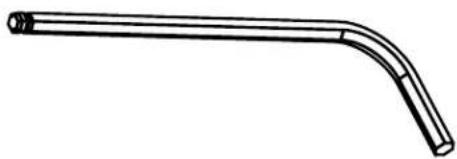
natural_image
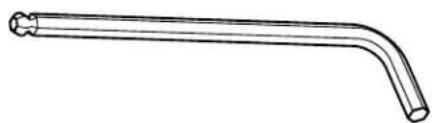
Simple line drawing of a bent pipe or elbow joint (no text or symbols)
M3 Ball Hex Key
(qty. 1)
natural_image
Line drawing of a bent pipe or rod with a flanged end (no text or symbols)STEP 1 | ATTACH SOUNDBAR MOUNT TO WALL
Drywall Installation / Drywall + Wood Stud Installation
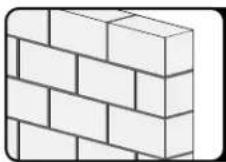
Concrete Block/ Solid Concrete Installation
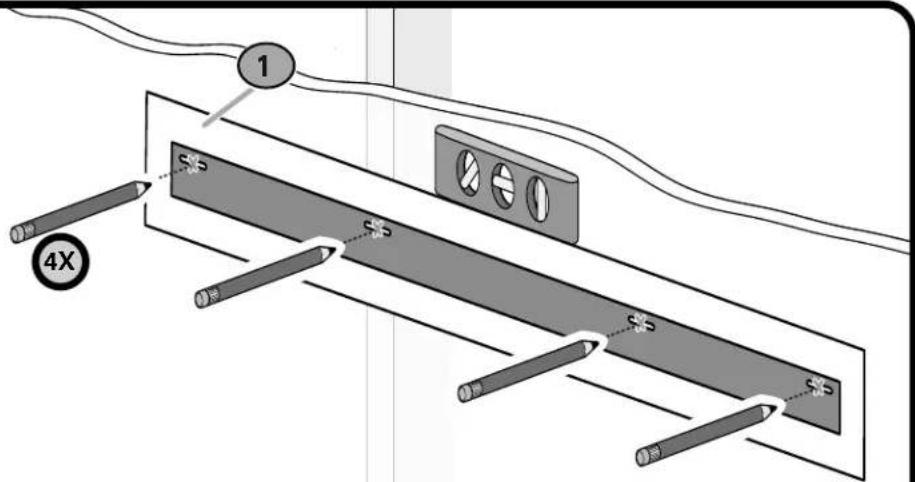
STEP 1A
Drywall Installation
1 POSITION TEMPLATE
CAUTION: Avoid potential personal injury or property damage!
- Drywall covering the wall must not exceed 1/2 in. (1.2 cm).
• Minimum wood stud size: nominal 2 x 4 in. (5.1 x 10.2 cm) actual 1 ½ x 3 ½ in. (3.8 x 8.9 cm)
• Stud centers must be verified - IMPORTANT: Ensure wall plate is level before drilling.
text_image
1 4X $5 $5 $5 $52 DRILL
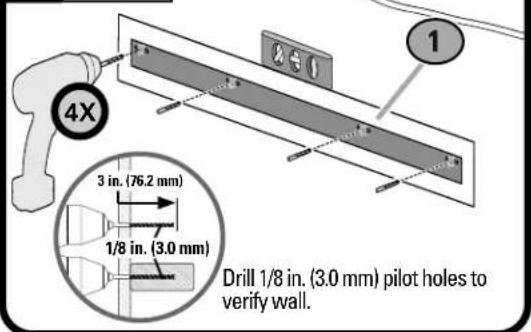
text_image
4X 3 in. (76.2 mm) 1/8 in. (3.0 mm) Drill 1/8 in. (3.0 mm) pilot holes to verify wall.4a DRILL DRYWALL
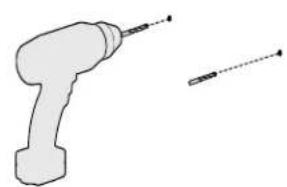
natural_image
Simple line drawing of a drill bit and a tool (no text or symbols)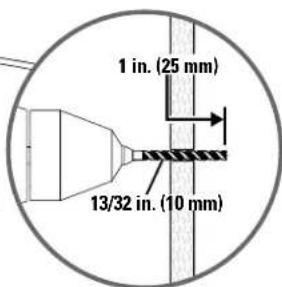
text_image
1 in. (25 mm) 13/32 in. (10 mm)If pilot hole is located in drywall, drill 13/32 in. (10 mm) hole.
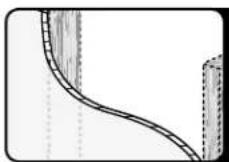
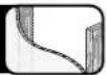
3 REMOVE TEMPLATE
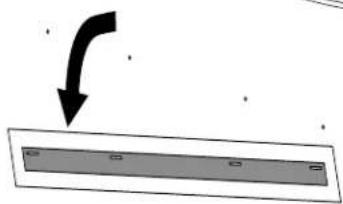
natural_image
Simple diagram showing a curved arrow pointing downward to a rectangular shape with no text or symbols4b DRILL WOOD STUD

If pilot hole is located on a stud, proceed to Step 5.
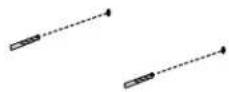
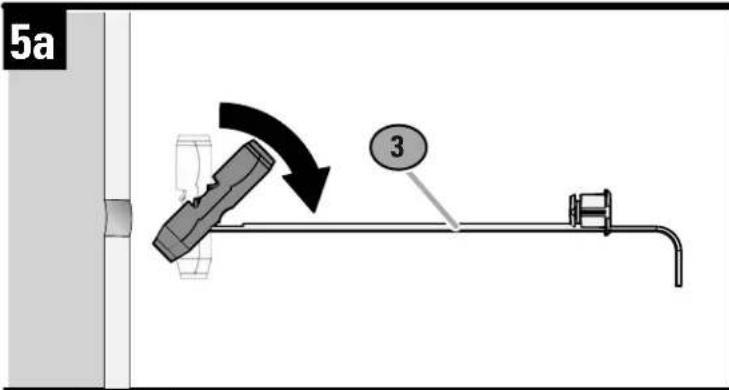
5 INSERT DRYWALL/CONCRETE ANCHORS
IMPORTANT:
- Use anchors for drywall and concrete only. Do not use with wood studs.
- If pilot hole is located on a stud, anchor is not needed. Screw directly into stud. Then use anchors for remaining screws in drywall.
text_image
5a 3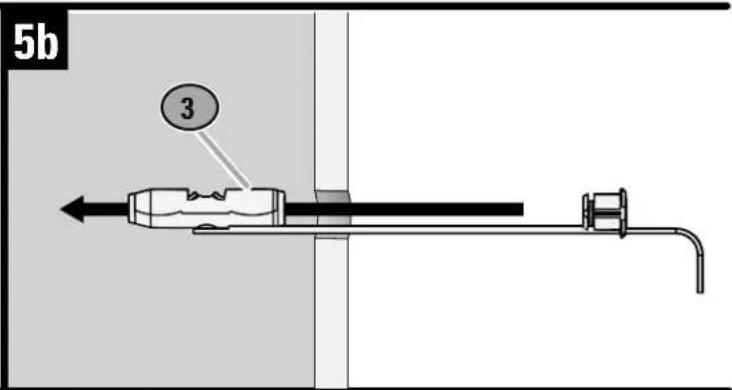
text_image
5b 3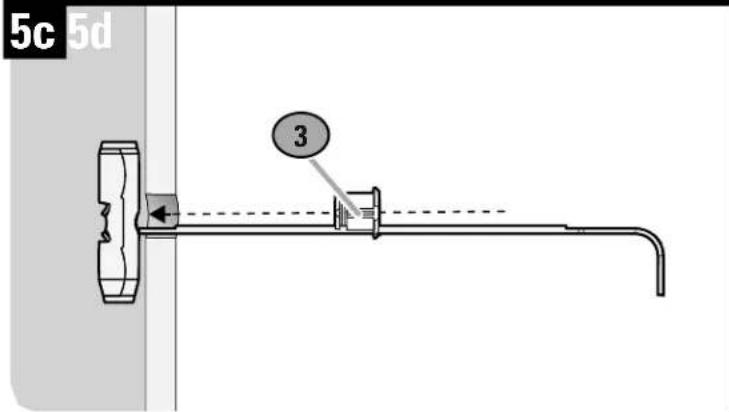
text_image
5c 5d 3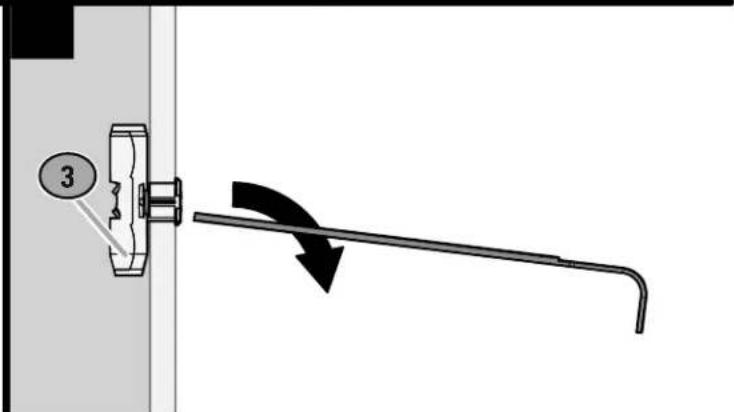
text_image
3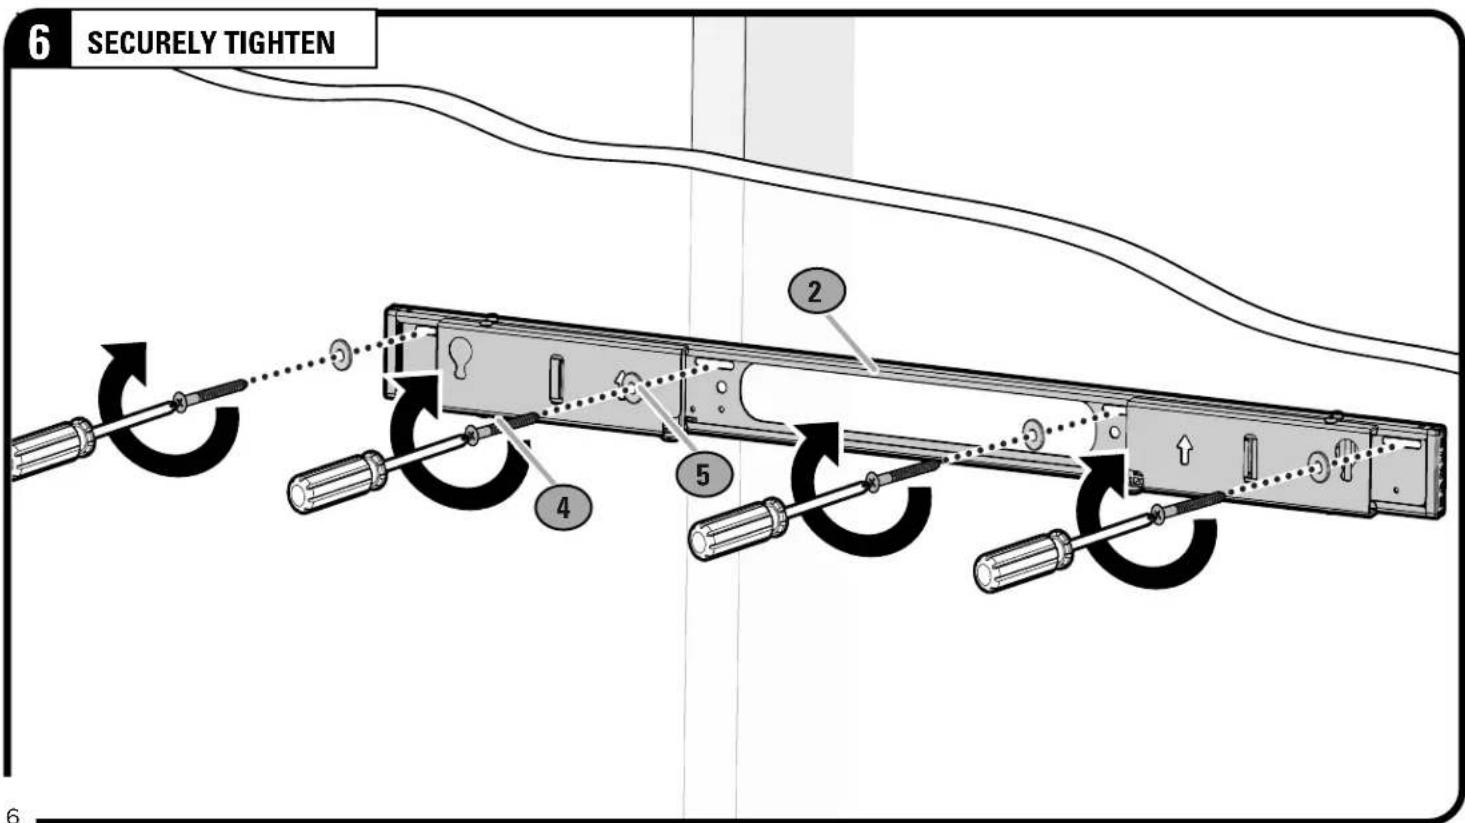
text_image
6 SECURELY TIGHTEN 2 5 4 6STEP 1C | ATTACH SOUNDBAR MOUNT TO WALL
STEP 1C
Concrete Installation
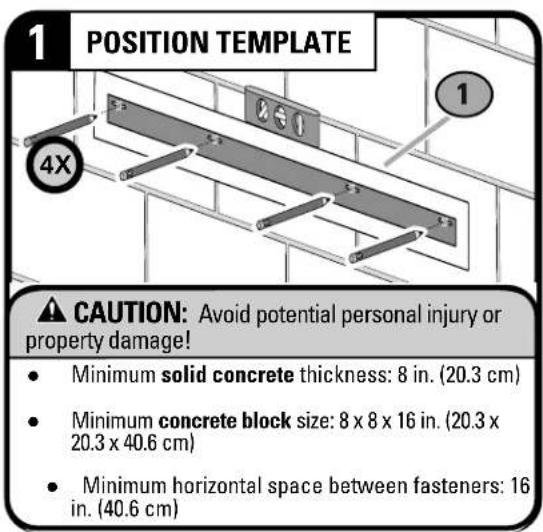
text_image
1 POSITION TEMPLATE 4X CAUTION: Avoid potential personal injury or property damage! • Minimum solid concrete thickness: 8 in. (20.3 cm) • Minimum concrete block size: 8 x 8 x 16 in. (20.3 x 20.3 x 40.6 cm) • Minimum horizontal space between fasteners: 16 in. (40.6 cm)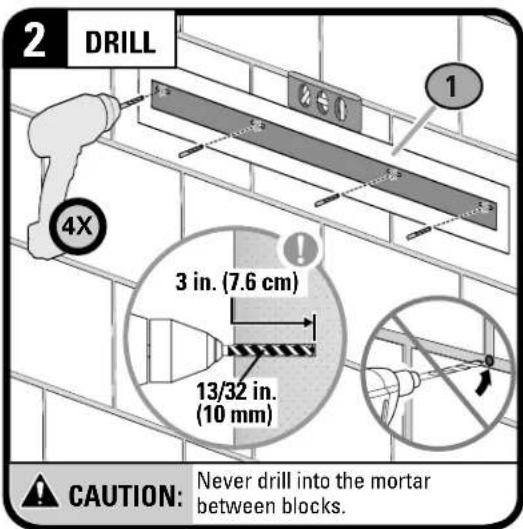
text_image
2 DRILL 4X 3 in. (7.6 cm) 13/32 in. (10 mm) CAUTION: Never drill into the mortar between blocks.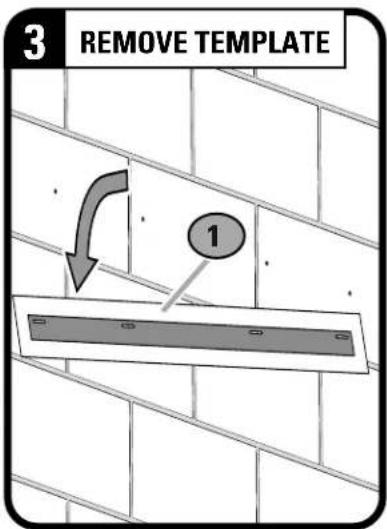
text_image
3 REMOVE TEMPLATE 1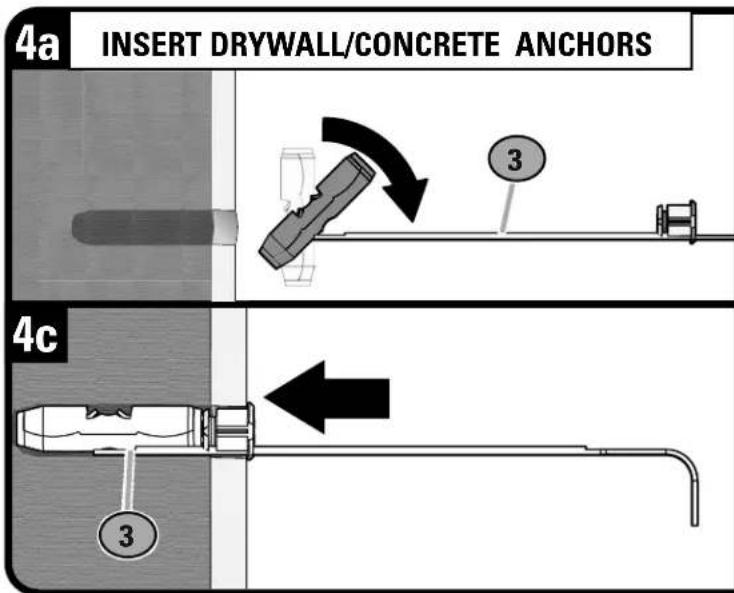
text_image
4a INSERT DRYWALL/CONCRETE ANCHORS 3 4c 3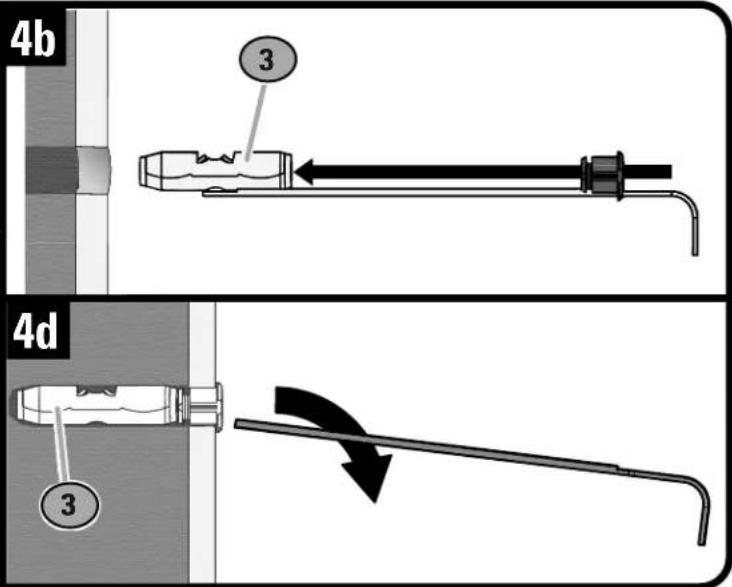
text_image
4b 3 4d 3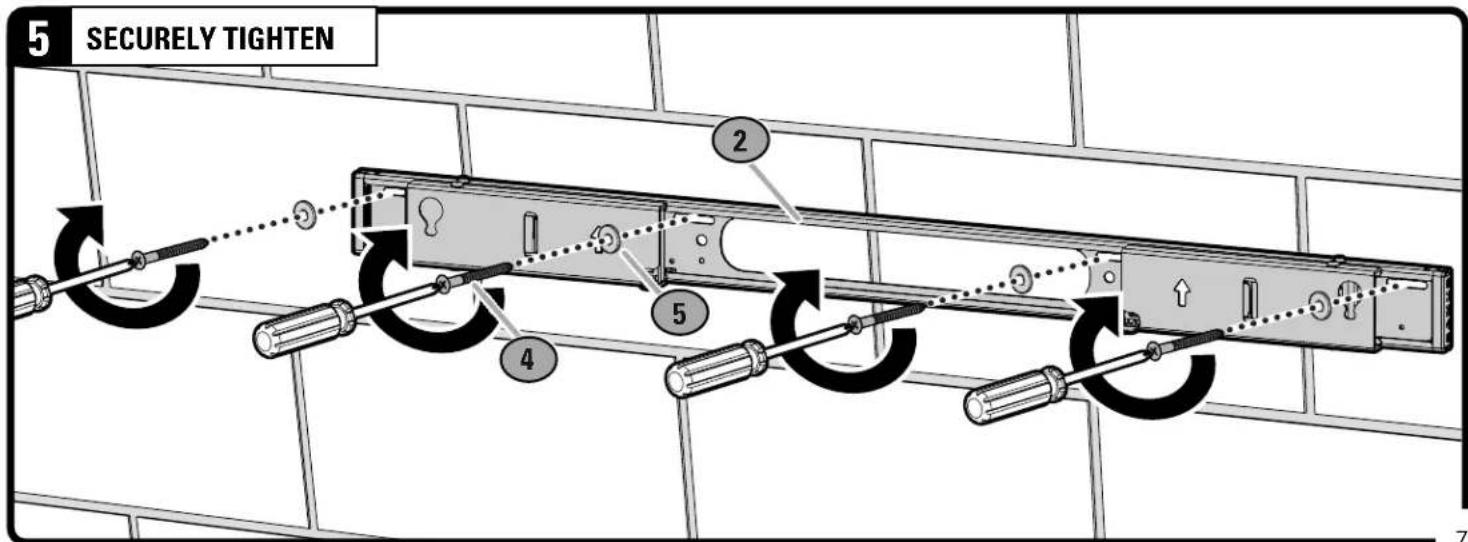
text_image
5 SECURELY TIGHTEN 2 5 4STEP 2 | ATTACH SOUNDBAR TO SOUNDBAR MOUNT
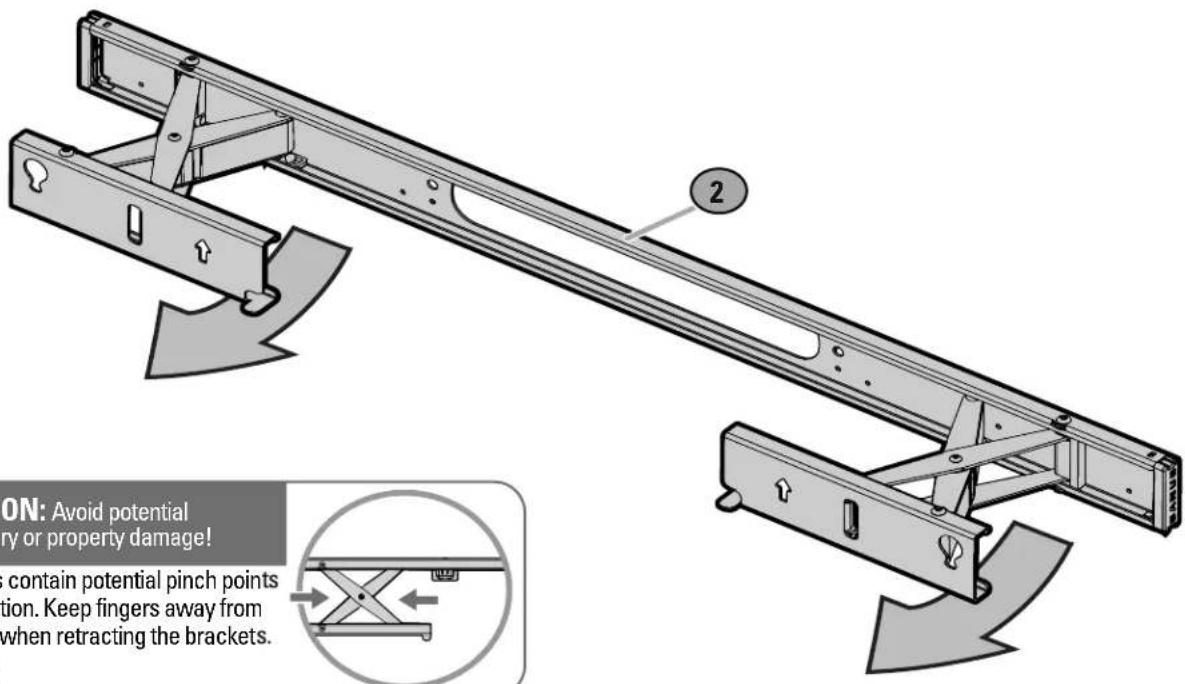
1 OPEN MOUNT BRACKETS
text_image
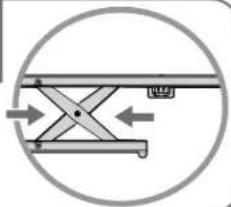
2 ON: Avoid potential ry or property damage! contain potential pinch points tion. Keep fingers away from when retracting the brackets.CAUTION: Avoid potential personal injury or property damage!
The brackets contain potential pinch points during operation. Keep fingers away from pinch points when retracting the brackets. (see arrows)
natural_image
Pure mechanical diagram showing a lever mechanism inside a circle (no text or symbols)text_image
6 8 ≈ 1/4 in. (6.35 mm) IMPORTANT: Partially insert the bolt leaving a 1/8"-1/4" gap between the bolt head and bottomPartially insert the bolt leaving a 1/8"-1/4" gap between the bolt head and speaker.
3 ATTACH SOUNDBAR AND SECURELY TIGHTEN
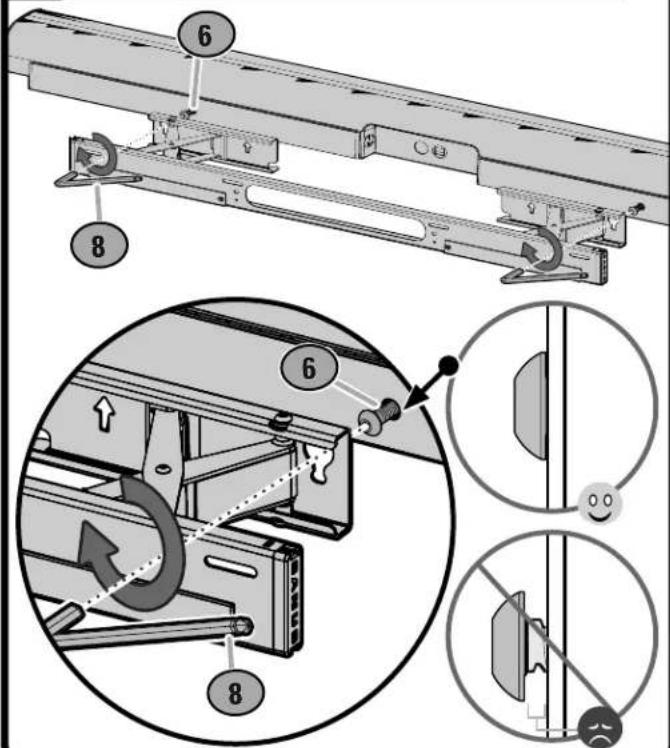
text_image
Technical diagram illustrating mechanical assembly steps with numbered components and magnified views of the component.ADJUSTMENTS
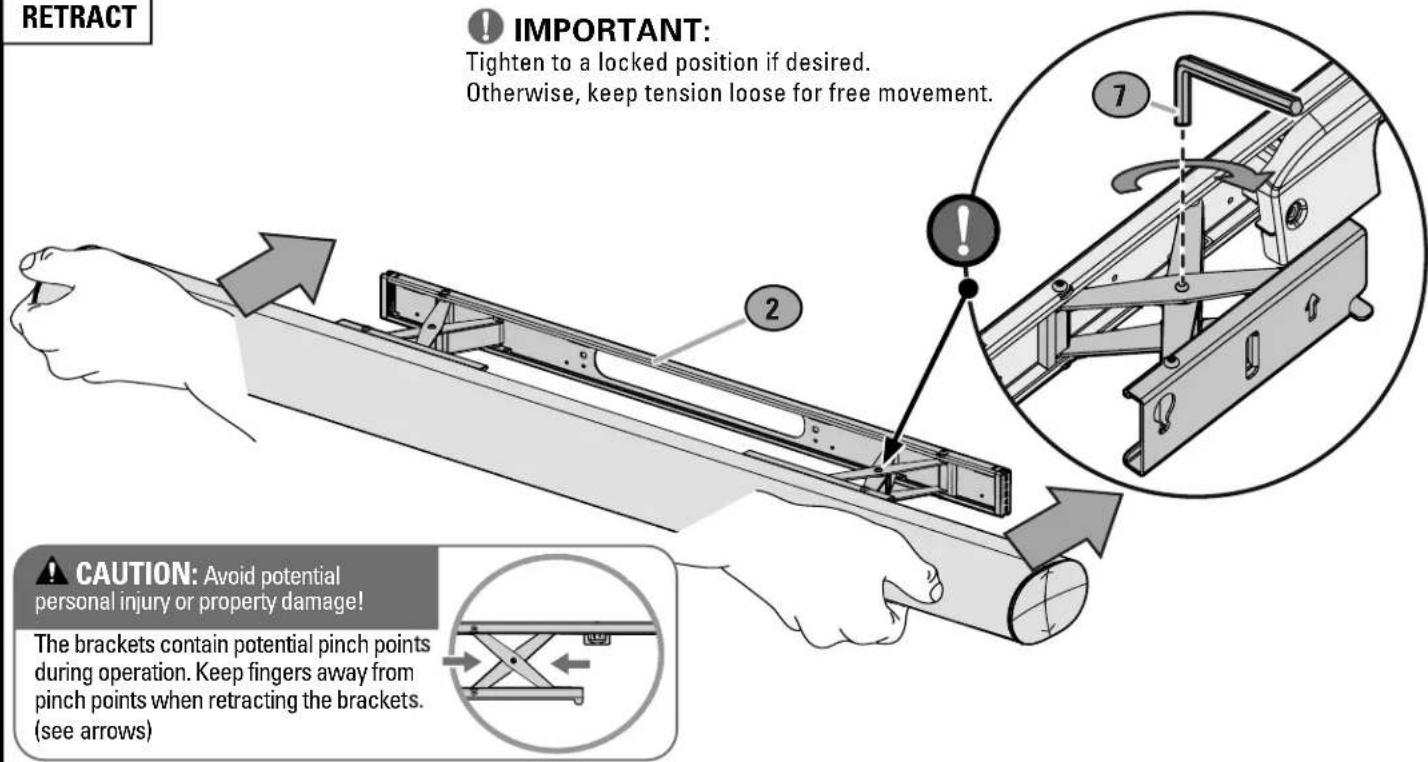
RETRACT

IMPORTANT:
Tighten to a locked position if desired. Otherwise, keep tension loose for free movement.
text_image
RETRACT IMPORTANT: Tighten to a locked position if desired. Otherwise, keep tension loose for free movement. CAUTION: Avoid potential personal injury or property damage! The brackets contain potential pinch points during operation. Keep fingers away from pinch points when retracting the brackets. (see arrows)CAUTION: Avoid potential personal injury or property damage!
The brackets contain potential pinch points during operation. Keep fingers away from pinch points when retracting the brackets. (see arrows)

natural_image
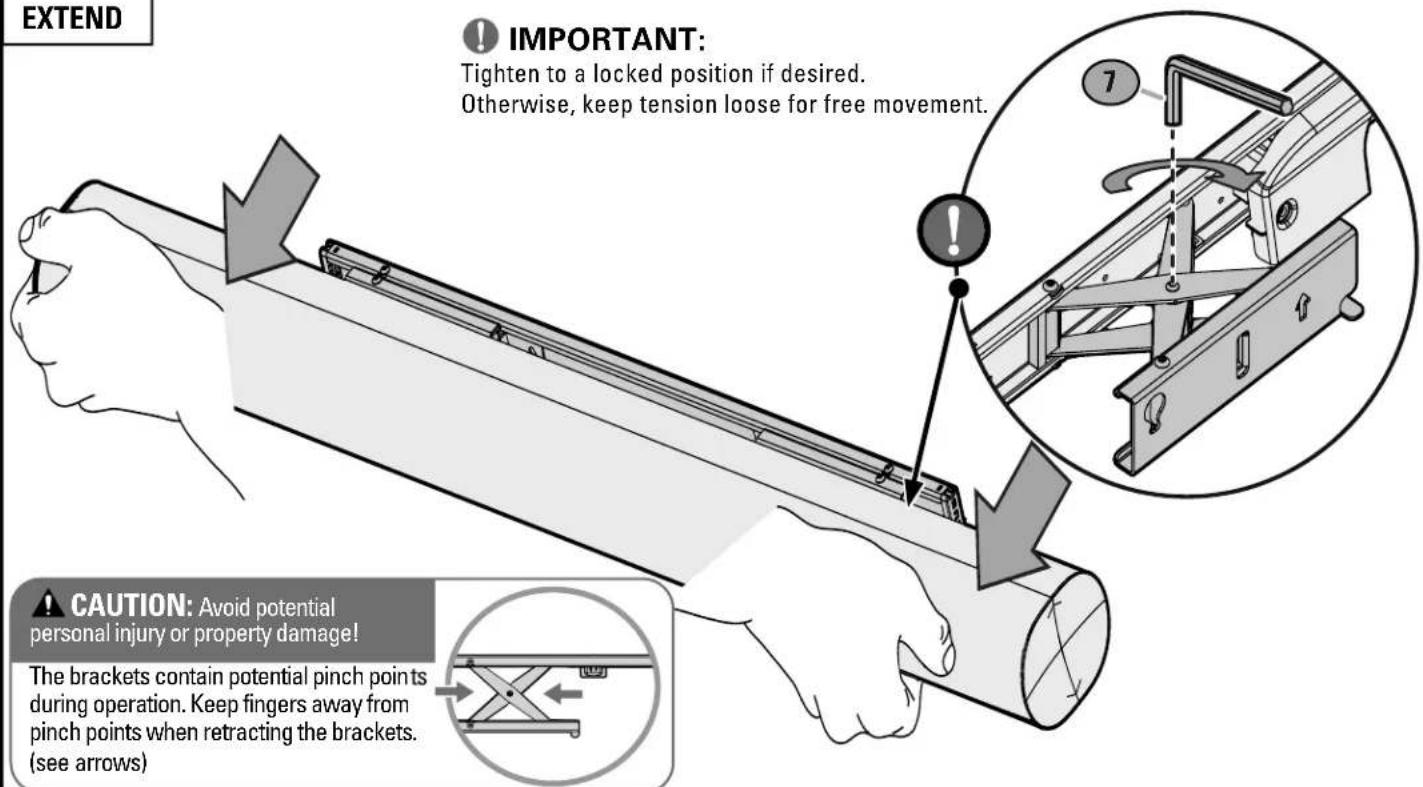
Pure mechanical diagram showing a lever mechanism inside a circle (no text or symbols)EXTEND

IMPORTANT:
Tighten to a locked position if desired. Otherwise, keep tension loose for free movement.
text_image
EXTEND IMPORTANT: Tighten to a locked position if desired. Otherwise, keep tension loose for free movement. CAUTION: Avoid potential personal injury or property damage! The brackets contain potential pinch points during operation. Keep fingers away from pinch points when retracting the brackets. (see arrows)Español
natural_image
Exterior view of a white electrical outlet enclosure with multiple socket and connectors (no text or symbols visible)
Legrand AV Inc. and its affiliated corporations and subsidiaries (collectively, "Legrand"), intend to make this manual accurate and complete. However, Legrand makes no claim that the information contained herein covers all details, conditions, or variations. Nor does it provide for every possible contingency in connection with the installation or use of this product. The information contained in this document is subject to change without notice or obligation of any kind. Legrand makes no representation of warranty, expressed or implied, regarding the information contained herein. Legrand assumes no responsibility for accuracy, completeness or sufficiency of the information contained in this document.
©2020 Legrand AV Technologies. All rights reserved. Sanus is a division of Legrand. All other brand names or marks are used for identification purposes and are trademarks of their respective owners.


