
300910 - Video Capture Card CSL - Free user manual and instructions
Find the device manual for free 300910 CSL in PDF.

| Product type | USB external video capture box |
| Brand and model | CSL 300910 |
| PC interface | USB 2.0 |
| Video inputs | 1x S-Video (Mini-DIN 4-pin), 1x Composite CVBS (RCA) |
| Audio inputs | 2x RCA (left and right channel) |
| Included software | Honestech VHS to DVD 2.0 SE (integrated license) |
| Compatible operating systems | Windows 7 / 8 / 8.1 / 10 |
| Supported video formats | VCD (MPEG1), SVCD (MPEG2), DVD (MPEG2), DVD long play (MPEG2) |
| Resolutions (PAL) | VCD: 352x288, SVCD: 480x576, DVD: 720x576 |
| Resolutions (NTSC) | VCD: 352x240, SVCD: 480x480, DVD: 720x480 |
| Power supply | Via USB port (5V) |
| Dimensions (estimated) | Approx. 7 x 4 x 2 cm |
| Weight (estimated) | Approx. 50 g |
| Package contents | Capture box, installation CD, user manual |
| Main functions | Digitization of analog audio/video signals (VCR, camera) to hard disk or DVD |
| Care and cleaning | Protect from moisture, water and high temperatures. Clean with a dry, lint-free cloth. |
| Safety | Do not open the device. Use only in a dry place. Disconnect during thunderstorms or prolonged non-use. |
| Spare parts and repairability | No user-serviceable parts. Unauthorized repair voids warranty. Contact customer support in case of problems. |
| General information | Compliant with WEEE directive 2012/19/EU. WEEE registration number: DE 67896761. Declaration of conformity available at WD Plus GmbH. |
Frequently Asked Questions - 300910 CSL
User questions about 300910 CSL
0 question about this device. Answer the ones you know or ask your own.
Ask a new question about this device
Download the instructions for your Video Capture Card in PDF format for free! Find your manual 300910 - CSL and take your electronic device back in hand. On this page are published all the documents necessary for the use of your device. 300910 by CSL.
USER MANUAL 300910 CSL
natural_image
Close-up of a black USB device with three red, white, and yellow connectors, attached to a white plastic holder (no text or symbols visible)USB-Videograbber
Mod.-Nr.: 300910
Table of contents
- Deutsch .... 3
- English 20
- Français ...... 37
- Italiano 54
- Español....71
| Umgebungstemperatur + 0 | -3°C bis 35-40°C |
| Ambient temperature + 0 | -3°C until 35-40°C |
| Température ambiante + 0 | -3°C à 35-40°C |
| Temperatura ambiente + 0 | -3°C fino 35-40°C |
| Temperatura ambiente + 0 | -3°C a 35-40°C |
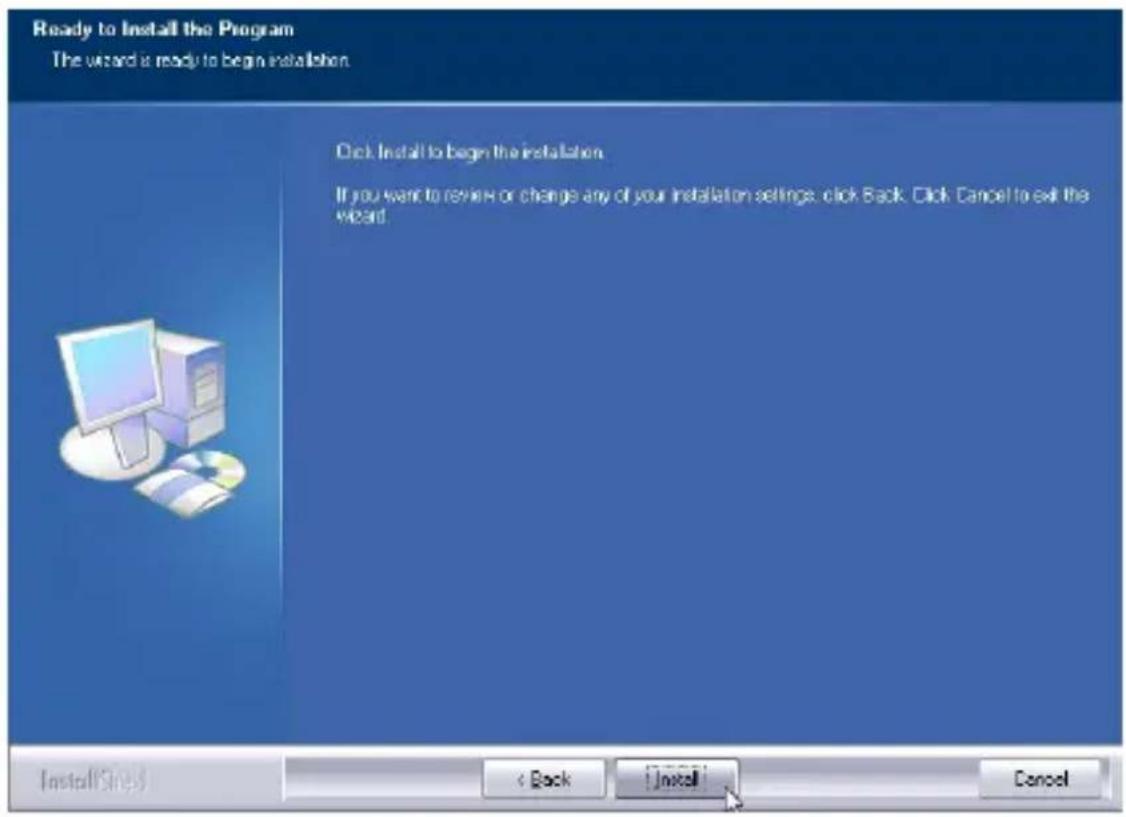
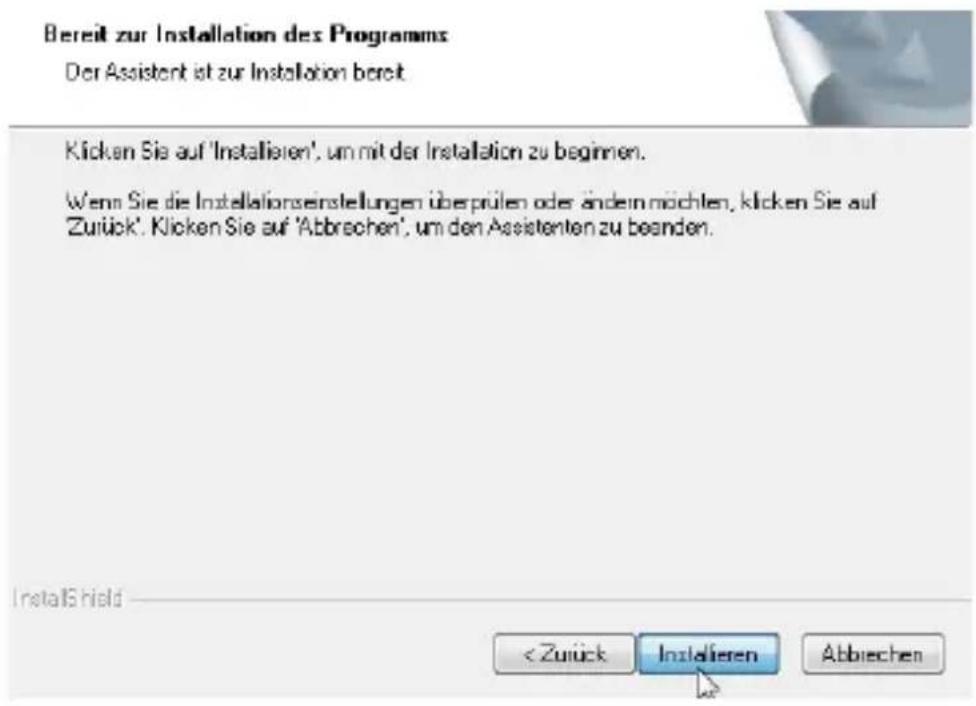
Ready to Install the Program
The wizard is ready to begin installation.

natural_image
Illustration of a desktop computer with monitor, tower, and CD/DVD (no text or symbols)Click Install to begin the installation
If you want to review or change any of your installation settings, click Back. Click Cancel to exit the wizard.
Install
< Back
Jinkai
Cancel
Thank you for having chosen this CSL product and for placing your trust in our company. Please read this manual carefully before installation to ensure your long-term enjoyment of this product. For future reference, please keep this manual. Before using the delivered product, check that it is complete, faultless and undamaged.
1. Scope of delivery
- USB video grabber
- Installation CD
- User manual
2. Technical specifications
| Interface USB 2.0 | |
| Video inputs | S-video socket (mini-DIN 4)Composite CVBS socket (Cinch) |
| Audio inputs • left channel | socket (Cinch)right channel socket (Cinch) |
| Digitalisation software Hon | estech VHS to DVD 2.0 SE (the licence code is automatically entered before the program is run for the first time) |
| System compatibility Microsoft Windows 7 / 8 / 8.1 / 10 | |
3. Product details
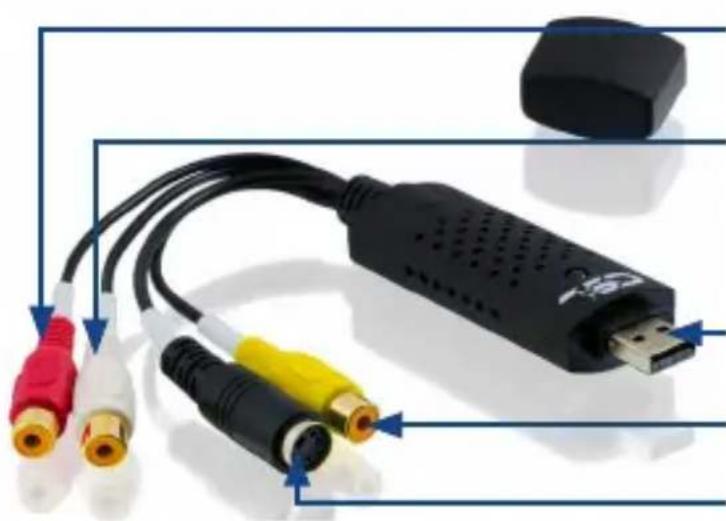
natural_image
Close-up of a black USB DAC with three red, white, and yellow cables connected to a black connector (no text or symbols visible)Cinch (right audio channel)
Cinch (left audio channel)
USB 2.0 plug (connection to computer)
Composite video socket
S-Video socket
4. Functions
The CSL Video Grabber makes it possible to record and digitize analogue video and audio signals from an external playback device (such as a video recorder or an analogue video camera) on a computer.
Please use the software included to transfer the films you have recorded to your hard disk or DVD.
5. Getting started
When the device is put into operation for the first time, check the intactness of the product or components and their function again. Please take the Video Grabber out of its packaging and connect it to your computer and analogue playback device (e.g. a video recorder or analogue video camera). The Grabber gives you the choice between a composite and an S-video connection for the video signal.
Note: If your playback device supports both types of connectors, S-video will provide you with a higher signal quality.
The playback device is also connected to the Cinch sockets of the Video Grabber to transmit the audio signals.
Note: If you would like to link the Grabber to your video recorder, you can connect it to the Scart interface of the video recorder via a Scart adapter, which is not in this scope of delivery.
6. Driver installation
Right-click on the installation and select "Run as administrator". Place the installation-CD into your drive and close the drive. The Autostart function will automatically start up the "Autorun.exe" file from the home master directory on the CD. Depending on the operating system used, you might have to confirm it by clicking on "Run AUTORUN.EXE".
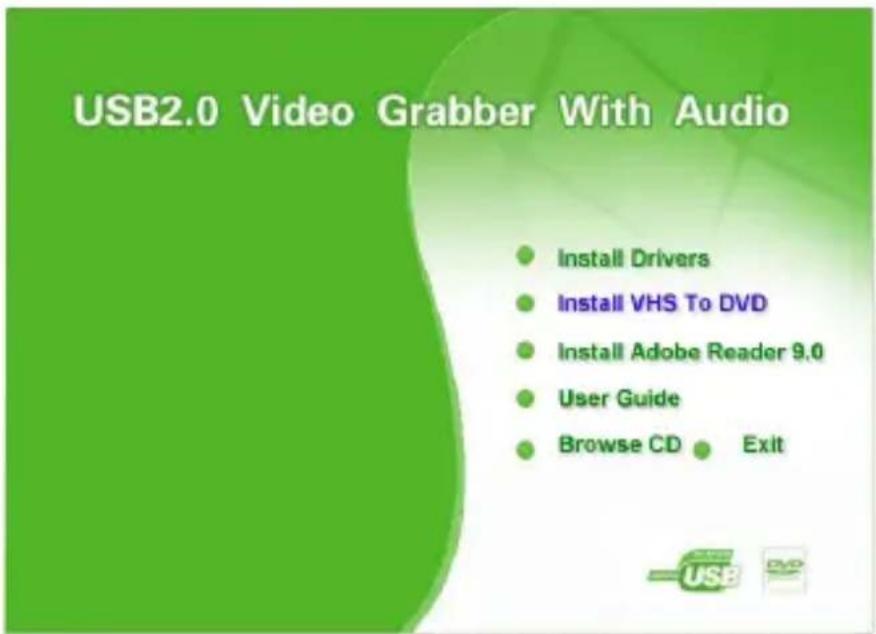
The installation menu will now open. Please click on "Install Drivers" first, so that the device drivers can be installed on your computer.
If you are asked whether you would like to allow the following program to make changes, please select "Yes". Depending on your Windows version this can occur
USB2.0 Video Grabber With Audio
Install Drivers
Install VHS To DVD
Install Adobe Reader 9.0
User Guide
Browse CD Exit


more often.
The installation assistant will then start. Click on the "Install" button.

To complete the driver installation, click on "Finish".
The driver has been successfully installed on your computer. Now continue with
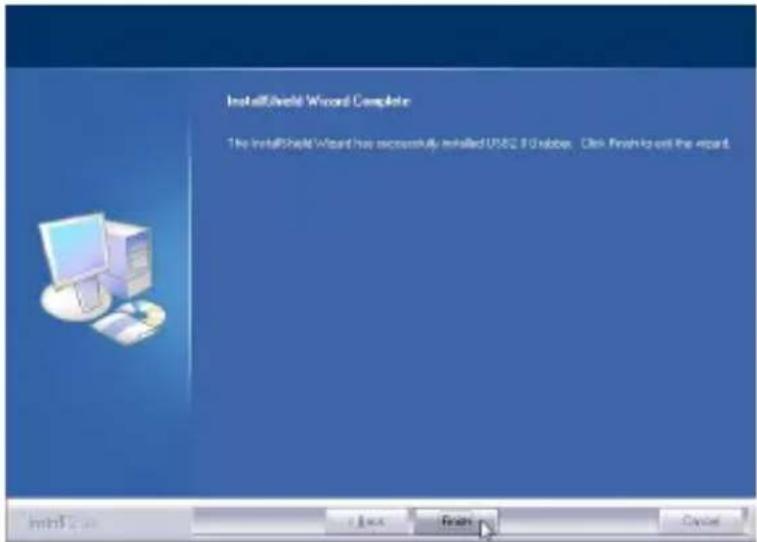
the installation of the software.
7 Software installation
In the installation menu, choose the option "Install VHS to DVD".
Again, if a message appears aksing for permissions to make changes to this computer, please also confirm it with "Yes".

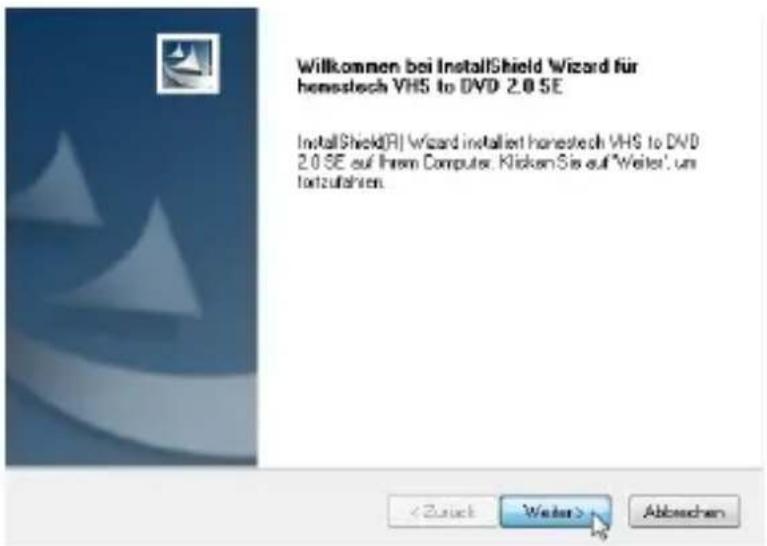
The software can be installed in various language versions. Choose your preferred language and afterwards click "Continue".
In the next window, please click on the "Continue" button.
To start the installation, you now have to accept the conditions of the license agreement and click on the "Continue" button.
Lizenzvereinbarung
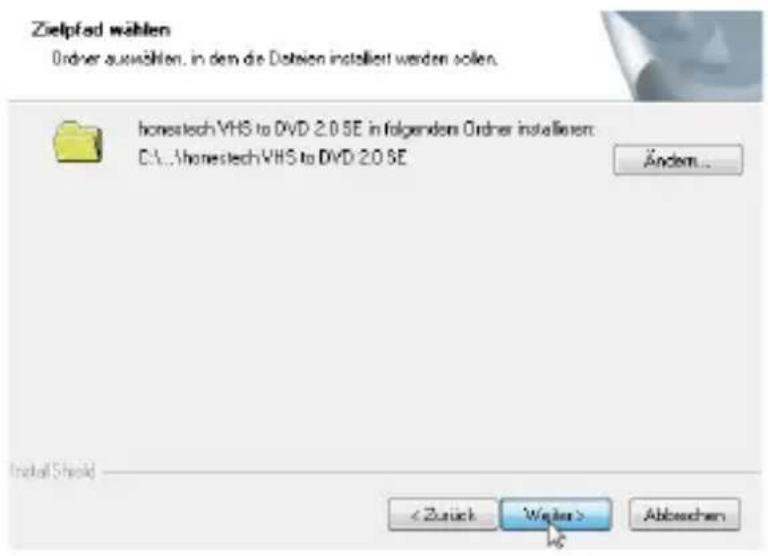
The next step allows you to change the target directory of the software installation. To install the software in the standard directory, please click on "Continue".
During the last step, you will be asked for the name of the program directory generated in the taskbar. Click “Continue” once again and then on “Install” in the next window. The installation will start.
Click on the “Complete” button. The digitalisation software VHS to DVD has been successfully installed.


Brand : CSL
Model : 300910
Category : Video Capture Card