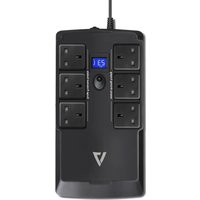
UPS1DT750-1K - Uninterruptible power supply V7 - Free user manual and instructions
Find the device manual for free UPS1DT750-1K V7 in PDF.


| Product Type | Uninterruptible Power Supply (UPS) |
| Brand | V7 |
| Model | UPS1DT750-1K |
| Capacity | 750 VA |
| Battery | Sealed lead-acid, 12 V DC, 6 cells |
| Number of outlets | 6 (3 battery backup, 3 surge protection) |
| Display | Touch screen LCD |
| Communication ports | USB, RJ11/RJ45 input/output |
| Monitoring software | ViewPower (downloadable from V7 website) |
| Main functions | Automatic Voltage Regulation (AVR), EMI filtering, surge protection, backup power |
| Protection | Short circuit, overload, overvoltage, deep discharge |
| Installation | Plug into mains, charge 6 hours before first use, connect equipment |
| Maintenance and cleaning | Unplug before cleaning, do not use liquid or spray detergent |
| Safety | Do not open, do not connect non-computer equipment, battery handling by qualified personnel |
| Spare parts and repairability | No user-replaceable parts, battery replaceable by a professional |
| Operating temperature | Controlled indoor environment, avoid humidity and direct sunlight |
Frequently Asked Questions - UPS1DT750-1K V7
User questions about UPS1DT750-1K V7
0 question about this device. Answer the ones you know or ask your own.
Ask a new question about this device
Download the instructions for your Uninterruptible power supply in PDF format for free! Find your manual UPS1DT750-1K - V7 and take your electronic device back in hand. On this page are published all the documents necessary for the use of your device. UPS1DT750-1K by V7.
USER MANUAL UPS1DT750-1K V7
UPS1DT750-1E UPS1DT750-1K
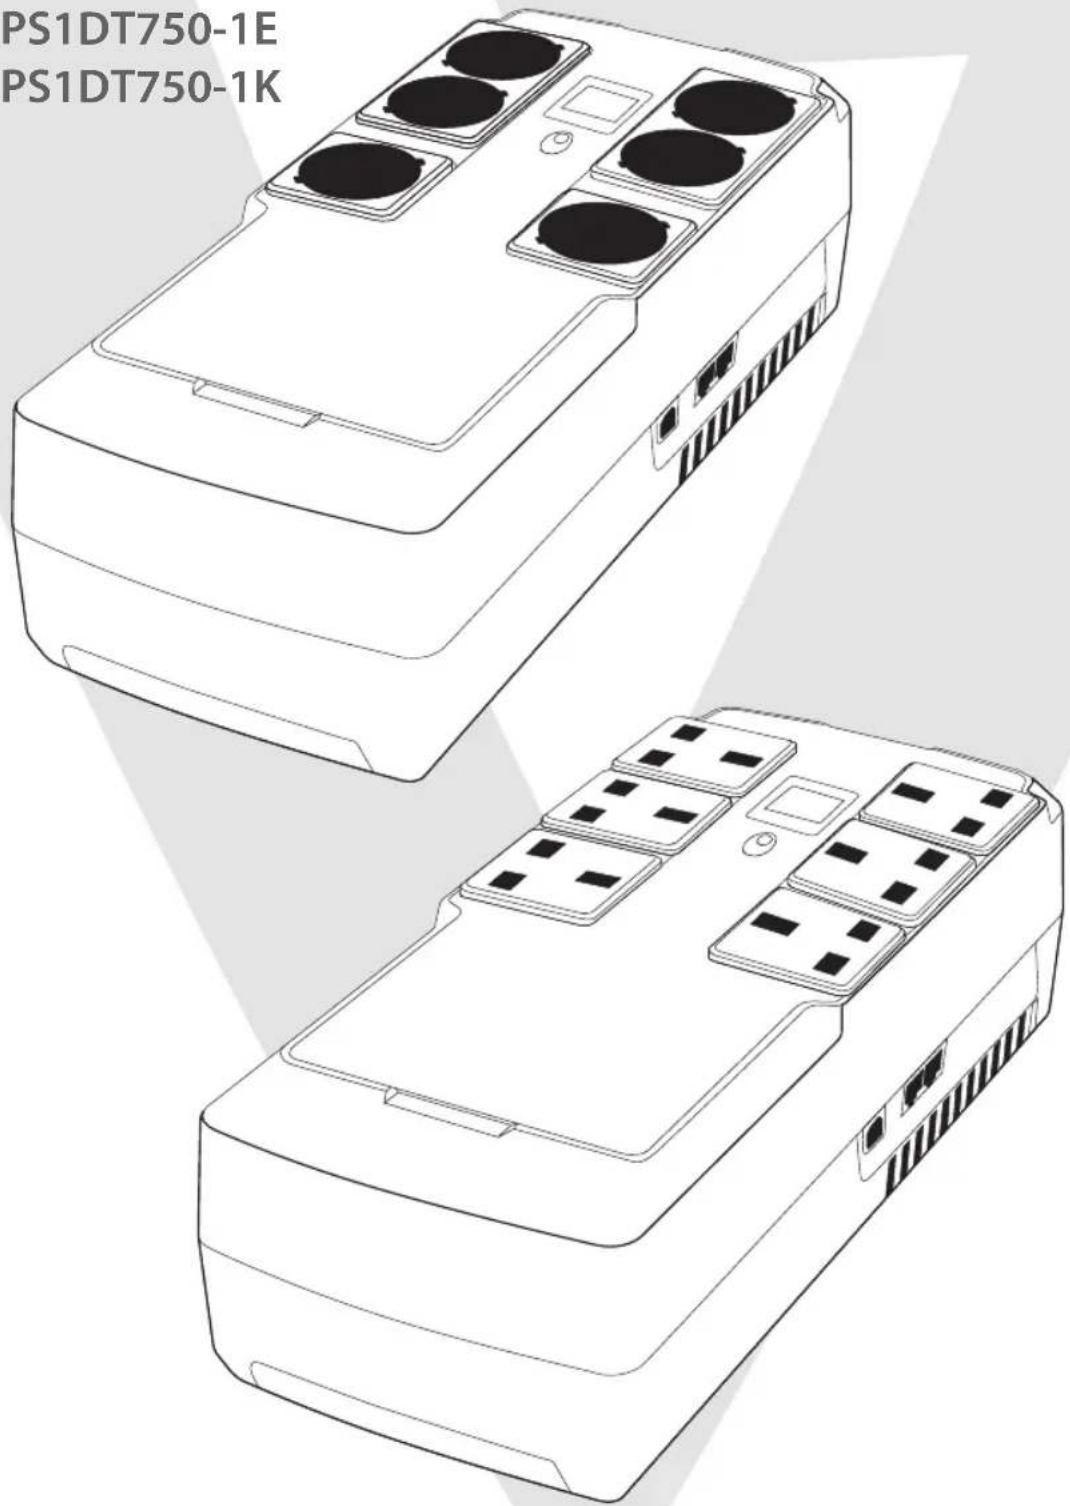
English
Installation & Operation
1. Inspection
The following items are inside the box: UPS Unit, User Manual
- Remove the UPS from its package and inspect it for damage that may have occurred during shipping. If any damage is discovered, re-pack the unit and return it to the place of purchase.
2. Connect to Utility Power
- Connect AC power cord to utility power. Then, the UPS will start to charge inside battery. For best result, charge the battery for 6 hours prior to initial use.
3. Plug in Equipment
• Battery back-up Outlets (3)
- Connect computer and monitor to the "Battery Backup" outlets. These outlets provide battery backup, EMI filtering, line conditioning, and surge protection. Battery power is automatically provided in case of power failure.
• Surge-Protected Outlets (3)
- Connect a printer, fax machine, or scanner to the "Surge-protected" outlets. These outlets do not provide power during power failure.

CAUTION: NEVER connect a laser printer or scanner to the battery backup sockets of UPS. The equipment may draw too much power and overload the UPS
4. Turn On/Off the UPS
- To turn on the UPS unit, press the power switch lightly. Then, the LED or LCD will light up. To turn off the UPS unit, press the power switch again. The display will shut off.
5. Install software (Optional for advanced users)
For optimal computer system protection, install UPS monitoring software to fully configure the UPS system. Please follow steps below to download and install monitoring software.
- Go to the website http://www.V7-world.com/downloads
- Select ViewPower software for your operating system to download the software.
- Follow the on-screen instructions to install the software.
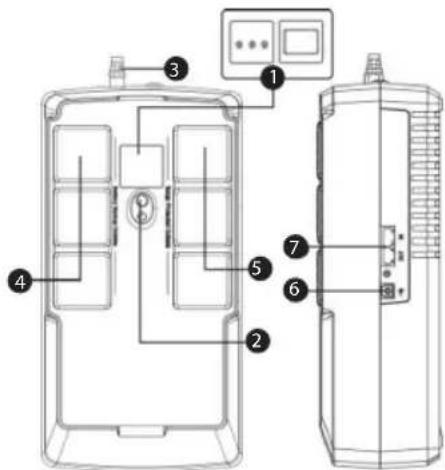
Product Overview
- Touch LCD display
- Power Switch
- AC input
- Battery backup outlets
- Surge-protected outlets
- USB port
- RJ11/RJ45 in/out
Operation Display
| UPS Mode LCD Description | ||
| UPS Power ON | 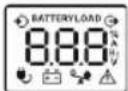 | When UPS is powered on, it will enter this mode for 4 seconds |
| AC Mode | 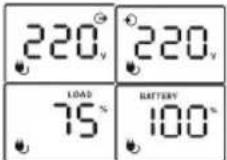 ____When AVR is functioning, [008x] icon will flash every second ____When AVR is functioning, [008x] icon will flash every second | LCD information will be displayed in the following order when LCD is touched.1. Output voltage2. Input voltage3. Load Level4. Battery capacity |
Operation Display (Continued)
| UPS Mode LCD Description | |||
| Overload in AC mode | 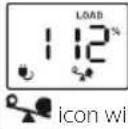 | II flash | When overload occurs, alarm will beep every 0.5 seconds |
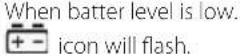
| Battery Mode | 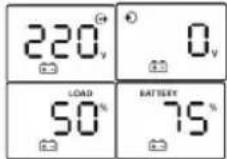 | Alarm will beep every 10 seconds and LCD information will be displayed in the following order when LCD is touched1. Output voltage2. Input voltage3. Load Level4. Battery capacity | |
 | |||
| Overload in battery mode | 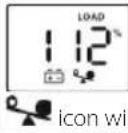 | II flash | When overload occurs, alarm will beep every 0.5 seconds |
*NOTE: If backlight shuts off, you may activate it by touching the screen
Fault Codes
| Fault Condition LCD Solutions | ||
| Output short circuited | 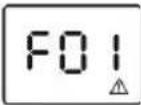 | Disconnect short-circuited loads and restart the UPS |
| Overload fault |  | Disconnect all output loads and restart the UPS again |
| Overcharge | 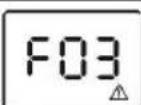 | Call for service immediately |
| Bad or severely discharged battery | 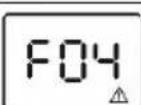 | Replace battery |
| High output voltage fault | 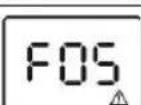 | Call for service immediately |
Troubleshooting
| Problem Possible Cause $ |  | |
| Nothing is displayed on the panel |  The board is not on The board is not on battery voltage is too low Charge the battery at least 6 hours battery voltage is too low Charge the battery at least 6 hours battery volt replace the battery battery volt replace the battery | Press the power switch again to turn on the UPS |
| The UPS always on battery mode |  Power cord is loose Re plug the power cord Power cord is loose Re plug the power cord Please check the fault Please check the fault | Check the fault code table for details |
| The UPS continuously beeps | ||
| Backup time too short |  is too low Charge the battery at least 6 hours is too low Charge the battery at least 6 hours   Battery defect Replace the battery Battery defect Replace the battery | Remove some unnecessary loads. Before reconnecting equipment, please verify that the load matches the UPS capability in the specifications of your UPS |
Safety Information
- This UPS utilizes voltage that may be hazardous. Do not attempt to disassemble the unit. The unit contains no user replaceable parts. Only factory service personnel may perform repairs.
- During the installation of this equipment it should be assured that the sum of the leakage currents of the UPS and the connected loads does not exceed 3.5mA .
- Connection to any other type of receptacle other than a two-pole, three-wire grounded receptacle may result in shock hazard as well as violate local electrical codes.
- In the event of an emergency, press the "OFF" button and disconnect the power cord from the AC power supply to properly disable the UPS.
- Do not allow any liquids or any foreign object to enter the UPS.
- Do not place beverages or any other liquid-containing vessels on or near the unit.
- This unit is intended for installation in a controlled environment (temperature controlled, indoor area free of conductive contaminants). Avoid installing the UPS in locations where there is standing or running water, or excessive humidity.
- Do not plug the UPS input into its own output.
- Do not attach an extension cord, power strip, or surge protector to the UPS.
- Do not attach non-computer-related items, such as medical equipment, life-support equipment, microwave ovens, or vacuum cleaners to UPS.
- Do not dispose of batteries in a fire as they may explode.
- A battery can present a risk of electrical shock and high short circuit current. The following precautions should be observed when working with batteries:
- Remove watches, rings, or other metal objects from the hands.
- Use tools with insulated handles.
- Wear rubber gloves and boots.
- Do not lay tools or metal parts on top of batteries.
- Disconnect charging source prior to connecting or disconnecting batteries terminal.
- Internal battery voltage is 12VDC Sealed, lead-acid, 6-cell battery.
- Servicing of batteries should be performed or supervised by personnel knowledgeable of batteries and the required precautions. Keep unauthorized personnel away from batteries.
- When replacing batteries, replace with the same number and type of sealed lead-acid battery.
- Do not open or mutilate the battery or batteries. Released electrolyte is harmful to the skin and eyes. It may be toxic.
- Attention, hazardous through electric shock. Also with dis- connection of this unit from the mains, hazardous voltage still may be accessible through supply from battery. The battery supply should be disconnected in the plus and minus pole at the connectors of the battery when maintenance or service work of the UPS is necessary.
- To reduce the risk of overheating the UPS, do not cover the UPS' cooling vents and avoid exposing the unit to direct sunlight or installing the unit near heat emitting appliances such as space heater or furnaces.
- Unplug the UPS prior to cleaning and do not use liquid or spray detergent.
Deutsch
Betriebsanzeige
Display
Bedieningsscherm
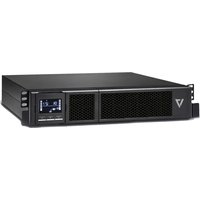
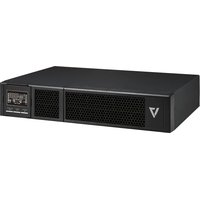
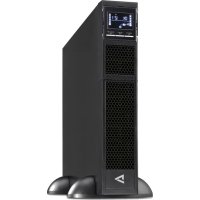
Brand : V7
Model : UPS1DT750-1K
Category : Uninterruptible power supply