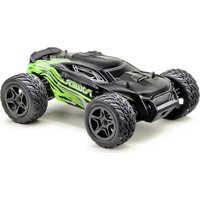
Power 14002 - Remote control toy Absima - Free user manual and instructions
Find the device manual for free Power 14002 Absima in PDF.


| Brand | Absima |
| Model | Power 14002 |
| Product type | Remote-controlled toy (RC car) |
| Car power supply | 2 rechargeable lithium batteries (included), charged via USB (cable included) |
| Remote control power supply | 3 AA 1.5 V batteries (not included) |
| Main functions | Forward, brake, reverse, steering, steering trim and throttle trim adjustment |
| Range | Approximately 30 meters (estimated) |
| Maximum speed | Approximately 10 km/h (estimated) |
| Charging time | Approximately 2 hours for empty batteries |
| Built-in protections | Overcharge, deep discharge, and overheat protection |
| LED indicators | Red LED on the remote control (flashes in standby, steady when linked, flashes when battery low) |
| Body | Removable with clips, protective film must be removed before use |
| Available spare parts | Chassis (ABG171-012), transmitter unit (ABG171-013) |
| Warranty | Warranty on material and functional defects present at the time of purchase, to be claimed through the retailer |
| After-sales service | Absima GmbH, phone +49 911 65084130, email service@absima.com |
| Compliance | Compliant with European directives, declaration available on the Absima website |
| Maintenance and cleaning | Clean with a dry cloth, avoid moisture, store in a dry and cool place |
| Safety | Contains small parts, keep out of reach of children under 3 years. Charge on a non-flammable surface, do not leave unattended, do not modify connectors |
Frequently Asked Questions - Power 14002 Absima
User questions about Power 14002 Absima
0 question about this device. Answer the ones you know or ask your own.
Ask a new question about this device
Download the instructions for your Remote control toy in PDF format for free! Find your manual Power 14002 - Absima and take your electronic device back in hand. On this page are published all the documents necessary for the use of your device. Power 14002 by Absima.
USER MANUAL Power 14002 Absima
FIRST STEP PERFORMANCE

Discover RC model sport with the "First Step Performance" from Absima. More than 36 KM/H and power to the
max you will get with this awesome model. Of course you will be supported by real RC model technique. A safe 2.4 GHz remote control system supports the 50A electronic speed controller to release the power at your command. Small, fine, and mean! Take the first step into the world of RC model sport with this ready-to-run set.

2.4GHz
RADIO SYSTEM
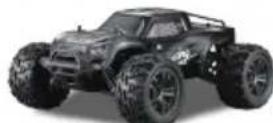
REMOTE CONTROL CAR
Steering Trim
Throttle trim (low speed to high speed)
Power Switch
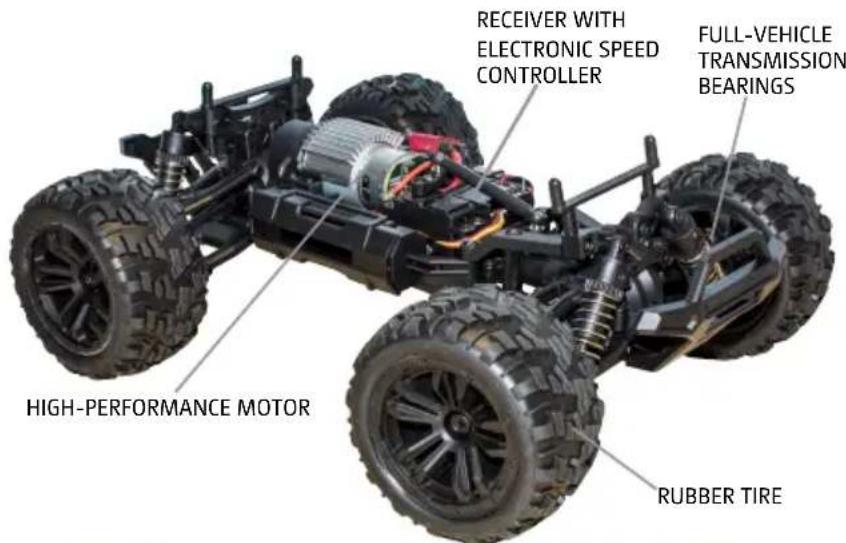
Brushed DC electric motor
Speed: Up to 36+km/h
Scale 1:14
Up to 60m remote range
Operation time:up to 16 min.
Rubber tires
Sealed ball bearings
Four wheel independent
Suspension system
Frequency:2.4GHz
Stuck protection
Charging pressure limiting protection
Over discharge protection
Car battery: 1,500mAh included
Remote control power supply.
3x1.5V "AA" (R6) batteries (Not included)
Suitable for children above 8 years old
ELECTRONIC SPEED CONTROL REMOTE CONTROL DISTANCE OF 60M
36+1:14 2.4GHz
STWD FOUR-WHEEL DRIVE
Vorsicht
- Small parts keep away of reach for children under 14 years old.
- Please operate in an open field without any wave interference.
- When transmitter is in low power, please stop and change batteries immediately.
- On back out after the removal, please do not place discarded to avoid contamination sanitation.
- Please store the car and the transmitter in a dry and cool environment.
- Keep away from fire, hot or humid environment.
- If car and battery getting wet, be sure to wipe and dry it completely to avoid any damage.
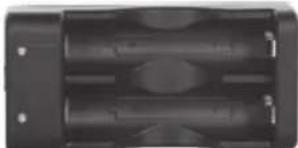
USB charging cable Charging case Lithium Batteries
1. Remove the truck body
Pull out the pins and remove the body
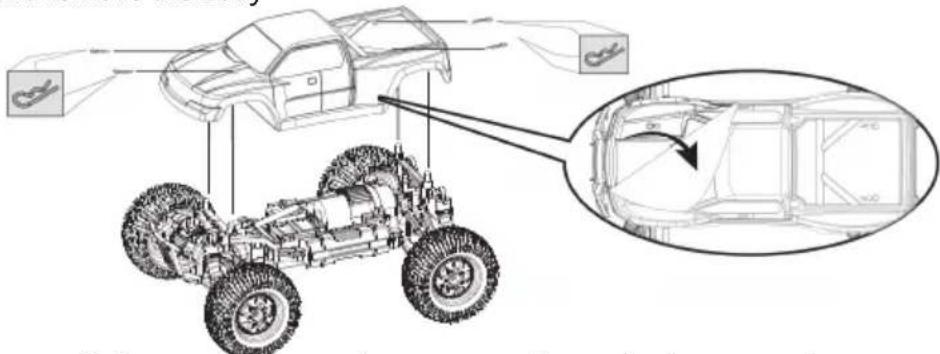
Make sure all accessories are properly attached, remove the protection film from the body before turning on the truck
2. Install Transmitter Batteries
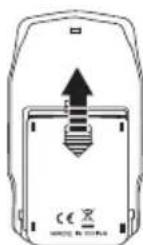
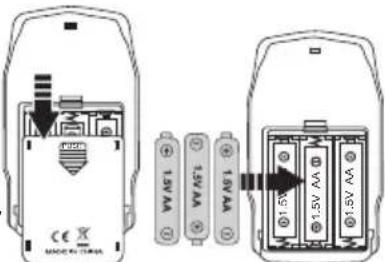
(1) Remove the battery cover on the botton of the transmitter (figure 1)
(2) Install 3 × 1.5V AA batteries (not included) in correct polarities (figure 2)
(3) Close the battery cover (figure 3)
NOTICE!
When installing batteries, please be sure to match the polarities makred on the battery holder.
Do not mix old and new batteries.
Do not mix different type of batteries.

(figure 1) (figure 2) (figure 3)
3. CHARGING AND INSTALLATION OF THE RECHARGABLE BATTERIES
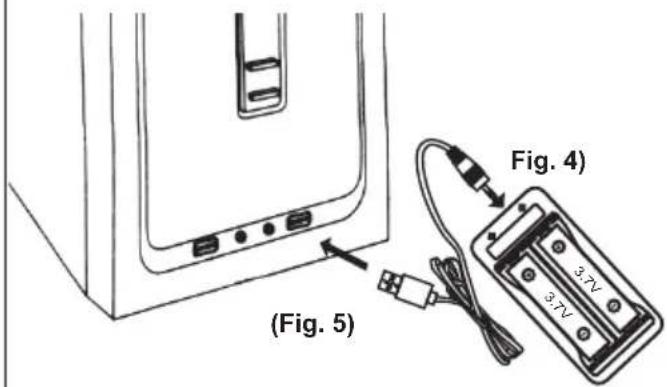
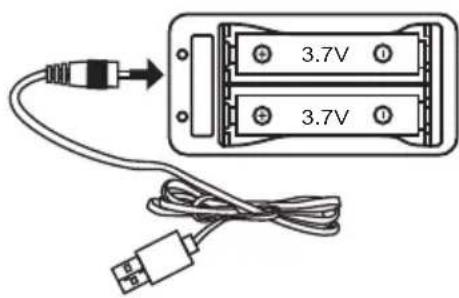
(1.) Connect the jack connector of the charging cable to the charging case (see Fig. 4) then connect the USB connector to a computer or power supply adapter (Fig. 5). The green LED indicates readiness. Place the batteries in the charging case (ATTENTION: pay attention to polarity!). The LED lights red during charging and changes to green when the process is complete. The charging time for empty batteries is approx. 2 hours.
(3.) Equip the vehicle with the two batteries (Fig. 7) (ATTENTION: pay attention to polarity!)
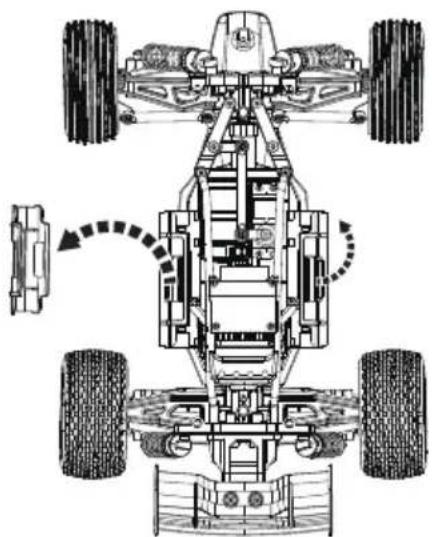
(2.) Remove the battery retaining clips on the vehicle to remove the batteries (Fig.6)
(Fig. 6)
(4.) Re-attach the battery retaining clips to the vehicle (Fig. 8)
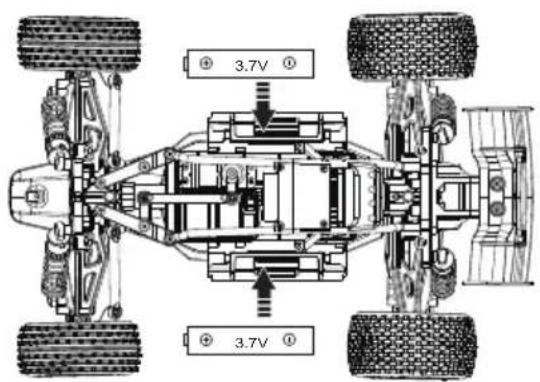
(Fig. 7)
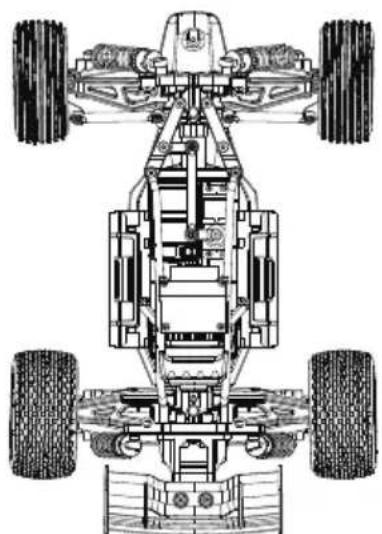
(Fig. 8)
4. CHARGING CRADLE / BATTERIES / NOTES & INSTRUCTIONS
(1.) To prevent "overcharging" of the lithium batteries, the charging case has a protective function that prevents this. To preserve the performance of the batteries, they should not be connected to the power supply with the charging case for more than 24 hours.
(2.) The speed controller has a deep discharge protection function. This function prevents damage to the battery. When this function is activated, the vehicle stops and the speed controller in the vehicle flashes red. ATTENTION: Make sure that you switch off the vehicle after operation! Otherwise the battery will be deeply discharged and damaged.
(3.) The cruise control has an overheat protection function. If the vehicle overheats, this function is activated and the vehicle stops for 3-6 seconds. You can continue driving the car after this time, but we advise to switch off and cool down for a few minutes.
5. TRANSMITTER INSTRUCTIONS
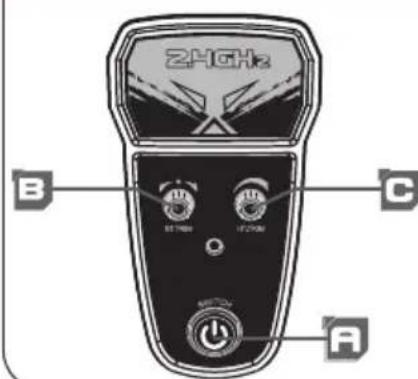
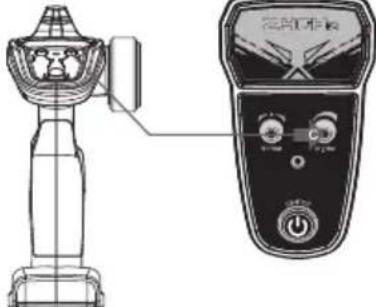
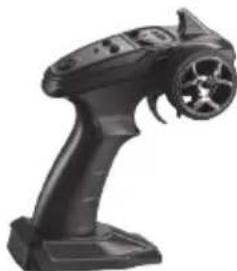
A. Power Switch
B. Steering Trim
C. Throttle Trim
(Low speed to high speed)
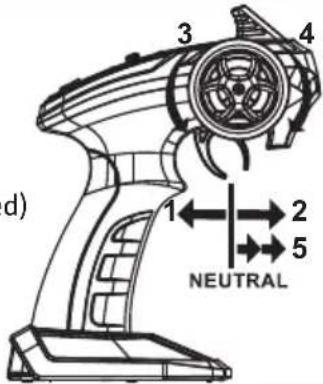
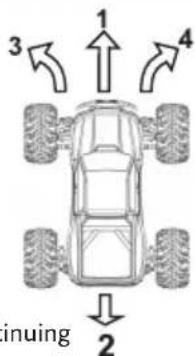
- Forward
- Brake
3.Left - Right
- Backward
6. TRANSMITTER - HOW TO USE
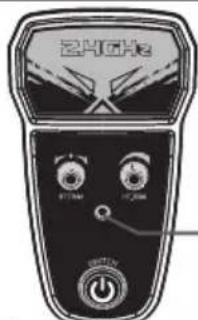
- Turn on the power switch on the transmitter, red LED will flash.
- When binding successful with the Truck, red LED will turn solid.
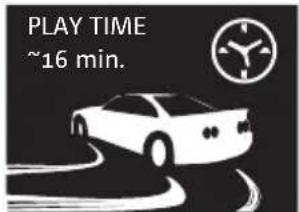

Red LED will flash when power is low on transmitter, please replace new batteries before continuing
2
7. Transmitter switch instructions
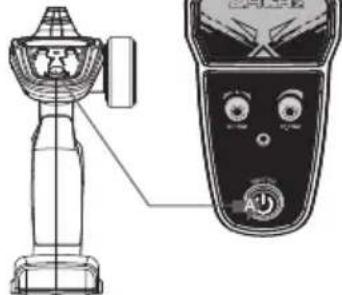
A.Power Switch
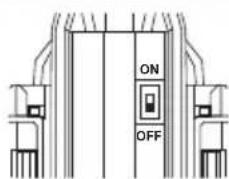
on/off switch
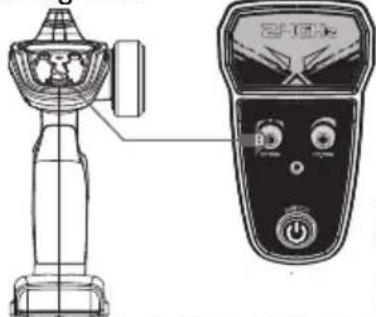
B.Steering Trim
When binding for the first time, both the truck and the transmitter have to be turned on within 3 seconds to bind the frequency. Red LED on the transmitter will solid when binding successful.
C.Throttle Trim
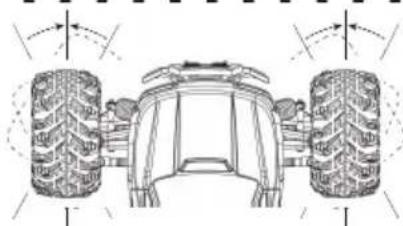
When the chassis switch is turned on and the front tires are not straight, use the ST. TRIM to adjust the position.
- When the car oversteers to the left, ST. TRIM should be adjusted clockwise.
- When the car oversteers to the right, ST. TRIM should be adjusted anticlockwise.
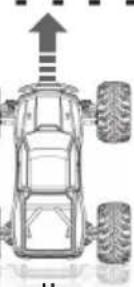
(High Speed)
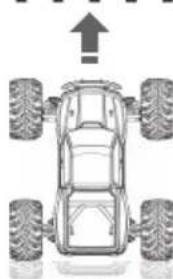
(Low Speed)
SUGGEST: Please adjust the HT. TRIM to the low speed when you play with the car for the first time to avoid damaging the car!
Warnings
- Do not leave the battery unsupervised while it is charging or discharging.
- Only charge on fire resistant underground.
- Do not modify the battery or connectors.
- Charge the battery in a well ventilated area, away from people and electrically conductive or flammable materials.
- If the battery has suspicious reaction during the charge or discharge, such as overheating, venting or leaking, immediately disconnect the battery and store it in a safe location, away from people and flammable materials.
- Immediately stop using the battery of it is damaged after a crash, etc. and store it in a safe location, away from people and fammable materials.
- The batteries can become hot during use. Take great care before handling them.
Warranty Terms
By purchasing and using your Absima product, you agree to the warranty terms of Absima GmbH.
The warranty applies only to material and/or functional defects already present at the time of purchase of the product.
Excluded from the guarantee:
- Damage caused by incorrect use
- Damage due to neglect of duty of care
- Damage due to improper handling and maintenance errors
- Fluid damages
Please report warranty claims to your dealer. if it is necessary to return your product, please enclose your proof of purchase and a detailed description of the fault with the shipment.
We also need your complete contact details (legible).
The direct sending to the service department of Absima GmbH requires the previous arrangement.
This can be done by telephone under+49 911 65084130 or by e-mail to service@absima.com
The shipping costs are borne by the sender. Parcels that are not free of charge or are subject to charges will not be accepted.
Each in coming warranty case is first checked by our service department for admissibility. Complaints that are not covered by the warranty may incur costs for the inspection.
Repairs or services that are not covered by the warranty will be charged in advance.
Disclaimer
Since Absima GmbH cannot at any time monitor the observance of the operating instructions as well as the operation and conditions of use of the product,
Absima GmbH does not assume any liability for damages, costs, losses resulting from incorrect handling and/or incorrect operation or in any way related thereto. To the extent permitted by law, the involved in the event.
This does not apply as far as we have to assume unlimited liability due to mandatory legal regulations or gross negligence.
Declaration of conformity
The manufacturer hereby declares that the product complies with the essential requirements and other relevant provisions
of the EU Directive.
The declaration of conformity can be found at https://absima.com/en/downloads/erklaerungen/
or can be consulted under
Absima GmbH-Gibitzenhofstrasse 127a/RG - 90443 Nuremberg, Germany can be requested.
Disposal
Waste electronic equipment is a raw material and should not be disposed of with household waste. If the product is at the end of its service life, dispose of it at your local collection points in accordance with the applicable legal regulations.
Disposal with household waste or at the expense of the environment is prohibited.
Important! Remove the batteries or rechargeable batteries before disposal. A separate take-back system applies to batteries and rechargeable batteries.
By properly disposing of your old appliances, you make an important contribution to environmental protection.
Absima GmbH
Technical changes, design and equipment subject to change without notice.
ATTENTION
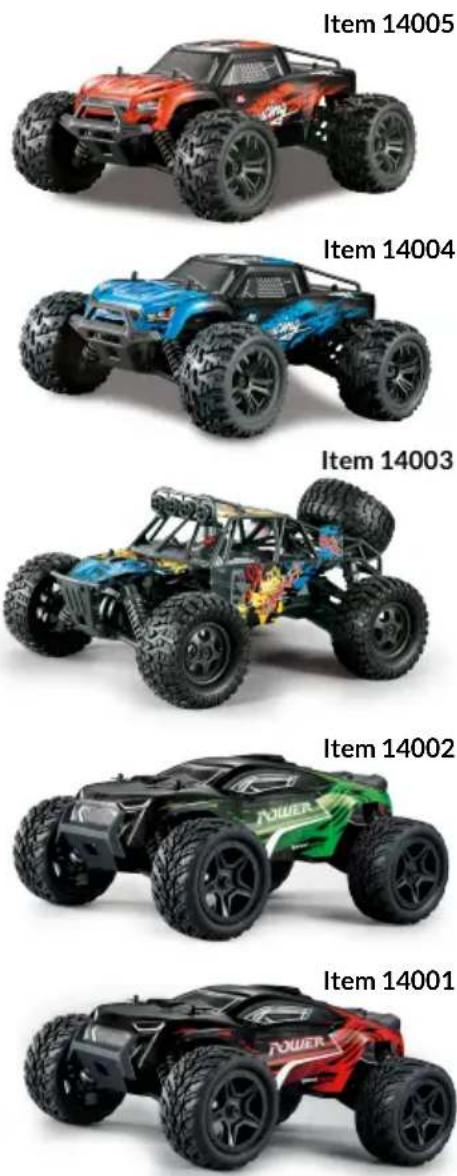
CONFIGURATION DU PRODUIT
14001 - rouge
14002 - vert

14004 - bleu
14005 - rouge
(figure 1) (figure 2) (figure 3)
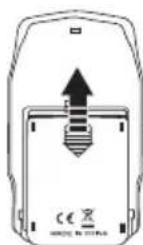
3. LE CHARGEMENT ET L'INSTALLATION DE PILES
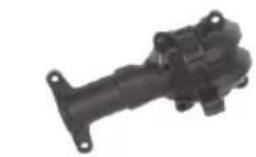
ABG171-014
Front Diff. gear box Cover
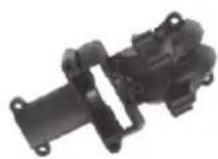
ABG171-015
Rear Diff. gear box cover
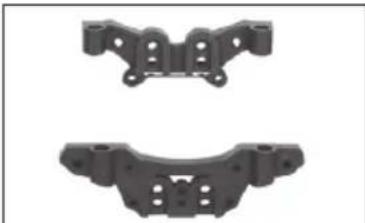
ABG171-016
Shock tower (F/R)
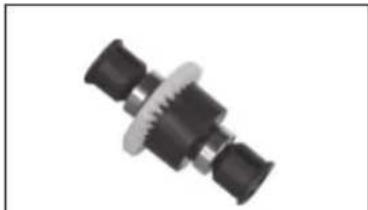
ABG171-017
Differential set (F/R)
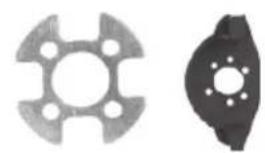
ABG171-018
Motor mount
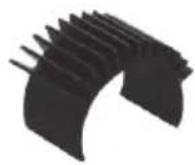
ABG171-019
Motor Heat sink
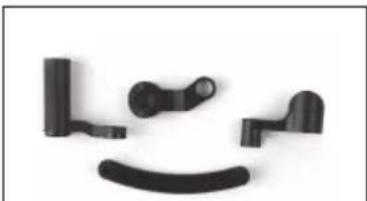
ABG171-020
Steering arm set
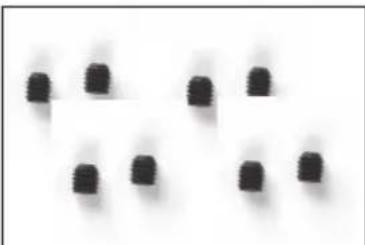
ABG171-021
Hex. socket set screw-3*3 (8)
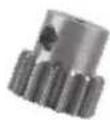
ABG171-022
Pinion gear
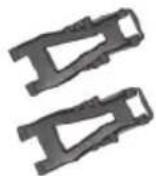
ABG171-023
Rear lower arms (2)
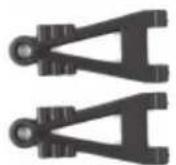
ABG171-024
Front lower arm
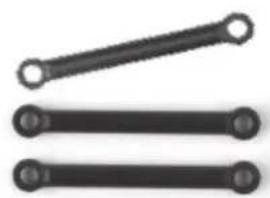
ABG171-025
Connecting rod (3)
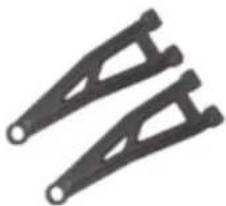
ABG171-027
Rear upper arm (2)
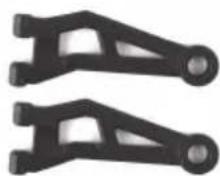
ABG171-028
Front upper arm (2)
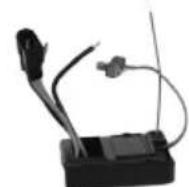
ABG171-029
Receiver + ESC
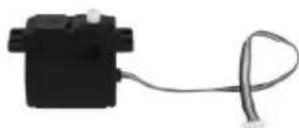
ABG171-030
5 wire servo
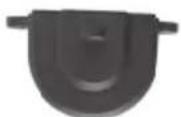
ABG171-031
Motor cover
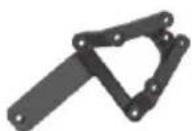
ABG171-032
Steering set press cover
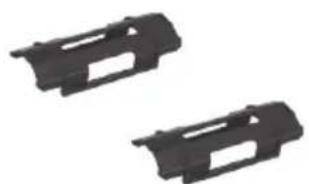
ABG171-033
Battery cover (2)
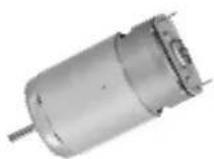
ABG171-034
390 brushed motor
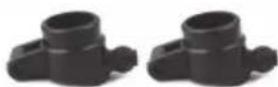
ABG171-035
Rear Hub (2)

ABG171-036
Front Hub
ERSATZTEILE / SPARE PARTS
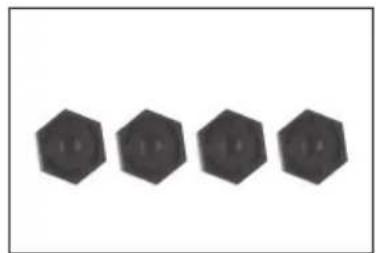
ABG171-037
Hex. mount (4)
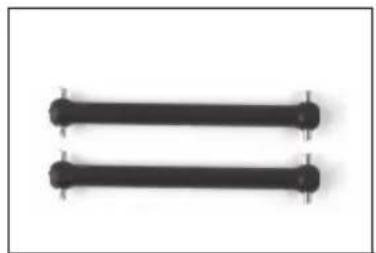
ABG171-038
Rear driving shaft (2)
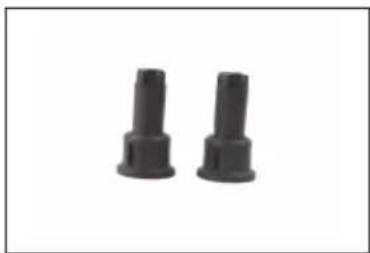
ABG171-039
Rear Transmission cup (2)
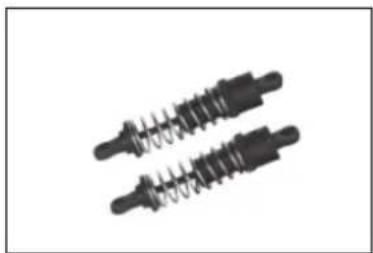
ABG171-040
Shock Absorber (2)
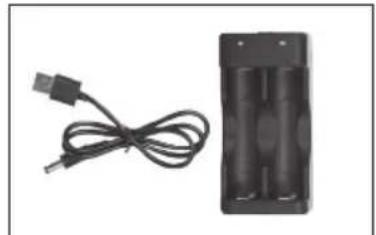
ABG171-041
Charging case with USB cable
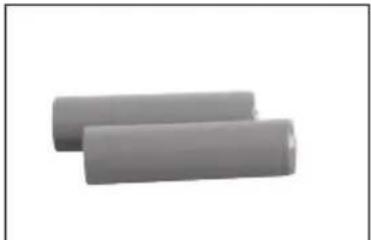
ABG171-042 3.7V 1500mAh
Re-chargeable battery (2)
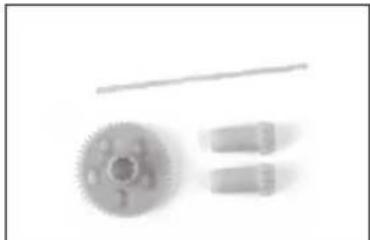
ABG171-043
Main driving shaft set
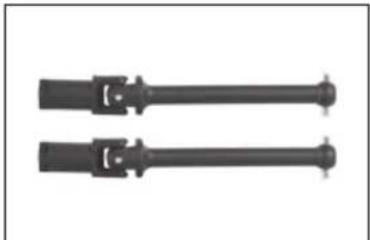
ABG171-044
Front CVD deiving shaft (2)
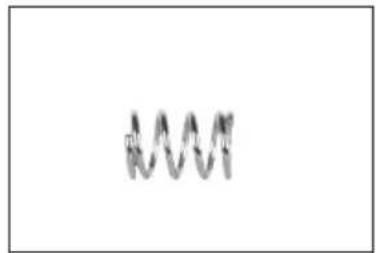
ABG171-045
Steering Buffer Spring
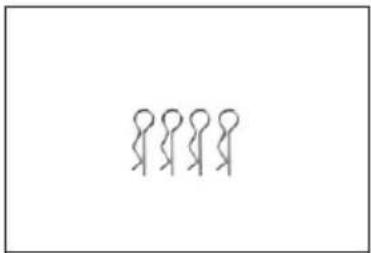
ABG171-046
Body Clips (4)

ABG171-047
Washer on Steering (2)
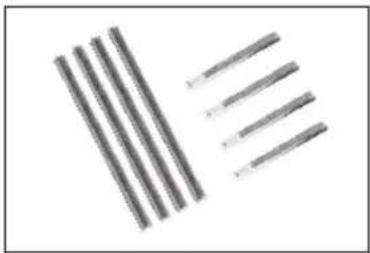
ABG171-048
Shaft 2.5^25 / 2.5^37 (8)
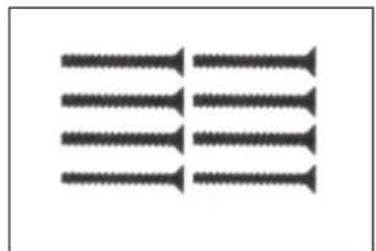
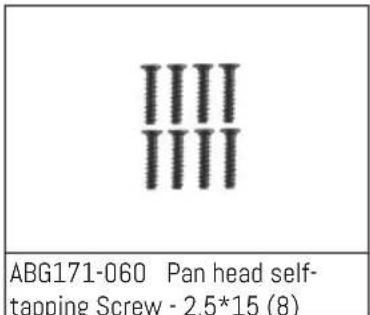
ABG171-049 Countersunk head self-tapping screw - 2*15 (8)
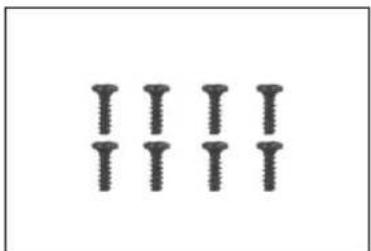
ABG171-050 Pan head
self-tapping screw - 2.685 (8)
ABG171-051 self-tapping SCREW
-2.34 PWB5/2.68 PWB7 (16)
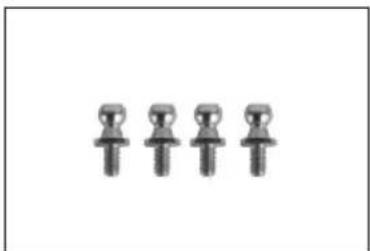
ABG171-052
Ball stud - 6*12 (4)
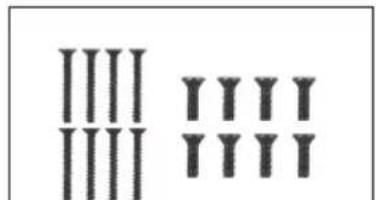
ABG171-053 Countersunk head self-tapping screw-314/2.58 (16)
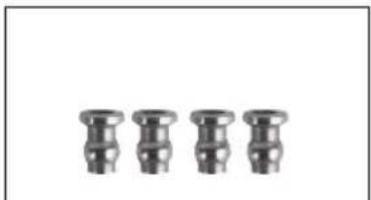
ABG171-054
Ball stud (4)
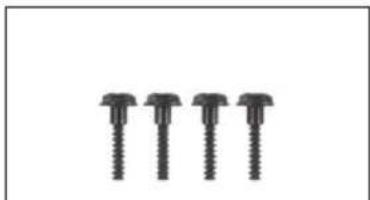
ABG171-055 Outer Hex. Step self-tapping screw - 3*17 (4)
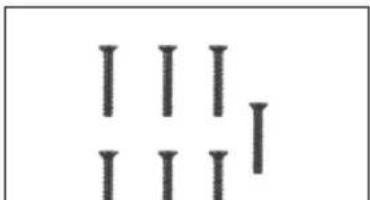
ABG171-055 Outer Hex. Step self-tapping screw - 317 (4)
ABG171-056 Flat head
self-tapping screw - 1.710 (7)
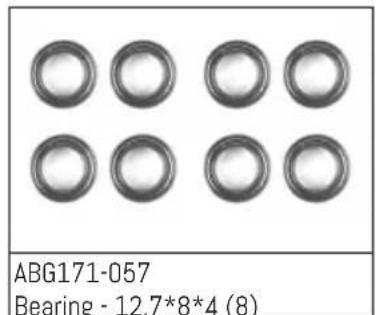
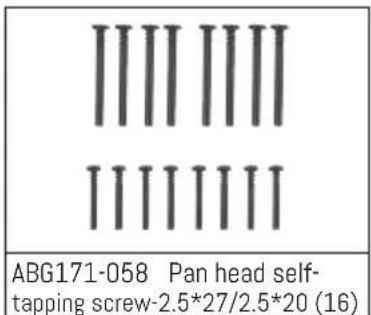
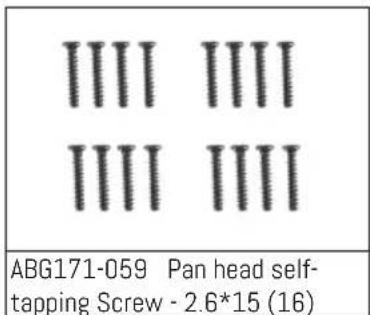
ERSATZTEILE / SPARE PARTS
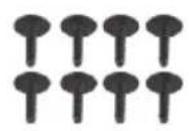
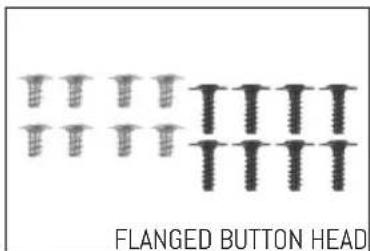
ABG171-061 FLANGED BUTTON HEAD SCREW - 2.3*10 (8)
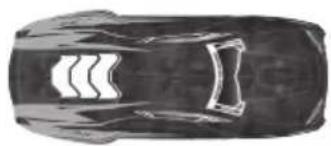
ABG172-001 Trummy Body (RED)
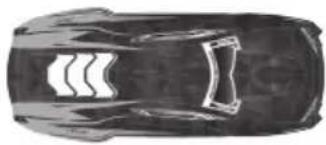
ABG172-002 Trummy Body (Green)
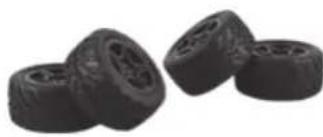
ABG172-003 Truggy Tires (4)
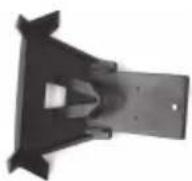
ABG172-004 Front bumper for Trucky
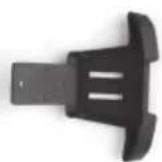
ABG172-005 Rear bumper for Trucky

ABG172-006 Truggy Rear wing

ABG172-007 Body post for Truggy
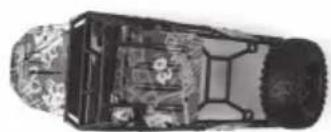
ABG173-001 Sand Buggy Body
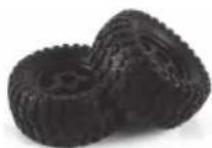
ABG173-002 Sand Buggy Tires (2)
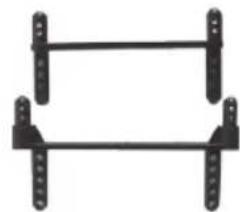
ABG173-003 Body post for Sand buggy
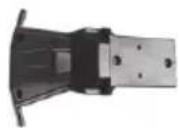
ABG173-004 Front bumper for Sand buggy
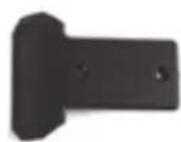
ABG173-005 Rear bumper for Sand buggy

ABG173-006 Countersunk head screw - 2.6*8 (8)
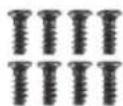
ABG173-007 Pan head self-tapping screw -2.3*6
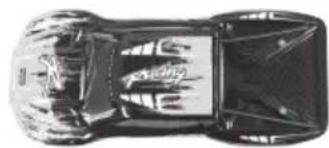
ABG174-001 Truck body (RED)
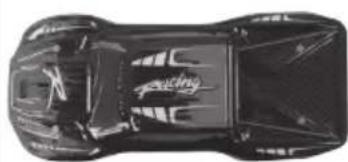
ABG174-002 Truck body (Blue)
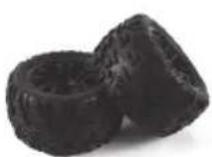
ABG174-003 Truck Tires (2)
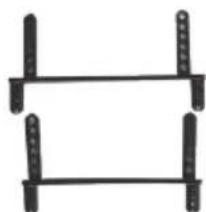
ABG174-004 Body post for Truck
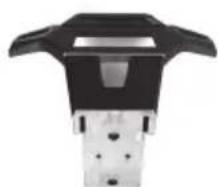
ABG174-005 Front bumper for Truck
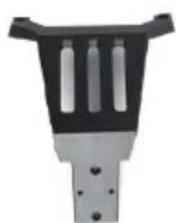
ABG174-006 Rear bumper for Truck

ABSIMA
Absima GmbH
Gibitzenhofstr. 127a
90443 Nürnberg
Germany
www.absima.com
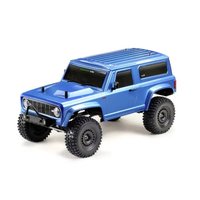




- FIRST STEP PERFORMANCE
- 2.4GHz
- RADIO SYSTEM
- REMOTE CONTROL CAR
- ELECTRONIC SPEED CONTROL REMOTE CONTROL DISTANCE OF 60M
- Vorsicht
- Remove the truck body
- Install Transmitter Batteries
- NOTICE!
- CHARGING AND INSTALLATION OF THE RECHARGABLE BATTERIES
- CHARGING CRADLE / BATTERIES / NOTES & INSTRUCTIONS
- TRANSMITTER INSTRUCTIONS
- TRANSMITTER - HOW TO USE
- Transmitter switch instructions
- Warnings
- Warranty Terms
- Excluded from the guarantee:
- Disclaimer
- Declaration of conformity
- or can be consulted under
- Disposal
- Absima GmbH
- ATTENTION
- CONFIGURATION DU PRODUIT
- LE CHARGEMENT ET L'INSTALLATION DE PILES
- ERSATZTEILE / SPARE PARTS
- ABSIMA
Brand : Absima
Model : Power 14002
Category : Remote control toy