
EP Sand Buggy "ASB1" 4WD RTR - Remote control toy Absima - Free user manual and instructions
Find the device manual for free EP Sand Buggy "ASB1" 4WD RTR Absima in PDF.



| Brand | Absima |
| Model | EP Sand Buggy "ASB1" 4WD RTR |
| Product Type | Radio-controlled off-road buggy |
| Scale | 1/10 (estimate) |
| Transmission | 4-wheel drive (4WD) |
| Vehicle Power | NiMH or LiPo battery (7.2-7.4 V) |
| Radio Power | Batteries or rechargeable battery (compatible NiMH/LiPo) |
| Motor | Electric (brushed, estimate) |
| Length | Approximately 420 mm (estimate) |
| Width | Approximately 250 mm (estimate) |
| Weight | Approximately 1.5-2 kg (estimate) |
| Main Functions | Forward, reverse, turn, brake |
| Steering Type | Servo with saver (protection) |
| Maintenance | Clean after use on dirty terrain, dry after moisture, check bearings and differentials |
| Electric Motor Break-in | Run the first two batteries at half throttle |
| Fuel Type (nitro version) | Specific RC fuel with nitro-methane (max 25%) |
| Safety | Check nuts, threadlock on alu/steel screws, charged battery, steering trim |
| Spare Parts | Available from manufacturer or specialized dealers |
| Repairability | Designed to be repaired: bearings, differentials, servo, motor replaceable |
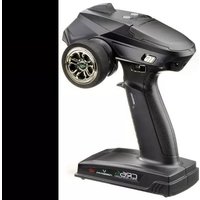
| Included Accessories | Radio, servos, battery (depending on version), charger (depending on version), manual |
Frequently Asked Questions - EP Sand Buggy "ASB1" 4WD RTR Absima
User questions about EP Sand Buggy "ASB1" 4WD RTR Absima
0 question about this device. Answer the ones you know or ask your own.
Ask a new question about this device
Download the instructions for your Remote control toy in PDF format for free! Find your manual EP Sand Buggy "ASB1" 4WD RTR - Absima and take your electronic device back in hand. On this page are published all the documents necessary for the use of your device. EP Sand Buggy "ASB1" 4WD RTR by Absima.
USER MANUAL EP Sand Buggy "ASB1" 4WD RTR Absima
This manual is written in german and english language only.
If you need a manual in your language please visit our website or contact your distributor!
Thank you for purchasing this HOT SHOT product from Absima.
Please take some time to read through to get familiar with the shown steps.
We continually improve our products, due to that, actual parts my be different to the illustrations.
Please check our website for the latest versions manuals and tips before you start to built this model.
This manual is written in english and german language only.
If you need a manual in your language please visit our website or contact your distributor!
Not suitable for children under 14 years of age without adult supervision.
This is a high performance vehicle, for safety reason don't run on public streets, in crowded areas, environmentally areas or near children or animals.
This model contains rotationg parts and parts which become hot during operation. Care must been taken to avoid damage or injuries.
This product may require some assembly and routine maintenance.
This product is covered by warranty based on material defectives. Crash damage or maintenance failures are not covered under warranty.
Batteries should be used in good condition only, and need to be fully charged.
Nitro models should be driven outside of buildings only. Inhaling exhaust gases could cause health damage.
Keep chemicals stored out of the range of small children.
Make sure your model and equipment is in perfect condition before you use it, to ensure safety and fun while driving.

natural_image
Abstract green and black geometric logo design (no text or symbols)ABSIMA
natural_image
Abstract green and black geometric logo design (no text or symbols)ABSIMA
Basic information for a safety operation of a rc model car.
Dear customer,
thank you that you have chosen a high-performance product from Absima. Our products have been designed for beginners, hobby pilots and competition ambitious drivers. Absima / Team C wants you to have fun and success with your new model and we therefore recommend that you read the following points carefully.
Before each driving:
- Please check all screws are properly itting.
- For screws which abut on metal, you should check whether there is enough security screws paint.
- The servo saver should always be set so that it works smoothly and is not too tight otherwise the servo gets damaged.
- Check on your remote control and the vehicle the batteries whether these are still fully charged.
- Check on your remote control, the TRIM settings that the wheels are straight and that you have enough steering angle.
After each driving:
• If you have driven in dirty terrain, it is advisable to clean the completely car.
- If you are driving through rain or water you have to dry the entire vehicle, otherwise all metal parts will rust. To displace moisture is WD40 just right.
- After several trips we recommend that you check the bearings if they are still functioning properly.
- After several trips we recommend that you check out the differentials in the vehicle.
- General visual check after every ride
Electric cars:
- Before you go driving an electric vehicle for the irst time, you should retract the electric motor. Proceed as follows:
- Drive the irst 2 batteries only with half throttle.
- Then you can go on as usual normal.
Nitro fuel cars:
- Before you go ride a Nitro car for the irst time, set the failsafe in the receiver. Proceed as follows:
- Switch on the transmitter.
- Enter current to the receiver, the red LED on the receiver should light up solid red.
- Press on the remote control, the brake function.
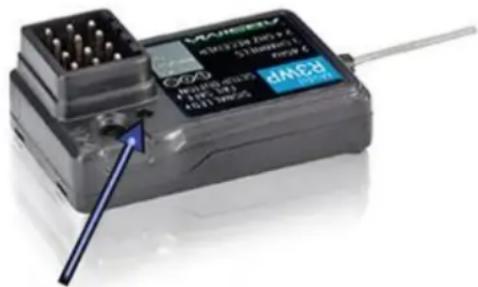
- Press the "Setting" button on the receiver (see igure). The LED lashes for about 3 seconds. When the lashing stops, the process is completed successfully.
Run-in nitro engine:
FUEL:
Please never use fuel from the gas station! Only use specially model fuel (nitromethane).
The fuel has a major impact on the performance of your engine. If you want to use a other nitro-methane fuel, you have to adjust the
settings of the engine. Is the nitro content higher, the engine produces more power. But never exceed 25% nitromethane content.
RUN-IN:
The correct run-in is a important point, so you get maximum performance and life. Take time and don't rush.
Use the same fuel as you intend to use in subsequent operation.
-
Fill the fuel in the tank. Close the exhaust and pull the pull starter till fuel is coming up to the carburetor. Start the engine andset the main needle high-fat. It must coming a lot of smoke from the exhaust. This has the advantage that the engine is lubricated by thebold attitude very well from the inside.
-
Run the engine for 2 minutes at idle to warm it up.
-
Now driving the car till the tank is empty. The car will be slow and sluggish because of the fat carburetor adjustment. That's normaland important. Don't let the engine running too high and drive with half throttle or it may cause a "piston seizure". Drive the car and make short gas shocks.
-
During the run-in phase, the engine temperature shouldn't reach more than 100^ degrees.
-
We recommend that you run the engine with 5 tanks of fuel with this rich setting before making any further settings.
Let the engine cool down after each tank for 15 min.
AIR FILTER:
A good air ilter is very important for your engine. Never drive without a air ilter because that can damage the engine! Do not forget to impregnate the air ilter with a suitable air ilter oil before use.
Clean after every tenth tank the air ilter carefully and impregnate it with oil again.
GLOW PLUG:
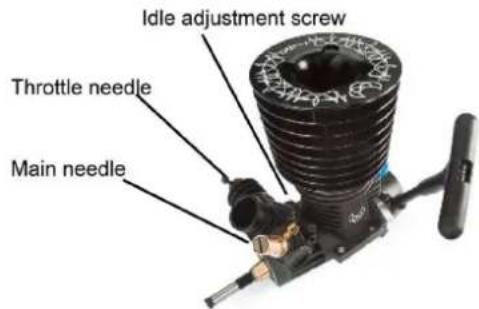
The correct selection of the glow plug also plays a major role. The glow plug is available in various designs and heatdegrees.
The degree of heat determines the time of ignition in relation to the fuel and the air temperature.
Cold air temperature - warm glow plug
Warm air temperature - cold glow plug
The description of the different degrees of heat is not standardized and therefore proprietary

natural_image
Abstract green and black geometric logo design (no text or symbols)ABSIMA
1. Tools required for building and maintenance:
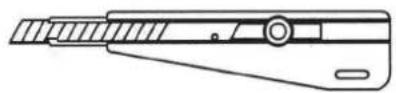
● Hobby knife
Cutter Messer

● Precision ruler
Präzisionslineal

● Needle nose pliers
Spitzzange

natural_image
Line drawing of a pair of scissors (no text or symbols)natural_image
Line drawing of a pair of pliers (no text or symbols)● Cross wrench Kreuzschlüssel
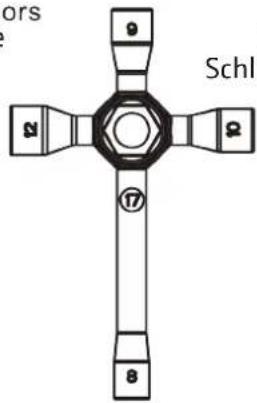
● Cross wrench
Kreuzschlüssel
● Flat and Philips screwdriver
Schlitz- und Kreuzschlitzschraubendreher

● CA glue&rubber cement
Sekundengleber
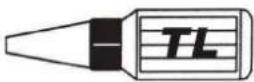
● Thread locking compound Schraubensicherungslack
1.5mm
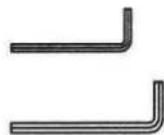
2.0mm
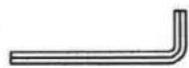
● Hex wrench
Sechskantschlüssel
WARNING! ACHTUNG!
2. Additional items needed for operation:
Check all the screws are tight before playing the vehicle!
Use thread lock on all screws that work loose.
The ESC can handle NiMH and LiPo
batteries. To set this up you need to
reposition the little black plug on the
controller. For LiPo the plug to the
left side and for NiMH the plug to the
right side. The direction of rotation can
be changed by using the plugs (same
way as the batteries).
The ESC can handle NiMH and LiPo
batteries. To set this up you need to
reposition the little black plug on the
controller. For LiPo the plug to the
left side and for NiMH the plug to the
right side. The direction of rotation ca
be changed by using the plugs (same
way as the batteries).
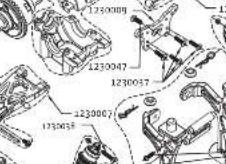
1230070 Differential Unit Brushless Differential Einheit

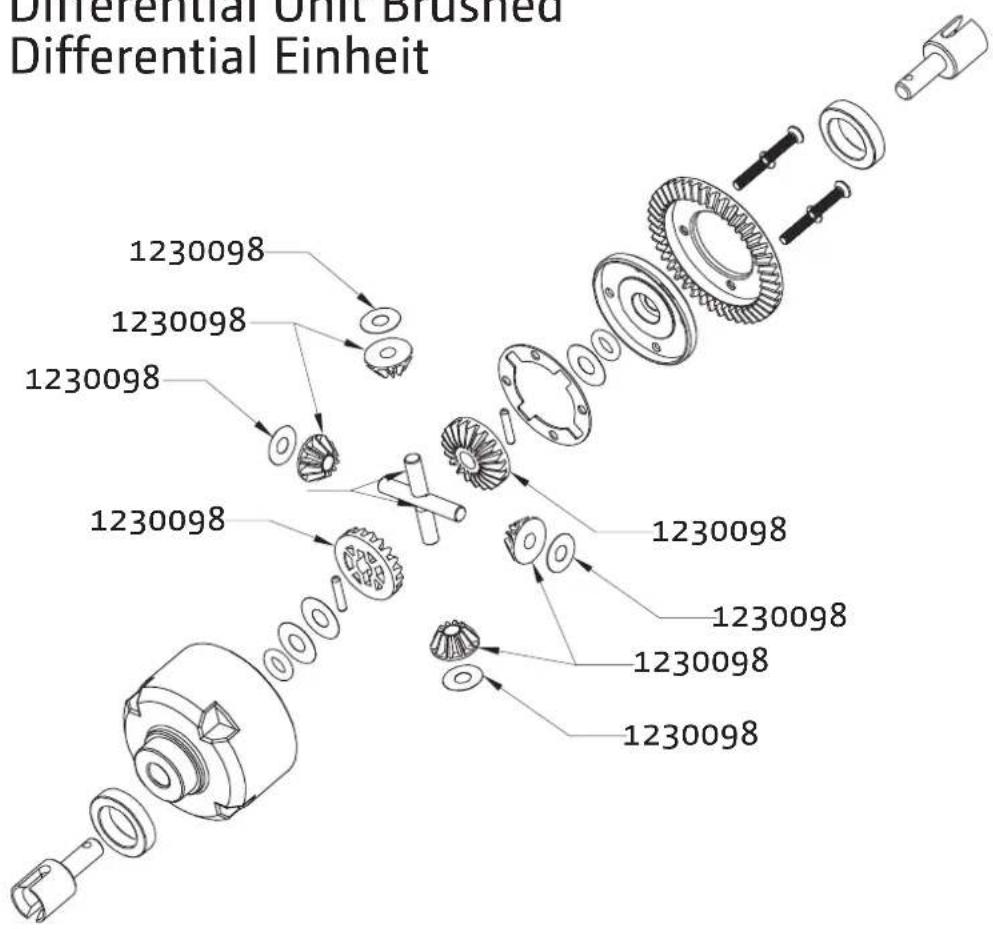
1230043 Differential Unit Brushed Differential Einheit
Art. No. 12201 AB1 Brushed
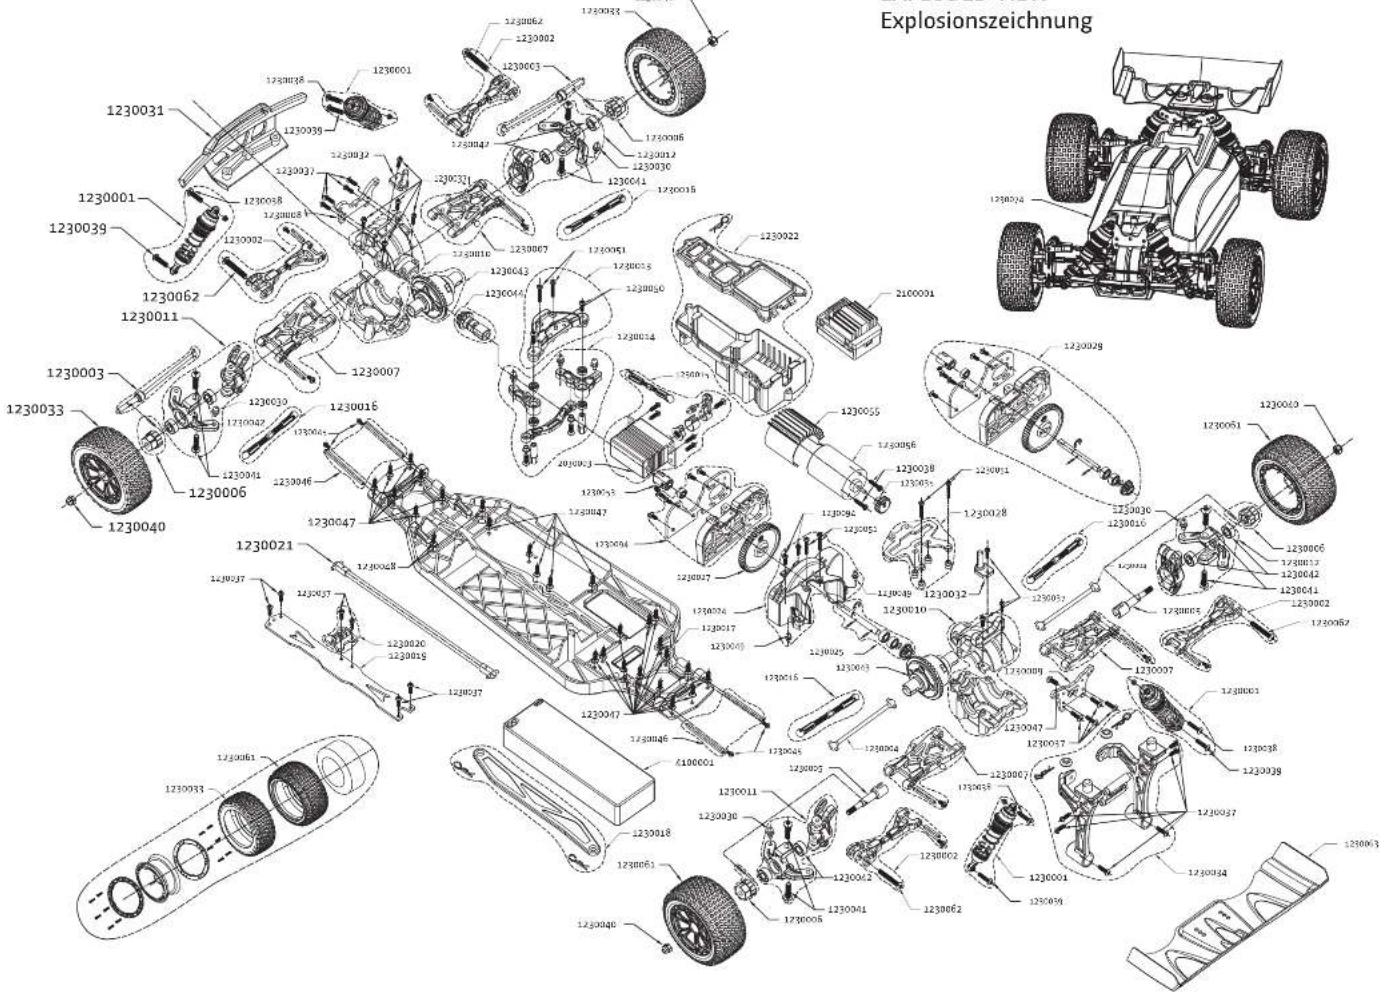
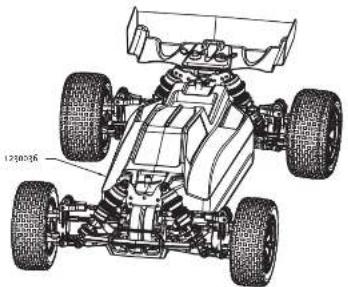
EXPLODED VIEW
natural_image
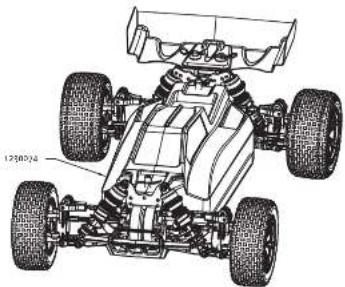
Technical line drawing of a four-wheeled toy car chassis (no text or symbols)


Art. No. 12210 AB1 Brushless

EXPLODED VIEW
natural_image
Technical line drawing of a four-wheeled toy car chassis (no text or symbols)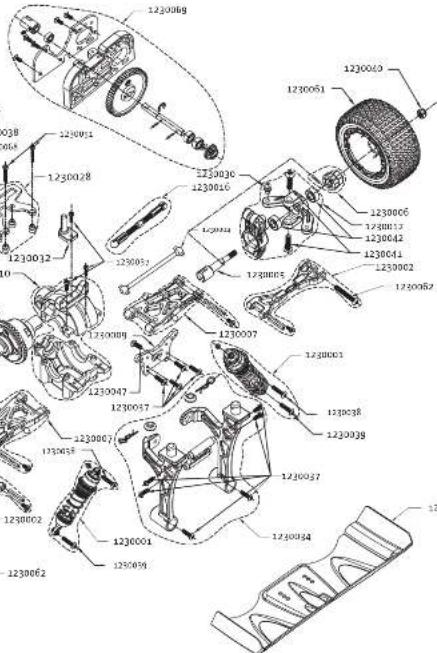
natural_image
Two black cylindrical electronic components with metallic leads, labeled '1230086 Shock Body Dämpfergehäuse (2)' below (no other text or symbols)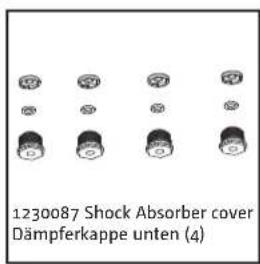


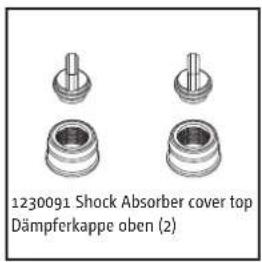
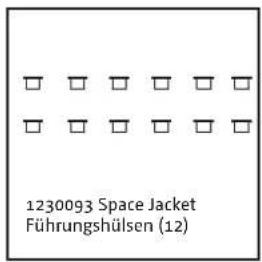
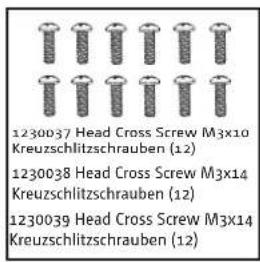
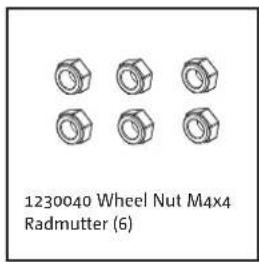

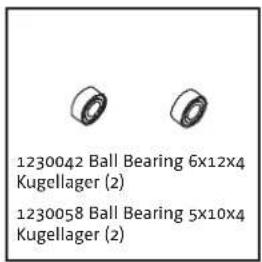
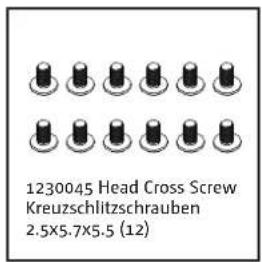

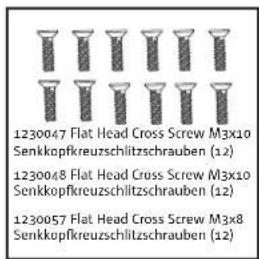
natural_image
Line drawing of a 6kg servo motor (no text or symbols on the device itself)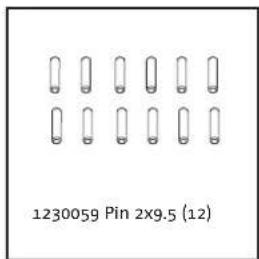


natural_image
Two tire wheel illustrations shown in 3D rendering, no text or symbols on the tires themselves
natural_image
Empty white square with black border (no text or symbols)
natural_image
Empty white square with black border (no text or symbols)
natural_image
Empty white square with a thin black border (no text or symbols)
natural_image
Empty white square with a thin black border (no text or symbols)
natural_image
Empty white square with a thin black border (no text or symbols)
natural_image
Empty white square with a thin black border (no text or symbols)
natural_image
Empty white square with a thin black border (no text or symbols)natural_image
Empty white square with a thin black border (no text or symbols)
natural_image
Empty white square with a thin black border (no text or symbols)
natural_image
Empty white square with black border (no text or symbols)
natural_image
Empty white square with black border (no text or symbols)
natural_image
Empty white square with a thin black border (no text or symbols)
natural_image
Empty white square with a thin black border (no text or symbols)
natural_image
Empty white square with a thin black border (no text or symbols)
natural_image
Empty white square with black border (no text or symbols)
natural_image
Empty white square with a thin black border (no text, symbols, or markings)
natural_image
Empty white square with a thin black border (no text or symbols)
natural_image
Empty white square with black border (no text or symbols)
natural_image
Empty white square with a thin black border (no text or symbols)
natural_image
Abstract green geometric logo design with interlocking curved shapes on black background (no text or symbols)ABSIMA
Absima GmbH
Gbitzenhofstr. 127A RG
90443 Nürnberg
Germany
Web: www.absima.com
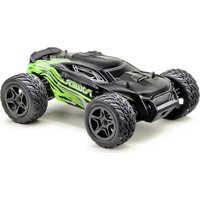

Brand : Absima
Model : EP Sand Buggy "ASB1" 4WD RTR
Category : Remote control toy