FN55 - Fan Duronic - Free user manual and instructions
Find the device manual for free FN55 Duronic in PDF.
User questions about FN55 Duronic
0 question about this device. Answer the ones you know or ask your own.
Ask a new question about this device
Download the instructions for your Fan in PDF format for free! Find your manual FN55 - Duronic and take your electronic device back in hand. On this page are published all the documents necessary for the use of your device. FN55 by Duronic.
USER MANUAL FN55 Duronic
Creative Consumer Products
natural_image
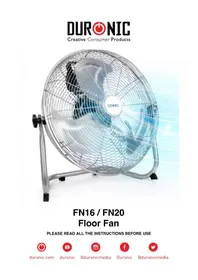
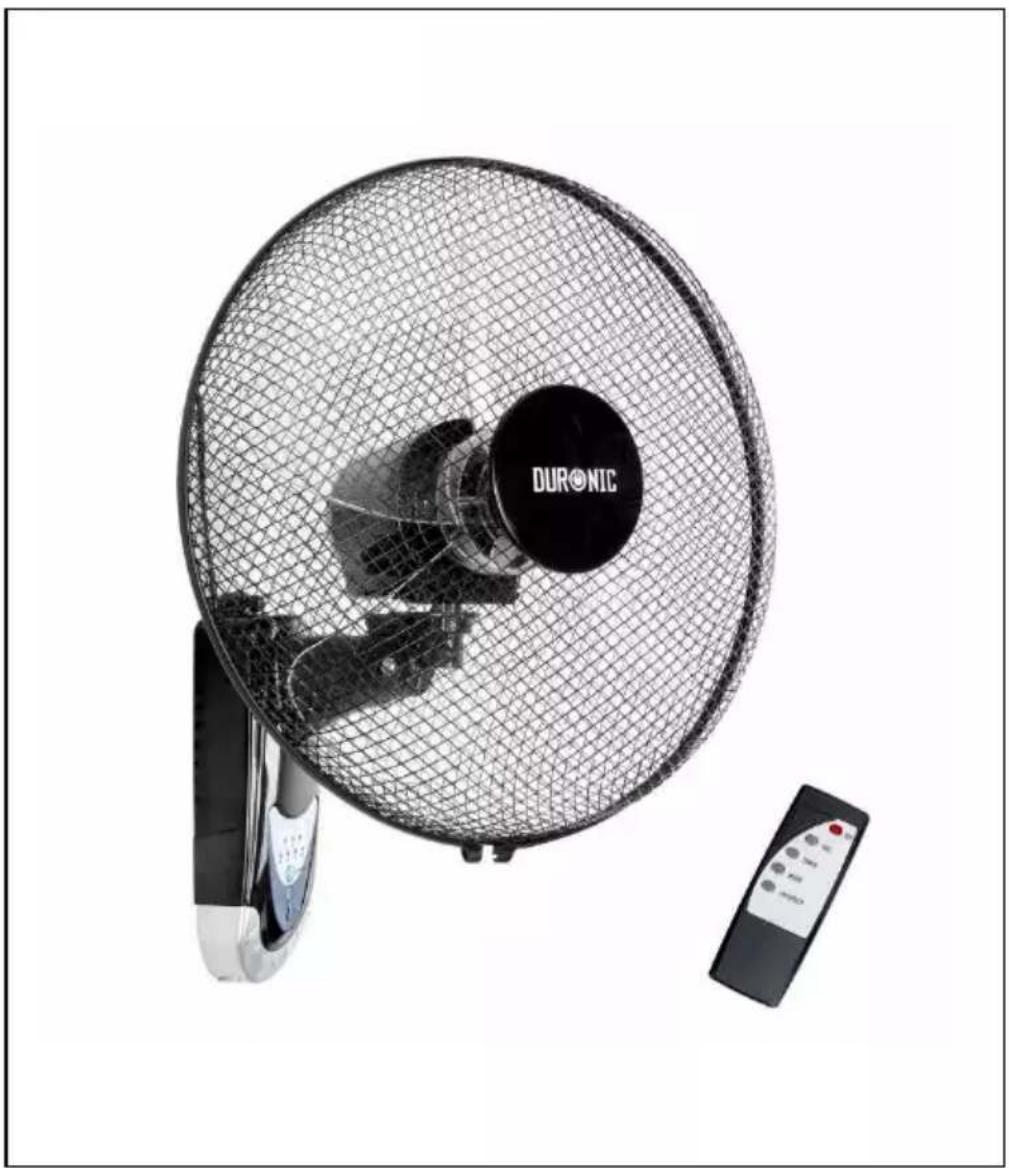
Exterior view of a Duronic air conditioner fan with mesh grille and control panel (no text or symbols on main body)FN55 Wall-Mountable Fan
DURONIC
Contents
English Manual 5
-
In order to prevent the risk of an electrical shock, do not open or attempt to make any repairs to the fan yourself. This should be done by a qualified technician.
-
Never insert foreign objects or accessories through the grill of the fan.
-
Always unplug the appliance first before manually handling the fan or any of the parts.
-
Do not use the fan before it has finished being assembled.
-
This fan is intended for indoor use only. o not use outdoors as the weather (such as rain) may affect the performance, as well as the aesthetics of the fan. Additionally, never submerge the fan under water as this may cause internal damage to the motor.
-
Do not operate the fan with a damaged cable or plug or after the fan malfunctions, or has been dropped or damaged in any manner.
-
Do not operate the fan in the presence of flammable fumes and any kind of moisture.
-
Do not use the fan near curtains, plants, or where other objects can become caught in the blades.
-
To disconnect the fan, pull the plug out of the mains plug socket. Do not pull the cable
-
Do not run the cable under carpeting or cover the cable with rugs, runners, or similar covers.
-
This appliance is not intended for use by persons (including children) with reduced physical, sensory or mental capabilities, or lack of experience and knowledge, unless they have been given supervision or instruction concerning use of the appliance by a person responsible for their safety. Children should be supervised to ensure that they do not play with the appliance.
-
If you notice any anomalies such as an unusual noise from the fan, t urn the appliance off and unplug it immediately.
-
This product is made for household domestic use only and not for commercial purposes.
-
If not being used for a long period of time, disconnect the plug from the mains plug socket.
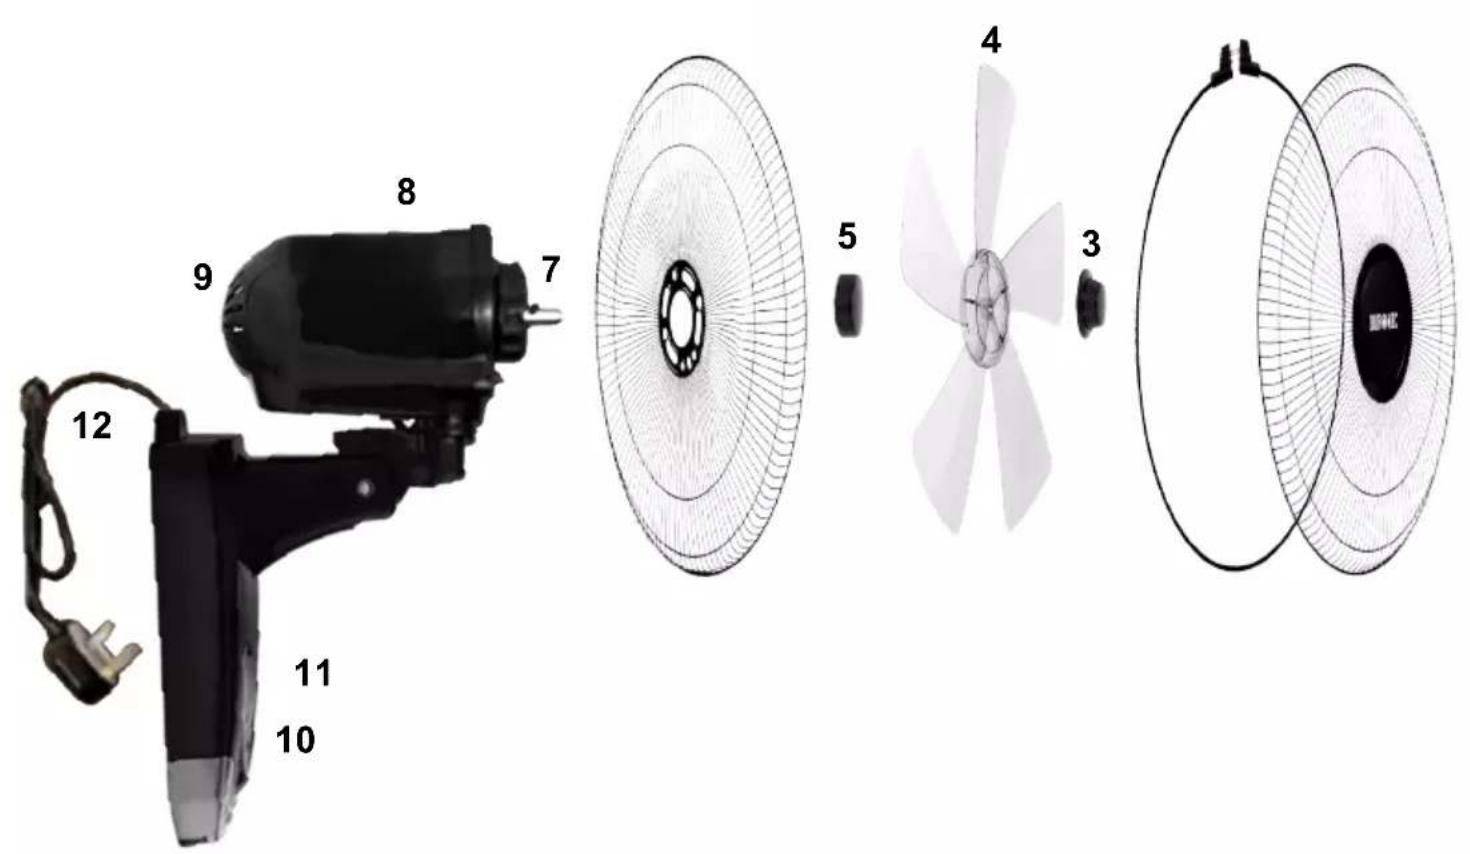
Fan Components
- Front mesh cover
- Shroud ring
- Blade f astener 4.
Fan blade
- Cover fastener
- Back mesh c over 7.
Stem screw - Motor unit
- Arm support
- ON / OFF buttons
1 Speed1. control panel
12. Powerable with plug
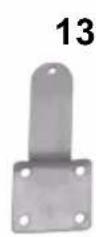
1 Wall3. plate
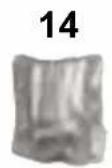
1 Wall4. plate fixings
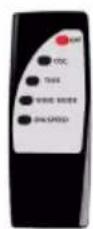
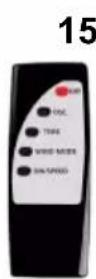
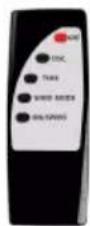
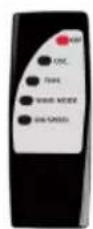
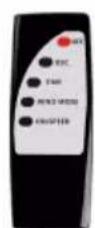
15. Remote control
text_image
Diagram showing exploded view of a handheld electric fan with numbered parts and corresponding internal components.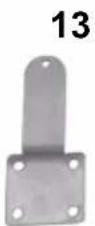
DURONIC
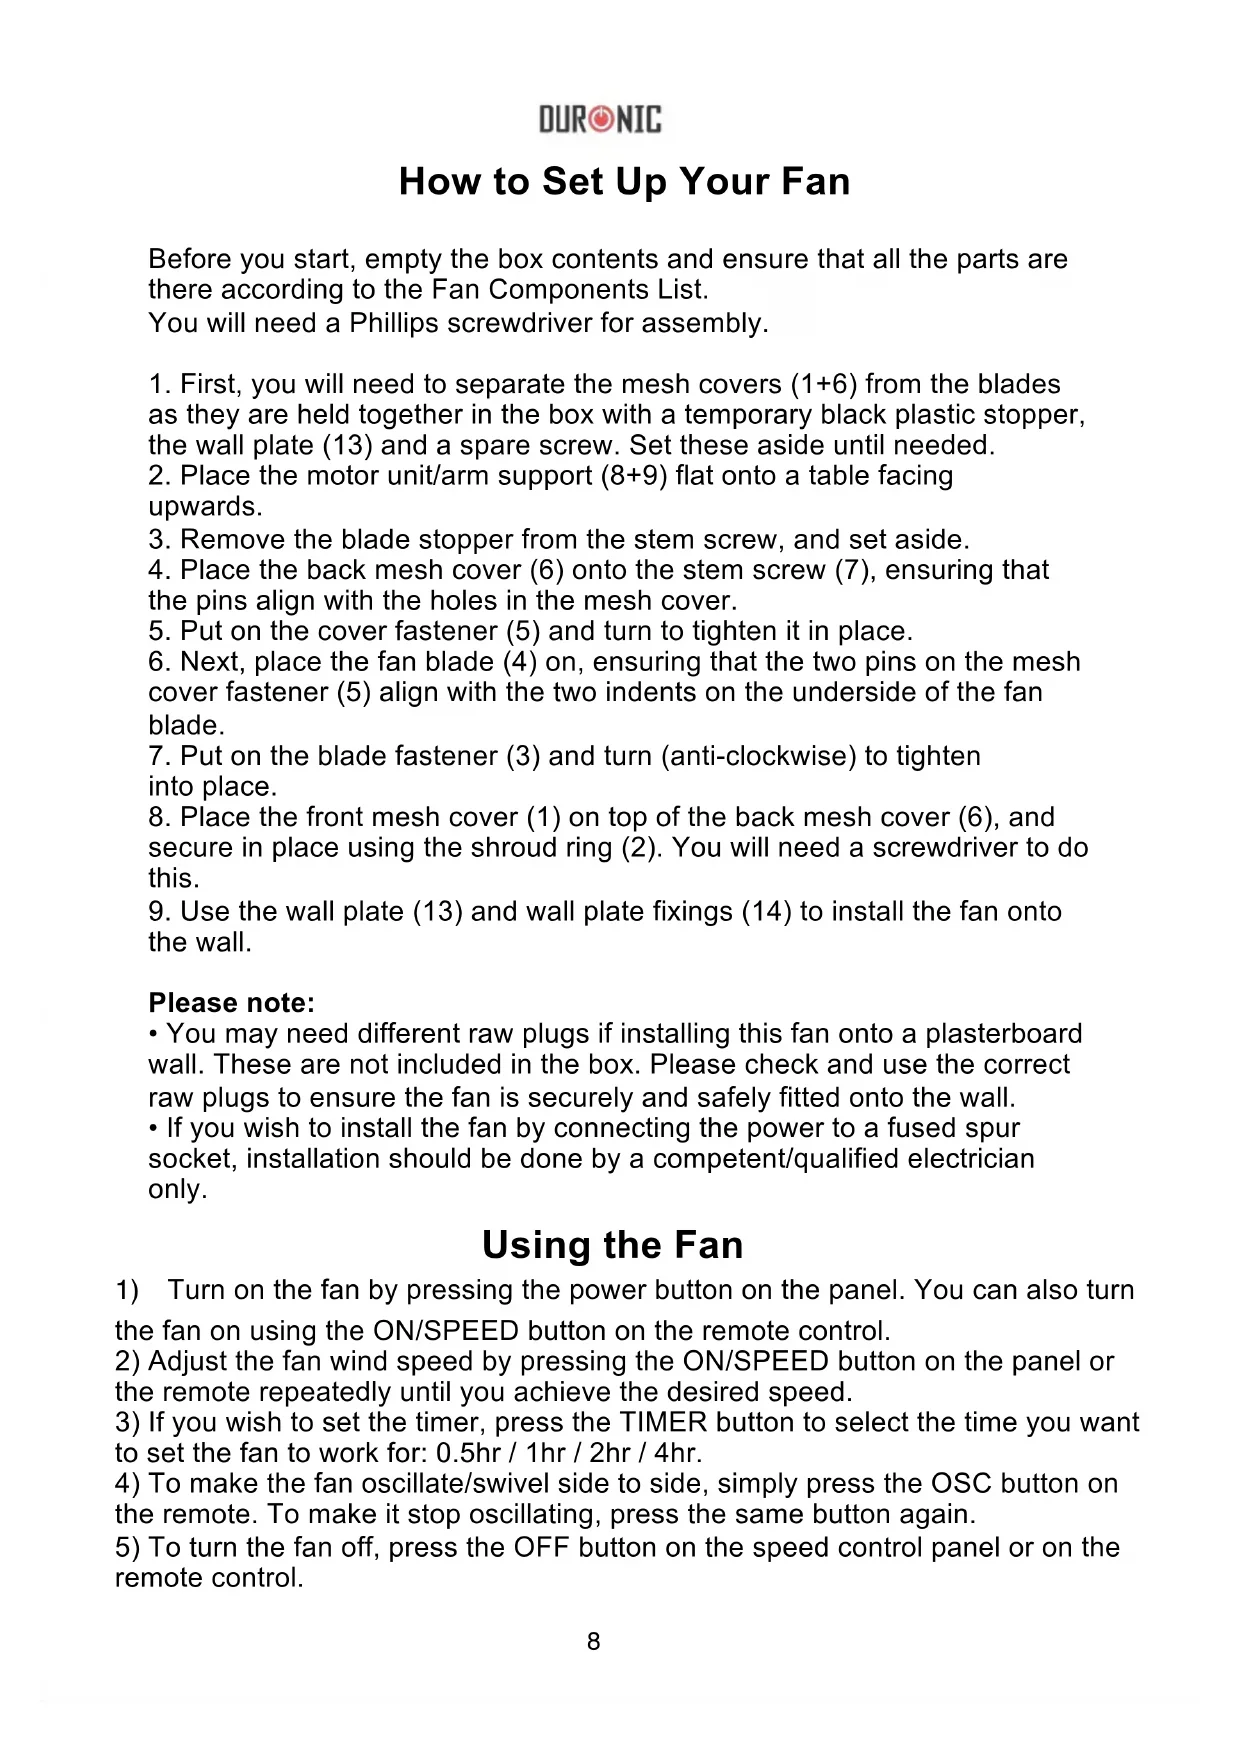
How to Set Up Your Fan
Before you start, empty the box contents and ensure that all the parts are there according to the Fan Components List.
You will need a Phillips screwdriver for assembly.
- First, you will need to separate the mesh covers (1+6) from the blades as they are held together in the box with a temporary black plastic stopper, the wall plate (13) and a spare screw. Set these aside until needed.
- Place the motor unit/arm support (8+9) flat onto a table facing upwards.
- Remove the blade stopper from the stem screw, and set aside.
- Place the back mesh cover (6) onto the stem screw (7), ensuring that the pins align with the holes in the mesh cover.
- Put on the cover fastener (5) and turn to tighten it in place.
- Next, place the fan blade (4) on, ensuring that the two pins on the mesh cover fastener (5) align with the two indents on the underside of the fan blade.
- Put on the blade fastener (3) and turn (anti-clockwise) to tighten into place.
- Place the front mesh cover (1) on top of the back mesh cover (6), and secure in place using the shroud ring (2). You will need a screwdriver to do this.
- Use the wall plate (13) and wall plate fixings (14) to install the fan onto the wall.
Please note:
- You may need different raw plugs if installing this fan onto a plasterboard wall. These are not included in the box. Please check and use the correct raw plugs to ensure the fan is securely and safely fitted onto the wall.
- If you wish to install the fan by connecting the power to a fused spur socket, installation should be done by a competent/qualified electrician only.
Using the Fan
1) Turn on the fan by pressing the power button on the panel. You can also turn the fan on using the ON/SPEED button on the remote control.
2) Adjust the fan wind speed by pressing the ON/SPEED button on the panel or the remote repeatedly until you achieve the desired speed.
3) If you wish to set the timer, press the TIMER button to select the time you want to set the fan to work for: 0.5hr / 1hr / 2hr / 4hr.
4) To make the fan oscillate/swivel side to side, simply press the OSC button on the remote. To make it stop oscillating, press the same button again.
5) To turn the fan off, press the OFF button on the speed control panel or on the remote control.
Troubleshooting
THE FAN BLADE DOESN'T WORK
- Check that the power cable is plugged in and switched on.
- Check if the mesh cover is distorted and touching the fan blade.
THE FAN MAKES A NOISE WHEN STARTING
- Check that the fan blade is installed correctly and is held tightly in place.
- Check the mesh back cover is aligned correctly with the notches on the motor unit.
- Check if the cover has distorted in any way and that it is not touching the fan blades.
Maintenance and Storage
- Before cleaning, ensure that the fan is switched off and unplugged from the power supply.
- Never submerge the fan in water. To keep the fan clean, the outer shell may be cleaned with a soft, damp cloth. You may use a mild detergent if necessary. After cleaning, wipe the unit dry by using a soft dry cloth
- Do not use alcohol, gasoline, abrasive powders, furniture polish, or brushes to clean the fan as this may cause damage and deterioration to the surface of the fan
- Always ensure the fan is completely dry after cleaning before operating again n.
- When storing away, place the fan in a protective box and store in a cool dry place.
Features and Specifications
1 Year Guarantee from Shine-Mart Ltd, Trademark owners of Duronic Products. NOTE: THESE STATEMENTS DO NOT AFFECT YOUR STATUTORY RIGHTS AS A CONSUMER
This product has been manufactured under the strictest or quality control procedures, and using the highest quality of materials, to ensure excellent performance and reliability. It will give very good and long lasting service, provided it is properly used and maintained. The product is guaranteed for 1 years from the date of original purchase. If any defect arises due to a faulty materials or poor workmanship, the faulty product must be returned to the original place of purchase. Refund or replacement is at the discretion of that company.
Duronic Products are offered with a 1 year guarantee under the following conditions:
- The product must be returned to the retailer with original proof of purchase.
- The product must be installed and used in accordance with the instructions contained i n this operating manual.
- It must be used only for domestic purposes.
- It does not cover wear and tear, malicious damage, misuse, neglect, inexpert repairs or consumable parts.
- Shine-Mart Ltd has no responsibilities for accidental or consequential loss or damage.
- Shine-Mart Ltd are not liable to carry out any type of servicing work, under the guarantee
- Valid in the UK only
This product is fitted with CE:1363 plug and fuse Imported by Shine-Mart Ltd, RM3 8SB
CE
Information on waste Disposal for Consumers of Electrical & Electronic Equipment.
This mark on a product and/or accompanying documents indicates that when it is to be disposed of, it must be treated as Waste Electrical & Electronic Equipment, (WEEE).
Any WEEE marked products must not be mixed with general household waste, but kept separate for the treatment, recovery and recycling of the materials used.
For proper treatment, recovery and recycling; please take all WEEE marked waste to your Local Authority Civic waste site, where it will be accepted free of charge.
If customers dispose of Waste Electrical & Electronic Equipment correctly, they will be helping to save valuable resources and preventing any potential negative effects upon human health and the environment, of any hazardous materials that the waste may contain.
Follow Us

text_image
duronic.com duronic @duronicmedia Duronic @duronicmediaDURONIC
DURONIC
text_image
Technical diagram showing exploded view of a motor and fan assembly with numbered parts labeled 1 to 15.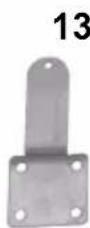
text_image
Technical diagram showing exploded view of a motor and fan assembly with numbered parts labeled 3 through 15.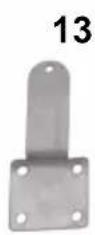
DURONIC
text_image
Technical diagram showing exploded view of a motor and fan assembly with numbered parts labeled 3 through 15.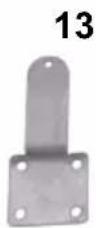
DURONIC
Instalación
text_image
Technical diagram showing exploded view of a motor and fan assembly with numbered parts labeled 3 through 15.