
EHG43 - Heating EAS Electric - Free user manual and instructions
Find the device manual for free EHG43 EAS Electric in PDF.
| Brand | EAS Electric |
| Model | EHG43 |
| Product type | Domestic flueless heating appliance, mobile |
| Category | I3+ / I3B/P (depending on gas) |
| Gas type | G30 (Butane) / G31 (Propane) |
| Nominal power (max) | 4.2 kW |
| Nominal power (medium) | 2.8 kW |
| Nominal power (min) | 1.5 kW |
| Gas consumption (max) | 305 g/h |
| Gas consumption (medium) | 200 g/h |
| Gas consumption (min) | 110 g/h |
| Supply pressure | 28-30 mbar (G30) / 37 mbar (G31) |
| Injector (size) | 0.59 mm / 0.54 mm / 0.56 mm (depending on gas) |
| Ignition | Piezoelectric |
| Compatible gas cylinder | 5 to 11 kg (max. 32 cm dia. x 55 cm H) |
| Minimum room volume | 84 m³ |
| Required ventilation | 105 cm² (low and high level) |
| Safety distance (sides) | 20 cm |
| Safety distance (front) | 150 cm |
| Safety protection | Anti-tip protection, oxygen depletion system, flame monitoring device |
| Cleaning | Damp cloth with water and soap; avoid abrasive cleaners |
| Maintenance | Check the hose before each use; inspection by authorized technician every 2 years |
| Warranty | 3 years (Spain and Portugal) |
| Compliance | CE, Directive 2012/19/EU (WEEE), RoHS |
Frequently Asked Questions - EHG43 EAS Electric
User questions about EHG43 EAS Electric
0 question about this device. Answer the ones you know or ask your own.
Ask a new question about this device
Download the instructions for your Heating in PDF format for free! Find your manual EHG43 - EAS Electric and take your electronic device back in hand. On this page are published all the documents necessary for the use of your device. EHG43 by EAS Electric.
USER MANUAL EHG43 EAS Electric
natural_image
Abstract arrangement of gray and white triangular shapes (no text or symbols)ESTUFA DE GAS
GAS SPACE HEATER
POÊLE À GAZ
AQUECEDOR A GÁS

natural_image
Line drawing of a portable air conditioner unit with cooling grilles and ventilation grilles (no text or symbols)EHG43
Escanee para ver este manual en otros idiomas y actualizaciones Scan for manual in other languages and further updates Manuel dans d'autres langues et mis à jour Manual em outras línguas e actualizações
natural_image
Close-up of a mechanical component with a cylindrical shaft and flange (no visible text or symbols)natural_image
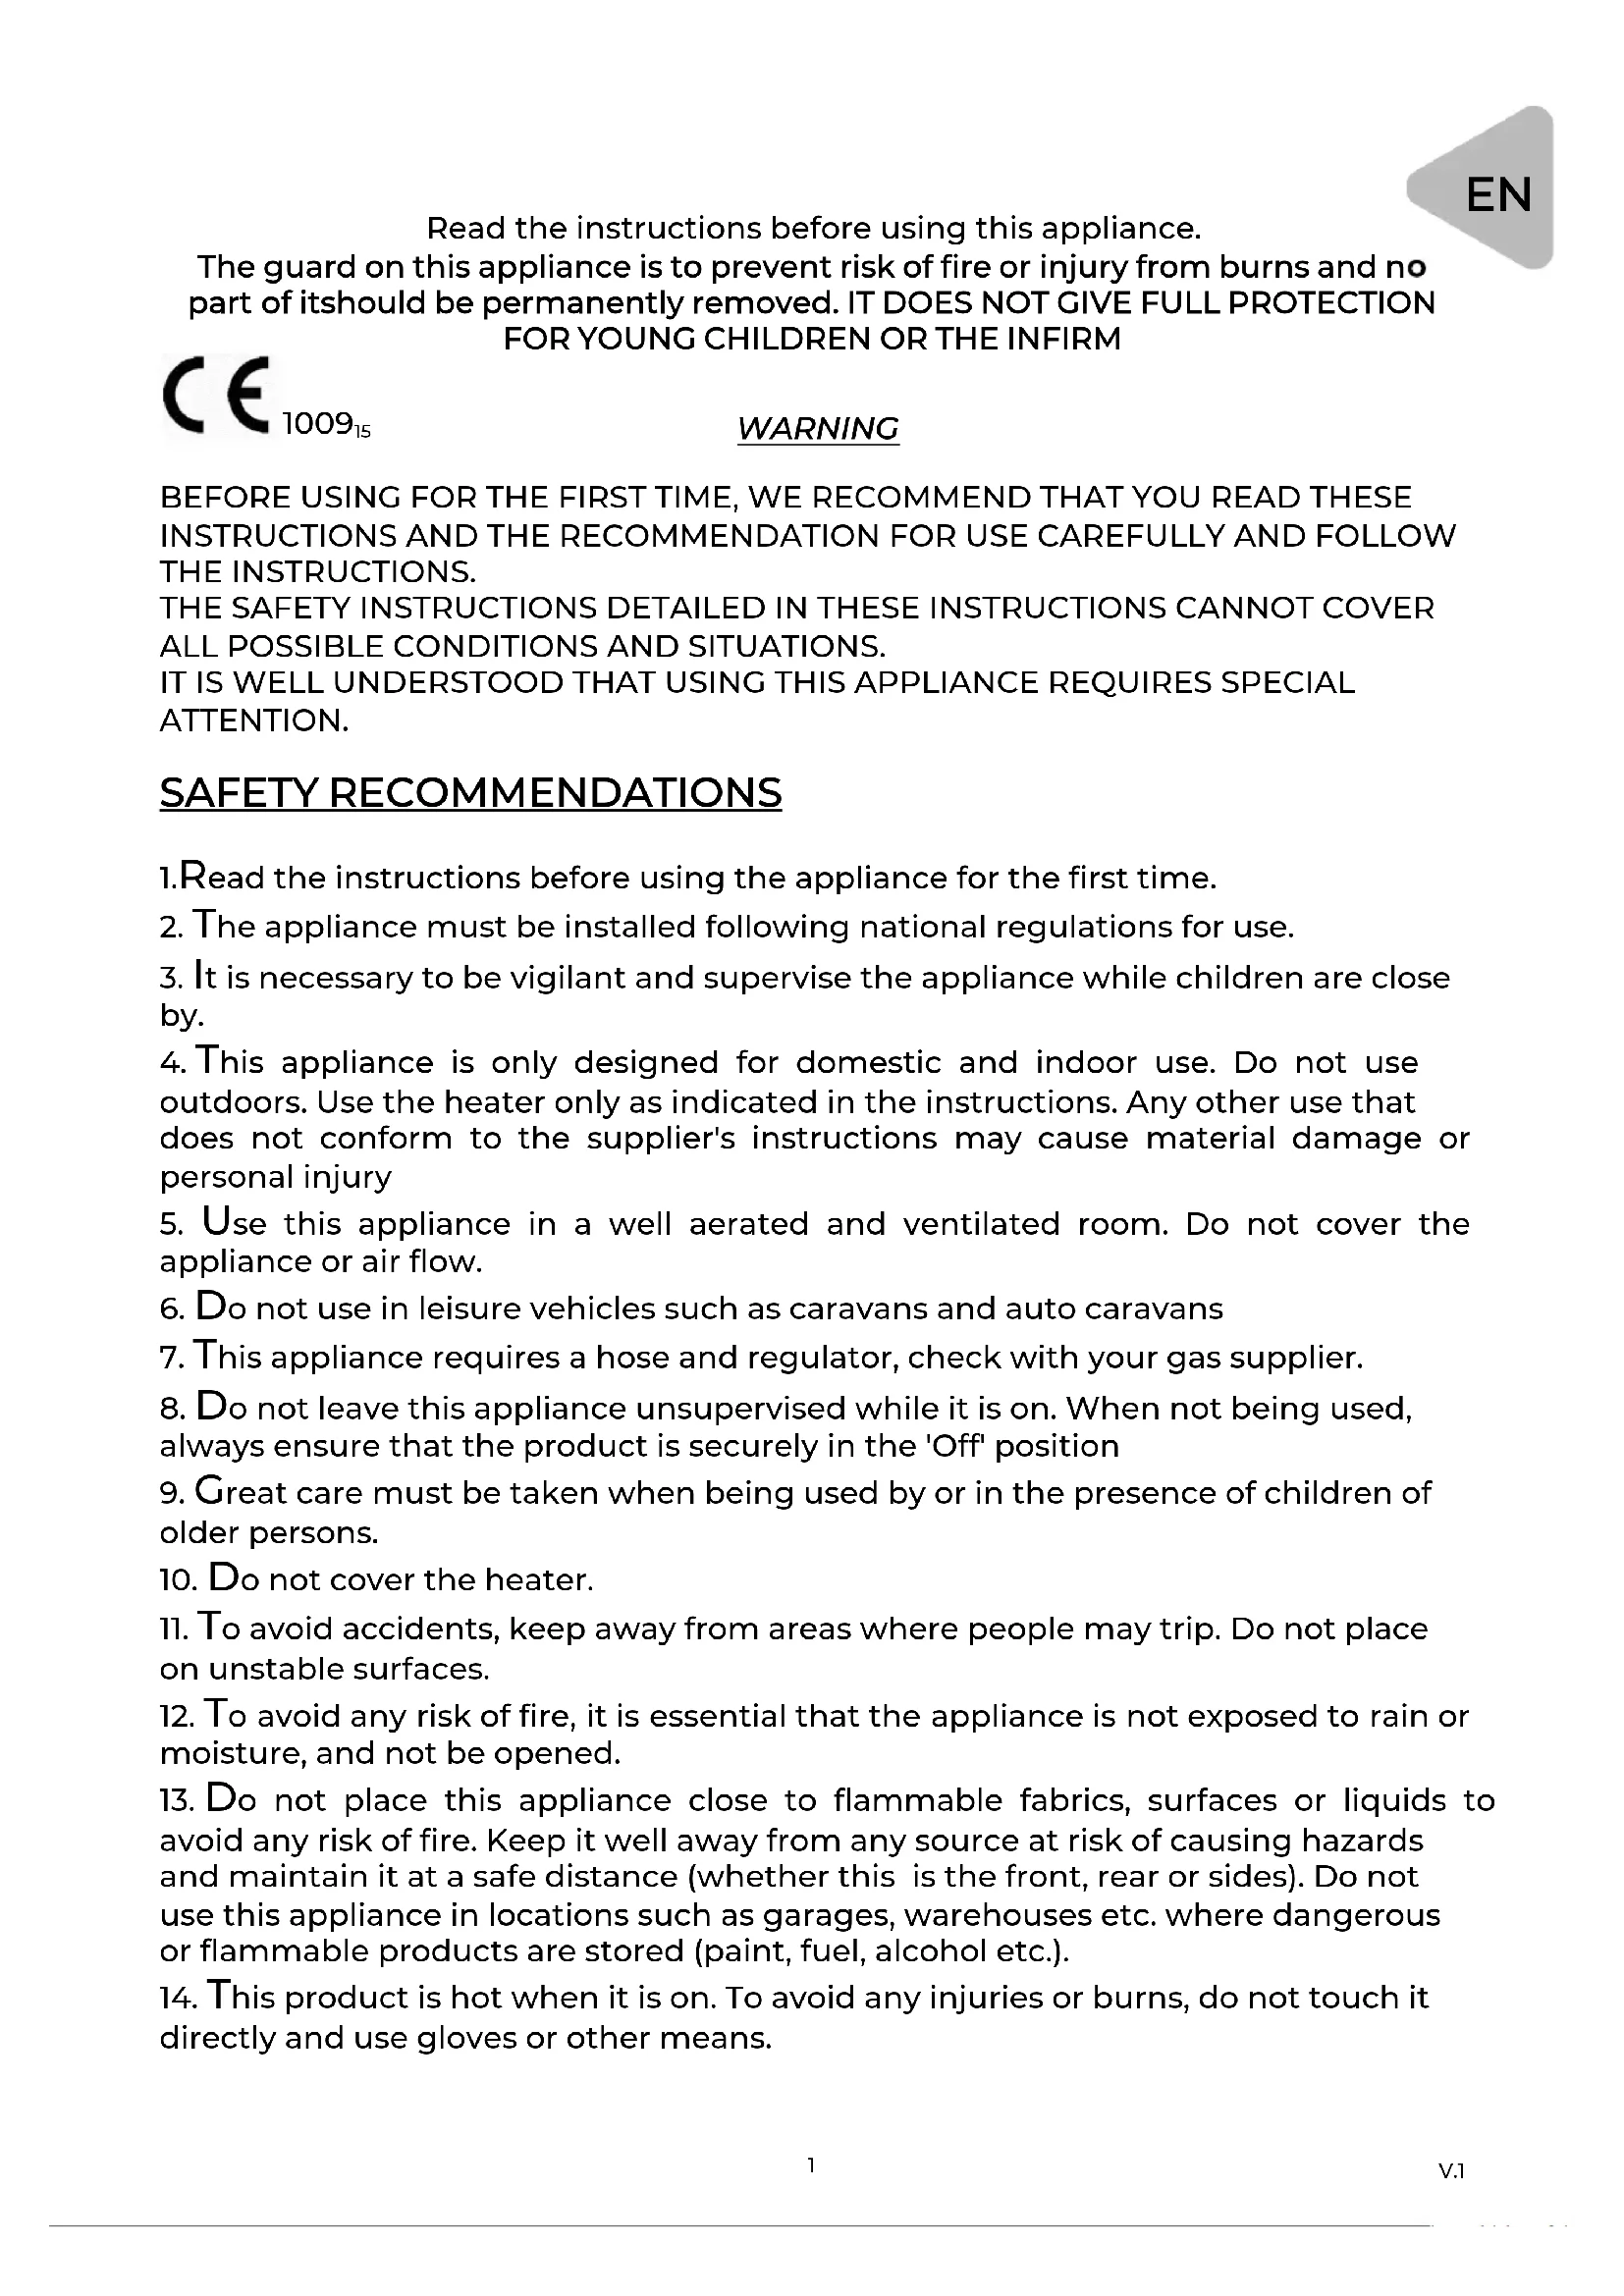
Simple line drawing of a bell with a star on top, surrounded by small circles and dots (no text or symbols)Read the instructions before using this appliance.
The guard on this appliance is to prevent risk of fire or injury from burns and no part of it should be permanently removed. IT DOES NOT GIVE FULL PROTECTION FOR YOUNG CHILDREN OR THE INFIRM
CE 100915
WARNING
BEFORE USING FOR THE FIRST TIME, WE RECOMMEND THAT YOU READ THESE INSTRUCTIONS AND THE RECOMMENDATION FOR USE CAREFULLY AND FOLLOW THE INSTRUCTIONS.
THE SAFETY INSTRUCTIONS DETAILED IN THESE INSTRUCTIONS CANNOT COVER ALL POSSIBLE CONDITIONS AND SITUATIONS.
IT IS WELL UNDERSTOOD THAT USING THIS APPLIANCE REQUIRES SPECIAL ATTENTION.
SAFETY RECOMMENDATIONS
- Read the instructions before using the appliance for the first time.
- The appliance must be installed following national regulations for use.
- It is necessary to be vigilant and supervise the appliance while children are close by.
- This appliance is only designed for domestic and indoor use. Do not use outdoors. Use the heater only as indicated in the instructions. Any other use that does not conform to the supplier's instructions may cause material damage or personal injury
- Use this appliance in a well aerated and ventilated room. Do not cover the appliance or air flow.
- Do not use in leisure vehicles such as caravans and auto caravans
- This appliance requires a hose and regulator, check with your gas supplier.
- Do not leave this appliance unsupervised while it is on. When not being used, always ensure that the product is securely in the 'Off' position
- Great care must be taken when being used by or in the presence of children of older persons.
- Do not cover the heater.
- To avoid accidents, keep away from areas where people may trip. Do not place on unstable surfaces.
- To avoid any risk of fire, it is essential that the appliance is not exposed to rain or moisture, and not be opened.
- Do not place this appliance close to flammable fabrics, surfaces or liquids to avoid any risk of fire. Keep it well away from any source at risk of causing hazards and maintain it at a safe distance (whether this is the front, rear or sides). Do not use this appliance in locations such as garages, warehouses etc. where dangerous or flammable products are stored (paint, fuel, alcohol etc.).
-
This product is hot when it is on. To avoid any injuries or burns, do not touch it directly and use gloves or other means.
-
Do not use this heating appliance close to a bath, shower or swimming pool.
- If objects or liquids penetrate the inside of the appliance, switch it off and have it checked by qualified persons.
CAUTION — Some parts of this product can become very hot and cause burns.
Particular attention has to be given where children and vulnerable people are present
- Use an approved regulator which is adjusted to the gas supply pressure required.
- Do not keep pressing the ignition button for more than 40 seconds
- Never disconnect the regulator while container valve is open.
- Do not change the gas cylinder within areas in which open fire exists.
- Do not expose your gas cylinder to extreme heat.
- Do not insert your hand through the front panel of the heater.
- Leave at least 1-meter distance between your heater and any other heat sources.
- This heater must not be used without a gas cylinder fitted for stability purposes.
- In the event of leakage, the heater shall be turned off, valve and the regulator disconnected from the container.
- After use, switch off the gas regulator.
- Switch off the heater when leaving.
THE GUARD ON THIS APPLIANCE IS TO PREVENT RISK OF FIRE OR INJURY FROM BURNS AND NO PART OF IT SHOULD BE PERMANENTLY REMOVED
- Always use Heater in accordance with user's instructions supplied with each heater. Keep these instructions in a safe place
- Do NOT place clothes or other material on the heater. As apart from danger of fire, their presence could affect the efficiency of the appliance.
- Do NOT position Heater close to armchairs, fabrics, bed linen and other furniture
- DO NOT move Heater from room to room when operating
- Do not position heater along-side a wall or near curtains and other flammable materials. The following minimum distances should be respected: 20cm from sides, 150cm from front. Always face heater towards centre of room. Special care should be taken if the heater is on a surface where it can twist on its castors if knocked by a child or dog etc
- In the event of gas leakage, the heater's gas supply needs to be turned off. Do not disconnect the regulator. Extinguish all naked lights. Check all connections. Slowly turn the gas on and brush the connections with soapy water or liquid detergents, a gas leakage point will form bubbles. If a leak is found, turn the gas off and inform your gas cylinder supplier. Do not use the heater again until it has been checked and maintained by your dealer
THIS APPLIANCE REQUIRES INSTALLATION BY A COMPETENT PERSON.
THIS APPLIANCE REQUIRES AN APPROVED HOSE AND REGULATOR - CHECK WITH YOUR GAS CYLINDER SUPPLIER
TECHNICAL CHARACTERISTICS
Type: Domestic Flueless Space Heater, mobile, equipped with anti-tilt switch, oxygen depletion system and flame supervision device,
| Domestic flueless Space heater | CE100915 | ||||
| Model EHG43 | |||||
| Appliance Category □ I3+ □ I3B/P □ | I3B/P | □ I3B/P | |||
| Burner type Atmospheric burner | |||||
| Size of injector (mm) 0.59 0.59 0.54 0.56 | |||||
| Nominal Supply pressure (mbar) | 28-30/37 28-30 50 37 | ||||
| Type of gas G30/G31 G30 | G30 G30 | ||||
| Nominal Heat input (kW) (Hs) | Maximum | 4.2 | 4.2 | 4.2 | 4.2 |
| Medium | 2.8 | 2.8 | 2.8 | 2.8 | |
| Minimum | 1.5 | 1.5 1.5 | 1.5 | ||
| Gas Consumption (g/h) | Maximum | 305 | 305 | 305 | 305 |
| Medium | 200 | 200 | 200 | 200 | |
| Minimum | 110 | 110 | 110 | 110 | |
| Ignition system | Piezo electric ignitor | ||||
| Gas Container | From 5kg to 11kg [at maximum 32 cm (dia.) x 55 cm (H)] | ||||
GAS CYLINDER VALVE
If heater does not completely extinguish, including pilot, when gas is turned off at the regulator, do not remove regulator. Return valve to open position and leave heater alight, which is perfectly safe, until attended to by the gas supplier.
REGULATORS, HOSES AND CLIPS
Check that tubing is completely over the nozzles at each end of the tubing and that is held firmly in place by tube clips. Examine flexible tubing regularly and get your dealer to fit new tubing 400mm long if perished,
worn or damaged.
LPG: USE THE RUBBER TUBE FOLLOWING THE CURRENT RULES.
Avoid bending or constricting the rubber tube when the pressure regulator is connected to the gas cylinder.

natural_image
Mechanical component with a cylindrical shaft and flange, no visible text or symbolsREQUIRED VOLUME OF ROOM AND VENTILATION SURFACE:
| VOLUME OF LIVING ROOM | VENTILATION SURFACE | |
| Low level High level | ||
| 84 cubic meters | 105 cm ^2 | 105 cm ^2 |
VENTILATION
Your heater consumes oxygen while it is in operation. For that reason, adequate ventilation should be provided in rooms in which the heater is used. This ensures the removal of products of combustion and allows the entry of replacement air. Adequate ventilation should considerably reduce the possibility of condensation occurring. The following table shows the smallest sizes of room suitable for each heat setting and the ventilation surface, which should be provided.
CONNECTING THE GAS CYLINDER
Use an approved regulator according to gas supply pressure and approved tubing having a length of 50cm and in no case longer than 1m. When connecting the regulator to the container avoid twisting of hose.
Slowly open the valve of the container and check if there is any gas leakage by brushing the connections with soapy water. NEVER USE A MATCH! A gas leakage forms the bubbles. In the event of gas leakage, the appliance should be turned off by closing the valve and the regulator disconnected from the bottle. Place container in its proper space and attach the rear cover.
HOW TO CHANGE LPG CONTAINER
- Container must be replaced in a flame-free atmosphere.
- Do not smoke while changing the container.
- When you needed to replace your empty container, turn off gas container's valve.
- Make sure that the heater is extinguished completely.
- Remove the regulator from the empty container.
- Following the steps described in "Connecting the container" to connect a filled one.
IMPORTANT
- It is important that all gas connections have been correctly connected to prevent any leakage. Use soapy water instead of a match for gas leakage checking.
- Put your container always in upright position. Using the container in horizontally laid down position may damage your heater and create serious results.
- If a newly filled container is used, ignition might impair as there may be some inert gas present in the container. In this case, change the container with another one which is partially used.
- When you light your heater for the first time or if it has been a long time since you used it last time. Please be noted that first light your heater in open air (garden or balcony). Take your heater inside after 15 minutes operation.
- Do not use your heater while sleeping. Do not use your heater in high-rise flats. Do not use your heater in basements, bathrooms or bedrooms.
- This appliance requires a hose and a regulator, check with your gas supplier. Please seek advice from your gas and regulator supplier so as to use correct hose. The guard on the appliance is to prevent risk of fire or injury form burns and no part of it should be permanently removed.
CONTROL BUTTONS:
GAS CONTROL:

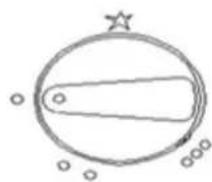
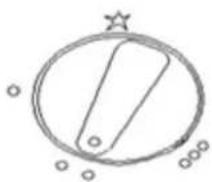
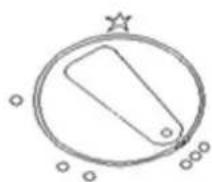
natural_image
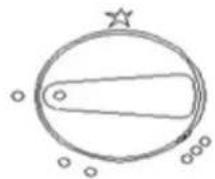
Simple line drawing of a vertical cone inside a circle with a star above, surrounded by small circles (no text or symbols)Lighting position
Minimum position
Medium position
Maximum position
1. LIGHTING INSTRUCTIONS
a. The heater has three settings. Lighting position (Pos.1) Minimum position (Pos.2); Medium position (Pos.3) Maximum position (Pos.4).
b. Turn ON the gas
c. With one hand Press down the control button for 10 seconds, at the same time press down the piezo igniter key with your other hand. Continue this procedure until pilot is ignited. Release after approx. 20 seconds. If pilot is ignited, it means that the heater is at its minimum position. If pilot flame goes out, please repeat this procedure.
2. HEAT LEVEL SETTINGS
To change from minimum to medium: Please gently press down the control button and turn it to position 2.
To change from medium to maximum: Please gently press down the control button and turn it to position 3.
3.. SWITCHING O
Turn off the gas on the gas cylinder. If the heater will not be used for a period of time, please disconnect the regulator from the container. If the heater fails to extinguish, please, move the heater outdoors and disconnect the regulator from the gas cylinder.
ATTENTION!
Please be sure the control button has been locked when changing form one position to another.
STORAGE
-
Disconnect regulator from gas cylinder.
-
Store gas cylinder in a well-ventilated area away from combustible material.
-
The heater should be covered in a dry, dust-free environment.
CLEANING
- Use a damp cloth wrung out in a solution of soapy water to clean the exterior and container storage area of your heater.
- Make sure that no water gets onto the burners or pilot/light area. Wipe the heater completely dry before use.
3.. Don't use abrasive cleaners as they may damage the quality paint finis
MAINTENANCE
- Check flexible tube between regulator and heater before every operation and replace it if worn or damaged.
- It is recommended that the heater is maintained every two years by authorized personnel.
TROUBLESHOOTING
| SYMPTOMS FAULT REMEDY | ||
| Pilot will not light automatically. | No spark across electrode gap. | Ensure that piezo-electric igniter is functioning correctly. Check that electrical lead is not damaged. |
| Pilot will not light automatically but points (a) to (e) are satisfactory and the pilot will light with a match. | Incorrect position of spark in relation to pilot gas flow. | Re-position spark plug so that spark jumps across gas flow. |
| Heater will not remain alight when pressure is released from ignition button. | Electro-magnetic valve closes whilst heater is alight. | Ensure that thermocouple probe is in pilot flame. Ensure good connection between thermocouple and valve. Check thermocouple. Check electromagnetic valve. (by serviceman) |
| After changing to maximum position with all three plaques alight. One or more plaques appear below normal intensively. | Blocked jets. Partially blocked supply tube. | Remove and clean blocked jet. Remove supply tube, remove jets and blow through the tube. |
| Difficulty in cross lighting from position 1 to position 2 or 3. | Air draught directed away from first plaque. Position of the pilot flame. | Change the location of the appliance so that it is not adversely affected by air draught. Position pilot so that flame impinges across bottom corner of 2nd plaque as well as 1st plaque. |
| Smell of combustion. | Missing piece of ceramic fireclay. | Inspect perimeter of each plaque and locate place where some fireclay has been displaced. Turn to the local service. |

DISPOSAL: Do not dispose th pro duct as unsorted municipal waste. Collection of such waste separately for special treatment is necessary.
The european directive 2012/19 /UE on wasted electrical and electronic equipments (WEEE), requires that household electrical appliances must not be disposed of in the normal unsorted municipal waste stream. appliances must be collected separately in order to optimize the recovery and recycling of the materials they contain, and reduce the impact on human health and the environment.
The crossed out “wheeled bin” symbol on the product reminds you of your obligation, that when you disposed of the appliances, it must be separately collected. Consumers should contact their local authority or retailer for information concerning the correct disposal of their old appliance.
This product complies with the European ROHS directive (2002/95/EC) on the restriction of the use of certain hazardous substances in electrical and electronic equipment, transposed to the Spanish legislation by Royal Decree 208/2005.
WARRANTY CONDITIONS
This product is guaranteed for three years from the date of sale, against all manufacturing defects, including labour and spare parts. In order to justify the date of purchase, it will be compulsory to present the invoice or purchase ticket of the end user and the details of the installation company. This warranty will only be effective in Spain and Portugal. In the event of having purchased the product in another country, please consult the conditions with your distributor.
WARRANTY EXCLUSIONS
-
Appliances used improperly, in a manner not in accordance with the instructions for use.
-
Maintenance or upkeep of the appliance: cylinder changes, periodic inspections, adjustments, greasing.
-
Appliances disassembled or manipulated by the user or persons outside the authorised technical services.
-
Broken or deteriorated materials due to wear and tear or normal use of the appliance: control knobs, gaskets, plastics, etc; and other aesthetic damage that does not affect the correct operation of the appliance.
-
Appliances that do not have the factory serial number identified on them or on which this has been altered or erased.
-
Breakdowns produced by fortuitous causes or accidents of force majeure, or as a consequence of abnormal, negligent or inappropriate use of the appliance.
-
Civil liabilities of any nature.
-
Installation defects.
-
Breakdowns that have their origin or are a direct or indirect consequence of: contact with liquids, chemical products and other substances, as well as conditions derived from the climate or the environment: earthquakes, fires, floods, excessive heat or any other external force, such as insects, rodents and other animals that may have access to the inside of the machine or its connection points.
-
Damage derived from terrorism, riot, uprising or popular tumult, demonstrations and legal or illegal strikes; acts of the Armed Forces or State Security Forces in times of peace; armed conflicts and acts of war (declared or not); nuclear reaction or radiation or radioactive contamination; defect or defect of the goods; events classified by the National Government as a "national catastrophe or calamity".
Design and specifications are subject to change without notice for product improvement. Any changes to the manual will be updated on our website, you can check the latest version.

EAS ELECTRIC
SMART TECHNOLOGY
www.easelectric.es
natural_image
Mechanical component with cylindrical shaft and flange (no visible text or symbols)SURFACE DE LA PIÈCE ET SURFACE D'AÉRATION REQUISES
natural_image
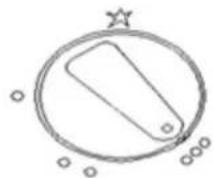
Simple line drawing of a bell inside a circle with stars and dots (no text or symbols)Position d'allumage
Position minimale

Position moyenne

Position maximale
1. INSTRUCTIONS D'ALLUMAGE
CONDITIONS DE GARANTIE
EXCLUSIONS DE LA GARANTIE
natural_image
Mechanical component with cylindrical shaft and mounting bracket (no visible text or symbols)natural_image
Simple line drawing of a vertical cone inside a circle with a star above it, surrounded by small circles (no text or symbols)Posição de ignição

Posição mínima

Posição intermédia
Posição máxima
- INSTRUÇÕES DE IGNICÃO
Scan for manual in other languages and further updates:

- ESTUFA DE GAS
- WARNING
- SAFETY RECOMMENDATIONS
- THIS APPLIANCE REQUIRES INSTALLATION BY A COMPETENT PERSON.
- THIS APPLIANCE REQUIRES AN APPROVED HOSE AND REGULATOR - CHECK WITH YOUR GAS CYLINDER SUPPLIER
- TECHNICAL CHARACTERISTICS
- GAS CYLINDER VALVE
- REGULATORS, HOSES AND CLIPS
- REQUIRED VOLUME OF ROOM AND VENTILATION SURFACE:
- VENTILATION
- CONNECTING THE GAS CYLINDER
- HOW TO CHANGE LPG CONTAINER
- IMPORTANT
- CONTROL BUTTONS:
- LIGHTING INSTRUCTIONS
- HEAT LEVEL SETTINGS
- 3.. SWITCHING O
- ATTENTION!
- STORAGE
- CLEANING
- MAINTENANCE
- TROUBLESHOOTING
- WARRANTY CONDITIONS
- WARRANTY EXCLUSIONS
- SURFACE DE LA PIÈCE ET SURFACE D'AÉRATION REQUISES
- INSTRUCTIONS D'ALLUMAGE
- CONDITIONS DE GARANTIE
- EXCLUSIONS DE LA GARANTIE
Brand : EAS Electric
Model : EHG43
Category : Heating