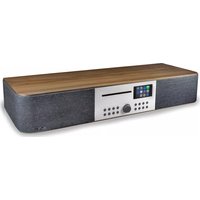
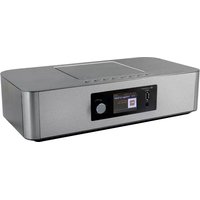
ICD1050 - Hi-fi system Soundmaster - Free user manual and instructions
Find the device manual for free ICD1050 Soundmaster in PDF.
Document temporarily unavailable
The manual is currently being transferred to our new server. It will be accessible again in a few hours. Thank you for your patience.
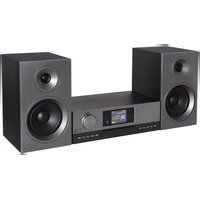
| Product type | HiFi system with Internet radio, DAB+, FM, CD, USB, Bluetooth, AUX |
| Power supply | External mains adapter (supplied) |
| Standby consumption | Reduced thanks to ErP2 function |
| Network connectivity | Wi-Fi (WEP/WPA/WPA2, WPS) – automatic or manual search |
| Audio sources | Internet radio, Podcast, DAB/DAB+, FM (RDS), CD, USB (MP3), Bluetooth, AUX (analogue input) |
| Number of presets | 40 for each source (Internet radio, DAB, FM) |
| Equalizer | Presets: Normal, Jazz, Rock, Classic, Pop, My EQ (customisable bass/treble) |
| Display | Screen with adjustable backlight (5 levels + off) |
| Clock/Alarm | Clock with automatic update (DAB/FM/network) or manual; 2 programmable alarms (Buzzer, Internet radio, DAB, FM) |
| Sleep timer | 15, 30, 45 or 60 minutes |
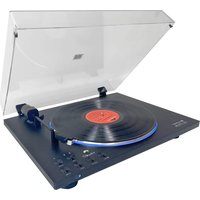
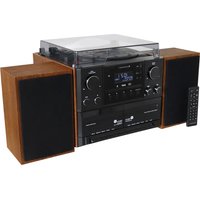
| CD playback | Standard audio CDs, with repeat, random, program, resume functions |
| USB port | 1x USB (front, charge 5V/1A, MP3 playback) |
| Bluetooth | Version not specified, audio reception only (no transmission); name: ICD1050 |
| Headphone jack | 3.5 mm jack (front) |
| Remote control | Infrared remote control (AAA batteries not included) |
| Mobile app | UNDOK (iOS/Android) for full control |
| Antenna | Telescopic FM/DAB antenna (rear) |
| Maintenance | Dry cloth only; no detergents or abrasives |
| Safety | Laser class 1 (CD); do not open; do not expose to moisture; disconnect by unplugging |
| Repairability | Repair by approved centre only; no user-serviceable parts |
| Warranty | Manufacturer's warranty (according to country); void if opened |
Frequently Asked Questions - ICD1050 Soundmaster
User questions about ICD1050 Soundmaster
0 question about this device. Answer the ones you know or ask your own.
Ask a new question about this device
Download the instructions for your Hi-fi system in PDF format for free! Find your manual ICD1050 - Soundmaster and take your electronic device back in hand. On this page are published all the documents necessary for the use of your device. ICD1050 by Soundmaster.