HS10036685 - Safe Homak Security - Free user manual and instructions
Find the device manual for free HS10036685 Homak Security in PDF.
| Brand | Homak Security |
| Model | HS10036685 |
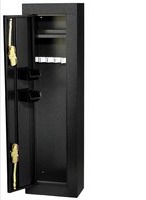
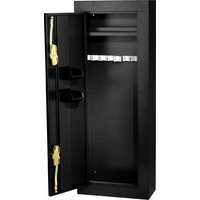
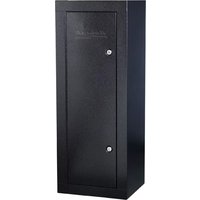
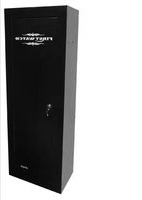
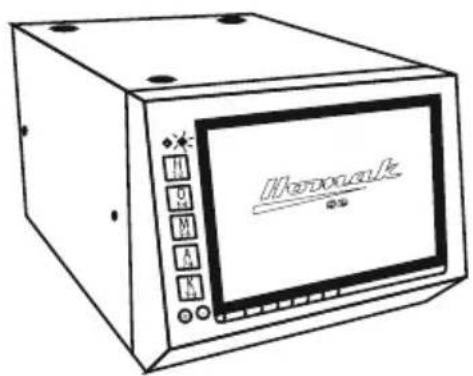
| Product Type | Rapid Access Gun Safe |
| Main Power Supply | 4 AA batteries (not included) |
| Backup Power Supply | 9V battery (terminals on keypad) |
| Lock Type | Electronic keypad lock |
| Code Capacity | Default factory code + 1 user code (4 to 5 digits) |
| Security Lockout | 15-minute lockout after 3 incorrect codes |
| Indicator Lights | Green LED (correct code) and red LED (error/standby) |
| Material | Steel |
| Mounting | Must be mounted to wall with included screws |
| Intended Use | Indoor use only |
| Package Contents | Mounting kit, manual, interior lining, battery pack |
| Maintenance & Cleaning | Clean with spray wax or glass cleaner and microfiber cloth |
| Customer Service | 1-800-874-6625, www.homak.com |
| Warranty | Coverage subject to following instructions (details by calling) |
| Replacement Parts | Contact customer service |
Frequently Asked Questions - HS10036685 Homak Security
User questions about HS10036685 Homak Security
0 question about this device. Answer the ones you know or ask your own.
Ask a new question about this device
Download the instructions for your Safe in PDF format for free! Find your manual HS10036685 - Homak Security and take your electronic device back in hand. On this page are published all the documents necessary for the use of your device. HS10036685 by Homak Security.
USER MANUAL HS10036685 Homak Security
text_image
Hormone accessingOWNER'S MANUAL & OPERATING INSTRUCTIONS
MANUEL DU PROPRIÉTAIRE MODE D'EMPLOI
1605 Old Route 18 Suite 4-36, Wampum, PA 16157

WARNING:
- CAUTION: Unit must be securely mounted to a stationary object before use.
- This is not a toy. This is not intended for use by children.
- DO NOT SHUT DOOR BEFORE INSERTING (4) AA BATTERIES.
- Read all instructions and safety tips before using this product. For indoor use only.
- Keep from leaving a firearm loaded when securing it in this box. Some types of weapons may discharge easily, and even though this box is an all metal construction, a bullet may penetrate the steel wall.
- Check and remove firearms contained in this box before returning it to the manufacturer or retail store. If the box will not open, please contact a local locksmith for assistance.
- Remove firearm carefully from safe. Do not remove firearm by trigger.
- Do not place this box near excessive heat. This box does not carry a fire rating.

AVERTISSEMENT
THANK YOU FOR PURCHASING A HOMAK SECURITY PRODUCT. WE APPRECIATE YOUR BUSINESS.
Congratulations on Your New Purchase! Before operating your unit, please read the following carefully:

CAUTION: Unit must be securely mounted to a stationary object before use!
LOCATE INSTRUCTION MANUAL AND KEEP MANUAL IN A SAFE PLACE UPON OPENING YOUR NEW UNIT. DO NOT STORE INSTRUCTION MANUAL INSIDE THIS UNIT.
THE DEFAULT MANUFACTURER'S CODE CAN BE FOUND ON THE BACK OF THIS MANUAL. KEEP THIS CODE IN A SAFE PLACE. IF THIS CODE IS LOST, PLEASE CALL 1-800-874-6625 FOR ASSISTANCE.
For replacement parts, technical troubleshooting, or sales & service, please call 1-800-874-6625 and a representative will assist you.
- Please check the parts quantity according to the PARTS LIST.
- Carefully unpack and spread out all parts in a large uncluttered area.
- Familiarize yourself with all parts, make sure none are missing. Read all assembly instructions before beginning.
PARTS LIST
A) Wall mounting kit includes:
- (2) 1/4" Lag screws for attaching unit to wall
- Only for model HS10036685:
- (4) 1/4" Nuts and (4) bolts for mounting units together
C) Instruction Manual
D) Liner
E) Battery Pack
Please read entire instruction manual before operating unit in order to assure proper warranty coverage.

The default factory code will always remain active even when a personal user code is programmed.
Inside this manual you will find:
Safety Warnings Before Use
Getting Started
Programming a User Code
Programming a Personal User Code
Programming Steps
LED Light Indications and Troubleshooting
Installing the Unit
Battery Backup
Warranty Information
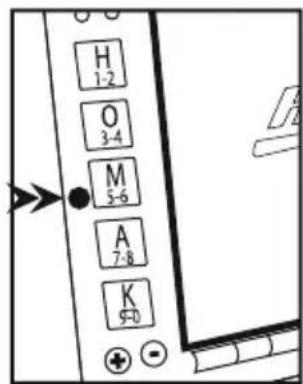
GETTING STARTED
- Upon removing your unit from the box, be sure to keep the door from closing. A plastic stopper is placed on the latch in order to assure it does not close during shipping.
- Inside the safe you will find a wire extending from the back of the keypad and also a battery pack for (4) AA batteries (not included). The battery pack is attached to the inside of the safe behind the keypad with velcro. Attach the end of the wire to the battery pack.
*DO NOT CONNECT A 9-VOLT BATTERY TO THE WIRE EXTENDING FROM THE KEYPAD, DOING SO WILL SHORTEN THE LIFE OF THE
9-VOLT AND THE PISTOL BOX MAY NOT FUNCTION PROPERLY. - Insert (4) new alkaline AA batteries into the battery pack. Use new, name brand batteries. Be sure to check the battery expiration date. Make sure batteries are placed correctly into battery pack.
- Make sure your safe operates properly. Before shutting door, enter your 5-digit manufacturer's code found on the back of this manual. Latch should activate upon entire code entry and lights should flash green with each entry. If latch/lights do not operate properly, please call 1-800-874-6625 before going on to Step 5.
- Remove plastic stopper from door.
- Shut door.
- Enter manufacturer's code again. Once entire code is entered, press on the upper left hand corner of door to open safe.
PROGRAMMING A USER CODE
Your electronic quick access unit is able to be programmed to a personal user code. If you choose to program your safe to a personal user code, please be advised that if the user code is lost or forgotten, your unit will not longer be covered under warranty if you are unable to gain entry.
When programming a user code, we recommend using a series of 4-5 letters, and/or digits. The default factory code will always remain active even when a personal user code is programmed.
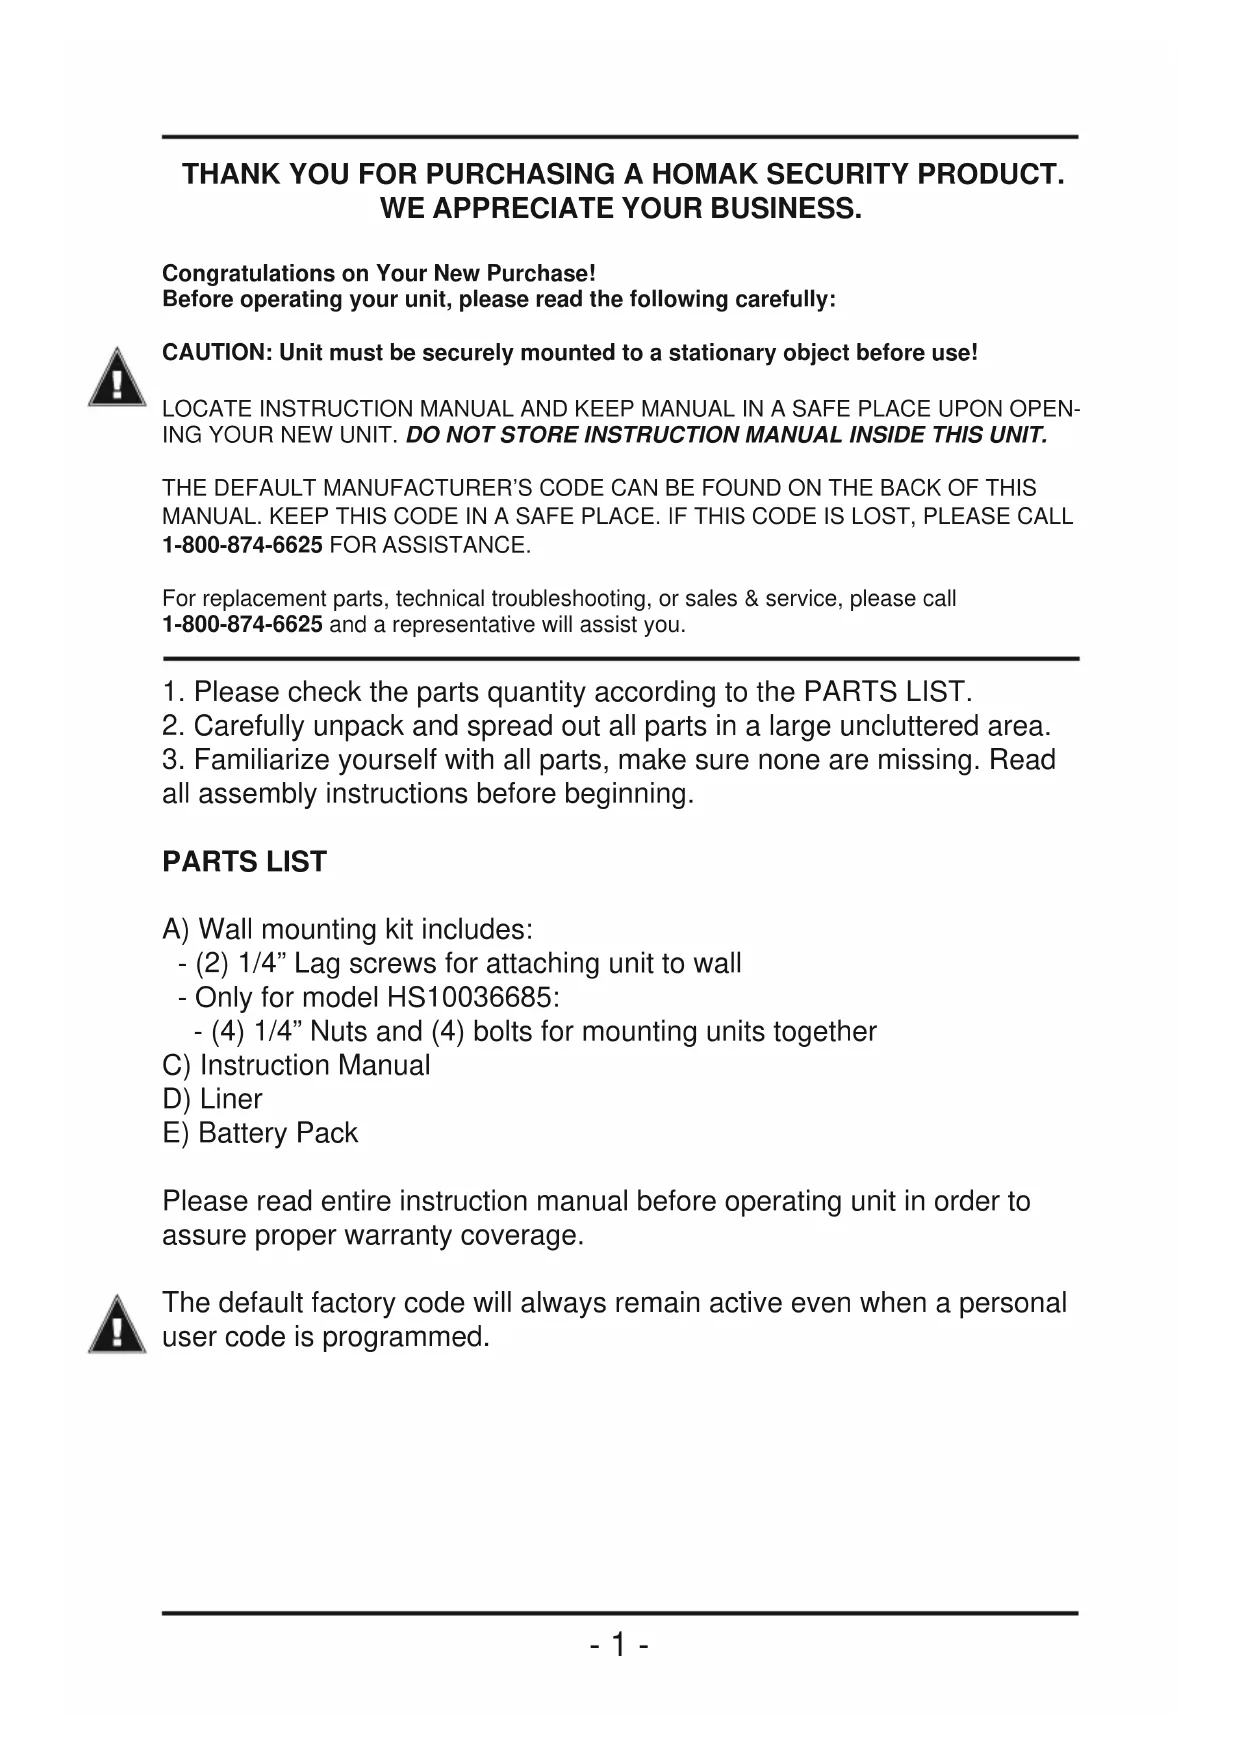
LOCATING THE PROGRAMMING BUTTON
- Position pistol box in front of you with door open.
- Reach hand inside the box and behind key pad to find the smooth, hard panel.
- The programming button will be small and hard. It is located on the center of the panel close to the wall of the safe.
- Red light will fl ash when button is pressed.
For further assistance, please call 1-800-874-6625.
text_image
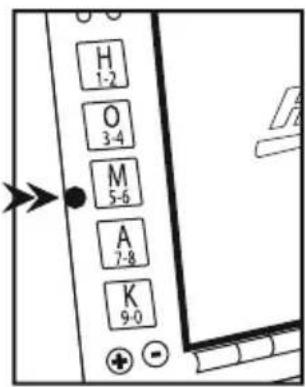
H 1-2 O 3-4 M 5-6 A 7-8 K 9-0PROGRAMMING STEPS
- Enter the manufacturer's code to open the door.
- Push upper left hand corner of door after entering code.
- Press and hold programming button until green light stays on.
- Enter your new user code. We recommend 4-5 digits. The green light will fl ash with each entry.
- After inputting new user code, press and hold programming button again until green light turns off and solid red light comes on. Then release the button. Red light will stay on.
- Enter new user code again for confirmation. The green light will fl ash with each entry.
- Press and hold programming button again until green light flashes. If red light flashes, start over at step one.
text_image
H 1-2 O 3-4 M 5-6 A 7-8 K 9-0
text_image
Hydroelectric acousticsGreen light turns off
text_image
Hydrouwk 電壓Red light stays on
LED LIGHT - INDICATION
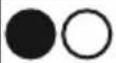 | Green light with each correct key press | Ready for code |
 | Red light with each key press | Lockout for 15 minutes. This occurs after entering three consecutive wrong codes |
 | Solid green light after entire code is entered | Code is correct - Open unit by pressing on upper left hand corner of door while green light is lit solid |
 | Flashing red light after programmed personal code is entered | Code was unsuccessfully programmed or code is incorrect |
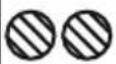 | Flashing green and red light together | Battery power is insufficient or there is a bad connection. Please refer to 9-Volt battery backup |
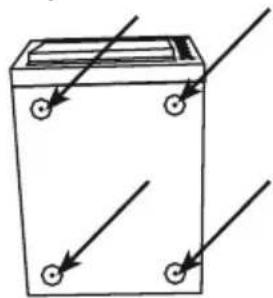
INSTALLING YOUR UNIT

CAUTION: You must mount your Homak quick access pistol box to a stationary object before use.
- Locate the (4) bolts, (4) nuts, and (2) lag screws.
- Place the pistol box in a suitable location. Using the screws provided with the washers, locate and fasten the box to a wall stud.
*Multiple units of the same size (HS10036685) may be purchased to be attached together.
Multiple Unit Attachment Holes (HS10036685 only)
Mounting Holes
Top View
natural_image
Simple line drawing of a battery with four wheels and three arrows indicating direction (no text or symbols)Bottom View Back/Side View
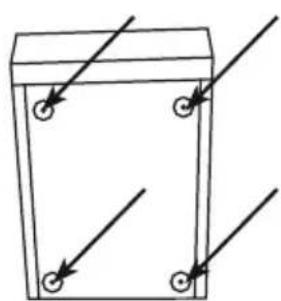
natural_image
Simple line drawing of a container with arrows pointing to four circular features (no text or symbols)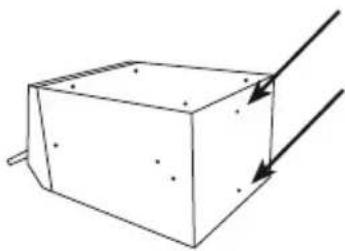
natural_image
Simple line drawing of a 3D rectangular block with arrows indicating direction (no text or symbols)- Mounting hole locations vary with different models.
9-VOLT BATTERY BACKUP
On the front of the safe you will find positive (+) and negative (-) terminals located at the end of the keypad. These terminals are able to be connected to a 9-Volt Battery in order to provide power to your safe when battery power is low or lost.
*NOTE: 9-Volt battery backup may only work when internal batteries are completely drained.
Please note that once battery power is low or lost, the code will default back to the manufacturer's code found on the back of this manual.
- Match the positive and negative terminals with those on the 9-volt battery. (It is recommended to use a set of alligator clips between the terminals and the 9-volt battery to insure a secure and constant connection).
- Press firmly, making sure that the metal prongs beneath the rubber keys are touching the metal terminals on the battery.
- Enter manufacturer's code. Lights will fl ash green upon each correct entry.
- After entering entire code, press on the upper let hand corner of the door while the light is solid green.
MAINTENANCE
Powder Coat Finish
For heavy build-up of dirt and grime, our powder coat paint finish can be cleaned with spray wax. Lightly spray the wax on the surface, and gently wipe with a soft, dry microfi ber cloth.
Window cleaner and a soft cloth dampened with water can be used to clean the fi nish on a regular basis.
Customer Satisfaction
All mechanical parts are inspected and adjusted for proper use before shipment; however, mechanisms may shift during transit. Should any of these items not operate correctly, please call customer assistance at 1-800-874-6625.
PRODUCT MADE IN CHINA
MERCI DE VOTRE ACHAT D'UN PRODUIT DE SÉCURITÉ HOMAK. NOUS APPRÉCIONS NOTRE CLIENTÈLE.
text_image
H 1-2 O 3-4 M 5-6 A 7-8 K 9-0ÉTAPES DE PROGRAMMATION
text_image
H 1-2 O 3-4 M 5-6 A 7-8 K 9-0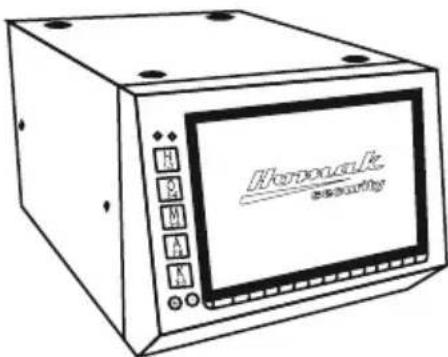
natural_image
Simple line drawing of a battery casing with four wheels and three arrows indicating direction (no text or symbols)natural_image
Simple line drawing of a container with four circular buttons and directional arrows indicating flow or movement (no text or symbols)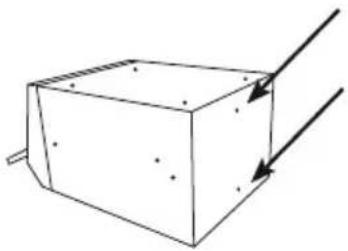
natural_image
Simple line drawing of a 3D rectangular block with arrows indicating direction (no text or symbols)PRODUIT FABRIQUÉ EN CHINE
text_image
H 1-2 O 3-4 M 5-6 A 7-8 K 9-0 + -text_image
H 1-2 O 3-4 M 5-6 A 7-8 K 9-0natural_image
Simple line drawing of a battery with three wheels and arrows indicating direction (no text or symbols)Vista de abajo

natural_image
Simple line drawing of a rectangular container with four circular holes and diagonal lines indicating measurement or alignment (no text or symbols)natural_image
Simple line drawing of a 3D rectangular block with arrows indicating direction (no text or symbols)Thank you for purchasing this quality HOMAK product. Please take the time to register your manufacturer's code and product by calling 1-800-874-6625 or by visiting www.homak.com and clicking the "Product Registration" link.
This will allow us to better assist you in the future for:
- Parts
- Warranty claims
- Other product concerns
-Troubleshooting
Please Read Entire Instruction Manual Before Operating Unit In Order to Assure Proper Warranty Coverage
ENREGISTREMENT DU PRODUIT
PLEASE KEEP IN A SAFE AND SECURE PLACE AWAY FROM CHILDREN.
GARDER DANS UN ENDROIT SÛR, LOIN DES ENFANTS.
THIS PRODUCT CARRIES A LIMITED ONE (1) YEAR WARRANTY FOR PARTS AND LABOR
PLEASE CALL 1-800-874-6625 OR VISIT WWW.HOMAK.COM FOR WARRANTY
OR PART REPLACEMENT QUESTIONS
LES PIÈCES ET LA FABRICATION DE CE PRODUIT ONT UNE
GARANTIE LIMITÉE DE UN (1) ANS
COMPOSER LE 1-800-874-6625 OU VISITER WWW.HOMAK.COM POUR
TOUTE QUESTION SUR LA GARANTIE OU LES PIÈCES DE REMPLACEMENT.