Elton - Cd player/recorder Auna - Free user manual and instructions
Find the device manual for free Elton Auna in PDF.
User questions about Elton Auna
0 question about this device. Answer the ones you know or ask your own.
Ask a new question about this device
Download the instructions for your Cd player/recorder in PDF format for free! Find your manual Elton - Auna and take your electronic device back in hand. On this page are published all the documents necessary for the use of your device. Elton by Auna.
USER MANUAL Elton Auna
CONTENTS Technical Data 26 Safety Instructions 28 Product Overview 30 Getting Started 33 Basic Operations 34 FM Operation 35 DAB Operation 35 CD - MP3 / USB Operation 36 BT Function 38 USB Recording 38 AUX IN Operation 40 MUTE / EQ Operation 40 Phones Operation 40 Settings 41 Disposal Considerations 42 Declaration of Conformity 42 Dear Customer, Congratulations on purchasing this equipment. Please read this manual carefully and take care of the following hints to avoid damages. Any failure caused by ignoring the items and cautions men- tioned in the instruction manual are not covered by our warranty and any liability. Scan the QR code to get access to the latest user manual and other information about the product.26
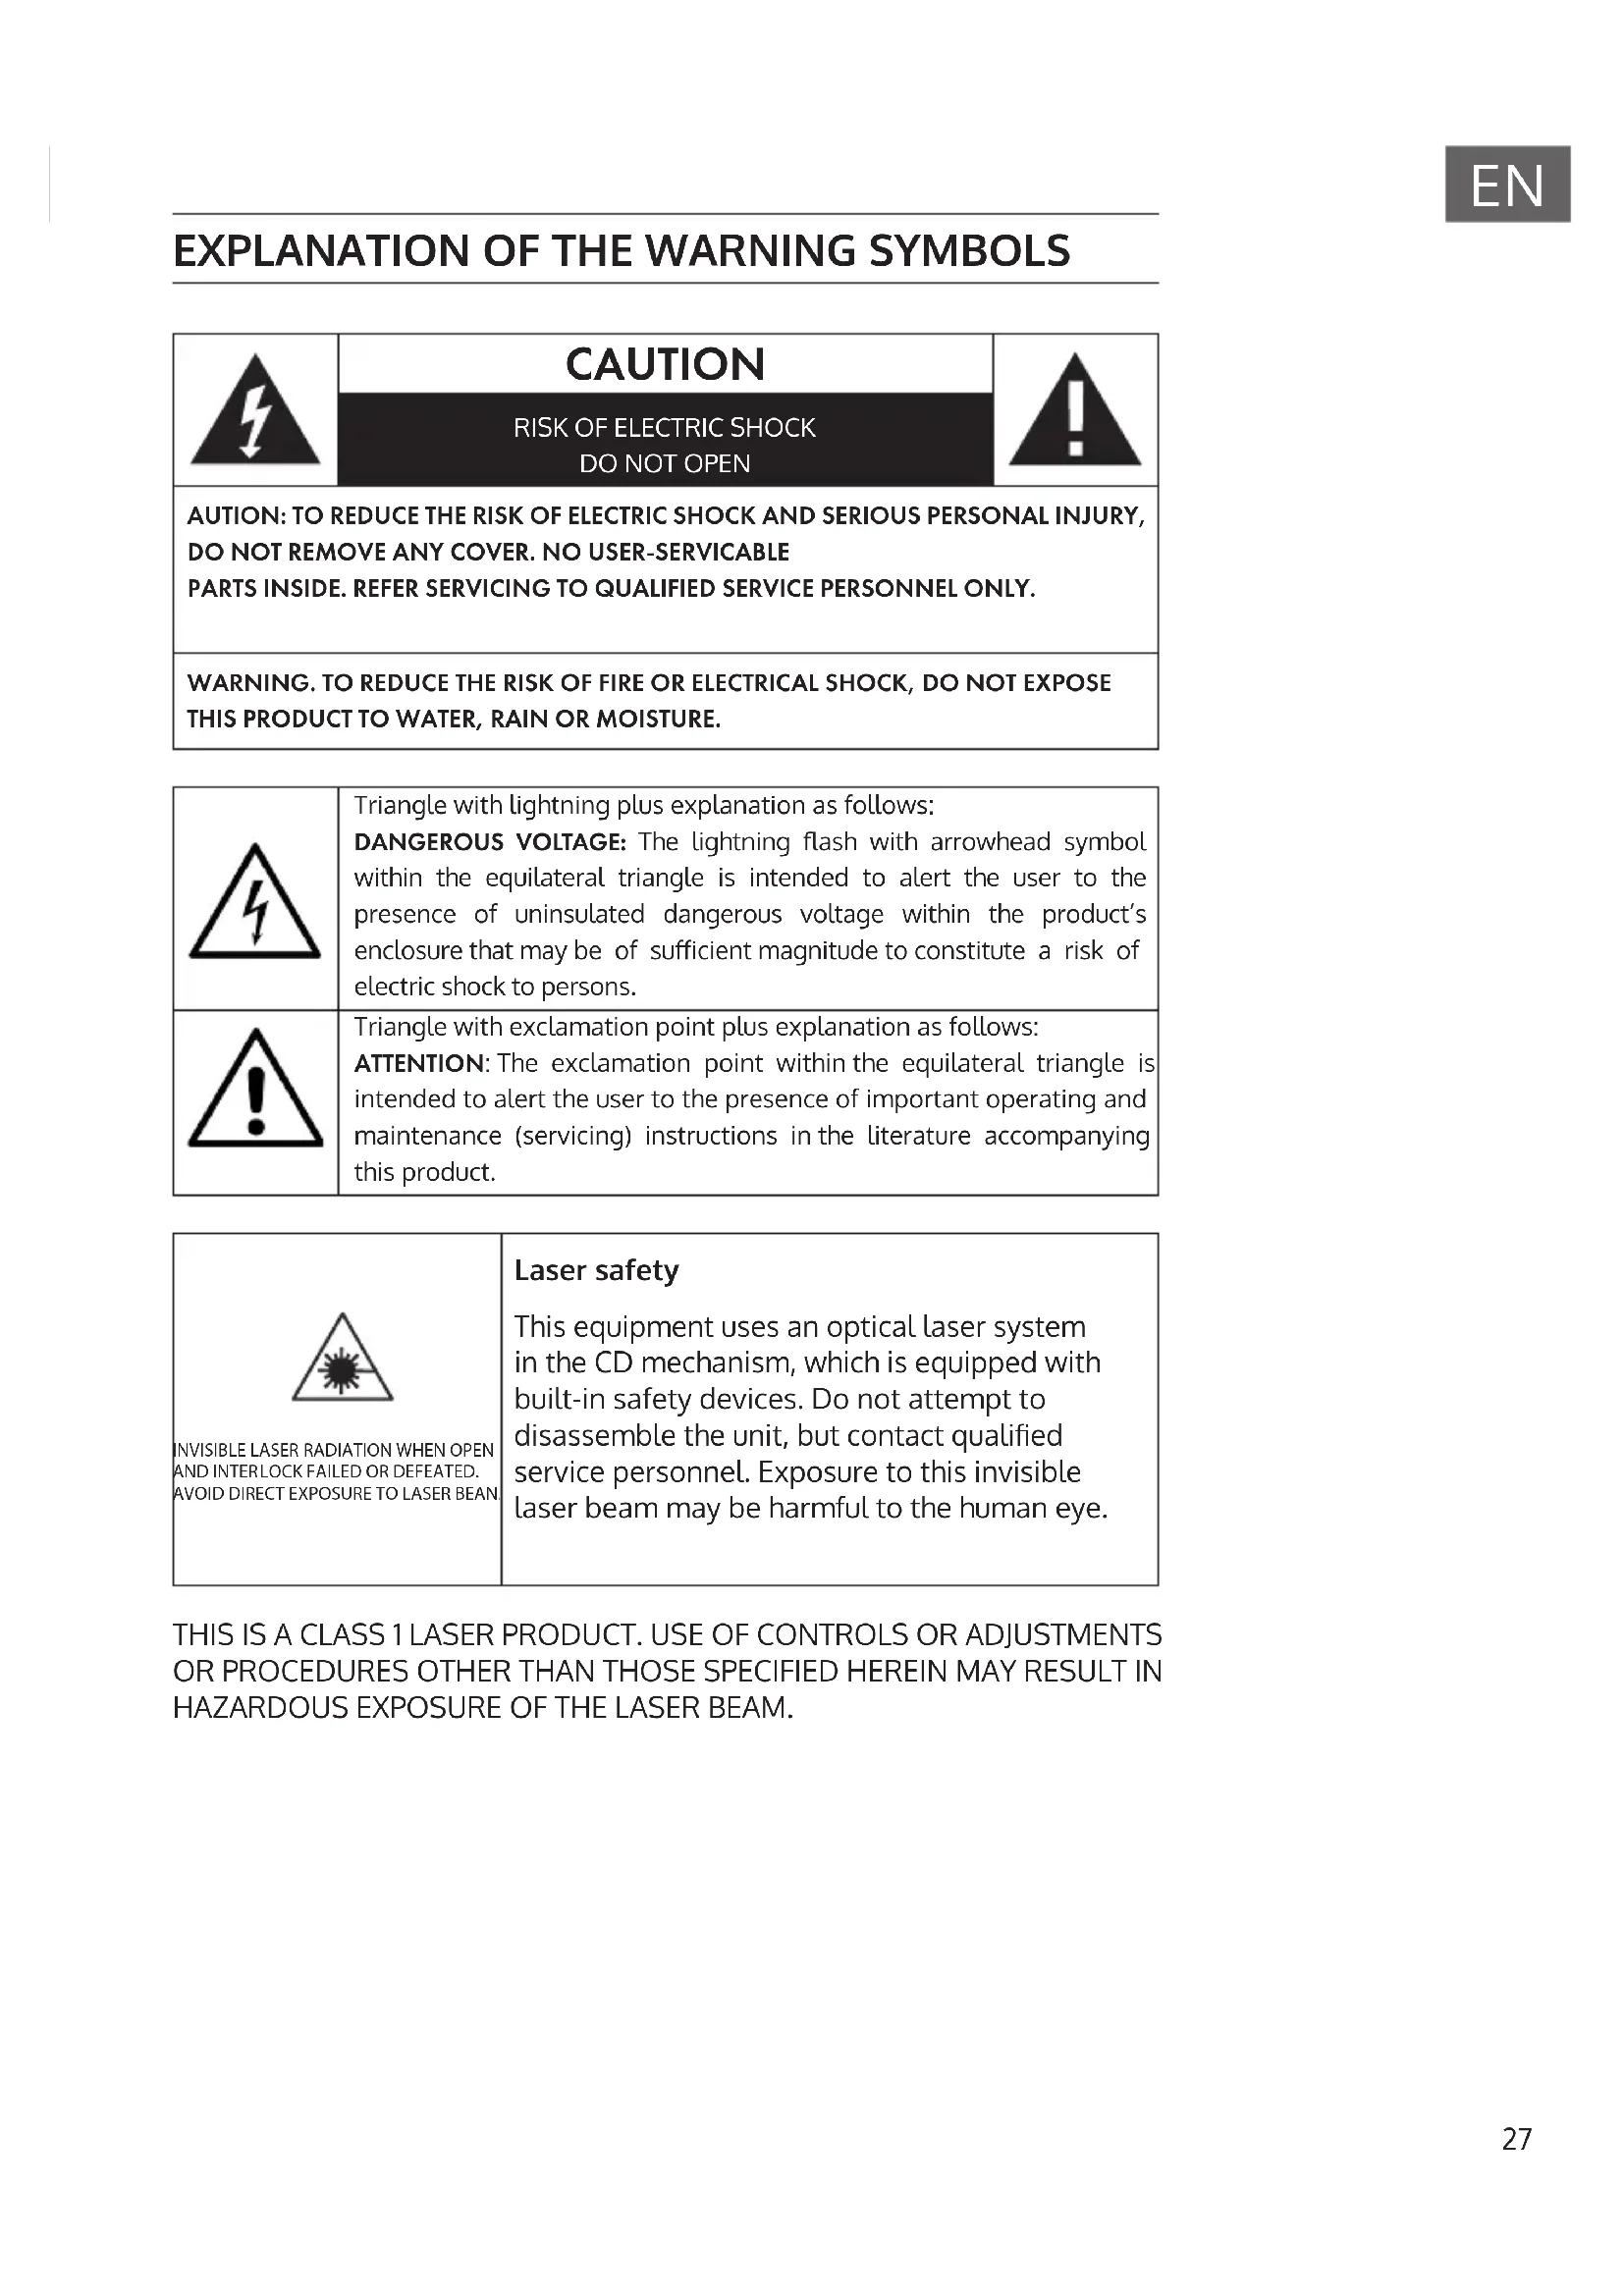
AUTION: TO REDUCE THE RISK OF ELECTRIC SHOCK AND SERIOUS PERSONAL INJURY, DO NOT REMOVE ANY COVER. NO USER-SERVICABLE PARTS INSIDE. REFER SERVICING TO QUALIFIED SERVICE PERSONNEL ONLY. WARNING. TO REDUCE THE RISK OF FIRE OR ELECTRICAL SHOCK, DO NOT EXPOSE THIS PRODUCT TO WATER, RAIN OR MOISTURE. Triangle with lightning plus explanation as follows: DANGEROUS VOLTAGE: The lightning ash with arrowhead symbol within the equilateral triangle is intended to alert the user to the presence of uninsulated dangerous voltage within the product‘s enclosure that may be of suicient magnitude to constitute a risk of electric shock to persons. Triangle with exclamation point plus explanation as follows: ATTENTION: The exclamation point within the equilateral triangle is intended to alert the user to the presence of important operating and maintenance (servicing) instructions in the literature accompanying this product. INVISIBLE LASER
AND INTER LOCK FAILED OR DEFEATED. AVOID DIRECT EXPOSURE TO LASER BEAN. Laser safety This equipment uses an optical laser system in the CD mechanism, which is equipped with built-in safety devices. Do not attempt to disassemble the unit, but contact qualied service personnel. Exposure to this invisible laser beam may be harmful to the human eye. THIS IS A CLASS 1 LASER PRODUCT. USE OF CONTROLS OR ADJUSTMENTS OR PROCEDURES OTHER THAN THOSE SPECIFIED HEREIN MAY RESULT IN
SAFETY INSTRUCTIONS General safety instructions CAUTION Risk of injury. Do not listen to music at excessive volume as this may result in a loss of hearing.
- This device may be only used by children 8 years old or older and persons with limited physical, sensory and mental capabilities and/ or lack of experience and knowledge, provided that they have been instructed in use of the device by a responsible person who understands the associated risks.
- Only put CDs in the CD compartment.
- Never open the device cover. Do not attempt to repair the device by yourself.
- Consult qualied personnel for repairs. The device does not contain user-serviceable device components.
- Improper handling may damage the device and therefore void the warranty. Power Connection
- Use only the supplied power adapter. Use of any other adapter will void the warranty and / or cause irreparable damage to the device.
- Unplug the device from the main power supply during thunderstorms.
- Be sure to turn o the power before unplugging the power cord.
- If you are using a multiple socket power strip or the plug as a splitting device, ensure that the plugs are always accessible and ready for use.
- Never throw batteries into an open re and do not attempt to open their outer shells.
- Batteries are harmful if swallowed and should therefore be stored out of the reach of small children. If you think batteries have been swallowed or may have entered any part of your body, seek medical attention immediately. Ventilation
- Do not block or cover the ventilation holes, vents, or openings of the unit with anything, such as carpet, cloth, or similar, as otherwise the openings may not be able to ensure functionality and / or ventilation for safe use.29
- The bottom of the unit may become warm if the unit is used for an extended period of time. This is normal. Location
- Make sure the unit is standing on a at and stable surface.
- Do not place the device more than 4.5 feet (1.4 meters) away from the nearest outlet. Make sure that the power cord and speaker cords do not create a tripping hazard.
- Place the device at least 3.25 feet (1 meter) away from other electrical devices in order to avoid noise interference.
- Make sure the device has enough room for the antenna to be properly aligned.
- Never place the unit directly on antique or polished surfaces. Notes on the laser CAUTION Risk of injury Never touch the optical lens in the CD compartment or look directly into it.
- This device is a Class 1 laser product
- The use of controls not listed in the operating instructions or unauthorised modication of the unit may result in the harmful release of laser radiation. Battery Precautions
- Replacement of batteries must be done by an adult.
- Do not mix old and new batteries.
- Do not mix alkaline, standard (carbon-zinc) or rechargeable (nickel- cadmium) batteries.
- The supply terminals are not to be short-circuited.
- Non-rechargeable batteries are not to be recharged.
- Exhausted batteries are to be removed.
- Only batteries of the equivalent type are to be used.
- Batteries are to be inserted with the correct polarity.
- Dispose of batteries properly. Do not dispose of batteries in re. The batteries may explode or leak.30
Rear panel 22 Speaker jacks 23 Line In socket 24 DC-In socket 25 Power on/o switch 26 Antenna socket 27 AC adaptor plug 28 DC plug
Volume - 9 REC (RECORD): Press to start the USB recording. 10 Track backwards 11 Track forwards 12 Play/Pause Enter: In CD/MP3 & USB mode, press once to Play or Pause the music 13 STOP: In CD/USB mode, press to stop CD/MP3 playback or cancel programmed memory 14 P.MODE: In CD/USB mode, press to activate Repeat / Random play modes. 15 MENU: In FM/DAB mode, press to enter the Menu setting In standby mode, press and hold to enter time setting. 16 FOLDER: In MP3/USB mode, press to select folder. 17 SCAN: In FM/DAB mode, press to tune the radio station. 18 MEMORY : In CD mode, press to active CD program function. 19 PRESET:In DAB/FM mode, press and hold to enter preset station setting. Then press it again to store the radio station. Press once to recall the preset station. 20 INFO: In DAB/FM mode, press to show the radio information. 21 MUTE :Press to mute the sound from speaker temporarily. 22 DELETE: In USB mode, press to delete the le(s) in the USB memory NOTE: All of the buttons on the remote control have same function as these buttons in the unit. Buttons
GETTING STARTED AC/DC Adaptor Connect the one end of the detachable power cord to an AC socket at AC adaptor and the other end to the AC outlet. The plug the DC plug (28) to the unit DC-In socket (24). Switch the POWER ON/OFF switch (25) at the back of the unit to ON position. When you rst plug the unit into the mains, the unit will go into standby mode. The Clock will show up and ashing with “ 00: 00 “. Press and hold
/ FUNCTION button (9) to turn on the unit. If the LCD display (8) is on, it means the power supply is normal. Now the system is ready to play the music. Connect the provided FM wire to the Antenna socket (26) at the back of unit. Speaker wire terminal
1. Loosen the tops by unscrewing through anti-clockwise direction.
2. Take out the tops and centre hole is available.
3. Insert the corresponding positive (+) speaker wire (red colour) into
the centre hole on the screw terminal with red stripe. And Insert the corresponding negative (-) speaker wire (black colour) into the centre hole on the screw terminal with black stripe
4. Put back the tops.
5. Turn the tops clockwise to tighten and hold the speaker wire in place.34
Battery installation of remote control The battery compartment is located on the back of the remote control.
1. Remove the battery compartment door.
2. Insert two (2) AAA size batteries (not included) into the battery
compartment following the polarity markings inside the battery compartment.
3. Close the battery compartment door.
BASIC OPERATIONS Power ON / OFF Ensure to switch the POWER ON/OFF switch (25) at the back of the unit to ON position. Press
/ FUNCTION button (9) to enter the working mode. Press and hold
/ FUNCTION button to turn o the unit in standby mode. Selecting Modes Press the
/ FUNCTION button on the unit or the FUNC button on the remote repeatedly to switch between modes. Adjusting Volume Rotate the VOL knob on the unit or press / buttons on the remote to decrease / increase the volume. Total 40 level volume and it displays Vol min – Vol max. ERP power management If nobody presses and holds the
/ FUNCTION button to turn OFF the unit after stopping playing, the unit will power o automatically after around 10 minutes. Press
/ FUNCTION button on the unit or the button on the remote to wake the device up from standby mode.35
1. Turn on the system and set the volume to a low level. Press the
FUNCTION button (FUNC. on the remote control) to enter into FM mode.
2. Connect the FM/DAB antenna onto the 75-ohm socket at the back of
button on the remote control.
3. If you tune to a weaker FM station, the reception will automatically
switch to mono. You may press SCROLL/ENTER on unit or ENTER on remote control to change Stereo or Mono mode.
4. During FM working mode, press INFO button to see the following
information on the screen: Auto(stereo/mono), Radio Text, Program Type, Signal Strength, Time/Date and Frequency. When ‘Strong stations only’ shown on the display, the FM search is stopping only on strong stations. DAB OPERATION
1. Connect the FM / DAB antenna at the back of the unit.
2. Turn the system ‘on’ and set the volume to a low level. Press the
FUNCTION button to enter into DAB mode.
3. The unit will scan the DAB station automatically till receive the DAB
station, and store all the received DAB stations in the preset memory automatically. Once the auto-scan has been completed, rotate the SCROLL knob on the unit or the TUNER/SCROLL ∧/∨ button on the remote control to choose the DAB stations. If you tune to a DAB stereo station, the ‘stereo’ will show on the screen.
4. During DAB playing mode, press INFO button on the main unit to see
the information of the playing DAB station on the screen, i.e. Program Type, Ensemble Information, Transponder, Audio Bit-Rate, Signal- Strength, Time/Date, DLS Information. DAB manual tuning
1. Turn the system ‘on’ and press FUNCTION button to enter into DAB
1. In DAB/FM playing mode, choose the desired radio station. Press
and hold PRESET button for 2 seconds, “ Empty P1” will ash on the display. Then, rotate the SCROLL knob to choose the desired preset station.
2. Press the PRESET button again to conrm and ‘Preset 1 Stored’ will
show on the display.
3. Repeat the above 1 - 2 steps to program 20 desired DAB stations or 20
4. Press the PRESET button once to play the stored tracks. Rotate the
SCROLL/ENTER on the main unit or Tune + / - on the remote control knob to choose the stored tracks and then press PRESET button to conrm.
CD - MP3 / USB OPERATION
Compact disc care To remove a disc from its storage case, press down on the centre of the case and lift the disc out, holding it carefully by the edges. Fingerprints and dust should be carefully wiped o the discs recorded surface with a soft cloth. Unlike conventional records, compact discs have no grooves to collect dust and microscopic debris, so gently wiping with a soft cloth should remove most particles. Wipe in a straight line from the inside to the outside of the disc. Small dust particles and light stains will have absolutely no eect on reproduction quality. Note: CD or USB mode have the same operating procedures. Playing CD or USB
1. Press the Power button at the front panel and set the volume to a low
3. CD: Press CD door OPEN button to open the CD door. Place a CD with
the printed side facing up inside the tray, then close the CD door. The rst track will start playback. USB: Insert carefully USB drive in the USB socket. The rst track will start playback.37
4. Press PLAY/PAUSE button to pause the playback. The track time will
start blinking. Press PLAY/PAUSE button again to resume the playback.
5. Press STOP to stop the playback.
Track skip and high speed track search in CD / USB mode
1. During CD/USB playback, press
⏭ or ⏮ button repeatedly will skip to higher or lower tracks. The disc will begin to play from your selected track.
2. To rapidly search forward or backward within a track and locate a
specic passage of it, press and hold ⏭ or ⏮ button. The player will search forward or backward at a high speed. Release the button when you hear your desired passage and the playback will resume normal from that point.
3. To select next folder (Album), Turn the SCROLL knob on unit or press
the FOLDER button on the remote control. REPEAT and RANDOM Function Press the PLAY-MODE button on the unit or the P-MODE button on the remote control to choose the Repeat-Mode: Rep1: plays the current playing track RepF: plays the current playing folder (only by MP3-CD or USB) RepA: plays the complete CD or USB Rand: Random Play-Mode NOTE: There is no folder in the disc if no MP3 is detected. During playing a CD-Disc, there has no ALBUM repeating function Memory function in CD/MP3 mode
1. In stop mode, press the MEMORY button to enter PROGRAM mode,
“MEM” “P01 T 01” will show on the screen.
2. Press the ⏭ button or ⏮ button to select your desired track and then
press the MEMORY or PROGRAM button to conrm.
3. Repeat the step 1 and step 2 to continue to program.
Note: You can save a total of 20 MP3 tracks and 20 CD tracks. ‘FULL’ will show on the screen once over 20 MP3 tracks or 20 CD tracks.
4. Press the PLAY/PAUSE button to play the saved tracks, press
⏭ or ⏮ button to select a track in the sequence saved.
5. Press the STOP button twice to leave program mode. The entire38
program stored in memory is canceled. BT FUNCTION
3. Select from your portable device (Smartphone, Tablet...) the ID BT
tagged as ‘ELTON DAB’, then conrm connection.
4. Once the connecting was nihsh and connect successfully, the LCD
display will show [BT connected].
5. Now you can transfer the music to ELTON and all operations can only
be operated from your mobile device. USB RECORDING
1. Plug USB drive into USB socket.
2. During the CD/MP3 playing mode the desired track, press the RECORD
button once. Check then “REC USB” will show on the display.
3. Press the RECORD button again which will show “REC One”. Then
press the RECORD button to conrm to choose record the playing track. Recording all tracks in a disc
1. Plug your USB drive into the USB socket.
2. During the CD/MP3 stop mode, press the RECORD button one time.
First "Check" then “REC USB” will show on the display.
3. Press RECORD button again which show “REC All”. Then press the
RECORD button to conrm to record all tracks. BT recording
1. Plug USB drive into USB socket.
2. During the BT playing mode, press the RECORD button once and the
display will show “Check” then “REC USB”. “USB” is ashing.
3. Press the RECORD button again to conrm. “REC USB” is ashing in
the display and the unit starts recording.39
1. Plug USB drive into USB socket.
2. During the AUX-IN playing mode, press the RECORD button one time
and the display will show “Check” then “REC USB”. “USB” is ashing.
3. Press RECORD button again to conrm. “REC USB” is ashing in the
display and the unit starts recording. DAB+/FM recording
1. Plug USB drive into USB socket.
2. During the DAB+/FM playing mode, press the RECORD button one
time and the display will show “Check” then “REC USB”. “USB” is ashing.
3. Press RECORD button again to conrm to choose record the playing
DAB+/FM station. “REC USB” is ashing in the display and the unit starts recording. Notes:
- Press STOP button to stop the record function during the recording mode.
- Press INFO button of the remote control during Bluetooth/Aux recording, you can select the recording bit rate from 32 – 256kHz. Press ⏭ or ⏮ buttons to choose the desired bit rate and press INFO button again to conrm.
- The bit rate of DAB/FM recording is preset at 128KHz.
- It is not able to change the recording bit rate for CD/MP3 recording.
- After recording, the USB will generate dierent folders to store the recorded tracks: - FROM CD: to store the tracks recorded from MP3 disc - RIP: to store the tracks recorded from CD disc - RED: to store the tracks recorded from BLUETOOTH / AUX-IN / DAB /
Delete USB recording (by remote control) Delete one track:
1. During the USB stop mode, press the DELETE button on the remote
control one time, ‘DEL-T001’ will show on the display.
⏭ or ⏮ button to choose the le to delete.
3. Press DELETE button again and the display will show “Yes” and ashing
“No”, press ⏭ to choose “Yes”
1. During the USB stop mode, press and hold the DELETE button for few
seconds on the remote control, ‘DEL-A’ will show on the display
2. Press DELETE button again and the display will show “Yes” and ashing
“No”, press ⏭ to choose “Yes”.
Press MODE button to select the AUX mode. Insert the audio cable (not included) into the matching ‘AUX IN’ socket of the unit. Start the playback of the connected device and you can hear the sound in the unit.
During playing mode, press MUTE button on the remote control one time, the sound will not be heard from the speakers and ‘MUTE’ will show on the display; press MUTE button or / or EQ/LIGHT button to cancel mute function and the sound can be heard again from the speakers. During playing mode, press EQ/LIGHT button to choose the dierent sound eect from “POP/ CLASSIC /ROCK/ JAZZ / FLAT”, you can choose the desired one. Note: To leave the EQ mode, press and choose ‘FLAT’. PHONES OPERATION During usual operation insert the earphone’s cable (not included) into the matching ‘PHONES’ socket of the unit. Now you can hear the sound exported to your earphones. Note: Adjust the volume lever lower during the PHONES operation. To prevent possible hearing damage, do not listen at high volume levels for long periods.41
SETTINGS Language setting During FM or DAB playing mode, press MENU button and then press
or ⏭ to choose ‘Language’ and press SCROLL Knob to conrm enter into LANGUAGE setting. You can choose from “English – Deutsch”. Press the SCROLL Knob again to choose your desired language. Time and date
PLAY-PAUSE button on the unit, “24 HR” is ashing in the display.
3. Set the “12 HR” or “24 HR” mode by pressing
⏭/INFO or “⏮/SCAN button. To conrm press the “MENU/PLAY-PAUSE button, the hour begin ashing.
4. Set the hour by pressing the
⏮ or ⏭ button. To conrm press the PLAY/MENU button, the minutes begin ashing.
5. Set the minutes by pressing the
⏮ or ⏭ button. To conrm press the PLAY/MENU button again and the time setting is nished. 3-Colour light setting Turn the system on by pressing
/ FUNCTION button and then press and hold the EQ/LIGHT button on the main unit on the remote to enter the light setting. The display will show “Light 1”. You can choose dierent backlight from “Blue/Orange/White/Color Loop/ O“. “Light 1/2/3/4/O ” will show on the display. Backlight on VU meter (2) and back cabinet will illuminate. Remark: During Standby mode, the time will be display on the LCD display with very minor backlight in the background. Factory reset In DAB mode, press and hold the INFO button on the unit: "Press Enter Key to Reset” will show in the display. Press the SCROLL/ENTER button to conrm. “System Reset” will show in the display which means the factory reset is successfully.42
DISPOSAL CONSIDERATIONS If there is a legal regulation for the disposal of electrical and electronic devices in your country, this symbol on the product or on the packaging indicates that this product must not be disposed of with household waste. Instead, it must be taken to a collection point for the recycling of electrical and electronic equipment. By disposing of it in accordance with the rules, you are protecting the environment and the health of your fellow human beings from negative consequences. For information about the recycling and disposal of this product, please contact your local authority or your household waste disposal service. This product contains batteries. If there is a legal regulation for the disposal of batteries in your country, the batteries must not be disposed of with household waste. Find out about local regulations for disposing of batteries. By disposing of them in accordance with the rules, you are protecting the environment and the health of your fellow human beings from negative consequences.
DECLARATION OF CONFORMITY
Manufacturer: Chal-Tec GmbH, Wallstrasse 16, 10179 Berlin, Germany. Importer for Great Britain: Berlin Brands Group UK Ltd PO Box 1145 Oxford, OX1 9UW United Kingdom Hereby, Chal-Tec GmbH declares that the radio equipment type Elton is in compliance with Directive 2014/53/EU. The full text of the EU declaration of conformity is available at the following internet address: use.berlin/10041319 For Great Britain: Hereby, Chal-Tec GmbH declares that the radio equipment type Eltonis in compliance with the relevant statutory requirements. The full text of the declaration of conformity is available at the following internet address: use.berlin/1004131943