32034 - Video camera Berger & Schröter - Free user manual and instructions
Find the device manual for free 32034 Berger & Schröter in PDF.
| Product type | Surveillance camera / trail camera |
| Brand | Berger & Schröter |
| Model | 32034 |
| Power supply | 8 AA LR6 1.5 V batteries or 6 V / 680 mA mains adapter (not included) |
| Battery type | AA (LR6) 1.5 V |
| Estimated battery life | Variable depending on settings and usage |
| Storage | Micro SD card up to 256 GB (class 6 or higher recommended) |
| Photo resolution | 20 MP (adjustable from 1 MP to 20 MP) |
| Video resolution | Up to 3840x2160 (4K) and lower settings |
| Viewing angle | Not specified, main and side motion sensor |
| Infrared (IR) range | Infrared black LEDs, adjustable range (Near/Medium/Far) |
| Motion detection | Main PIR sensor + side sensor, adjustable sensitivity (Low/Medium/High) |
| Connectivity | WiFi via GCam Pro app (iOS and Android), Bluetooth for pairing |
| Video output | AV cable (included) for TV connection |
| Built-in screen | Yes, for navigation and viewing |
| Main functions | Photo, video, photo+video, time-lapse, timer, audio recording |
| Password protection | Yes, 4-digit PIN code (0-9 or A-Z) |
| Operating temperature | Not specified, sensitive to temperatures (adapted settings) |
| Power on/off | Sliding switch OFF/Test/ON |
| Maintenance and cleaning | Clean with a soft, dry cloth. Avoid moisture and chemicals. |
| Physical security | Clasp closures with safety clip and lock |
Frequently Asked Questions - 32034 Berger & Schröter
User questions about 32034 Berger & Schröter
0 question about this device. Answer the ones you know or ask your own.
Ask a new question about this device
Download the instructions for your Video camera in PDF format for free! Find your manual 32034 - Berger & Schröter and take your electronic device back in hand. On this page are published all the documents necessary for the use of your device. 32034 by Berger & Schröter.
USER MANUAL 32034 Berger & Schröter
natural_image
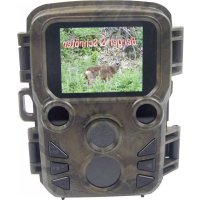
Two black rectangular enclosures: one with a digital display showing a deer photo, the other with an open camera and control buttons (no readable text or symbols)Energieversorgung
natural_image
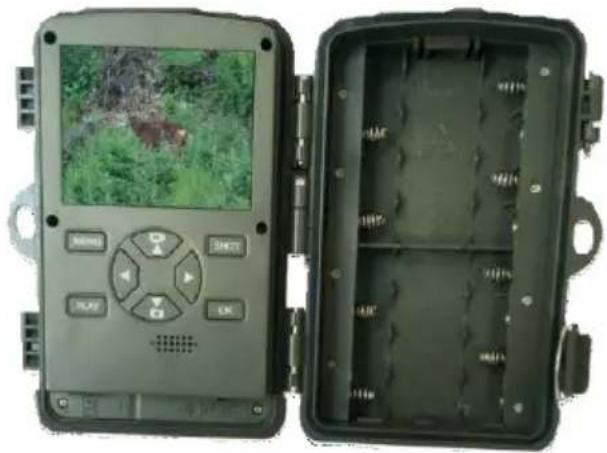
Two black-and-white photo surveillance devices with digital displays and control buttons, one open showing a green landscape image (no visible text or symbols)natural_image
Photo of two deer in a forest setting, one with long antlers, no visible text or symbols on the image itself.
text_image
OceanPro TF Card Setting Information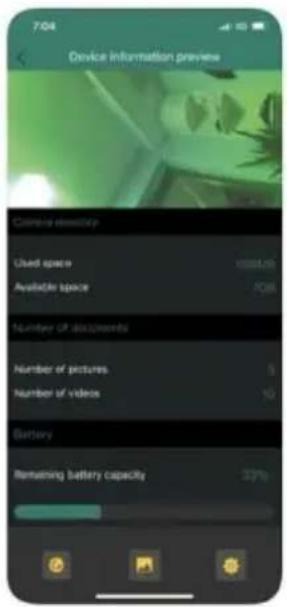
text_image
Device information preview Chinese electricity Used space 1000kW Available space 708 Number of disaccesses Number of pictures 5 Number of videos 10 Battery Remaining battery capacity 22%(GB) Operating Instructions
32034 Wifi 4K Full HD Game Camera, Wifi function via app
Introduction
The manual is a component of this product. It contains important information regarding safety, use and disposal. Before you use the product, make sure you have read and understood all of the operating and safety instructions. Use this product only as described and only in the areas described.
This documentation is protected by copyright. Duplication or reproduction, even in extracts, and the reproduction of images (including in a modified state) is permitted only with written approval from the manufacturer.
Intended Use
This device is intended solely for capturing digital photographs and videos of wild animals. The manufacturer assumes no liability for damage caused by non-observation of these regulations, improper use, or repairs not carried out by an expert.

text_image
Black infra-red LEDs 2 x Swing stoppers (see also below) Objective Lens Main motion sen- sor Safety catch for lock Side motion sensorThe Wifi app "GCamPro" to control the ca-mera from a smartphone, see page 16

text_image
GcamPro TF Card Setting Information App button on your smartphoneControls
text_image
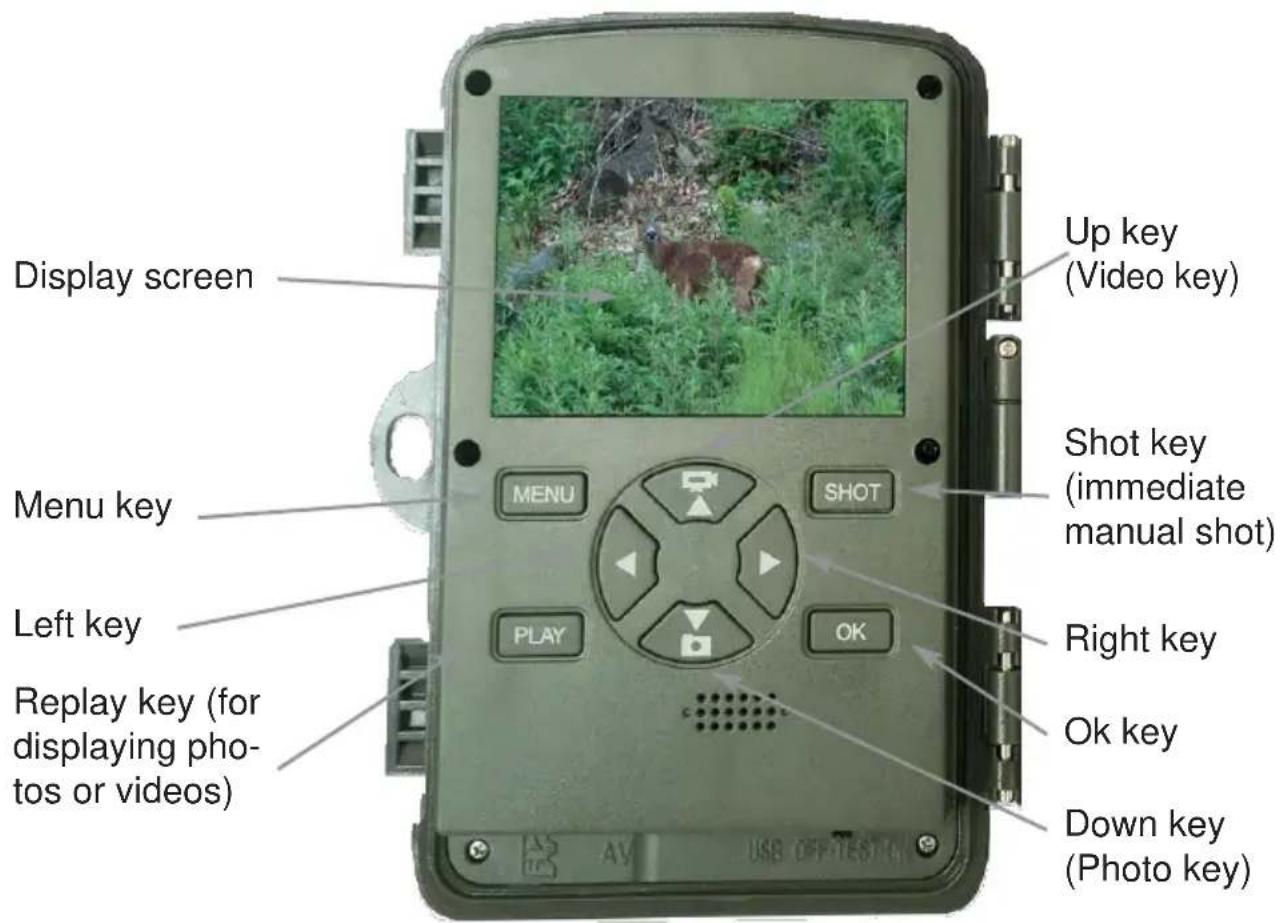
Display screen Up key (Video key) Menu key SHOT ShOT Right key Left key Replay key (for displaying pho- tos or videos) OK key Down key (Photo key) MENU PLAY OK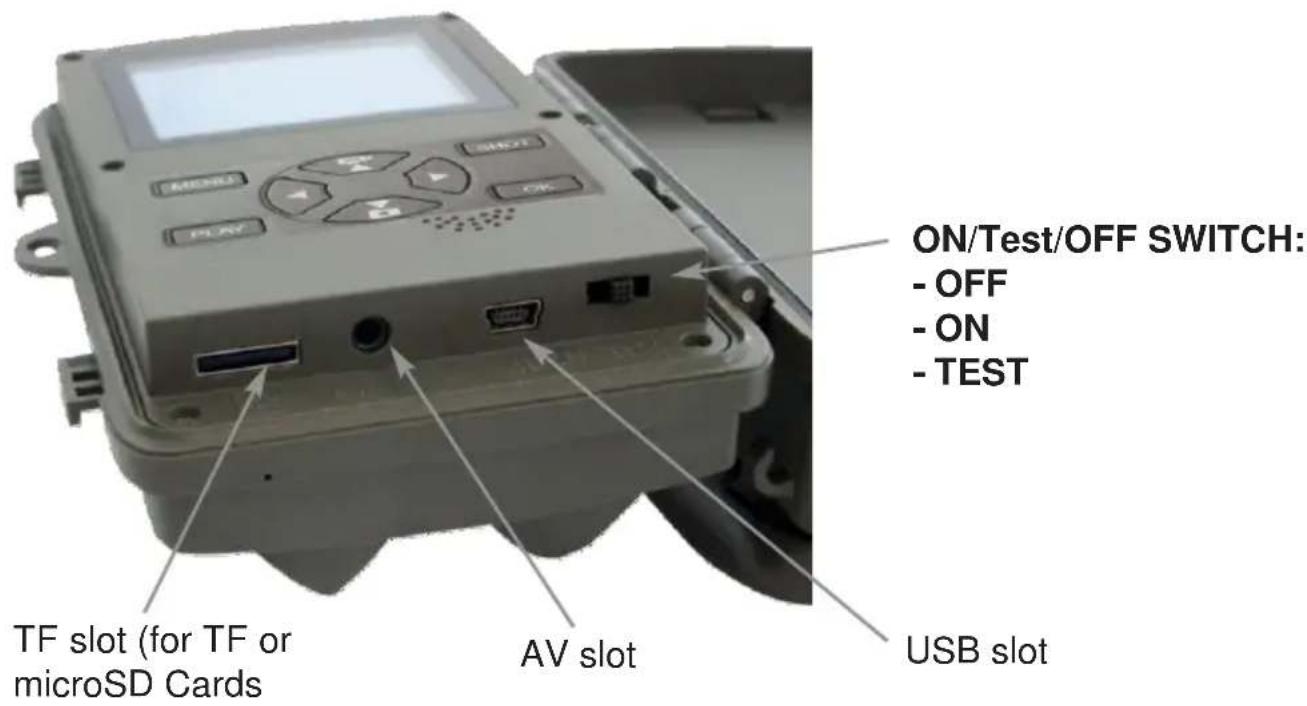
text_image
ON/Test/OFF SWITCH: - OFF - ON - TEST TF slot (for TF or microSD Cards AV slot USB slot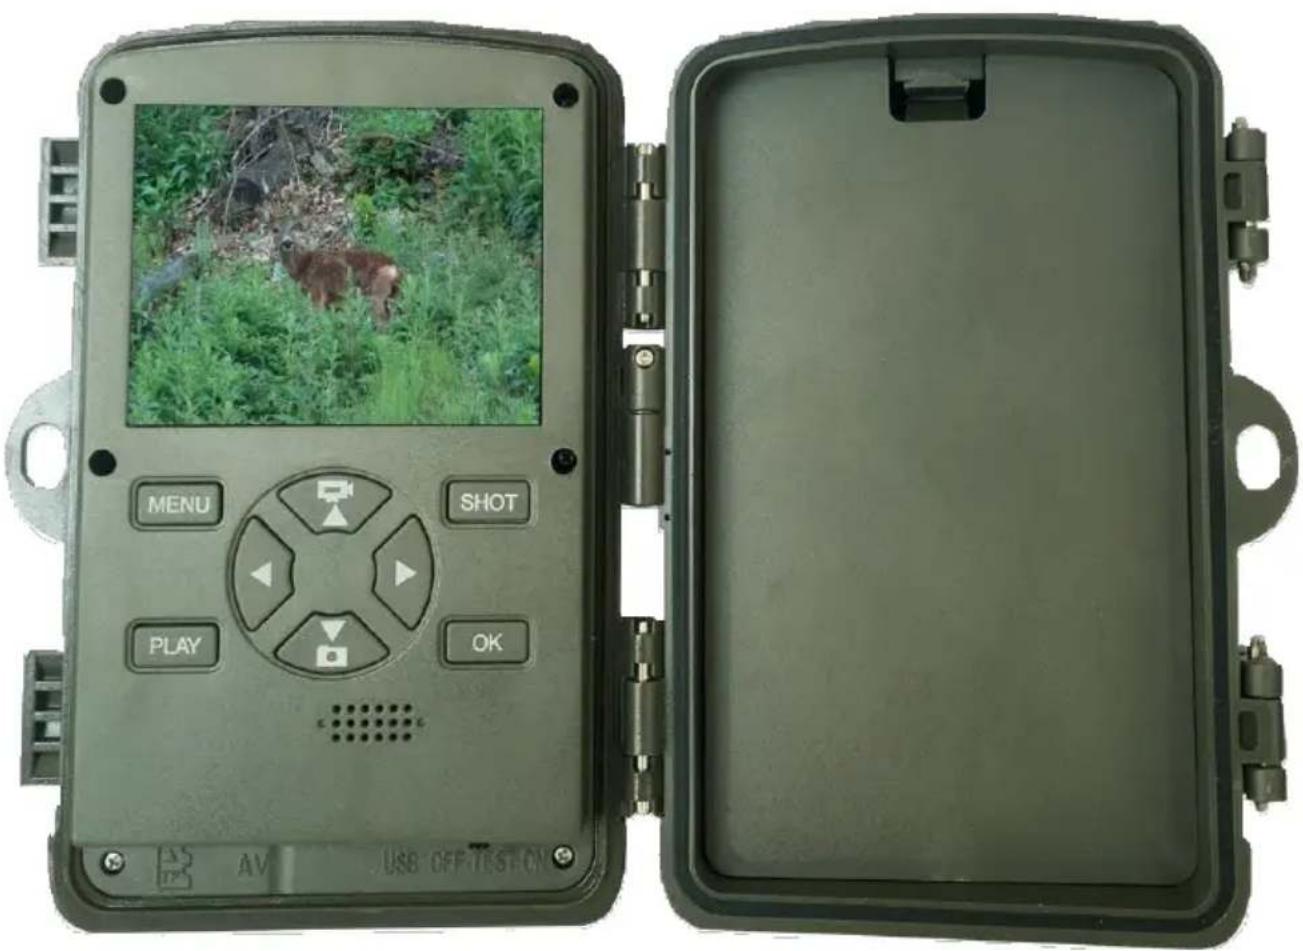
natural_image
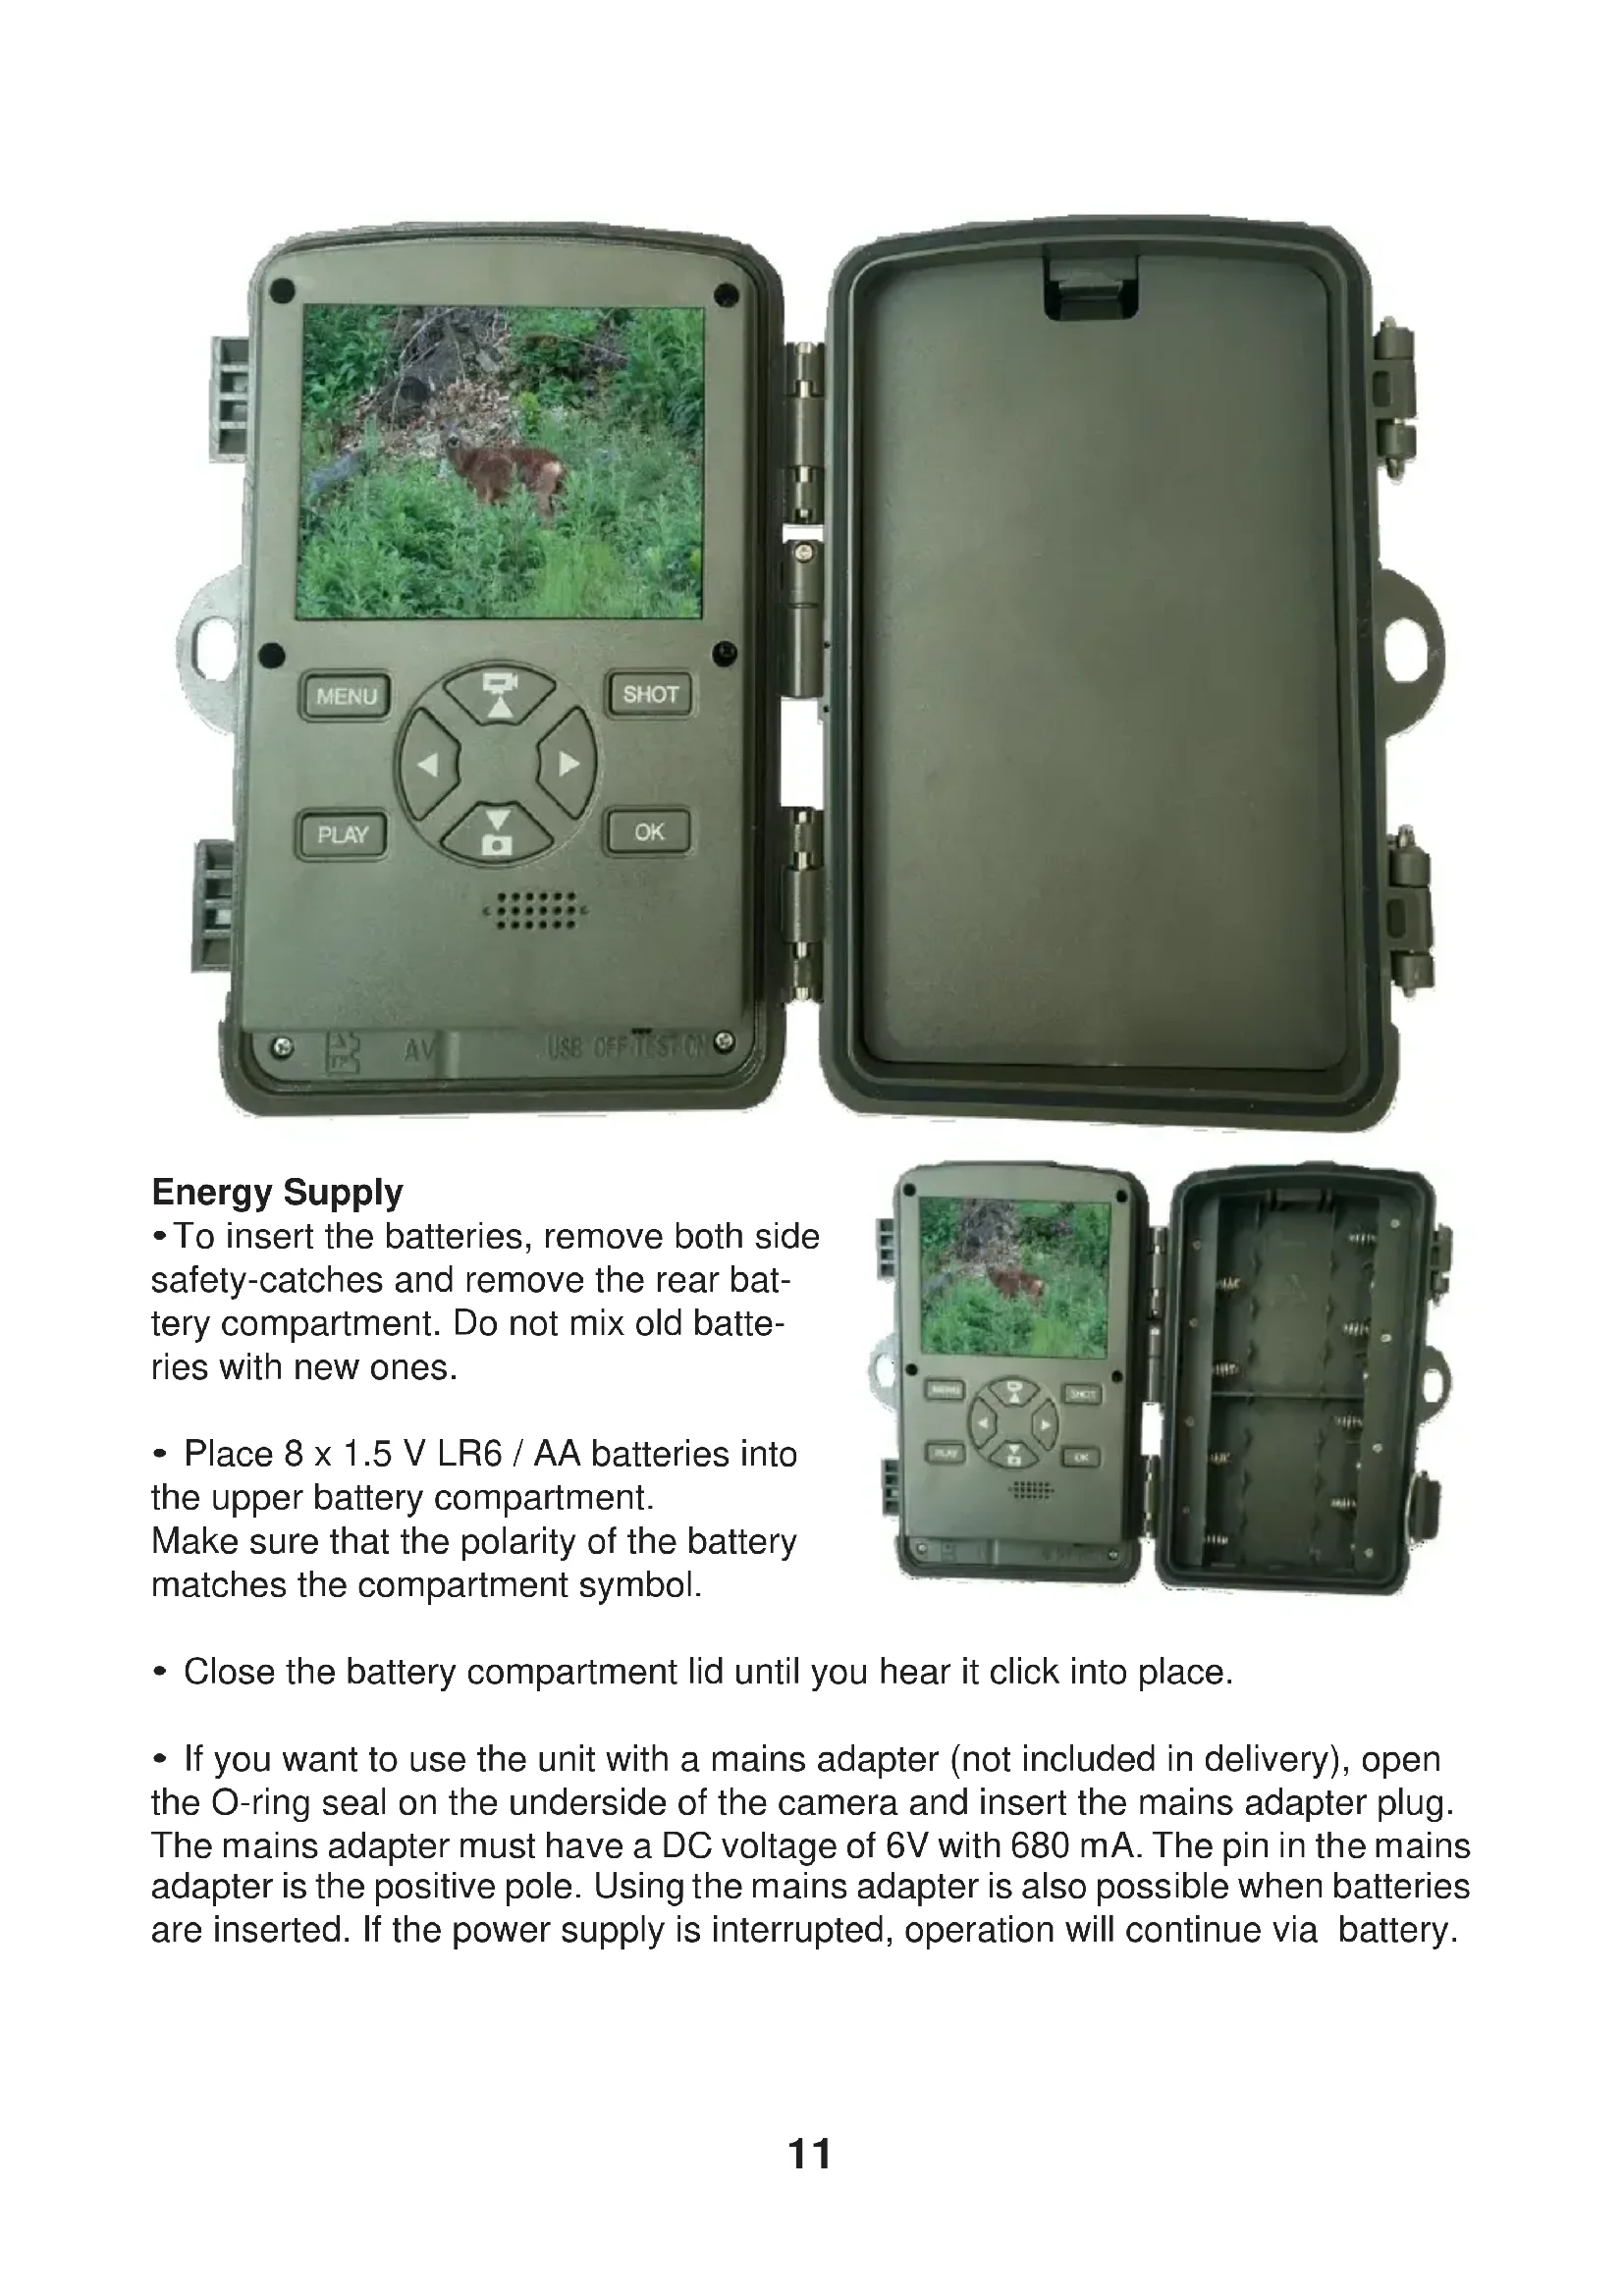
Two black rectangular enclosures: one with a digital display showing a deer photo, the other with an open camera and control buttons (no readable text or symbols)Energy Supply
- To insert the batteries, remove both side safety-catches and remove the rear battery compartment. Do not mix old batteries with new ones.
- Place 8 x 1.5 V LR6 / AA batteries into the upper battery compartment.
Make sure that the polarity of the battery matches the compartment symbol.
natural_image
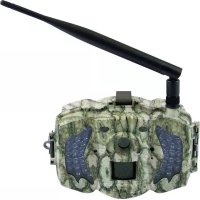
Two black-and-white photo surveillance devices with digital displays and control buttons, one open showing a green landscape image (no visible text or symbols)- Close the battery compartment lid until you hear it click into place.
- If you want to use the unit with a mains adapter (not included in delivery), open the O-ring seal on the underside of the camera and insert the mains adapter plug. The mains adapter must have a DC voltage of 6V with 680 mA. The pin in the mains adapter is the positive pole. Using the mains adapter is also possible when batteries are inserted. If the power supply is interrupted, operation will continue via battery.
Video connection to TV
- The camera can transmit a video signal to an external monitor or to the video input of a TV. Please refer to the monitor's instruction manual.
- Connect any suitable monitor to the TV-Out plug with the enclosed TV cable.
Inserting Memory Cards
- Supports micro SD cards up to 256 GB. Class 6 or higher high speed card.
- Push in the memory card as shown in the diagram on the card slot. Never force a card into the slot.
- When transporting memory cards, always wait until the card is at the temperature of its surroundings before using it. Temperature changes and humidity can cause condensation which can lead to short-circuits.
- To remove an SD / SDHC memory card from the slot, lightly press the raised edge of the card until it springs out, and then remove it completely.
- SD / SDHC memory cards have a locking system that is designed to prevent unintentional erasing of data. Select the “LOCK” position on the side of the card. However, the camera cannot save images to the card if it is set to this position.
Operational Use
Switching on and off is carried out with the selector switch "Off Test On"!
After switching on, "check IR LED Batt." Appears, then change batteries if necessary.
Set the selector switch to the "Test" position to perform the settings or programming.
◆ Press down to switch from video to photo mode
Attention! The camera automatically switches back to video mode as soon as you set the selector switch to "Test". Pay attention to the display in the upper left of the screen!
◆ Press the up button to switch from the photo back to video mode.
◆ Press the MENU button to open the settings menu.
Changes not confirmed by "OK" will not be saved!
Press the up / down button to select the desired menu entry and activate it with the OK button. If you change the setting, you must always confirm your changes with "OK".
Press the MENU button again to navigate backwards to the previous menu level.
- Mode To select whether photos or videos should be recorded, select "Photo" or "Video", or use the Up / Down selector function on the menu. Target selection will be displayed on the upper left screen. Warning! The camera will automatically switch to "Video" mode as soon as the "Test" key is activated. Pay attention to the information displayed on the upper left screen! In the "Photo + Video" mode, the camera will first take a photo and then begin to record video.
- Taking a PhotoChoose an image size: 20 Mega Pixels (also 16MP, 12MP, 8MP, 5MP, 3MP, 1MP adjustable). The larger the file, the more detailed the picture becomes. But, the maximum number of high-resolution images on the memory card will be lower.
- Serial recording Select the number of photos to be taken in sequence when the camera is activated in photo mode. 1,2,3 or 10 pictures per triggering adjustable.
- Recording a Video Select the screen resolution: 3840x2160, 2688x1520/20fps, 1920x1080, 1280x720, 848x480, 720x480, 640x480, 320x240 adjustable. Again, the higher the resolution, the sooner the capacity limit of the memory card will be reached.
- Time-Lapse: Video resolution 5200x3900, 4608x3456, 4416x3312P, 4000x3000, 3648x2736, 3264x2448, 3072x2304, 2592x1944 or 2048x1536 pixels adjustable.
- Video length Use the up/down keys to select the length of a video. Recording (between 3 seconds - 10 minutes). The longer the recording time selected, the shorter the possible operating time.
- Sound recording Confirm the function with "On" and you can record the sound during video recording.
8, Shooting range Use the up / down buttons to select the interval the camera should wait for before taking the next picture after taking a picture. This prevents too many recordings from the same event being made. You can choose between 5-60 seconds or 1-60 minutes. - IR Distance Set the distance of infrared induction.
Options (Near) / (Middle) / (Far).
-
Lateral motion detector on / off
-
Sensitivity motion detector With the up/down buttons, the IR range can be set to near, middle or far away.
The sensitivity of the main motion sensor is set here. For indoor and low noise environments, select "High". Choose "Medium" for outdoor and environments with a normal amount of Be movements and select "Low" for environments with a high level of motion. The temperature can affect the sensitivity. The "High" setting is suitable for warm ambient temperatures, while "Low" should be selected for cold environments.
-
Timer Select "On" if the camera is only active during a certain period of time. The settings made here are valid every day. The camera does not work outside the active phase. Select "Off" if the camera should always be active for 24 hours.
-
Time Lapse Recording Time Lapse Off = Off Time Lapse On = You can take pictures independently of a movement. Recording distance of 0 sec. 24 hrs adjustable. Single frames, video, off.
-
Language Here you can set English, German, Danish, Finnish, Swedish, Spanish, French, Italian, Dutch, Portuguese, Chinese or Japanese
-
Continuous recording ON / off
-
Time Date Here you can set the date format (YYYY / MM / DD, DD / MM/YYYY or MM / DD/YYYY), the time format (12/24 hours) and the time and date. Use the up / down keys to change the value and the left / right keys to toggle between values. Confirm with the OK button.
-
Photo Stamp Here you can choose if you want to have your photos stamped with time and date or only with date or not.
-
Password Set the power-on password of the camera. The password is four digits, each digit ranges from 0 to 9 or A to Z.
If you forget the password, please reset the camera. Then all parameters will reset to the factory settings.
Options: (On) / (Off)
-
Acoustic signal for menu guidance, on or off
-
Format the memory card The Format Memory Card feature permanently erases all data. Before you use a new memory card in the camera or a card that has been used in another device, you should first format the memory card. Select "Yes" with the OK button and confirm the following message with OK. The formatting process begins. While the card is being formatted, the message "Please wait" appears.
-
Serial No. The factory default is: 0000 and can be changed to your liking.
-
Reset settings If you confirm with the menu item "Yes", all camera settings including the PIN code will be deleted and the factory setting will be reactivated.
-
Version View which software version is installed on the camera.
Align the camera
In test mode, you can train the optimal shooting angles and test the range of motion sensors.
Set the slide switch from "off" to "test", close the camera, lock it with the locking clips and hang the camera in the desired position. If you move sideways towards the camera, its movement will be indicated by a "blue LED" as soon as it is detected by the side PIR's. Go on and their movement is detected via the "central PIR" and displayed via a "green LED". In this way, you can work out the best orientation for the camera.
Activate camera for operation
When you have made all the settings and you want to put the camera into operation, set the slide switch to "on".
The red LED on the front of the camera will blink for a few seconds, indicating that the camera has been armed.
Night shots
During the night, the black infrared LEDs on the front of the camera provide the necessary exposure.
Display the pictures on the screen
Set the slide switch to the "Test" position and press the "Replay" button. Now you will see the latest image (the top right of the display shows you the total number of images). With the "up" "down" buttons you can wander through the pictures. With the "shot" button you can zoom in on the displayed image, with the "ok" button you can zoom in smaller. When you zoom in, you can use the arrow keys to move the zoom box. With the "Menu" button you can delete a selection, delete all recordings, activate the slideshow or activate a write protection.
If the currently selected recording is a video (as indicated by the indicator in the upper left corner of the display), press the "OK" button to play the video. Press the "OK" button again to stop the video.
If you press the "Menu" button, the video goes back to the beginning.
Download and install the WIFI app on a smartphone and setting the camera to your liking.
Android Version:
Go to your play store under trail cam and load Download the app: "GCamPro".

IOS Version:
Go to your app store under trail cam and load Download the app: "GCamPro".


natural_image
Photo of two deer in a forest setting, one adult and one child, with no visible text or symbols on the animals or background.
text_image
QcamPro TF Card Setting Information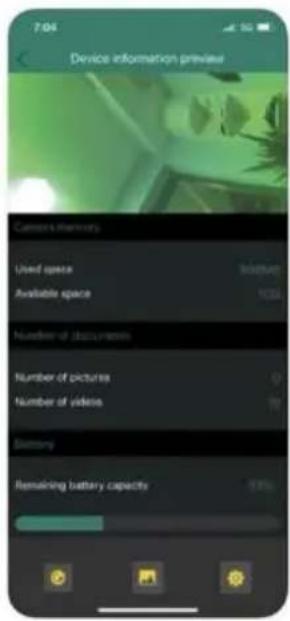
text_image
Device information preview Categories: Memory Used space Available space Number of documents Number of pictures Number of videos Battery Remaining battery capacityConnect the camera and your smartphone via WiFi.
- Download and install the app "GCamPro" from the App Store on your smartphone and turn on the Bluetooth and WIFI functions.
- Turn the power switch of the camera from "OFF" to "ON".
- Once the 15-second countdown is finished, the camera will enter sleep mode. (If the camera is already in work mode, please ignore step 2 and step 3.)
- Open the "GCamPro" app and click "Add Camera", a new interface will appear, please click the device you want to connect and click "+Add" to jump to the Bluetooth list. When you find the Bluetooth hotspot of GCamPro and click it, "Send Bluetooth instructions..." will appear, then "WIFI on, please connect" will appear and the WIFI list will come up automatically. Locate the WIFI hotspot named "GCamPro*****". (if you can't see this hotspot, please wait or refresh the list), then enter the initial password "12345678" to establish the WIFI connection;
(F) Mode d'emploi
32034 Wifi 4K Full HD Game Camera, Fonction Wifi via l'application Introduction
natural_image
Photo of two deer in a forest setting, one with long antlers, no visible text or symbols
text_image
OcamPro TF Card Setting Information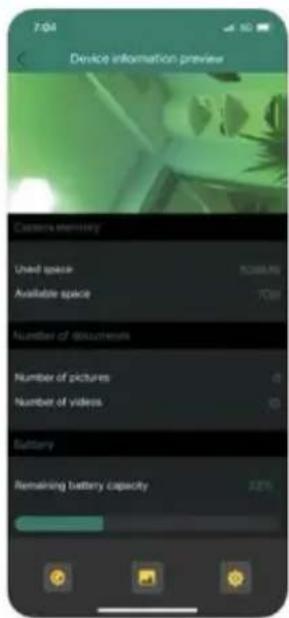
text_image
Device information preview Camera memory Used space 5000.00 Available space 700 Number of disclosures Number of pictures 0 Number of videos 0 Battery Remaining battery capacity 12%natural_image
Two black rectangular enclosures: one with a digital display showing a deer photo, the other with an open camera and control buttons (no readable text or symbols)Energievoorziening
natural_image
Two black-and-white photo surveillance devices with digital displays and control buttons, one open showing a green landscape image (no visible text or symbols)natural_image
Photo of two deer in a forest setting, one with large antlers, no visible text or symbols on the animals or background.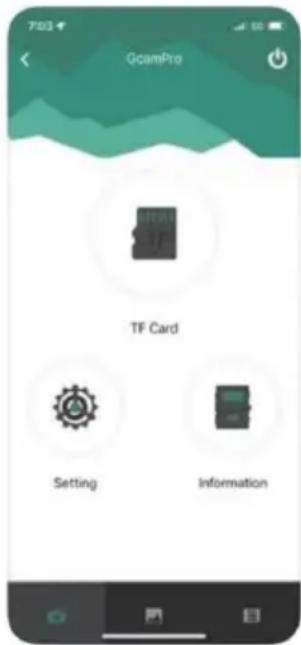
text_image
7634 GcamPro TF Card Setting Information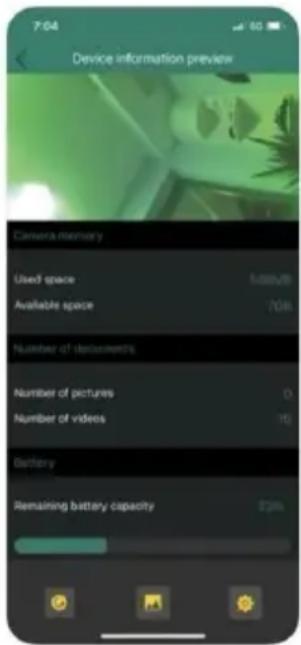
text_image
Device information preview Camera memory Used space 500MB Available space 70KB Number of downloads Number of pictures 0 Number of videos 10 Battery Remaining battery capacity $2MVerbinding van camera en pad/smartphone via WiFi