M6000 - Computer Mouse Cherry - Free user manual and instructions
Find the device manual for free M6000 Cherry in PDF.
| Product type | Wireless optical mouse |
| Brand | Cherry |
| Model | M6000 (Power WheelMouse wireless optical) |
| Sensor technology | Optical |
| Resolution | 800 dpi |
| Number of buttons | 4 programmable buttons |
| Scroll wheel | Power Wheel (scrolling) |
| Power supply | 2 AA batteries (standard or rechargeable) |
| Battery life | Up to several months with power saving function |
| Connectivity | Wireless, USB receiver with USB-PS/2 adapter |
| Wireless range | Approximately 2 meters (depending on environment) |
| System compatibility | Windows 95/98/ME/NT4/2000/XP (USB or PS/2) |
| Recommended surface | Light and textured surface (avoid reflective surfaces) |
| Material / Finish | Soft Touch surface for a comfortable grip |
| Ergonomics | Ergonomic shape adapted to the hand |
| Power saving function | Sleep mode after 15 minutes of inactivity (reactivation by click or movement) |
| Maintenance and cleaning | Clean with a soft, dry cloth; avoid liquids |
| Dimensions (approx.) | 120 x 65 x 40 mm |
| Weight (approx.) | 120 g (without batteries) |
| Included accessories | Receiver, USB-PS/2 adapter, driver CD, batteries |
| After-sales service | Free support via Cherry Internet Support System (CISS) or phone/fax |
Frequently Asked Questions - M6000 Cherry
User questions about M6000 Cherry
0 question about this device. Answer the ones you know or ask your own.
Ask a new question about this device
Download the instructions for your Computer Mouse in PDF format for free! Find your manual M6000 - Cherry and take your electronic device back in hand. On this page are published all the documents necessary for the use of your device. M6000 by Cherry.
USER MANUAL M6000 Cherry
Cherry Power WheelMouse wireless optical
Instructions
natural_image
Green electronic device with a cable and ventilation slots (no visible text or symbols)
natural_image
Green and silver computer mouse with scroll wheel (no text or symbols visible)| Deutsche Version 1-4 | |
| English Version 5-8 | |
| Version française 9-12 | |
| Versione italiana 13-16 | |
| Versión en español 17-20 | |
| Nederlandse versie 21-24 | |
| Русская версия 25-29 | |
| Technical data 30 | |
| Certification 31 |
Deutsche Version
Cherry constantly optimizes its products in the course of the development of new technologies. We therefore reserve the right to implement technical alterations. The reliability is determined and the technical specifications are defined in accordance with the Cherry-internal test in order to fulfill the internationally recognized regulations and standards. Any deviating requirements can be fulfilled by mutual cooperation. Improper handling, storage and outer influences can lead to faults and damage in use. We do not accept any guarantee if our product is modified by the user and are not liable for any unauthorized modifications. All the repairs have to be carried out by Cherry or an officially authorized person or organization. There is a danger of explosion if the optionally used lithium battery is replaced improperly! Any claims for compensations against Cherry or its appointed representatives – irrespective of the legal justification (including bodily harm caused by stress) - are excluded, unless we are guilty of intent or non-observance of current product liability regulations. The present operating instructions are only valid for the product supplied with them.
Further information can be obtained from the respective Cherry distributors or directly from Cherry GmbH.
2 Printed and online information
Information on the setup, operation and configuration of the Cherry Power WheelMouse wireless optical is contained partially in these quick-start instructions and partially in an online version (as a context-sensitive help function and as electronic operating instructions). Please also observe the license agreement and general user information on our product included therein.
The information is presented according to the following criteria:
- The context-sensitive help provides you with information where you need it; however, should you wish to read the documentation in printed form, you can call up the electronic operating instructions (CD-ROM | Manual) and print out the contents.
- By presenting only the most essential information on paper, we are reducing the unnecessary use of paper and thus making our contribution towards environmental protection.
3 Advantages of the Cherry Power WheelMouse wireless optical
You can install and configure the Cherry Power WheelMouse wireless optical easily. The following features and functions make working with the mouse efficient and comfortable.
- The power management function guarantees a long battery life.
- The resolution of up to 800 dpi allows precise working.
- An optical sensor replaces the ball and makes troublesome cleaning of the mouse superfluous.
• The Power Wheel allows you to scroll comfortably.
• The Soft Touch surface ensures a pleasant operating feeling. - The software allows you to assign functions individually to the four mouse buttons.
• The wireless variant offers more freedom of movement when handling the mouse.
• The ergonomic form ensures that the mouse lies well in your hand.

Prerequisite for optimal use
A bright, structured surface under the mouse increases the efficiency of the mouse:
- It ensures optimum detection of movement.
• It increases the battery life.
A reflective surface is not suitable for use under the mouse.
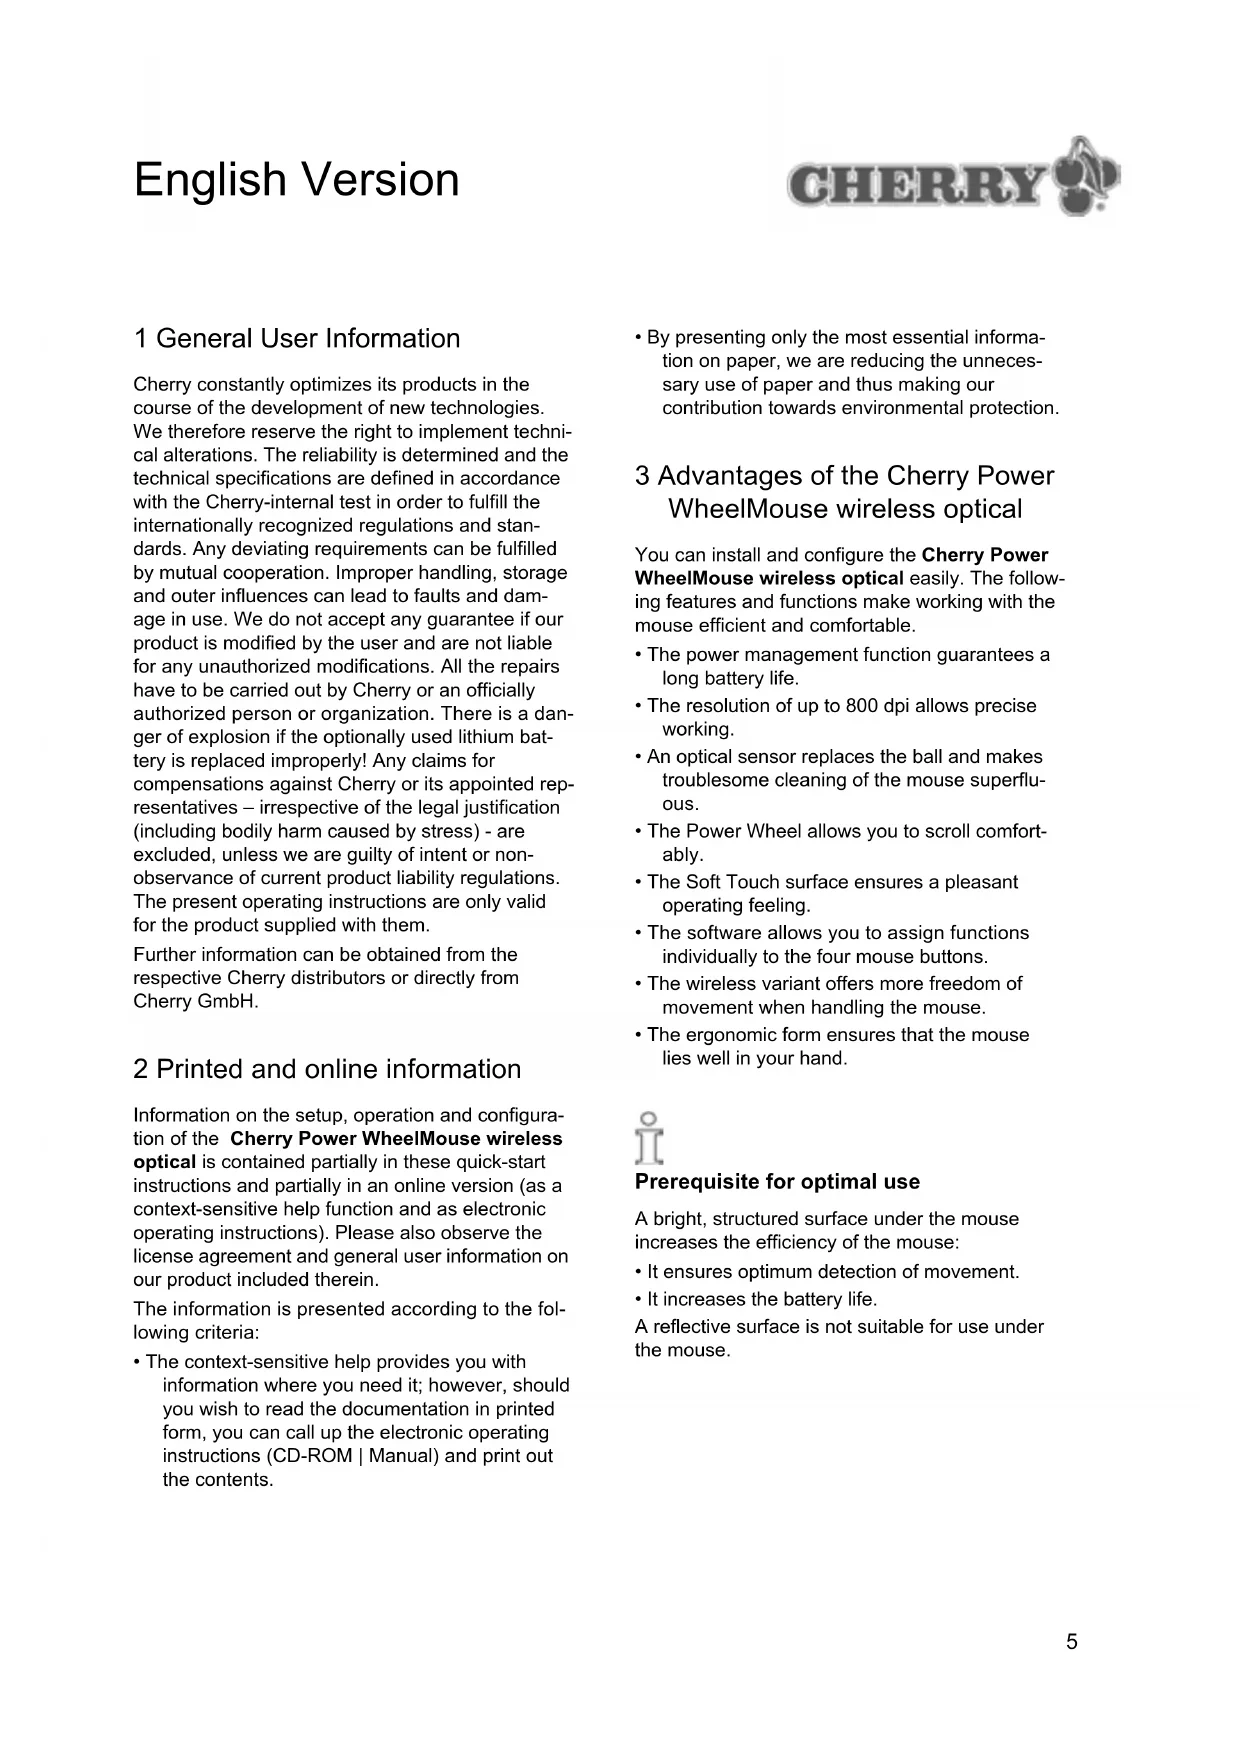
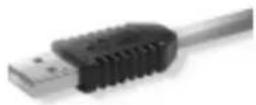
4 Connecting and starting-up the devices
The receiver of the Cherry Power WheelMouse wireless optical is supplied with a USB connector. You can also connect it to the PS/2 port of the PC by means of the USB-PS/2 adapter.

You must first switch off the PC if you connect the receiver to the PS/2 port of the PC by means of the adapter.
You can connect the receiver to the USB port of the PC while the PC is running.

Under Windows 95 and Windows NT you can only use the Cherry Power WheelMouse wireless optical by means of the USB-PS/2 adapter, since Windows 95 and Windows NT do not support USB.
How to insert the batteries into the Cherry Power WheelMouse wireless optical
1 Open the battery compartment on the underside of the mouse.
2 Insert the two included batteries, type AA, into the housing.
3 Close the cover.

Positioning the receiver on the desk
If your desk has a wooden surface, you can achieve optimal receipt conditions by positioning the receiver horizontally.
If your desk has a metal surface, you can achieve optimal receipt conditions by positioning the receiver vertically. You can use the base of the receiver to this purpose.
How to connect the receiver to your PC via the USB port
1 Locate a USB port on the rear of your PC.
2 Remove the USB-PS/2 adapter from the USB connector of the receiver cable.
3 Connect the receiver connector with the USB port.
How to connect the receiver to your PC via the PS/2 port
1 Locate the round 6-pin PS/2 mouse port on the rear of your PC.

2 Connect the PS/2 connector of the USB-PS/2 adapter with the PS/2 port of the PC.
5 Simultaneous operation of several mice
Interference may occur during transfer when operating several mice in close proximity to each other. To prevent this, the individual signal transfer from your mouse to your receiver must be activated.
How to activate the individual signal transfer between the mouse and the receiver
1 Briefly press the button on the receiver. The LED of the receiver is activated and lights up for approx. one minute.
2 Press the button on the underside of the mouse with a pointed object (e.g. ballpoint pen) when the LED lights up.
The LED of the receiver extinguishes. The individual signal transfer is activated.

The data transfer between the mouse and the receiver is indicated by the LED briefly flashing.

Following a battery change, the individual signal transfer must be reactivated.
How to deactivate the individual signal transfer between the mouse and the receiver
1 Press the button on the receiver for approx. 5 seconds.
The LED of the receiver lights up dimly. The individual signal transfer is deactivated.

The data transfer between the mouse and the receiver is indicated by the LED briefly flashing brightly.
6 Activating and using the power management function
The power management function of the Cherry Power WheelMouse wireless optical switches the mouse off completely after a 15 minute period in which the mouse is not moved. This considerably increases the battery life.
How to activate the power management function
1 Remove the batteries.
2 Simultaneously press and hold the left mouse button and the Start button (button on the left-hand side) and reinsert the batteries.

Following a battery change, the energy-saving mode must be reactivated.
How to reactivate the mouse in the energy-saving mode
If the mouse has not been moved for longer than 15 minutes, you must switch it on manually.
1 Press any button.
The mouse is ready to operate.

When the power management function is inactive, the mouse is in the Sleep mode, which saves less energy. After a period of 15 minutes without movement, the surface under the mouse is only scanned a few times per second. Moving the mouse or pressing a button ends the Sleep mode.
7 Installing the mouse under Windows 95/98/ME/NT4/2000/XP
To install the software underWindows 95/98/ME/NT4/2000/XP
1 Place the enclosed CD-ROM in your CD-ROM drive.
The CD-ROM starts automatically. The Cherry Power WheelMouse optical window is opened.
- OR -
If the CD-ROM is not started automatically, select CD-ROM Drive | Software in the Windows Explorer and double-click the file
Setup.exe with the left mouse button.
Installation begins.
2 If the CD-ROM starts automatically, click on the entry Start software installation.
Depending on the settings of your Internet Browser you can save or open the file.
- If possible, select the option Open and click on the OK command button. Installation begins.
- If only the option to save the file exists, cancel the dialog box, select CD-ROM drive | Software in the Windows Explorer and double-click with the left mouse button on the file Setup.exe.
Installation begins.
3 Follow the installation instructions on the screen.
8 Operating the mouse

Information on the operation and configuration of the mouse
Detailed information on operating and configuring the mouse is contained in the electronic operating instructions (CD-ROM | Manual).
9 Replacing mouse batteries

When replacing the batteries you can also used rechargeable batteries of the same type instead of standard batteries.
To replace the mouse batteries
1 Open the rectangular battery compartment cover on the underside of the mouse.
2 Remove the low batteries.
3 Insert two new batteries of the type R6 (AA).
4 Close the cover.

If you have activated the individual signal transfer (see Section 5), you must reactivate the individual signal transfer function after inserting the batteries to establish a connection to the receiver.

Following a battery change, the energy-saving mode must be reactivated.
10Support
We offer a free support service in order to help you with any problems you may encounter in the installation of the mouse or the software.
Under http://support.cherry.de, you can contact the CHERRY INTERNET SUPPORT SYSTEM (CISS). There you can submit your questions to us directly around the clock and seven days a week.
If you do not have an Internet connection, please contact us at the following address or under the following telephone or fax numbers:
CHERRY GmbH
Cherrystrasse
D-91275 Auerbach
Hotline:
Tel.: +49(0)9643-18-206
Fax: +49(0)9643-18-545
We are available to help you Monday to Thursday from 07:15 am to 04:00 pm and Friday from 07:15 am to 01:30 pm.
Version française
1 Cherry Power WheelMouse wireless optical (M-6000)
Operating conditions
| Designation Value | |
| Mouse type 4-key wheel | mouse |
| Resolution 800 dpi | |
| Transmit range 5 m (typical) | |
| Power supply 2 type AA batteries | |
| Transmit frequency 27.045 MHz | |
| Number of settable frequency channels | 1 |
| Storage temperature range | -40 °C to +65 °C |
| Operating temperature range | 0 °C to +50 °C |
2 Receiver (R-6000)
Operating conditions
| Designation Value | |
| Interface Combo (USB+P) | S/2) |
| Receiver frequency 27.045 MHz | |
| Number of settable frequency channels | 1 |
| Number of settable ID codes | 4096 |
| Transmit range 1.5 ~ 2.0 | Meter depends on environment |
| Storage temperature range | -40 °C to +60 °C |
| Operating temperature range | 10 °C to +40 °C |
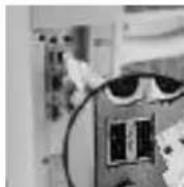
Connections
| PS/2 USB | |
 |  |
Rated voltage
| PS/2 USB | |
| Vcc = 5V ± 10% V_bus = | 4.0 .. 5.5V |
Rated current
| PS/2 USB | |
| Icc ≤ 20mA | I_bus ≤ 20mA |
Pin assignment
| PS/2 USB | |
PS/2 Male Frontview USB  | Plug Frontview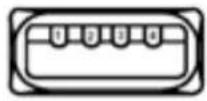 |
| Pin Numbers PS/2 Description | |
| 3 | GND |
| 4 | Vcc |
| 2 | n.c. |
| 5 | Clock |
| 1 | Data |
| 6 | n.c. |
| Pin Numbers USB | Description |
| 1 | VBUS |
| 2 | D- |
| 3 | D+ |
| 4 | GND |
| Schell | Shield |
Certification
1 Declaration of CE-conformity
We, Cherry GmbH, declare that the product Cherry Power WheelMouse wireless optical, consisting of the mouse M-6000 and the receiver R-6000, fulfills the following requirements:
- Low-Voltage Directive 73/23/EEC tested in accordance with EN 60950:2000
• EMC Directive 89/336/EEC, ensured via testing in accordance with EN 61000-4-2, EN 61000-4-3, EN 61000-4-6, specified in EN 55024 (1998) and EN 55022 (1998) Class B - R&TTE Directive 99/5/EEC, ensured via testing in accordance with ETS 300683, ETS 300330 (9kHz-30MHz) SRD, ETS 300220 (25-1000MHz) SRD, ETS 300440 (1-25GHz) SRD.
2 Federal Communications Commission (FCC) Radio Frequency Interface Statement
Information to the user: This equipment has been tested and found to comply with the limits for Class B digital device, pursuant to Part 15 of the FCC Rules. These limits are designed to provide reasonable protection against harmful interference in a residential installation. This equipment generates, uses and can radiate radio frequency energy and, if not installed and used in accordance with the instructions, may cause harmful interference to radio communications. However, there is no guarantee that interference will not occur in a particular installation. If this equipment does cause harmful interference to radio or television reception, which can be determined by turning the equipment off and on, the user is encouraged to try to correct the interference by one or more of the following measures:
- Reorientate or relocate the receiving antenna.
- Increase the separation between the equipment and receiver.
- Connect the equipment into an outlet on a circuit different from that to which the receiver is connected.
- Consult the dealer or an experienced radio/TV technician for help.
Caution: Cherry is not responsible for any radio or television interference caused by unauthorized modifications of this equipment or the substitution or attachment of connecting cables and equipment other than those specified by Cherry! Such unauthorized modifications, substitutions, or attachments may void the user's authority to operate the equipment. The correction of interferences caused by such unauthorized modifications, substitutions, or attachments may void the user's authority to operate the equipment. The correction of interferences caused by such unauthorized modifications, substitutions, or attachments will be the responsibility of the user. Use only shielded interface cables to ensure compliance.
3 Canadian Radio Interference Regulations
This digital apparatus does not exceed the Class B limits for radio noise emissions from digital apparatus set out in the Radio Interference Regulations of the Canadian Department of Communications.