9057000 - Binoculars National Geographic - Free user manual and instructions
Find the device manual for free 9057000 National Geographic in PDF.
| Brand | National Geographic |
| Model | 9057000 |
| Product type | Spotting scope with table tripod |
| Magnification | Variable zoom |
| Focus | Focus wheel |
| Main tube rotation | Yes, with clamping screw |
| Sunshade | Telescopic, extendable |
| Tripod adapter | Standard thread on the tube |
| Delivery contents | Spotting scope, table tripod, carry bag, cleaning cloth |
| Power supply | None (optical instrument) |
| Safety | Never look at the sun – risk of blindness |
| Lens care | Soft lint-free cloth (microfiber), glasses cleaning product if needed |
| Protection | Dust caps, store in bag |
| Warranty | 5 years from date of purchase |
| Repairability | Do not disassemble – contact retailer or customer service |
| Disposal | Follow local regulations (waste sorting) |
Frequently Asked Questions - 9057000 National Geographic
User questions about 9057000 National Geographic
0 question about this device. Answer the ones you know or ask your own.
Ask a new question about this device
Download the instructions for your Binoculars in PDF format for free! Find your manual 9057000 - National Geographic and take your electronic device back in hand. On this page are published all the documents necessary for the use of your device. 9057000 by National Geographic.
USER MANUAL 9057000 National Geographic
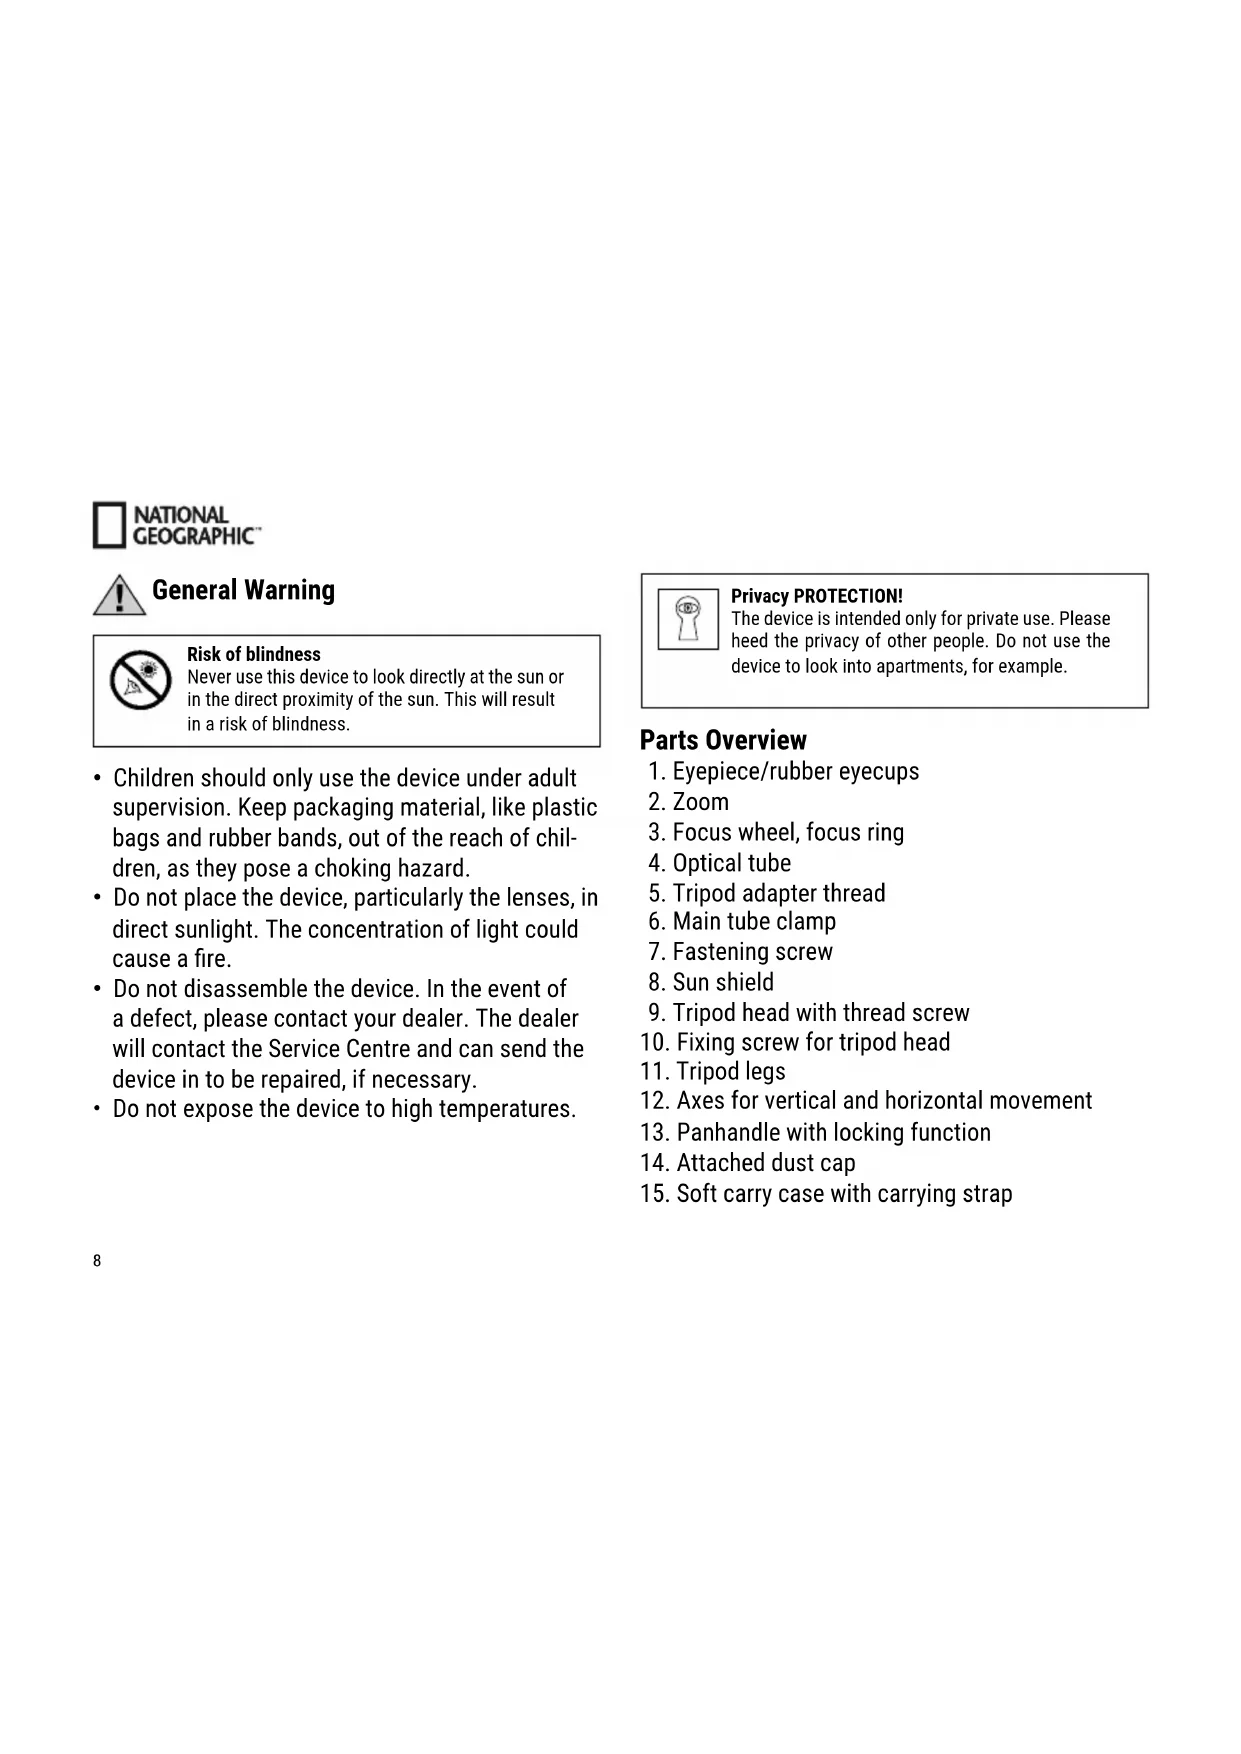
Never use this device to look directly at the sun or in the direct proximity of the sun. This will result in a risk of blindness.
- Children should only use the device under adult supervision. Keep packaging material, like plastic bags and rubber bands, out of the reach of children, as they pose a choking hazard.
- Do not place the device, particularly the lenses, in direct sunlight. The concentration of light could cause a fire.
- Do not disassemble the device. In the event of a defect, please contact your dealer. The dealer will contact the Service Centre and can send the device in to be repaired, if necessary.
- Do not expose the device to high temperatures.

Privacy PROTECTION!
The device is intended only for private use. Please heed the privacy of other people. Do not use the device to look into apartments, for example.
Parts Overview
- Eyepiece/rubber eyecups
- Zoom
- Focus wheel, focus ring
- Optical tube
- Tripod adapter thread
- Main tube clamp
- Fastening screw
- Sun shield
- Tripod head with thread screw
- Fixing screw for tripod head
- Tripod legs
- Axes for vertical and horizontal movement
- Panhandle with locking function
- Attached dust cap
- Soft carry case with carrying strap
Scope of delivery
Spotting scope
Table tripod
Nylon carry case
Cleaning cloth
Fastening the scope on the tripod
Take the scope out of the packaging and pull out the tripod legs (11) as far as they can go. Place the tripod on an even, stable base, like a table.
Your scope has a normed tripod adaptor thread (5), which can be screwed onto the tripod adapter thread screw (9) on the tripod. After attaching, tighten the fixing screw (10) beneath the tripod head.
Aligning the scope for viewing
Unlock the vertical and horizontal axes (12) by turning the panning handle (13) anticlockwise.
Now you can move scope, attached to the tripod head, on both axes (vertical and horizontal), for opti
mal positioning. When you have reached the desired observing position, the scope can be locked by turning the panning handle (13) clockwise.
Controls
- Focus:
Look into the eyepiece (1) and rotate the focus wheel (3) in either direction to focus on an object. Keep turning the wheel until you can see the image clearly.
- Zoom:
Rotate the zoom control (2) to zoom in or out on an object; then use the focus knob (3) to refocus.
- Moving the main tube:
This spotting scope has a main tube clamp (6) and fastening screw (7). Turn the screw (7) anticlockwise to unfasten the main tube clamp. You can then turn the entire main tube (4) about its own axis to vary the eyepiece (1) position.

NATIONAL GEOGRAPHIC
To fasten the main tube in the desired position, turn the fastening screw (7) clockwise.
- Indoor versus outdoor:
Although you may casually observe through an open or closed window, observing outdoors ensures optimal viewing conditions. Temperature differences between indoor and outdoor air and the low quality of window glass can blur images seen through the spotting scope.
Sun shield:

Extend the sun shield (8) when strong sunshine affects your visibility. Put your hand around the spotting scope aperture ring and try push the shield out. But you should never sit or near the sun! To find out more, read the说明书 in this manual.
Observing land objects
When viewing objects on land, you will be observing through air with varying levels of refractivity due to
varying air temperatures. This phenomenon causes things to look wavy, causing a loss of image quality. You may have noticed this phenomenon when driving down a highway on a hot day.
If this optical phenomenon interferes with your viewing, try focusing at low power to see a steadier, higher-quality image. Also, try observing in the early morning, when air temperature is relatively uniform.

NOTES on cleaning
-
Clean the eyepieces and lenses only with a soft, lint-free cloth, like a microfibre cloth. Do not apply excess pressure to the cloth to avoid scratching the lenses.
-
To remove more stubborn dirt, moisten the cleaning cloth with an eyeglass-cleaning solution, and wipe the lenses gently.
-
Protect the device from dust and moisture. After use, particularly in high humidity, let the device acclimatize for a short period of time before stor
ing so that the residual moisture can dissipate. Remove the dust cover and store it in the included bag during use.
DISPOSAL

Dispose of the packaging materials properly, according to their type, such as paper or cardboard. Contact your local waste-disposal service or environmental authority for information on the proper disposal.
Please take the current legal regulations into account when disposing of your device. You can get more information on the proper disposal from your local waste-disposal service or environmental authority.
Warranty & Service
The regular guarantee period is 5 years and begins on the day of purchase. You can consult the full guarantee terms and details of our services at www.bresser.de/warranty_terms.

NATIONAL GEOGRAPHIC

BESCHERMING van privacy!
Advertencias de character general

National Geographic Partners LLC. All rights reserved. NATIONAL GEOGRAPHIC and Yellow Border Design are trademarks of National Geographic Society, used under license.

BRESSER
Bresser GmbH