LMZ 5800TR - Lawn mower Texas - Free user manual and instructions
Find the device manual for free LMZ 5800TR Texas in PDF.
User questions about LMZ 5800TR Texas
0 question about this device. Answer the ones you know or ask your own.
Ask a new question about this device
Download the instructions for your Lawn mower in PDF format for free! Find your manual LMZ 5800TR - Texas and take your electronic device back in hand. On this page are published all the documents necessary for the use of your device. LMZ 5800TR by Texas.
USER MANUAL LMZ 5800TR Texas
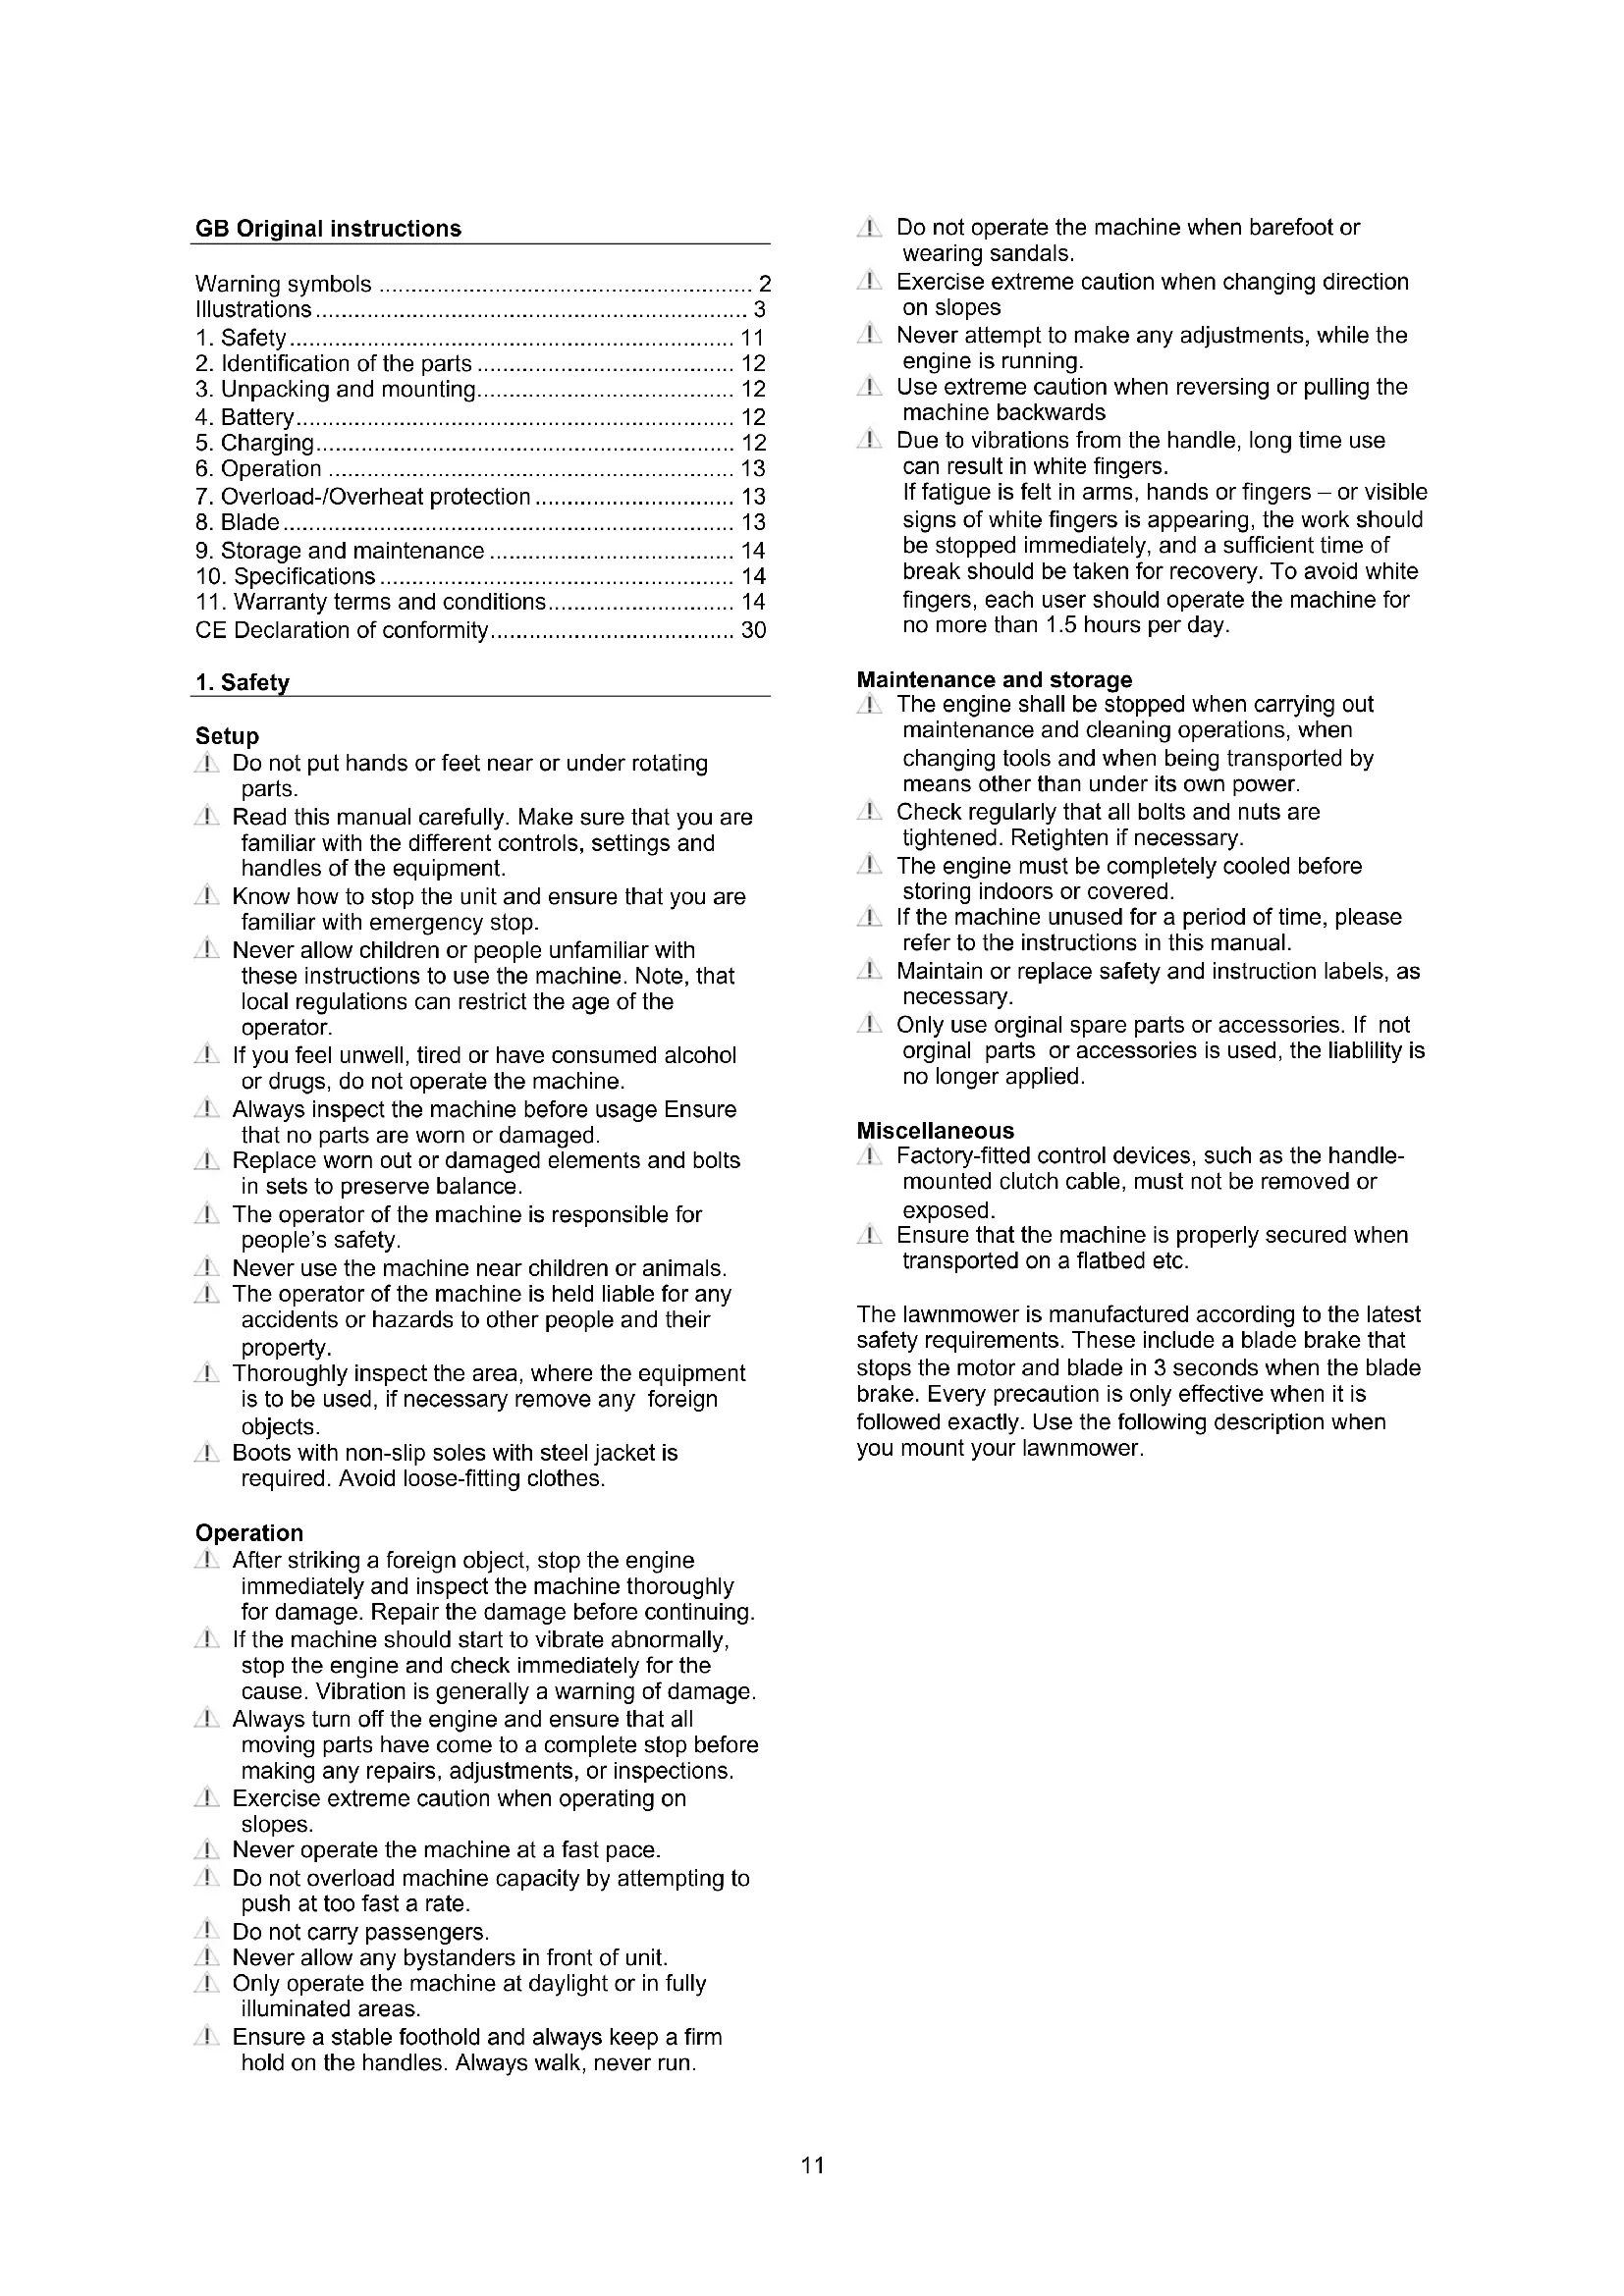
Setup Do not put hands or feet near or under rotating parts. Read this manual carefully. Make sure that you are familiar with the different controls, settings and handles of the equipment. Know how to stop the unit and ensure that you are familiar with emergency stop. Never allow children or people unfamiliar with these instructions to use the machine. Note, that local regulations can restrict the age of the operator. If you feel unwell, tired or have consumed alcohol or drugs, do not operate the machine. Always inspect the machine before usage Ensure that no parts are worn or damaged. Replace worn out or damaged elements and bolts in sets to preserve balance. The operator of the machine is responsible for people’s safety. Never use the machine near children or animals. The operator of the machine is held liable for any accidents or hazards to other people and their property. Thoroughly inspect the area, where the equipment is to be used, if necessary remove any foreign objects. Boots with non-slip soles with steel jacket is required. Avoid loose-fitting clothes. Operation After striking a foreign object, stop the engine immediately and inspect the machine thoroughly for damage. Repair the damage before continuing. If the machine should start to vibrate abnormally, stop the engine and check immediately for the cause. Vibration is generally a warning of damage. Always turn off the engine and ensure that all moving parts have come to a complete stop before making any repairs, adjustments, or inspections. Exercise extreme caution when operating on slopes. Never operate the machine at a fast pace. Do not overload machine capacity by attempting to push at too fast a rate. Do not carry passengers. Never allow any bystanders in front of unit. Only operate the machine at daylight or in fully illuminated areas. Ensure a stable foothold and always keep a firm hold on the handles. Always walk, never run. Do not operate the machine when barefoot or wearing sandals. Exercise extreme caution when changing direction on slopes Never attempt to make any adjustments, while the engine is running. Use extreme caution when reversing or pulling the machine backwards Due to vibrations from the handle, long time use can result in white fingers. If fatigue is felt in arms, hands or fingers – or visible signs of white fingers is appearing, the work should be stopped immediately, and a sufficient time of break should be taken for recovery. To avoid white fingers, each user should operate the machine for no more than 1.5 hours per day. Maintenance and storage The engine shall be stopped when carrying out maintenance and cleaning operations, when changing tools and when being transported by means other than under its own power. Check regularly that all bolts and nuts are tightened. Retighten if necessary. The engine must be completely cooled before storing indoors or covered. If the machine unused for a period of time, please refer to the instructions in this manual. Maintain or replace safety and instruction labels, as necessary. Only use orginal spare parts or accessories. If not orginal parts or accessories is used, the liablility is no longer applied. Miscellaneous Factory-fitted control devices, such as the handle- mounted clutch cable, must not be removed or exposed. Ensure that the machine is properly secured when transported on a flatbed etc. The lawnmower is manufactured according to the latest safety requirements. These include a blade brake that stops the motor and blade in 3 seconds when the blade brake. Every precaution is only effective when it is followed exactly. Use the following description when you mount your lawnmower.12
2. Identification of the parts
1. Handles for self-propelled (only LMZ 5800TR)
3. Adjustment of handle height
5. Height adjustment handle
8. Rear discharge guard
3. Unpacking and mounting
Unpacking: See Fig. 2 Remove the mower from the box by pulling the machine out of the box. The box contains: A. 1 pcs. lawn mower B. 1 pcs. grass collector C. 1 pcs. battery (can be packed separately) D. 1 pcs. charger E. 1 pcs. user manual F. 1 pcs. cup holder G. 1 pcs. tool (for blade bolt) Mounting. See Fig. 3 Handlebar: Pull up the handlebar (A) Choose the handle height by choosing which hole the lower handlebar is attached to (B-2) Grass collector: Attach the grass collector to the rear of the lawn mower under the rear discharge guard. Mulching plug: Insert the mulching plug, if you want to mow with mulching functionality. NB Don’t use the grass collector Important: Remember to remove the mulching plug, when using the grass collector.
Warning: Do not try to disassemble, short circuit or put
it to extreme heat or fire, as it can cause serious inquiry and permanent damage to the battery! The battery pack is only about 30% charged when delivered. Charging Only use the original charger with art. no. 90070054 Before the battery is being used the first time, it is recommended to fully charge it first.
LED lights Battery Pack All LEDs are lit Fully charged (75-100%).
are lit. The battery pack is 50%-75% charged LED 1, LED 2 are lit. The battery pack is 25%-50% charged. LED 1 are lit The battery pack is 0%-25% charged LED 1 flashes The battery pack is empty. Charge the battery. Note: The indicator lighs is only indicative indications, and is not accurate power indications. Important: To protect the battery from total discharge, the machine will stop, when the battery is nearly empty. The machine must not be started up again after automatic shutdown, as it can damage the battery. The battery must be recharges before the work can continue. For further information, see the user manual which is included with the battery.
A full charge takes around 60 min for 2.0 Ah battery and 120 min for 4.0 Ah battery. Only use the original charger, which is included with the product. Do not try to charge other type of batteries in the charger, other than the original batteries with art. no. 90070051 (2.0 Ah) or 90070052 (4.0 Ah). Keep the charger in a dry and warm environment (10-25 degrees C) and only use it indoor. It should be connected to a normal 230V AC socket. Before the battery is being used the first time, it is recommended to charge it fully. The surface of the battery can become warm during charging. This is normal. Do not cover battery or charger during charging. Allow free ventilation of air. Insert the battery into the slots of the charger and slide it into place until it locks. There are 4 lights on the charger indicating the status and state of charge of the battery Status Charging Fully charged Evaluate Defective13 For further information, see the user manual which is included with the charger. Important: The charger will stop, when the battery is full. However, it is not recommended to leave the battery in charger for more than 24 hours. It is recommended to drain the battery completely and fully charge it whenever possible, as it can increase the health of the battery. But partial charge will not damage the battery. To remove the battery from the charger, hold the button down and pull the battery out. Before winter storage, the battery should be fully charged and kept warm at 10-20 degrees C. Charge it every 3 months. Make sure to keep ventilation holes clean and free from dirt. Store the charger indoor between 5-25 degrees C.
Safety key. See Fig. 4 The motor unit has a safety key, which is placed under the battery cover. If the safety key is removed, the power is disconnected, and it cannot start. It is always recommended to remove the safety key:
- When the lawn mower is left unattended (to prevent uninteded start, e.g. by minors)
- Before clearning and maintenance
- Before remove grass blockings To remove the safety key, turn it to the free position and pull it out. To insert the safety key, inset it and turn it to run position. Only then the motor can start. Cutting height adjustment. See Fig. 5 The mower has 7 different heights. The cutting height ranges from 26 mm to 90 mm Start Never start the mower directly on long grass.
1. Open the batttery cover on the motor unit, slide in
the battery and click it in place. Close the cover. See Fig. 6
2. Make sure the safety key is activated and in correct
3. Push the main switch (1) for about 2 seconds untill
the power indicator shows green light.
4. Hold the start button (2) down and activate the
handlebar for motor brake (3) to start the motor. Release start button once started. See Fig. 7
5. Hold the handlebar for self-propelled function in
order to start moving, while keeping the handlebar for motor brake activated (only LMZ 5800TR). See Fig. 8 Note: As long as operating the mower, the handlebar for motor brake must be engaged. Variable speed. See Fig. 9 (only LMZ 5800TR). The sepf-propelled speed can be adjusted electronically.via the (+) (–) buttons in the display panel. Choose the desired speed. If the grass is long, the speed should be reduced to ensure a better cut.
Stop: Release the engine brake bar (and self-propelled handle) to turn off the mower and the motor. Note: The blades will still rotate at up to 3 seconds after stopping. Low battery power Once the power capacitry of battery becomes low, the power indicator on display panel will turn red. Remove the battery To remove the battery, press and hold the release buttons on each side of the battery and pull it out. There is space for 2 batteries in the motor unit. One of the battery chambers is only for storage of battery. If want to switct battery, the two batteries must be switched around physically. Working time The working time per full charge depends of several factors, like battery capacity (Ah). length of grass, cutting height, cutting methods (mulching, collection) and drive speed.
7. Overload-/Overheat protection
Overload protection The lawn mower is equipped with a overload protection, which will stop the motor if it is overloaded. Avoid going too fast over long grass or set the height adjustment to a higher position. If the motor switches off, remove the battery, remove grass from under the deck, from the rear discharge hole and empty the grass collector. Battery overheat protection The battery generates heat during use. If the temperature exceeds 70
C, to protection circuit will immediately turn off the mower to protect the battery from damage. If this happens, let the battery cool down and restart the lawn mower.
Inspection of the blade
- Tilt the mower to the side.
- Inspect blade for damage, cracks or excessive rust or corrosion.
- Check that the blade bolt is tightened. Note: A dull blade can be sharpened! But a blade that is worn, bent, cracked or otherwise damaged must be replaced. Removing the blade: See Fig. 10 If you remove the blade to sharpen or replace it, you must use a torque wrench and some heavy gloves to protect your hands.
1. Loosen the blade bolt with the included tool. Use a
piece of wood to prevent the blade from turning around.
2. Remove the bolt and blade
5. Tighten the blade bolt with 50 Nm with the included
tool. Use a piece of wood to prevent the blade from turning around.14
Warning: A blade must be sharpened so it is in
100 % balance, otherwise it may cause vibrations that could damage the engine. Damage to engine due to faulty sharpening is not covered by warranty. We therefore recommend letting a service center sharpen the blade.
9. Storage and maintenance
Maintain your lawnmower: Check all bolts, screws, nuts and deck. Dismount the blade and the belt plastic cover for regular cleaning. Always make sure that the blade is sharp. Keep the motor unit free from grass and dirt. It’s a good idea to take your lawn mower to an annual service check with your authorized service dealer. See your nearest service center at www.texas.dk. Storage: After use the lawnmower kept in a dry and clean room. Clean the machine after every use. Grass and dirt must be removed from the underside of the deck. Remove the safety key before cleaning and storage. The lawn mower can be stored horizontally or vertically to reduce storage space. See Fig. 11. Ensure cables are not trapped when folding handle. Winter storage: Spray silicone lubrication into the cables and move them. Finally, clean the mower thoroughly. Dip a cloth in oil and luricate metal parts to prevent rust. For storage of battery, see “Battery” section.
11. Warranty terms and conditions
The warranty period is 2 years for private end users in EU countries. Products sold for commercial use, only have a warranty period of 1 year. The warranty covers material and/or fabrication faults. Restrictions and requirements Normal wear and replacement of wearing parts are NOT covered by the warranty. Wearing parts, which are NOT covered for more than 12 months:
- Battery: If the battery is not stored correct (frost- free and recharged every 3 months), the durability is only guaranteed for 6 months. The warranty does NOT cover damages/faults caused by:
- Lack of service and maintenance
- Exposure to unusual external conditions
- Damages to the bodywork, deck, handles, panels etc.
- If the machine has been improperly used or overloaded
- Wrong handling or storage of the battery
- Use of unoriginal spare parts.
- Other conditions where Texas cannot be held responsible. Whether a case is a warranty claim or not is determined in each case by an authorized service center. Your receipt is your warranty note, why it should always be kept safe. REMEMBER: The purchase of spare parts as well as any request for warranty repair, art. number (e.g. 900700XX), year and serial number should always be informed. It can be found on the CE-label located on the rear discharge guard!
- We reserve the right to change the conditions and accept no liability for any misprints15
7. Protection surcharge/surchauffe ............................ 22
7. Protection surcharge/surchauffe
CE Declaration of conformit
Johnny Lolk Managing Director3132