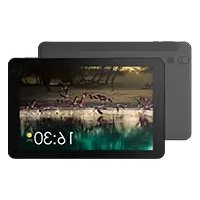
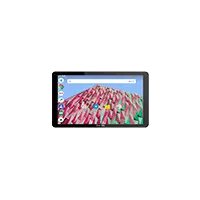
Vision 215 - Graphic tablet ARCHOS - Free user manual and instructions
Find the device manual for free Vision 215 ARCHOS in PDF.
User questions about Vision 215 ARCHOS
0 question about this device. Answer the ones you know or ask your own.
Ask a new question about this device
Download the instructions for your Graphic tablet in PDF format for free! Find your manual Vision 215 - ARCHOS and take your electronic device back in hand. On this page are published all the documents necessary for the use of your device. Vision 215 by ARCHOS.
USER MANUAL Vision 215 ARCHOS
www.archos.com, click Support > After-sales support

text_image
Technical diagram of a device interior with numbered components for identificationnatural_image
Line drawing of a flat-screen monitor with a stand at the bottom (no text or symbols)
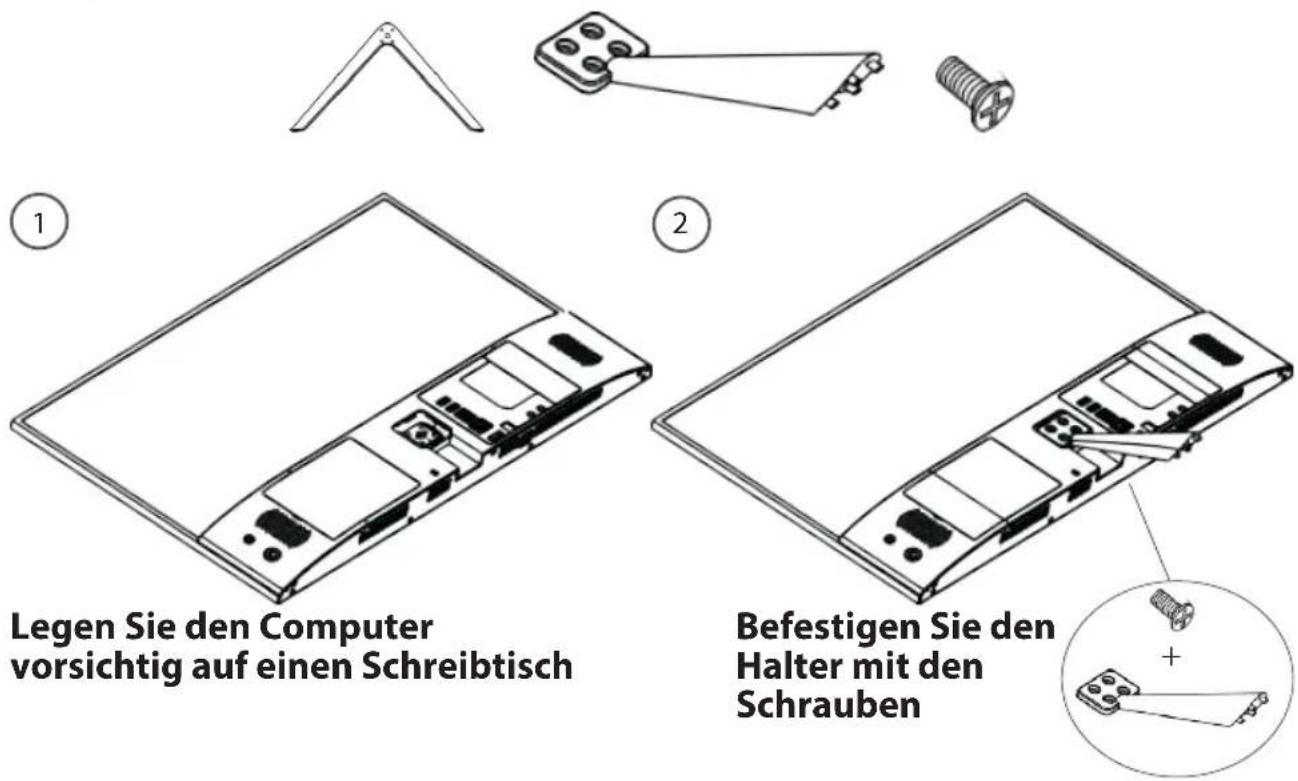
Installation du support
Outils


natural_image
Simple line drawing of a mechanical component with a triangular handle and circular holes (no text or symbols)

natural_image
Line drawing of a device rear panel with internal components (no text or symbols)text_image
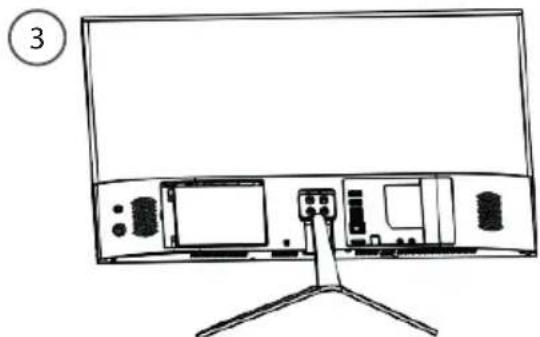
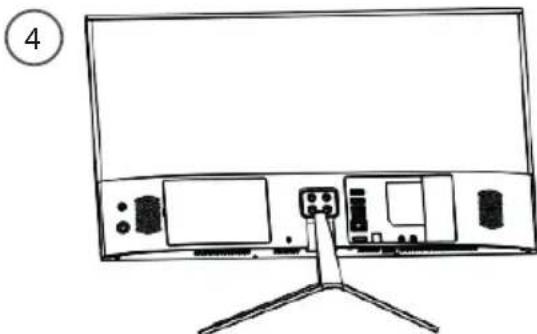
Diagram showing three steps of assembling a device, labeled ③, ④, and highlighting a component with pins.5

natural_image
Simple line drawing of a rectangular frame with three side brackets and a circular label (1) in the top-left corner, no text or symbols present.natural_image
Line drawing of a monitor setup with ports and a small device on the left (no text or symbols)natural_image
Line drawing of a monitor setup with front panel, rear panels, and stand (no text or symbols)natural_image
Line drawing of a monitor setup with front panel, screen, and stand (no text or symbols)Congratulations for the purchase of an ARCHOS device! This quick start guide helps you to start using your device properly. If you have more questions concerning the use of your device, visit us at:

twitter.com/archos

www.facebook.com/archos

http://faq.archos.com/

www.archos.com, click Support > After-sales support

www.archos.com, click Support > Downloads > Declaration of conformity
As we are often updating and improving our products, your device's software may have a slightly different appearance or modified functionality than presented in this quick start guide.
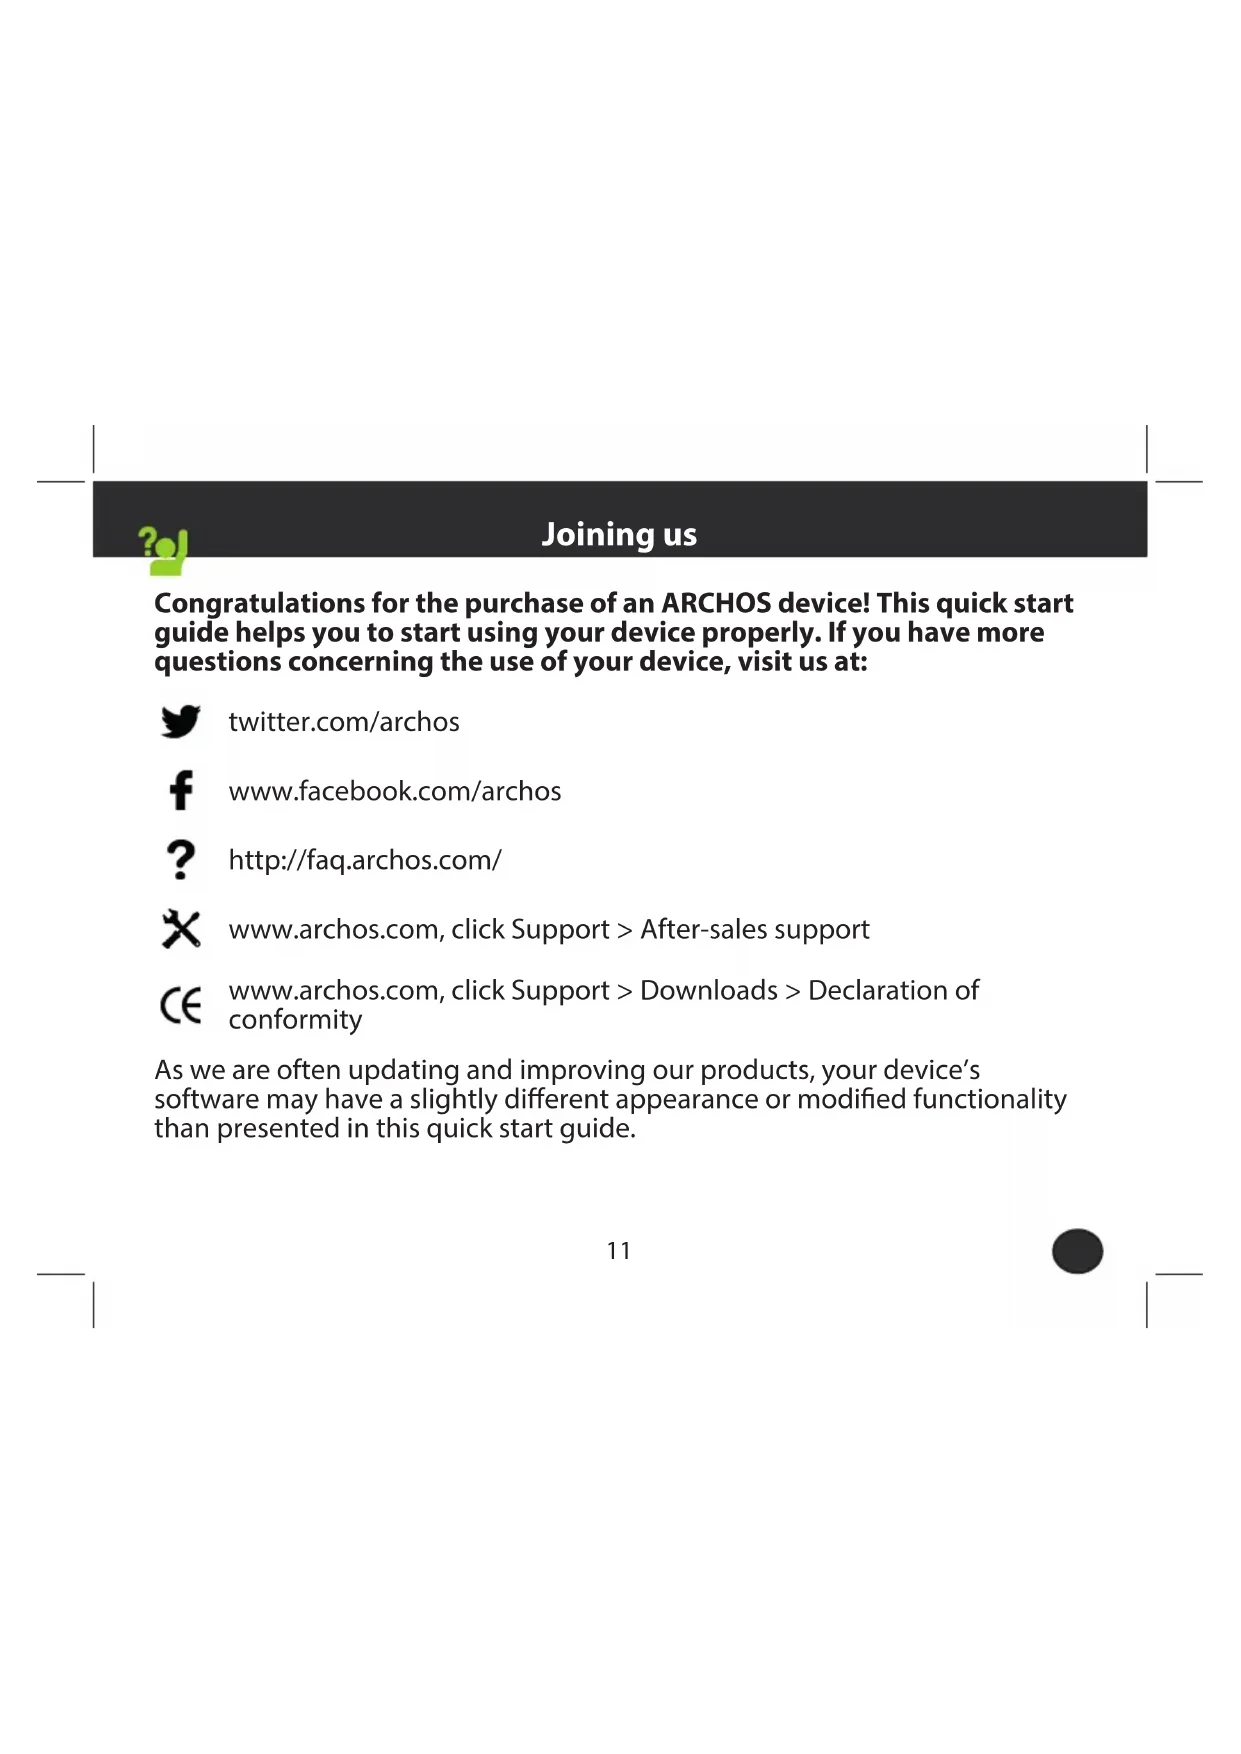
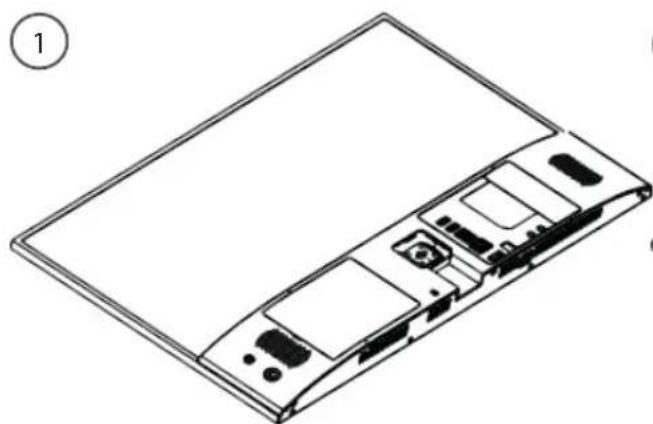
Describing your device
- Loudspeaker
- ON/OFF button
- Reset button
- HDD cover
- RJ45 port
- HDMI out port
- Power connector
- TF card slot - USB port
- Audio port Jack 3.5mm
- Mic port
- USB port
- USB port
- Heat dissipation hole
- Loudspeaker
It is advised to stay at a minimum distance of 20cm from the computer.
As soon as the charger is connected to an electrical outlet, please do not press the ON/OFF button but wait for around 5 seconds until the green light turns off.
Describing your device
text_image
Technical diagram of a device rear panel with numbered components for identificationYour device is running Windows 10 operating system.
For more details on using your product, go to the following link: https://www.microsoft.com/en-gb/windows/

natural_image
Line drawing of a flat-screen monitor with a stand at the bottom (no text or symbols)
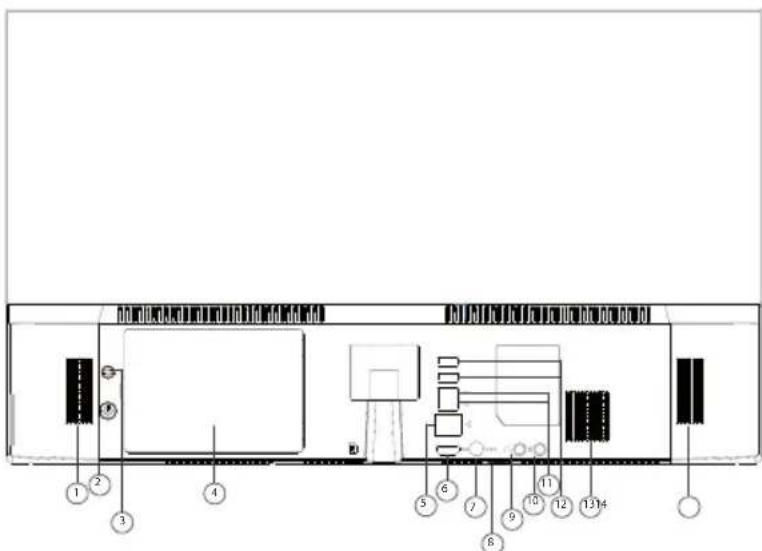
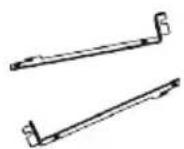
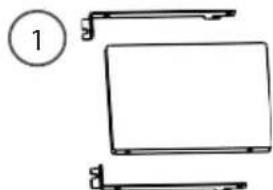
Holder installation
Tools

natural_image
Technical line drawing of a mechanical component with a screw and pin (no text or symbols)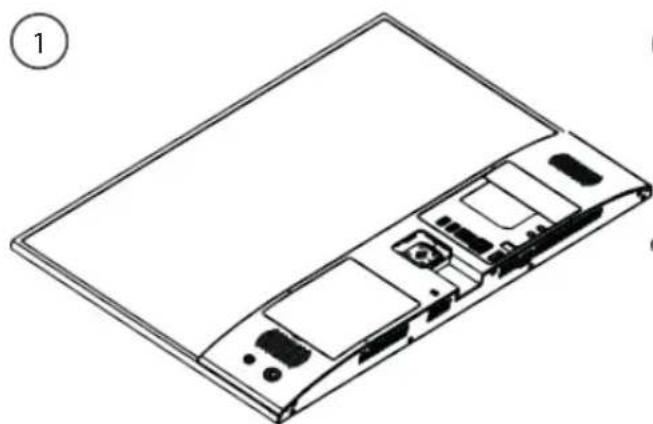
natural_image
Line drawing of a device rear panel with internal components (no text or symbols)Place carefully the computer on a desk
text_image
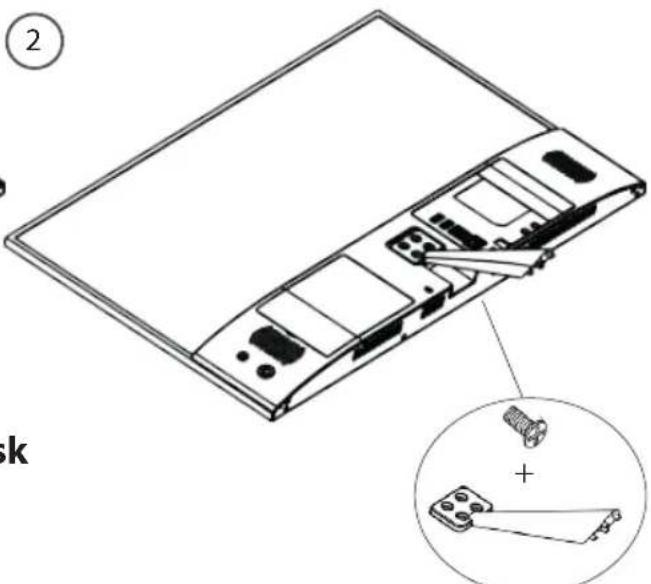
Technical diagram of a device rear panel with labeled components and an inset showing a screw and pin assembly.Fix the holder using the screws
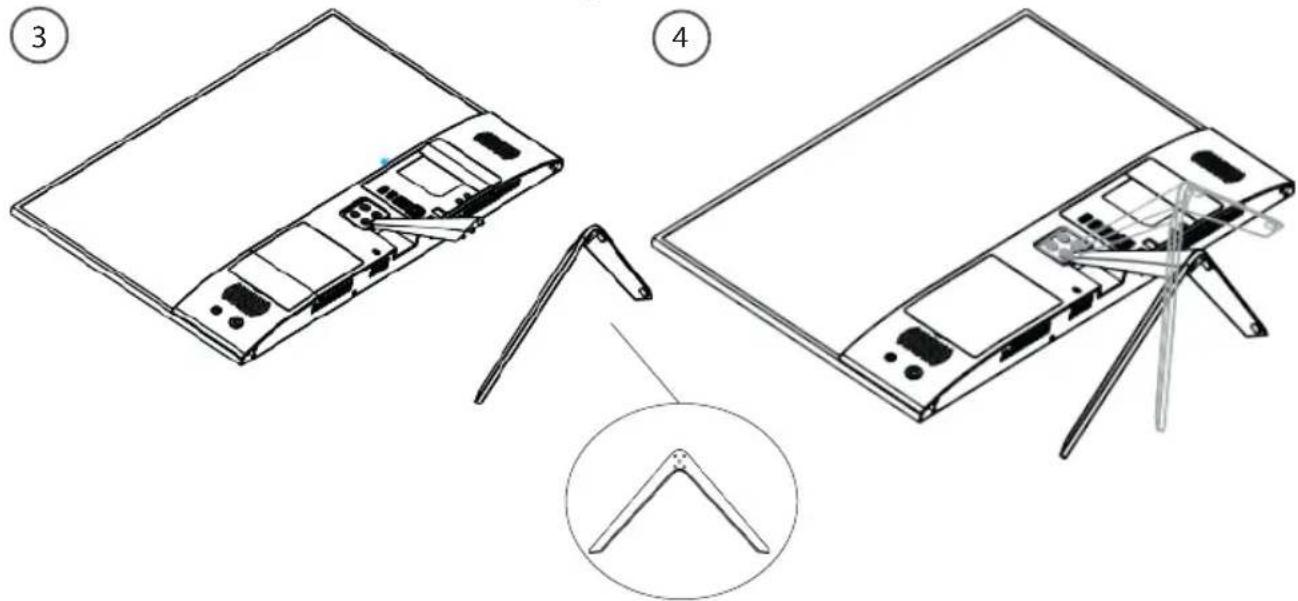
Holder installation
Fixe the base on the holder and tighten
text_image
Diagram showing three steps of assembling a laptop panel, with labeled parts and a magnified inset view.15


Holder installation


natural_image
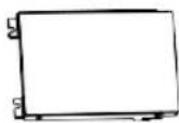
Simple line drawing of a rectangular frame with three side brackets and a circular label (1) in the top-left corner, no text or symbols present.Assemble hard disk and hard disk holder as shown on the figure, then tighten the screws on positions one by one

This step is a recommendation for users who need it. It is not necessary and will not affect normal functions. Hard disk part list (Please prepare an HDD and a screwdriver at first)

natural_image
Line drawing of a monitor setup with front panel, rear panel, and side-mounted devices (no text or symbols)Make sure the device lay on the desk and open the hard disk cover as shown on the figure
Holder installation

natural_image
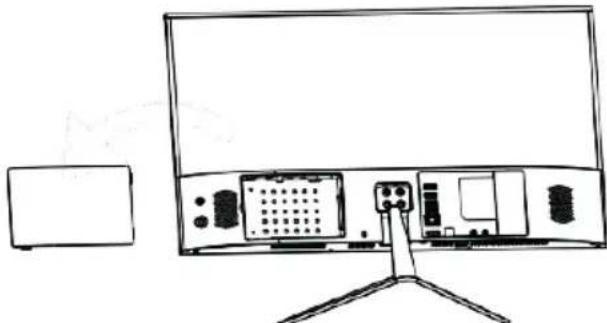
Line drawing of a monitor setup with front panel, rear panel, and stand (no text or symbols)After the completion of step b, place the parts in the slot located in the computer and make sure the direction is right, then slightly push the whole parts until it is connected to the connection ports.
natural_image
Line drawing of a monitor setup with front panel, screen, and stand (no text or symbols)Tighten the screws on position one by one to fix the hard disk and close the cover
Troubleshooting
- If your device is idling:
Close applications that are not used.
- If you want to restore your product (Clear all settings? Forgot your password?)
- From the Notification Center, click Settings> Update & Security> Recovery From this location, you can reset the PC by keeping your files or deleting them.
For more answers about your technical difficulties, do not hesitate to visit: faq.archos.com


Willkommen
text_image
Technical diagram of a device layout with numbered components for identificationnatural_image
Line drawing of a flat-screen monitor with a stand at the bottom (no text or symbols)
Halter Installations
Komponenten
Halter Installations
text_image
Diagram showing three steps of assembling a device, labeled ③, ④, and highlighting a specific component.23


natural_image
Simple line drawing of a laptop with two front panels and a circular label containing number 1 (no text or symbols on the diagram itself)natural_image
Line drawing of a monitor setup with ports and connectors, no text or symbols presentnatural_image
Line drawing of a monitor with rear panel and stand, no text or symbols presentnatural_image
Line drawing of a monitor setup with ports and a stand, no text or symbols presenttext_image
Technical diagram of a device layout with numbered components for identificationnatural_image
Line drawing of a flat-screen monitor with a stand at the bottom (no text or symbols)
Houder installatie
Components


natural_image
Technical line drawing of a mechanical component with a screw and pin (no text or symbols)
natural_image
Line drawing of a device rear panel with internal components (no text or symbols)natural_image
Technical line drawing of a computer monitor with internal components and an external cable (no text or symbols)natural_image
Simple line drawing of a screw and a mechanical component with a plus sign, no text or symbols present.Houder installatie
text_image
Diagram showing three steps of assembling a device, labeled ③, ④, and highlighting a component with pins.31
NL
natural_image
Simple line drawing of a rectangular object with three protrusions and a circle labeled '1' in the top-left corner (no text or symbols on the object itself)natural_image
Line drawing of a monitor setup with front panel, rear panel, and display unit (no text or symbols)natural_image
Line drawing of a monitor setup with front panel, rear panel, and stand (no text or symbols)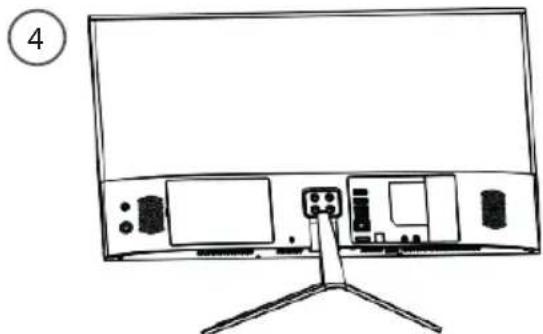
natural_image
Line drawing of a monitor setup with front panel and rear monitors, no text or symbols presenttext_image
Technical diagram of a device layout with numbered components for identificationnatural_image
Line drawing of a flat-screen monitor with a stand at the bottom (no text or symbols)
Tartó telepítése
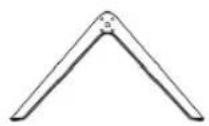
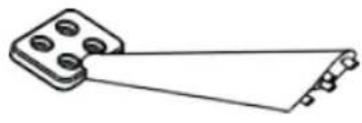
Alkatrészek
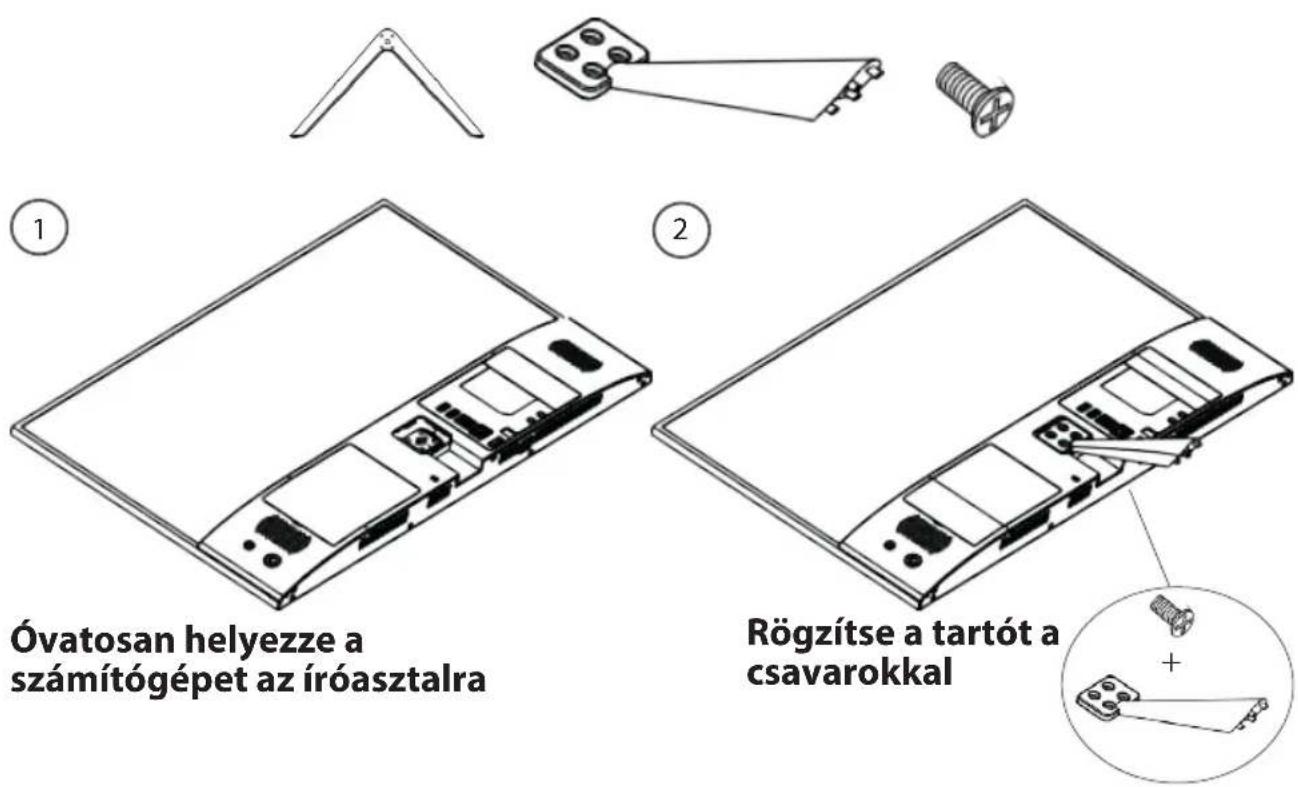
Tartó telepítése
text_image
Diagram showing three steps of assembling a device, labeled ③, ④, and highlighting a component with pins.39

Hibaelhárítás
text_image
Technical diagram of a device rear panel with numbered components for identificationnatural_image
Line drawing of a flat-screen monitor with a stand at the bottom (no text or symbols)

Instalare de suport
Unelte
natural_image
Simple line drawing of a mechanical component with a rectangular base and diagonal line (no text or symbols)
natural_image
Line drawing of a device rear panel with internal components (no text or symbols)text_image
Technical diagram of a device rear panel with an inset showing a screw and a plus button mechanism.text_image
Technical diagram showing two views of a device with labeled components and a magnified inset view.45


Instalare Hard disk
natural_image
Simple line drawing of a laptop with handlebars and front panel, no text or symbols presentnatural_image
Line drawing of a monitor setup with front panel, rear panel, and base mount (no text or symbols)natural_image
Line drawing of a monitor setup with front panel, rear panel, and stand (no text or symbols)natural_image
Line drawing of a monitor setup with front panel, screen, and stand (no text or symbols)National restrictions
This device is intended for home and office use in all EU countries (and other countries following the EU directive 2014/53/EU) without any limitation except for the countries mentioned below:
Country Restriction Reason/remark
Bulgaria None General authorization required for outdoor use and public
| France Outdoor use limited to10 mW e.i.r.p. within the band 2454-2483.5 MHz | serviceMilitary Radiolocation use. Refarming of the 2.4 GHz bandhas been ongoing in recent years to allow current relaxed regulation. Full implementation planned 2012 |
| Italy None If used outside of own premises, general authorization is | |
required. Luxembourg None General authorization required for network and service supply
| Norway Implemented This subsection does not apply for the geographical aera within a radius of 20 km from the centre of Ny-Alesund | |
| Russian | None Only for indoor applications |
Federation
Note: Frequency 2454-2483.5MHZ are restricted to indoor use in France.
Archos company (Contact adress : ARCHOS SA 12 Rue Ampère 91430 Igny France) declares that this computer ARCHOS Vision 215 is in compliance with the essential requirements and other relevant provisions of directive 2014/53/EU: https://www.archos.com/products/conformity.html