
IAN 298445 - Inflatable pool CRIVIT - Free user manual and instructions
Find the device manual for free IAN 298445 CRIVIT in PDF.
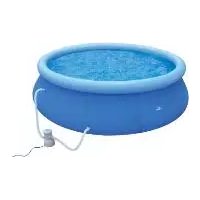
| Product type | Inflatable children's pool (wading pool) |
| Brand | Crivit |
| Model | IAN 298445 |
| Pool dimensions (inflated) | approx. 297 x 162 x 21 cm (L x W x H) |
| Accessory dimensions | Snake: approx. 236 x 105 cm; Monkey: approx. 62 x 54 x 81 cm; Palm tree: approx. 64 x 136 cm; Arch: approx. 123 x 34 x 82 cm; Ring: diam. 19 cm; Ball: diam. 8 cm |
| Maximum user weight (slide) | 50 kg |
| Maximum water capacity | 300 liters (without connected shower) |
| Recommended age | From 2 years |
| Usage | Outdoor, domestic use |
| Material | PVC (color coating) |
| Delivery contents | 1 wading pool, 1 ball slide, 1 snake, 1 monkey, 1 arch, 1 palm tree, 4 throwing rings, 6 balls, repair patches, instruction manual |
| Safety | Adult supervision mandatory; drain after use; do not use on hard ground; safety distance of 2 m |
| Maintenance and cleaning | Change water frequently; clean with soapy water; store dry, deflated, in a temperate room |
| Repairability | Repair patches provided for small leaks; do not use on seams; wait 20 min after repair before reinflating |
| Warranty | 2 years (compliance and hidden defects according to Consumer Code) |
| After-sales service | France: 0800 919270, deltasport@lidl.fr; Belgium: 070 270 171 (0.15 EUR/min), deltasport@lidl.be |
Frequently Asked Questions - IAN 298445 CRIVIT
User questions about IAN 298445 CRIVIT
0 question about this device. Answer the ones you know or ask your own.
Ask a new question about this device
Download the instructions for your Inflatable pool in PDF format for free! Find your manual IAN 298445 - CRIVIT and take your electronic device back in hand. On this page are published all the documents necessary for the use of your device. IAN 298445 by CRIVIT.
USER MANUAL IAN 298445 CRIVIT
natural_image
Black-and-white photo of a colorful toy park with monkey, palm tree, snake, and bird (no text or symbols)
natural_image
Mechanical assembly diagram showing a pulley and lever mechanism with rotation arrow (no text or labels)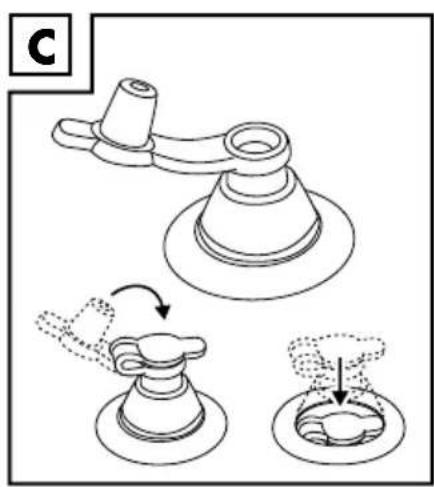
natural_image
Technical line drawing of a mechanical component with an arrow indicating direction (no text or symbols)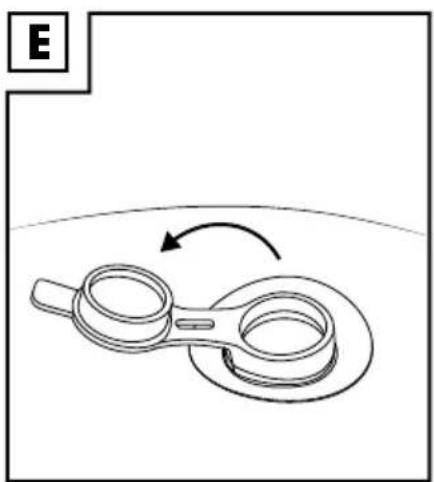
natural_image
Simple line drawing of a mechanical clamp or spring with an arrow indicating rotational motion (no text or symbols)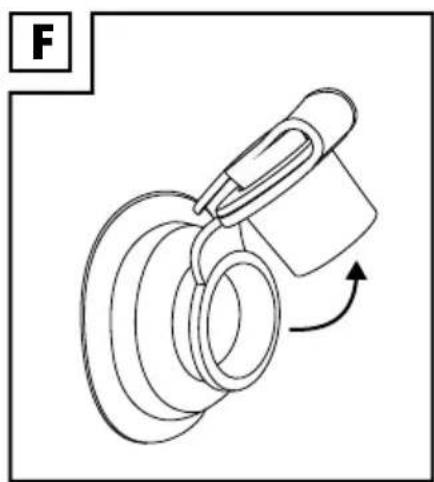
natural_image
Mechanical assembly diagram showing a rotating component with a handle and arrow indicating rotation (no text or symbols)DE AT CH
Lieferumfang 6
Technische Daten 6
Scope of delivery 10
Technical data 10
Intended use 10
Used symbols 10
Safety instructions 10 - 11
Life-threatening hazard! 10
Risk of injury! 10 - 11
Avoiding damage to the item! 11
Setting up 11 - 12
Choosing the location 11
Inflating 11
Inflating 12
Attaching the ball run 12
Connecting the garden hose 12
Filling the pool with water 12
Emptying the item 12
Dismantling 12
Repair 12
Storage, cleaning 12
Disposal 13
Service handling 13
NL BE
Leveringsomvang 19
With your purchase you have decided on a high-quality product. Get to know the product before you start to use it.
Carefully read the following instructions for use.
Use the product only as described and only for the given areas of application. Keep these instructions safe. When passing the product on to a third party, always make sure that the documentation is included.
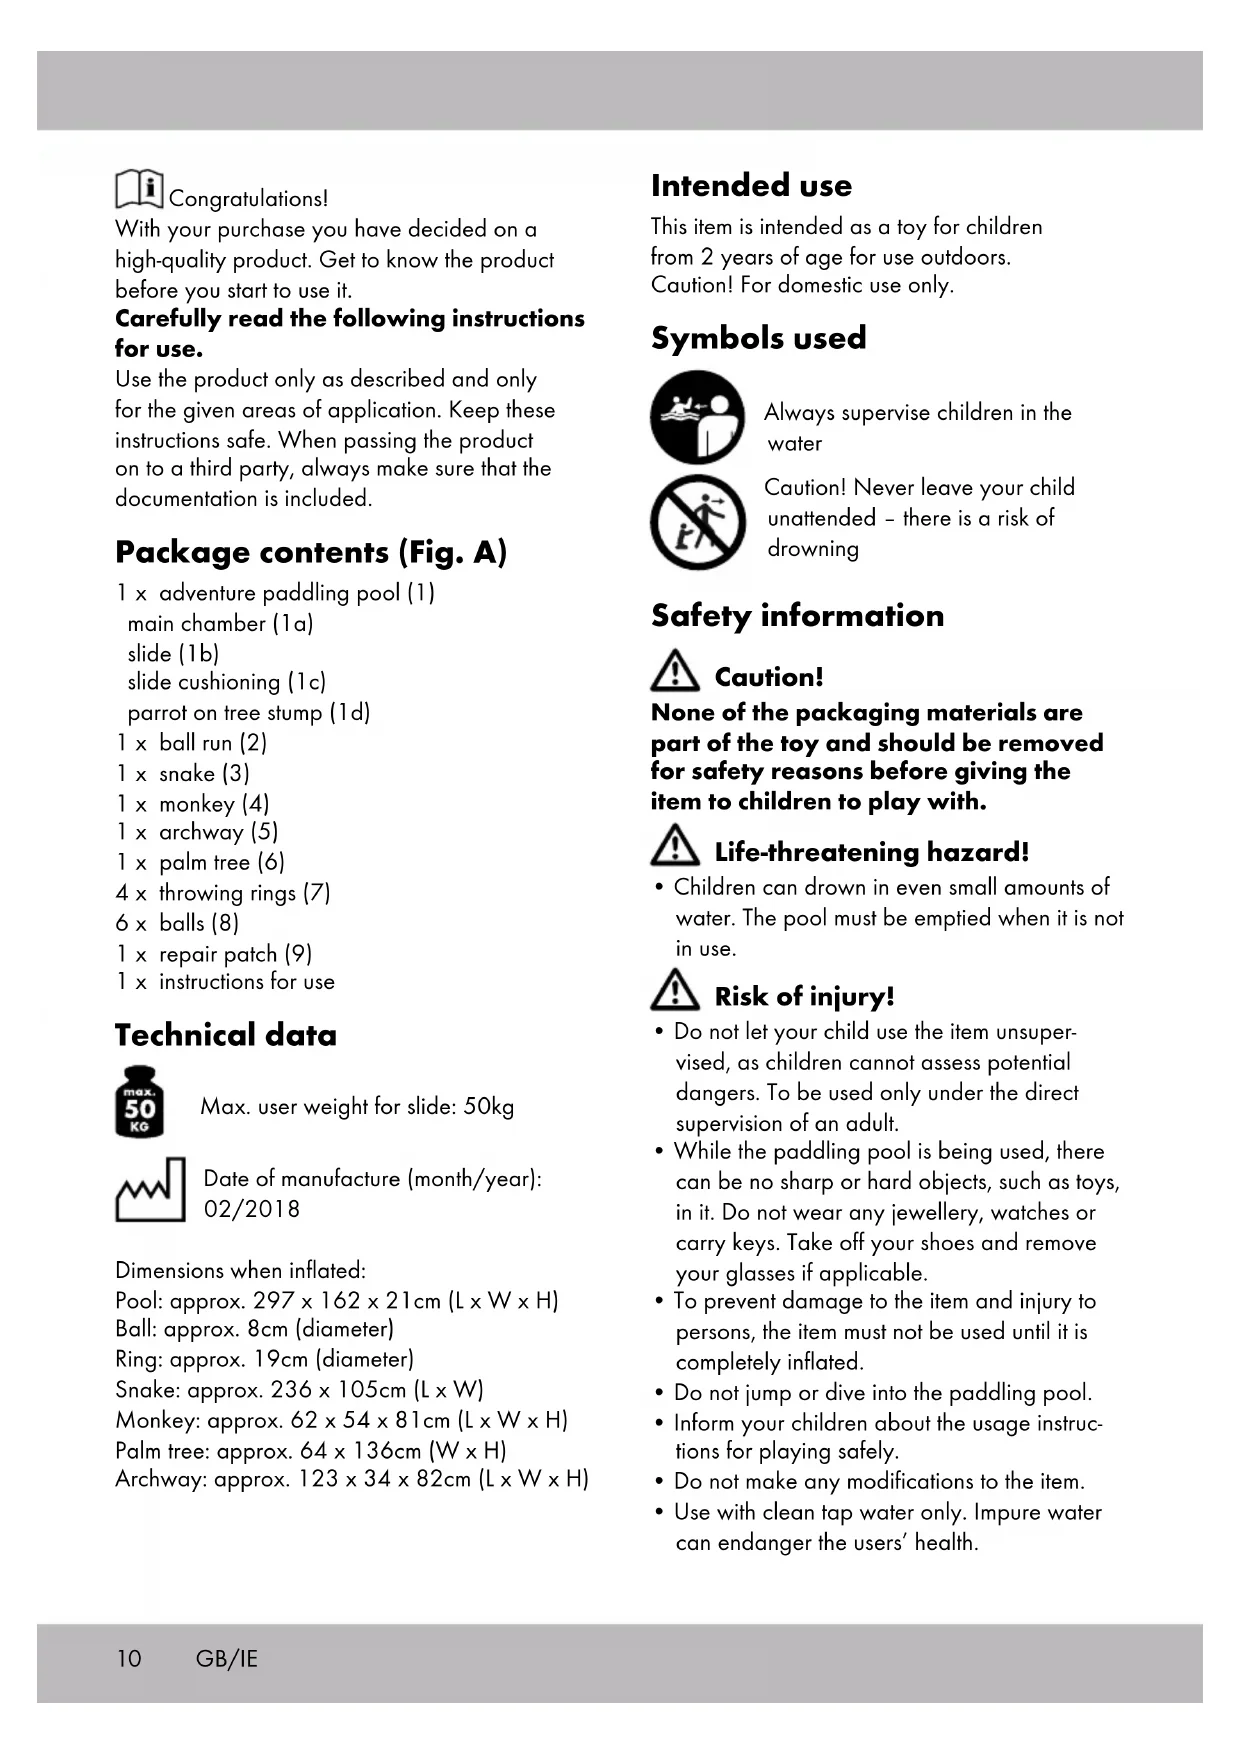
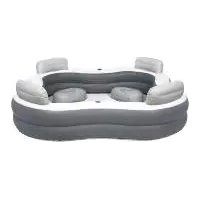
Package contents (Fig. A)
1 x adventure paddling pool (1)
main chamber (1a)
slide (1b)
slide cushioning (1c)
parrot on tree stump (1d)
1 x ball run (2)
1 x snake (3)
1 x monkey (4)
1 x archway (5)
1 x palm tree (6)
4 x throwing rings (7)
6 x balls (8)
1 x repair patch (9)
1 x instructions for use
Technical data
Max. user weight for slide: 50kg

Date of manufacture (month/year): 02/2018
Dimensions when inflated:
Pool: approx. 297 x 162 x 21cm (L x W x H)
Ball: approx. 8cm (diameter)
Ring: approx. 19cm (diameter)
Snake: approx. 236 x 105cm (L x W)
Monkey: approx. 62 x 54 x 81cm (L x W x H)
Palm tree: approx. 64 x 136cm (W x H)
Archway: approx. 123 x 34 x 82cm (L x W x H)
Intended use
This item is intended as a toy for children from 2 years of age for use outdoors.
Caution! For domestic use only.
Symbols used
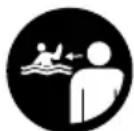
Always supervise children in the water

Caution! Never leave your child unattended - there is a risk of drowning
Safety information

Caution!
None of the packaging materials are part of the toy and should be removed for safety reasons before giving the item to children to play with.

Life-threatening hazard!
- Children can drown in even small amounts of water. The pool must be emptied when it is not in use.

Risk of injury!
- Do not let your child use the item unsupervised, as children cannot assess potential dangers. To be used only under the direct supervision of an adult.
- While the paddling pool is being used, there can be no sharp or hard objects, such as toys, in it. Do not wear any jewellery, watches or carry keys. Take off your shoes and remove your glasses if applicable.
- To prevent damage to the item and injury to persons, the item must not be used until it is completely inflated.
- Do not jump or dive into the paddling pool.
- Inform your children about the usage instructions for playing safely.
- Do not make any modifications to the item.
-
Use with clean tap water only. Impure water can endanger the users' health.
-
Set up should always be carried out by an adult.
- Do not set up the item on concrete, asphalt or other hard surfaces.
- The item should be set up on a level area of grass, that is free from stones, sticks, bumps and dips. The item should be a suitably safe distance of at least 2m from buildings, stairs, fences, walls, water, overhanging branches, clotheslines, electrical lines, and other obstacles.
- Check the item for damage and wear before each use. The item should only be used if it is in perfect condition! Do not use the item if it is visibly damaged or you suspect it is damaged.
- Do not use the item if air is escaping from it.
- Do not use the item without the inflated slide.

Avoiding damage to the item!
- All inflatable items are sensitive to cold. Never unfold and inflate the item at temperatures below 15°C!
- Avoid using sunscreen and skincare products that contain alcohol. Sunscreens and skincare products which contain alcohol can strip off the coloured layer of this inflatable PVC product. This can result in staining on your body, clothing or other articles which come into contact with the product.
- If the air pressure in the inflatable increases in direct sun, this must be rectified by releasing the corresponding amount of air.
- Ensure that the product – particularly when it is inflated – does not come into contact with stones, gravel or sharp objects, and do not allow it to rub or scrape anywhere, as this can cause damage to the PVC.
- Only insert suitable pump adapters into the safety valves. Use of other adapters could result in damage to the valves.
- Do not over-inflate as this can result in the seams splitting open. Ensure the valves are firmly closed after inflating.
- Avoid contact with sharp, hot, pointy or hazardous items.
Setting up
Set up should always be carried out by an adult. Follow the step-by-step set-up instructions in the order given.
1. Choosing the location
Select a suitable area that is clean and level and has enough room to unpack and unfold the pool. Spread out the item where it is to go. Make sure that all the parts are at hand and are in perfect condition.
2. Inflating
Caution!
• Always inflate each air chamber fully!
- Avoid over-inflating the air chambers – otherwise you risk overstretching the seams or even splitting them.
- Use a commercially available foot pump or double stroke piston pump with the appropriate pump adapter to inflate the product.
- Do not use a compressor or compressed air canisters to inflate the product. These can damage the product.
• Make sure that the chambers are evenly inflated.
- Inflate each air chamber until it feels firm. There should still be a small amount of give in the air chamber when pressed with the thumb.
Sequence
CAUTION!
Observe the following order when inflating the air chambers. Always inflate each air chamber fully.
- Main chamber (1a)
- Slide and side panels (1b)
- Slide cushioning (1c)
- Tree stump with parrot (1d)
- Ball run (2)
- Snake (3)
- Monkey (4)
- Archway (5)
- Palm tree (6)
- Throwing rings (7)
3. Inflating
- Fill the main chamber (1) with air and close the cap (Fig. B). Inflate the air chambers until they feel firm. There should still be a small amount of give in the chambers when pressed with the thumb.
- To inflate the components 3–10, open the valve cap and inflate the air chambers. Close the valve cap and press the valve down by applying a light pressure (Fig. C).
Note: To improve stability, you can fill the bases of the snake (3), palm tree (6) and archway (5) with water.
4. Attaching the ball run
Inflate the ball run (2).
Put the ball run (2) on the main chamber (1a) and press both Velcro fasteners down firmly.
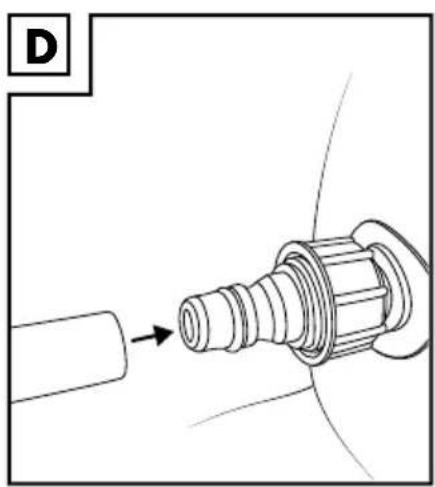
5. Connecting the garden hose
Connect a garden hose with an internal diameter of 13-15mm (1/2-5/8in) with the water connection on the item (Fig. D).
For easy installation, we recommend using a hose coupling of 13-15mm (1/2-5/8in).
Filling the pool with water
Fill the item slowly and do not leave the item unattended while filling.
Always fill the item up as far as the marking shown.
Important! Take note of the filling capacity of 300 litres without the sprayer connected to the hose!
Emptying the item
Open the drain valves and let the water run out (Fig. E).
Note: Please take note of the local provisions for specific regulations on disposing of water from swimming pools.
Dismantling
Let the item dry completely before folding it up. Take off the garden hose. Remove all removable parts.
Deflate the item as follows:
-
Open the clasp to deflate the main chamber quickly (Fig. F).
-
To deflate the other components, pull out the valve stem and lightly squeeze the valve so that the air can escape.
Repairs
Small leaks or holes can be mended with the enclosed repair patch.
Important!
Do not inflate the item for 20 minutes after the repair! Do not use the patch for leaks or holes on the seam.
- Let the air escape from the product completely.
- Clean the area around the leak thoroughly. The area must be dry and grease-free.
- Cut out a piece of the repair material that is large enough for its edges to extend over the damaged area by about 1.3cm.
- Peel the patch off the paper, place it on the damaged area and press on it firmly.
Storage, cleaning
Change the water in the item frequently, especially in hot weather and when it is dirty! Always store the item dry, clean and deflated in a temperature-controlled room. Valves should always be kept closed when the pool is being stored. Only clean the product with water or soapy water. Do not use harsh cleaning agents. When storing for the winter, do not place any sharp objects on it and do not apply talcum powder to it.
Disposal
Dispose of the item and its packaging materials in accordance with current local regulations. Packaging materials like e.g. foil bags must be kept away from children. Store the packaging materials out of the reach of children.
Service handling
IAN: 298445
GB Service Great Britain Tel.: 0871 5000 720 (£ 0.10/Min.) E-Mail: deltasport@lidl.co.uk
IE Service Ireland Tel.: 1890 930 034 (0,08 EUR/Min., (peak)) (0,06 EUR/Min., (off peak)) E-Mail: deltasport@lidl.ie

Félicitations !
Bal: ca. 8 cm (diameter)
Ring: ca. 19 cm (diameter)
Slang: ca. 236 x 105 cm (l x b)
Aap: ca. 62 x 54 x 81 cm (l x b x h)
Palm: ca. 64 x 136 cm (b x h)
Boog: ca. 123 x 34 x 82 cm (l x b x h)
Beoogd gebruik

- DE AT CH
- NL BE
- Carefully read the following instructions for use.
- Package contents (Fig. A)
- Technical data
- Intended use
- Symbols used
- Safety information
- Caution!
- Life-threatening hazard!
- Risk of injury!
- Avoiding damage to the item!
- Setting up
- Choosing the location
- Inflating
- Sequence
- Inflating
- Attaching the ball run
- Connecting the garden hose
- Filling the pool with water
- Emptying the item
- Dismantling
- Deflate the item as follows:
- Repairs
- Storage, cleaning
- Disposal
- Service handling
- Félicitations !
- Beoogd gebruik
Brand : CRIVIT
Model : IAN 298445
Category : Inflatable pool