appLS18I - Barcode scanner Aqprox - Free user manual and instructions
Find the device manual for free appLS18I Aqprox in PDF.
| Product Type | 1D Barcode Scanner |
| Brand | Aqprox |
| Model | appLS18I |
| Scanner dimensions (L x W x H) | 185 x 75 x 95 mm |
| Base dimensions (L x W x H) | 142 x 105 x 70 mm |
| Power supply | DC 5V |
| Operating consumption | 200 mA |
| Standby consumption | 24 mA |
| Interface | USB |
| Wireless connection | Bluetooth (HID, SPP, BLE) and 2.4 GHz via dongle |
| Supported symbologies | UPC-A, UPC-E, EAN-8, EAN-13, Code 128, Code 39, Code 93, Code 11, Code 32, Interleaved 2 of 5, Codabar (NW-7), UCC/EAN 128, Plessey, MSI, RSS, Pharmacode, IATA 2 of 5 |
| Depth of field (UPC/EAN 15mil) | 35 mm - 310 mm |
| Scanning angle | Rotation ±360°, tilt ±40°, skew ±40° |
| Minimum print contrast | 20% |
| Operating temperature | 0°C to +50°C |
| Storage temperature | -40°C to +70°C |
| Operating humidity | 5% to 95% (non-condensing) |
| Light source | Red LED, 625±10 nm |
| System compatibility | Windows XP, 7, 8, 10, Android, iOS |
| Battery | Rechargeable (level check possible) |
| Cleaning | With a soft, dry cloth |
| Safety | Do not open, do not expose to water, do not insert objects |
| Recycling | Follow local regulations, remove battery separately |
Frequently Asked Questions - appLS18I Aqprox
User questions about appLS18I Aqprox
0 question about this device. Answer the ones you know or ask your own.
Ask a new question about this device
Download the instructions for your Barcode scanner in PDF format for free! Find your manual appLS18I - Aqprox and take your electronic device back in hand. On this page are published all the documents necessary for the use of your device. appLS18I by Aqprox.
USER MANUAL appLS18I Aqprox
Industrial Barcode Scanner
appLS18I

Introducción
Code39 60mm-120mm (5mil)
Enter Bluetooth HID mode
Enter pairing situation
Modo Bluetooth SPP/BLE
Enter SPP mode Enter BLE mode
D: Connect Bluetooth to your custom software and search for Barcode
Scanner SPP /BLE Active Bluetooth y busque el lector SPP/BLE.
- Bluetooth name setting

- Read Bluetooth name
2.4G mode
Force pairing with the receiver
Factory default setting
Battery display

Display version information
Our series scanner is developed to meet the increasing needs of 1D barcode identification. Before using the barcode reader, please read the instructions carefully.
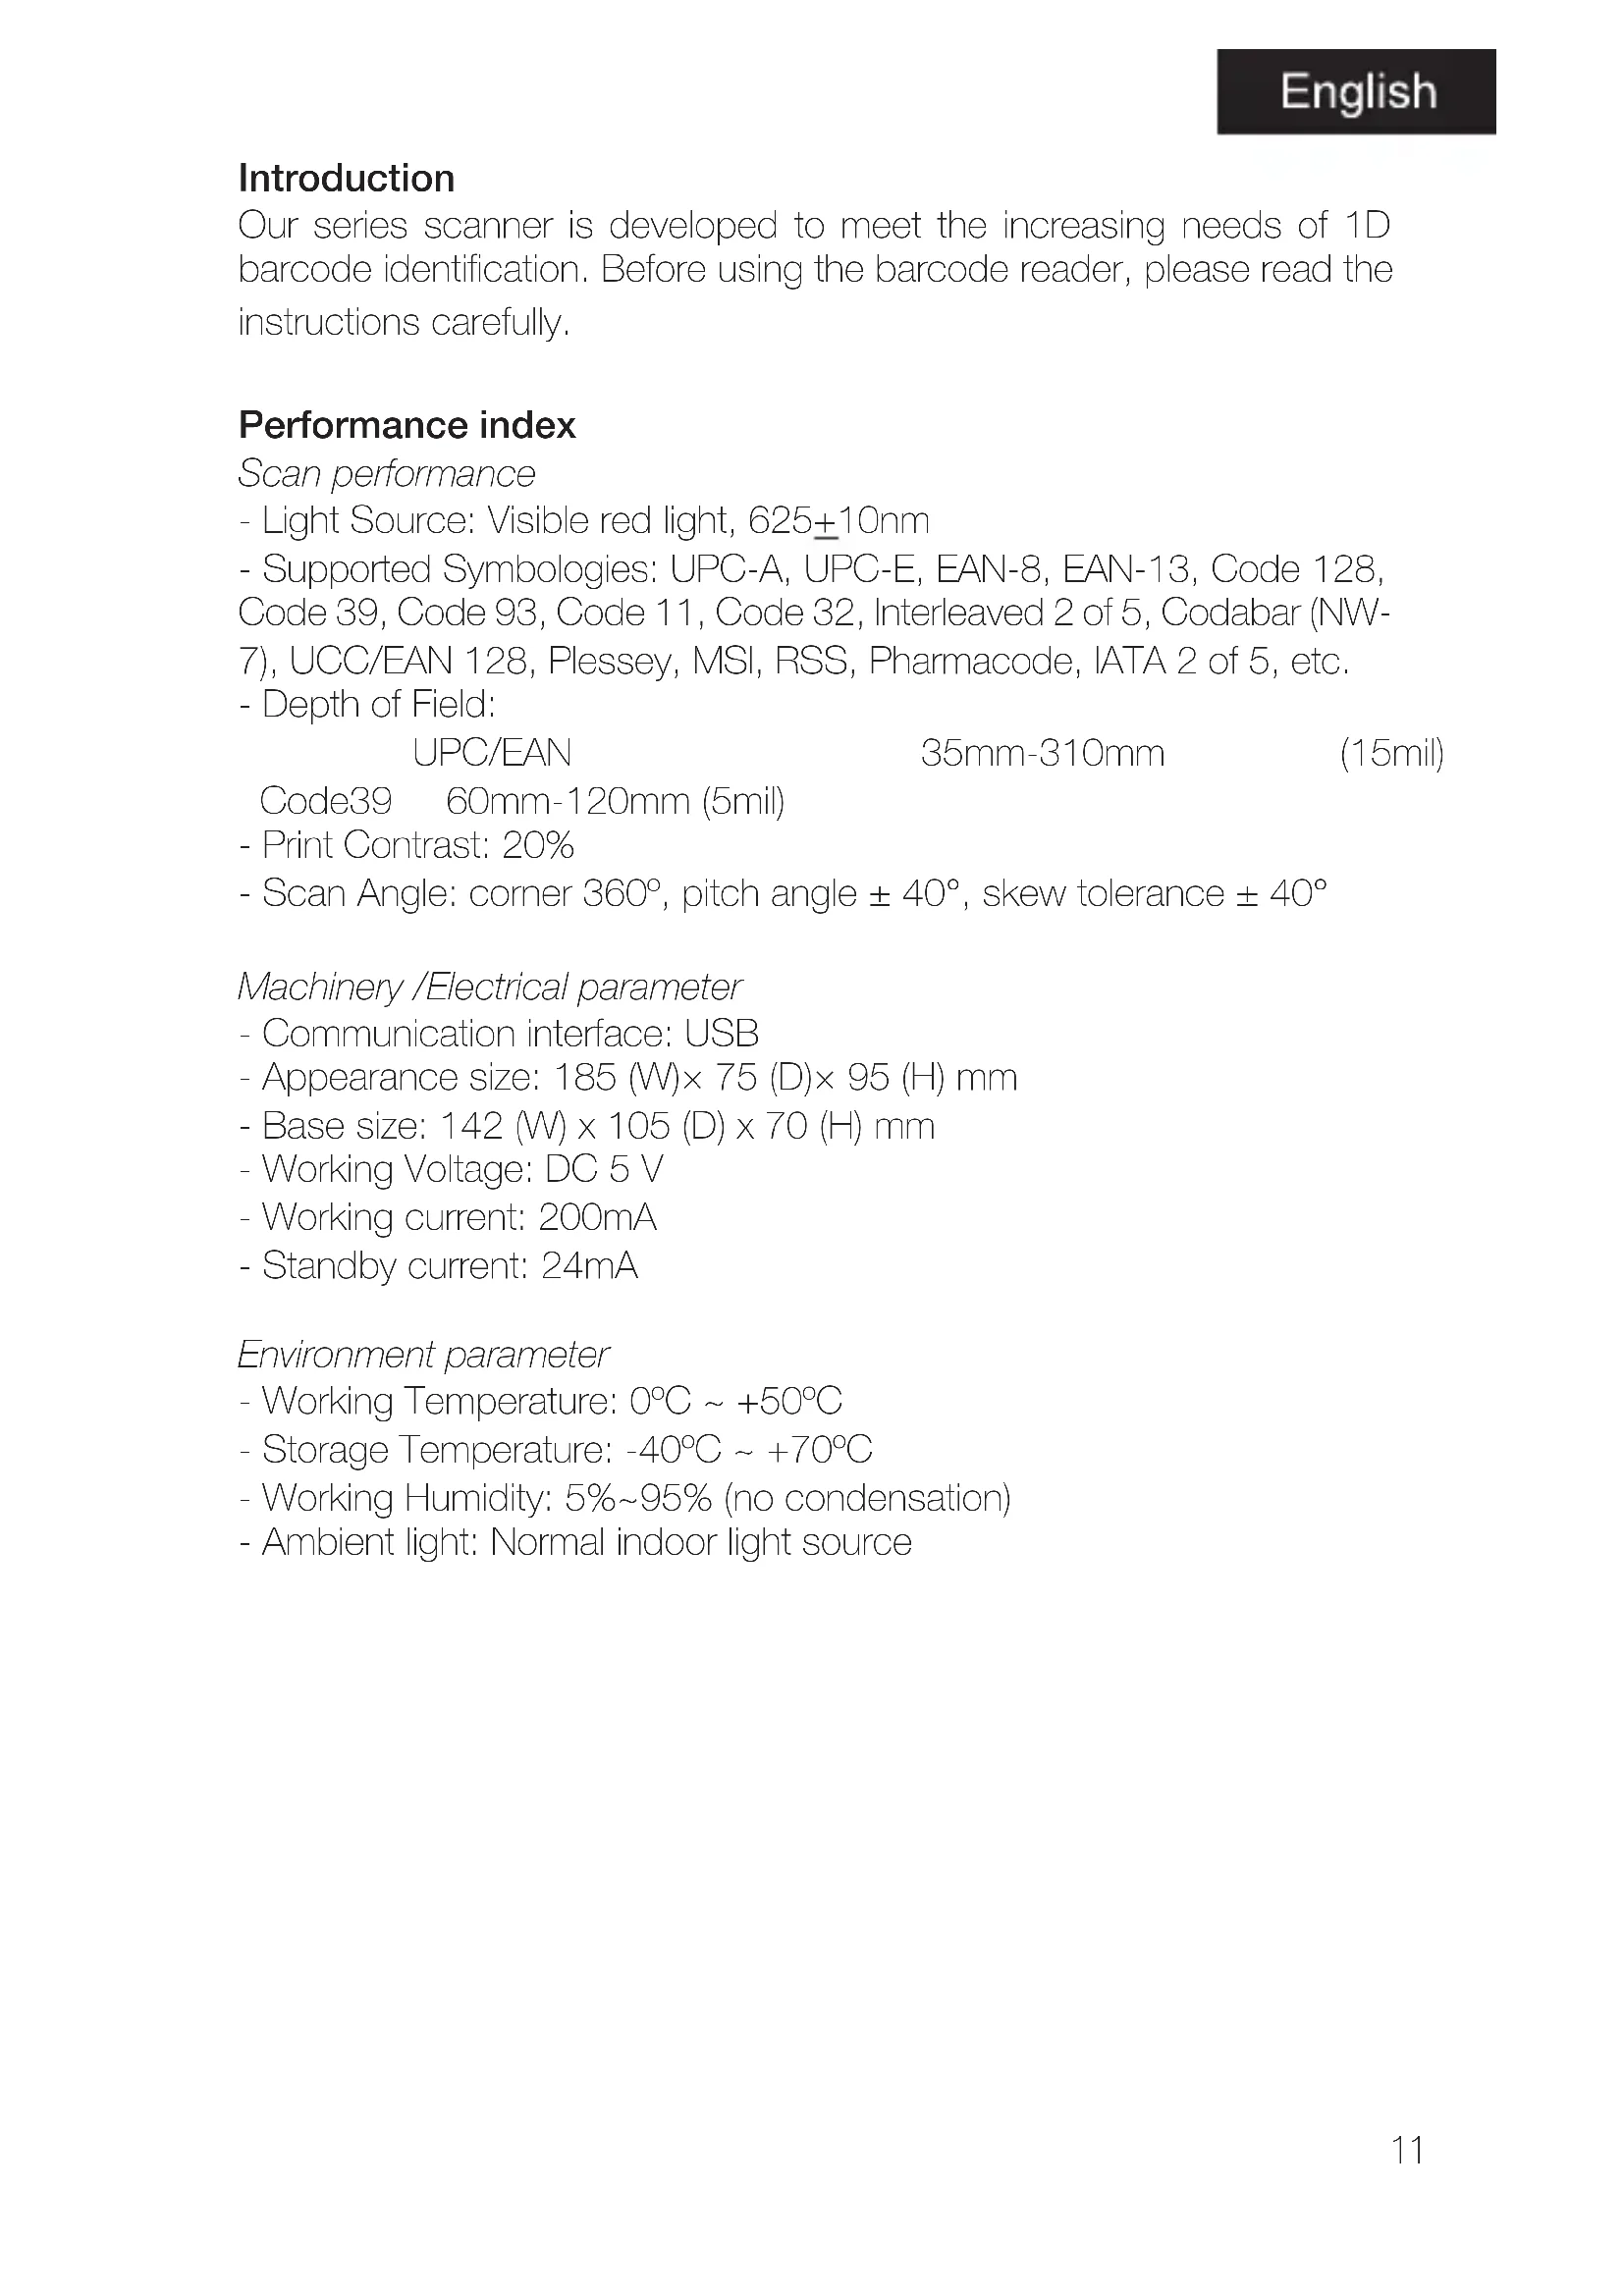
Performance index
Scan performance
- Light Source: Visible red light, 625±10nm
- Supported Symbologies: UPC-A, UPC-E, EAN-8, EAN-13, Code 128, Code 39, Code 93, Code 11, Code 32, Interleaved 2 of 5, Codabar (NW-7), UCC/EAN 128, Plessey, MSI, RSS, Pharmacode, IATA 2 of 5, etc.
- Depth of Field:
UPC/EAN
35mm-310mm
(15mil)
Code39 60mm-120mm (5mil)
- Print Contrast: 20%
- Scan Angle: corner 360^ , pitch angle ± 40^ , skew tolerance ± 40^
Machinery / Electrical parameter
- Communication interface: USB
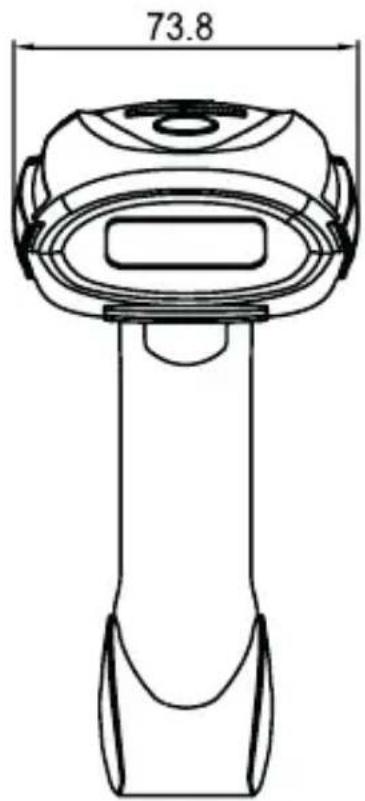
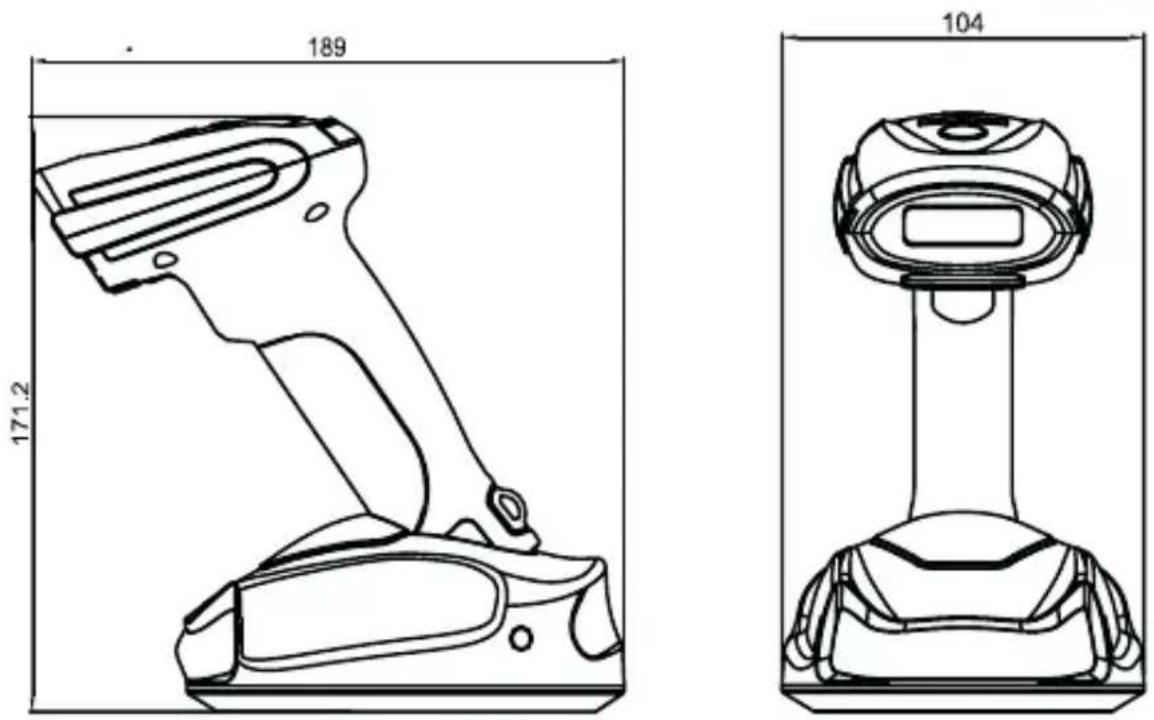
- Appearance size: 185 (W)× 75 (D)× 95 (H) mm
- Base size: 142 (W) x 105 (D) x 70 (H) mm
- Working Voltage: DC 5 V
- Working current: 200mA
- Standby current: 24mA
Environment parameter
- Working Temperature: 0°C \~ +50°C
- Storage Temperature: -40°C \~ +70°C
- Working Humidity: 5%\~95% (no condensation)
- Ambient light: Normal indoor light source
English
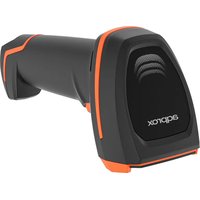
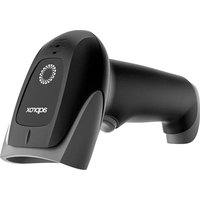
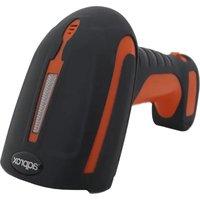
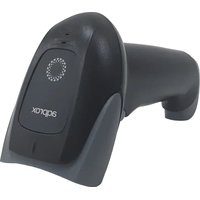
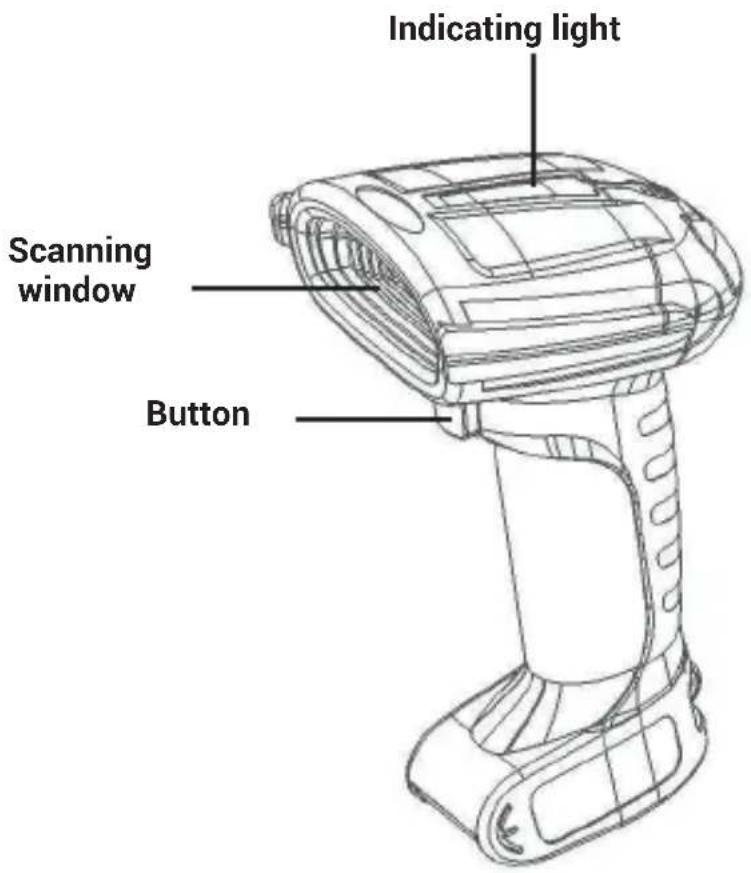
Outlook
External view
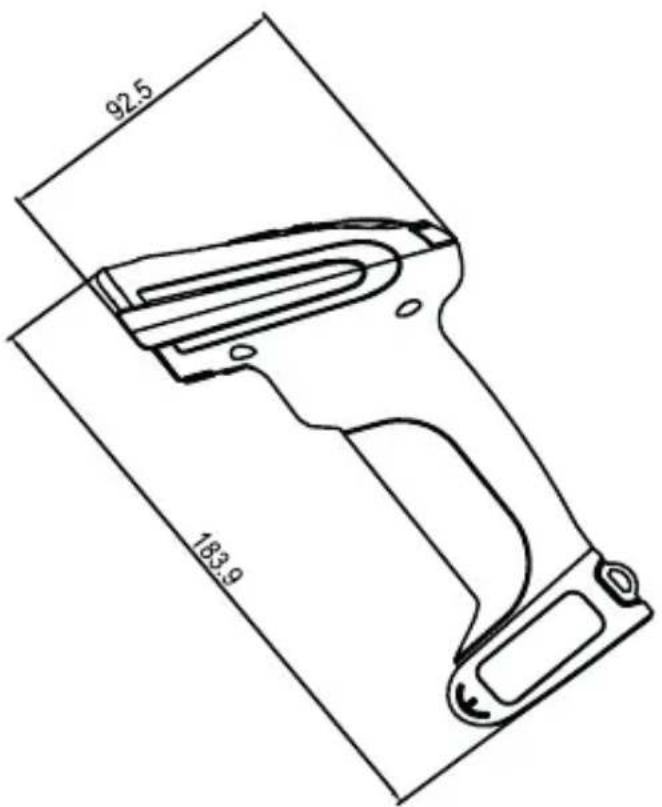
Dimention (mm)
How to Use the Barcode Scanner
A. When using 2.4G feature, you can match desktop PCs or PC terminals that do not support Bluetooth. Scanner supports systems such as XP, Win7, Win8, Win10, etc.
B. When using Bluetooth, you can match Android, IOS mobile phones, or PC terminals with bluetooth capabilities.
Barcode menu
This model barcode scanner is designed to change settings by reading some special barcode, which we will give you a detailed introduction and show you all the barcodes for the corresponding setting in this section.
The greatest advantage of this setting method is direct, intelligible and user friendly.
Setting barcodes
Bluetooth HID mode
Match with Android, iOS mobile phone or PC terminal with Bluetooth function (optional).
Method 1: Manually enter the Bluetooth HID mode
A: Start the scanner, press and hold for 8 seconds, enter the Bluetooth HID pairing mode, the blue and green lights flash alternately.
B: Turn on the Bluetooth in the device, search for Barcode Scanner HID.
C: Click on the Bluetooth device to enter the pairing status.
D: The pairing succeeds "Di", the blue light is always on, in Bluetooth mode.
English
Method 2: Scan into Bluetooth HID mode
A: Start scanner, scanning "entering code".

Enter setting mode
B: Scan the code of "entering bluetooth HID".

Enter Bluetooth HID mode
C: Scanning the below code to enter pairing mode, blue and green lights flash alternately.

Enter pairing situation
D: Open the bluetooth in the device, search "Bar code Scanner HID".
E: Click this bluetooth device, enter pairing.
F: Pair successfully, "Di" one sound, and green light is on.
Bluetooth SPP/BLE mode
Android device or PC side enterprise or private customized Bluetooth serial port software (optional).
A: Start the scanner, then scanning "enter setting mode" code.

Enter setting mode
B: Scan Bluetooth SPP mode.

Enter SPP mode
Enter BLE mode
C: Enter waiting for pairing status, blue light flashes.
D: Connect Bluetooth to your custom software and search for Barcode Scanner SPP /BLE.
E: The pairing is successful, and the green light is always on.
Bluetooth name setting
A: Start the scanner, scan "bluetooth name setting".

Bluetooth name setting
B: Scanning the code "read Bluetooth name"

Read Bluetooth name
B : Select the required personalized barcode (please be cautious before reading the following instructions, thank you)
How to set the Bluetooth name: first scan the Bluetooth name barcode, then scan a barcode.
This barcode will be set to the name of the Bluetooth.
Note: a) The name can only be set up to 16 bytes. If the name barcode exceeds 16 bytes, the scan code gun only takes the first 16 bytes as the Bluetooth name.
b) Bluetooth full name includes: Bluetooth name + protocol type, only supports modification of Bluetooth name. After modifying the Bluetooth name, the names of all Bluetooth protocols have changed.
For example, if the Bluetooth name is set to: Scanner, the name of the Bluetooth HID is: Scanner HID, the name of the SPP is: Scanner SPP, and the name of the BLE is: Scanner BLE.
2.4G mode (with pairing devices without Bluetooth, support XP/WIN7/WIN8/WIN10)
A: Start scanner scanning code entering 2.4G mode.

2.4G mode
B: Scanning the code of forcing pairing with receiver, blue and green light flashing alternately.
English

Force pairing with receiver
C: After plug the receiver, you will hear "Di" sound, pairing successfully, green light is on.
Real-time mod
In real-time mode, the scanned data is directly transmitted to the computer by wire or wirelessly. After the transmission is successful, the scanner will emit a low-frequency short tone, and the green indicator will flash once. If the transmission fails, 3 low frequency short tones are issued to alert. The green light flashes 3 times.
In real-time mode, if the transmission fails, the scanned barcode will be lost.

Enter real-time mode
Warehousing mode
Warehousing mode is recommended if the scanner is operating outside of the wireless transmission range. In warehousing mode, the scanned data is stored in the scanner's internal storage. In the storage mode, after scanning a bar code, the scanner will emit a short tone (the frequency is low first and then high), and the green light flashes once, and the scanned bar code is automatically stored in the scanner memory. If the internal memory is full, the scanner will emit 3 low-frequency short tones to alarm, at the same time, the green light flashes 3 times.

Enter inventory mode
Check the number of barcodes stored in the warehouse by scanning the "Show Total Storage Items" barcode.

Show count total entries
Upload warehousing data by scanning the "Data Upload" barcode. After the data is uploaded, the barcode stored in the scanner will not be deleted automatically. The user uploads the warehouse data multiple times by scanning the "data upload".

Upload the data
Note: When uploading data, please try to ensure that the wireless signal is well connected.
Upload the data through data line.
By scanning the "Clear Warehousing Data" barcode to clear the barcode data in the storage area, the barcode will not be uploaded after it is cleared. Please confirm whether the data has been uploaded before clearing.

Clear count data
Initialization settings
If you accidentally scan other function setting codes during use, the function cannot be used normally, and can be restored to the initialization state by scanning the initialization barcode.

Factory default setting
Communication mode switching
Select the desired communication mode (mode 4 is selected).

2.4G mode

Bluetooth HID mode

Bluetooth SPP mode

Bluetooth BLE mode
Battery level display

Battery display

Display version information
English
Sleep time setting
Select sleep time interval barcode

Sleep time 30s

Sleep time 60s

Sleep time 5 mins

Sleep time 10 mins

Sleep time 30 mins

No sleeping

Immediately sleeping
Language setting
Choose the keyboard language you need

English

German

French

Spanish

Italian

Japanese

International keyboard Portuguese

Prompt one and vibration settings
Select sound and volume on/off adjustment barcode

Mute

Low volume

Medium volume

High Volume

Close vibration

Open vibration
Transmission speed setting
Select the desired transmission rate (rate selection is related with bar code reading).

Fast transmission (used in 2.4G mode)

Medium speed transmission (recommended IOS system in bluetooth mode)

Low speed transmission (recommended for Bluetooth mode in Android)

Ultra low speed transmission (recommended test mode used)
Ending add settings
Select you want to add at the end

Add CR at the end

Add CR new line at the end

Add new line at the end

Add Tab at the end

No adding at the end

Force conversion to lowercase
English

Force conversion to uppercase

Capitalization interchange

Do not convert capitalization
Set / Hide suffixes
Scan the "Add Prefix" and "Add Suffix" setting codes.
Hide the barcode method, firstly, scan the front of the hidden barcode or hide the back of the barcode, and then scan the hidden digits. hide up to 4 bytes.

Add prefix

Add suffix

Hide front part of bar code

Hide back part of bar code

Hide 1 digits

Hide 2 digits

Hide 3 digits

Hide 4 digits
LED light
- A fixed red indicator light indicates that the driver is charging. When the red indicator is off, it indicates that the charging is complete or the base is not connected.
When the red indicator blinks, it indicates that the battery is no power or the battery is not properly installed.
- The green indicator indicates that the wireless connection is correct. - The blinking blue indicator indicates the pairing status of the 2.4g connection mode.
- The blue and green lights flicker alternately to indicate the pairing state of the Bluetooth HID mode.
- Blinking green indicate the barcode scanner is in The bluetooth SPP/BLE pairing state.
Buzzer
- Long volume (from low to high): indicates that the scanner is on. - Long volume (from high to low): indicates that the player is close.
- Short volume (low frequency): indicates that the barcode is read or that the pairing or wireless connection is successful.
- Short volume (from low to high): indicates that digital data has been recorded or that installation code has been scanned.
- Three short volume (low frequency): indicates that the wireless transmission fails or the storage is full and scanning is stopped.
- Short volume (low frequency): indicates battery has no power.
- Two short volume (low frequency): indicates that the wireless is disconnected.
- Two short volume(high frequency): indicates that scan configuration code does not work.
Common problem
If I can't connect the scanner to my Android Bluetooth phone, what should I do?
Make sure that the phone is Android 3.0 or higher and can connect directly.
Why can't I load the barcode to my computer or phone after pairing?
A. Make sure that if the pairing is successful, the scanner's LED light will be green.
B. If counting function is open, the barcode is not automatically loaded into inventory mode. You must manually scan the corresponding barcode.
If computer or phone can't find the scanner's Bluetooth? What can I do?
A. Ensure that the selected communication mode is Bluetooth HID. Other communication methods require relevant testing tools, please contact the
English
manufacturer if necessary.
B. The Bluetooth scanner has been connected to another phone or computer. Steady green indicates that the pair has been paired.
How do I pair it with a phone or computer again?
Delete paired Bluetooth in the Bluetooth Search interface, and then pairing the Bluetooth again.
Safety, maintenance and recycling instructions
- Caution: Never open the device, the internal parts are danger, electrical shock.
- Do not install this unit near water, for example, in a wet basement, in an unprotected outdoor installation or in any area classified as a wet.
- Do not insert objects of any kind into this unit through openings as they may touch voltage points and short out parts that could result in fire or electric shock.
- Do not spill any liquid on the unit. Danger of explosion!
- Do not crush power cables, danger of short circuit!
- Always connect to the manufacturer's recommended tension.
- Clean the product with a soft and dry cloth.
- Follow local regulations for disposing of the product.
Recycled
AEE REI-RAEE 5548 In this manual, the container (bin) symbol indicates that the product is subject to the European directive 2002/96 / EC, electrical and electronic products, batteries, and batteries and other accessories must necessarily be subject to a selective collection.
At the end of the life of the device, make use of the recycling bins. This gesture will help reduce the health risks and preserve the environment. Municipalities and distributors, Will provide essential details on recycling your old device. If this device carries an internal battery, it must be removed and deposited separately for proper management.

Introduction
Code39 60mm-120mm (5mil)
Enter Bluetooth HID mode
Enter pairing situation
Mode Bluetooth SPP/BLE
Enter SPP mode Enter BLE mode
- Bluetooth name setting

- Read Bluetooth name
2.4G mode
Force pairing with the receiver
Factory default setting
Battery display

Display version information
Code39 60mm-120mm (5mil)
Enter setting mode
B: Escaneie o código "enter bluetooth HID mode".

Enter Bluetooth HID mode
Enter pairing situation
Modo Bluetooth SPP/BLE
Enter SPP mode Enter BLE mode
- Bluetooth name setting

- Read Bluetooth name
B: Seleccione o código de barras personalizado com o nome que desejar para o leitor.
2.4G mode
Force pairing with the receiver
Battery display

Display version information