XPlorer Serie 70 RR8477 - Robot vacuum ROWENTA - Free user manual and instructions
Find the device manual for free XPlorer Serie 70 RR8477 ROWENTA in PDF.
Document temporarily unavailable
The manual is currently being transferred to our new server. It will be accessible again in a few hours. Thank you for your patience.
| Product Type | Robot vacuum cleaner |
| Brand | Rowenta |
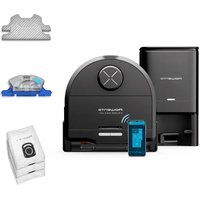
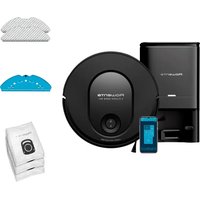
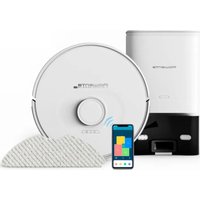
| Model | XPlorer Series 70 RR8477 |
| Dimensions (diameter x height) | 35 cm x 9.5 cm |
| Weight | 3.5 kg |
| Power supply | Rechargeable lithium-ion battery, charging station with automatic dust emptying |
| Main functions | Vacuuming, mopping (mop), laser navigation, mapping, automatic emptying, Wi-Fi connectivity, mobile app |
| Dustbin capacity | Approximately 0.4 L (2-in-1 dust and water bin) |
| Water tank capacity | Approximately 250 mL |
| Mop type | Washable (standard, scrubbing, fine microfiber) |
| Maintenance and cleaning | Weekly cleaning of sensors, brushes, and filter; emptying the bin after each use; washing the mop after each use |
| Safety | Anti-fall sensors, stair detection, stop if stuck, do not use on wet or flooded floors |
| Spare parts and repairability | Hygiène+ dust bag, filter, brushes, mops, maintenance kit |
| Replacement frequency of parts | Bag: when full; Filter: 2 times per year; Mop: 2 times per year; Side brush: 2 times per year |
| Connectivity | Wi-Fi 2.4 GHz (802.11 b/g/n), mobile app |
| Noise level | Approximately 65 dB (typical value for robot vacuum) |
| Warranty | 2 years (depending on country) |
Frequently Asked Questions - XPlorer Serie 70 RR8477 ROWENTA
User questions about XPlorer Serie 70 RR8477 ROWENTA
0 question about this device. Answer the ones you know or ask your own.
Ask a new question about this device
Download the instructions for your Robot vacuum in PDF format for free! Find your manual XPlorer Serie 70 RR8477 - ROWENTA and take your electronic device back in hand. On this page are published all the documents necessary for the use of your device. XPlorer Serie 70 RR8477 by ROWENTA.